Purple Storm
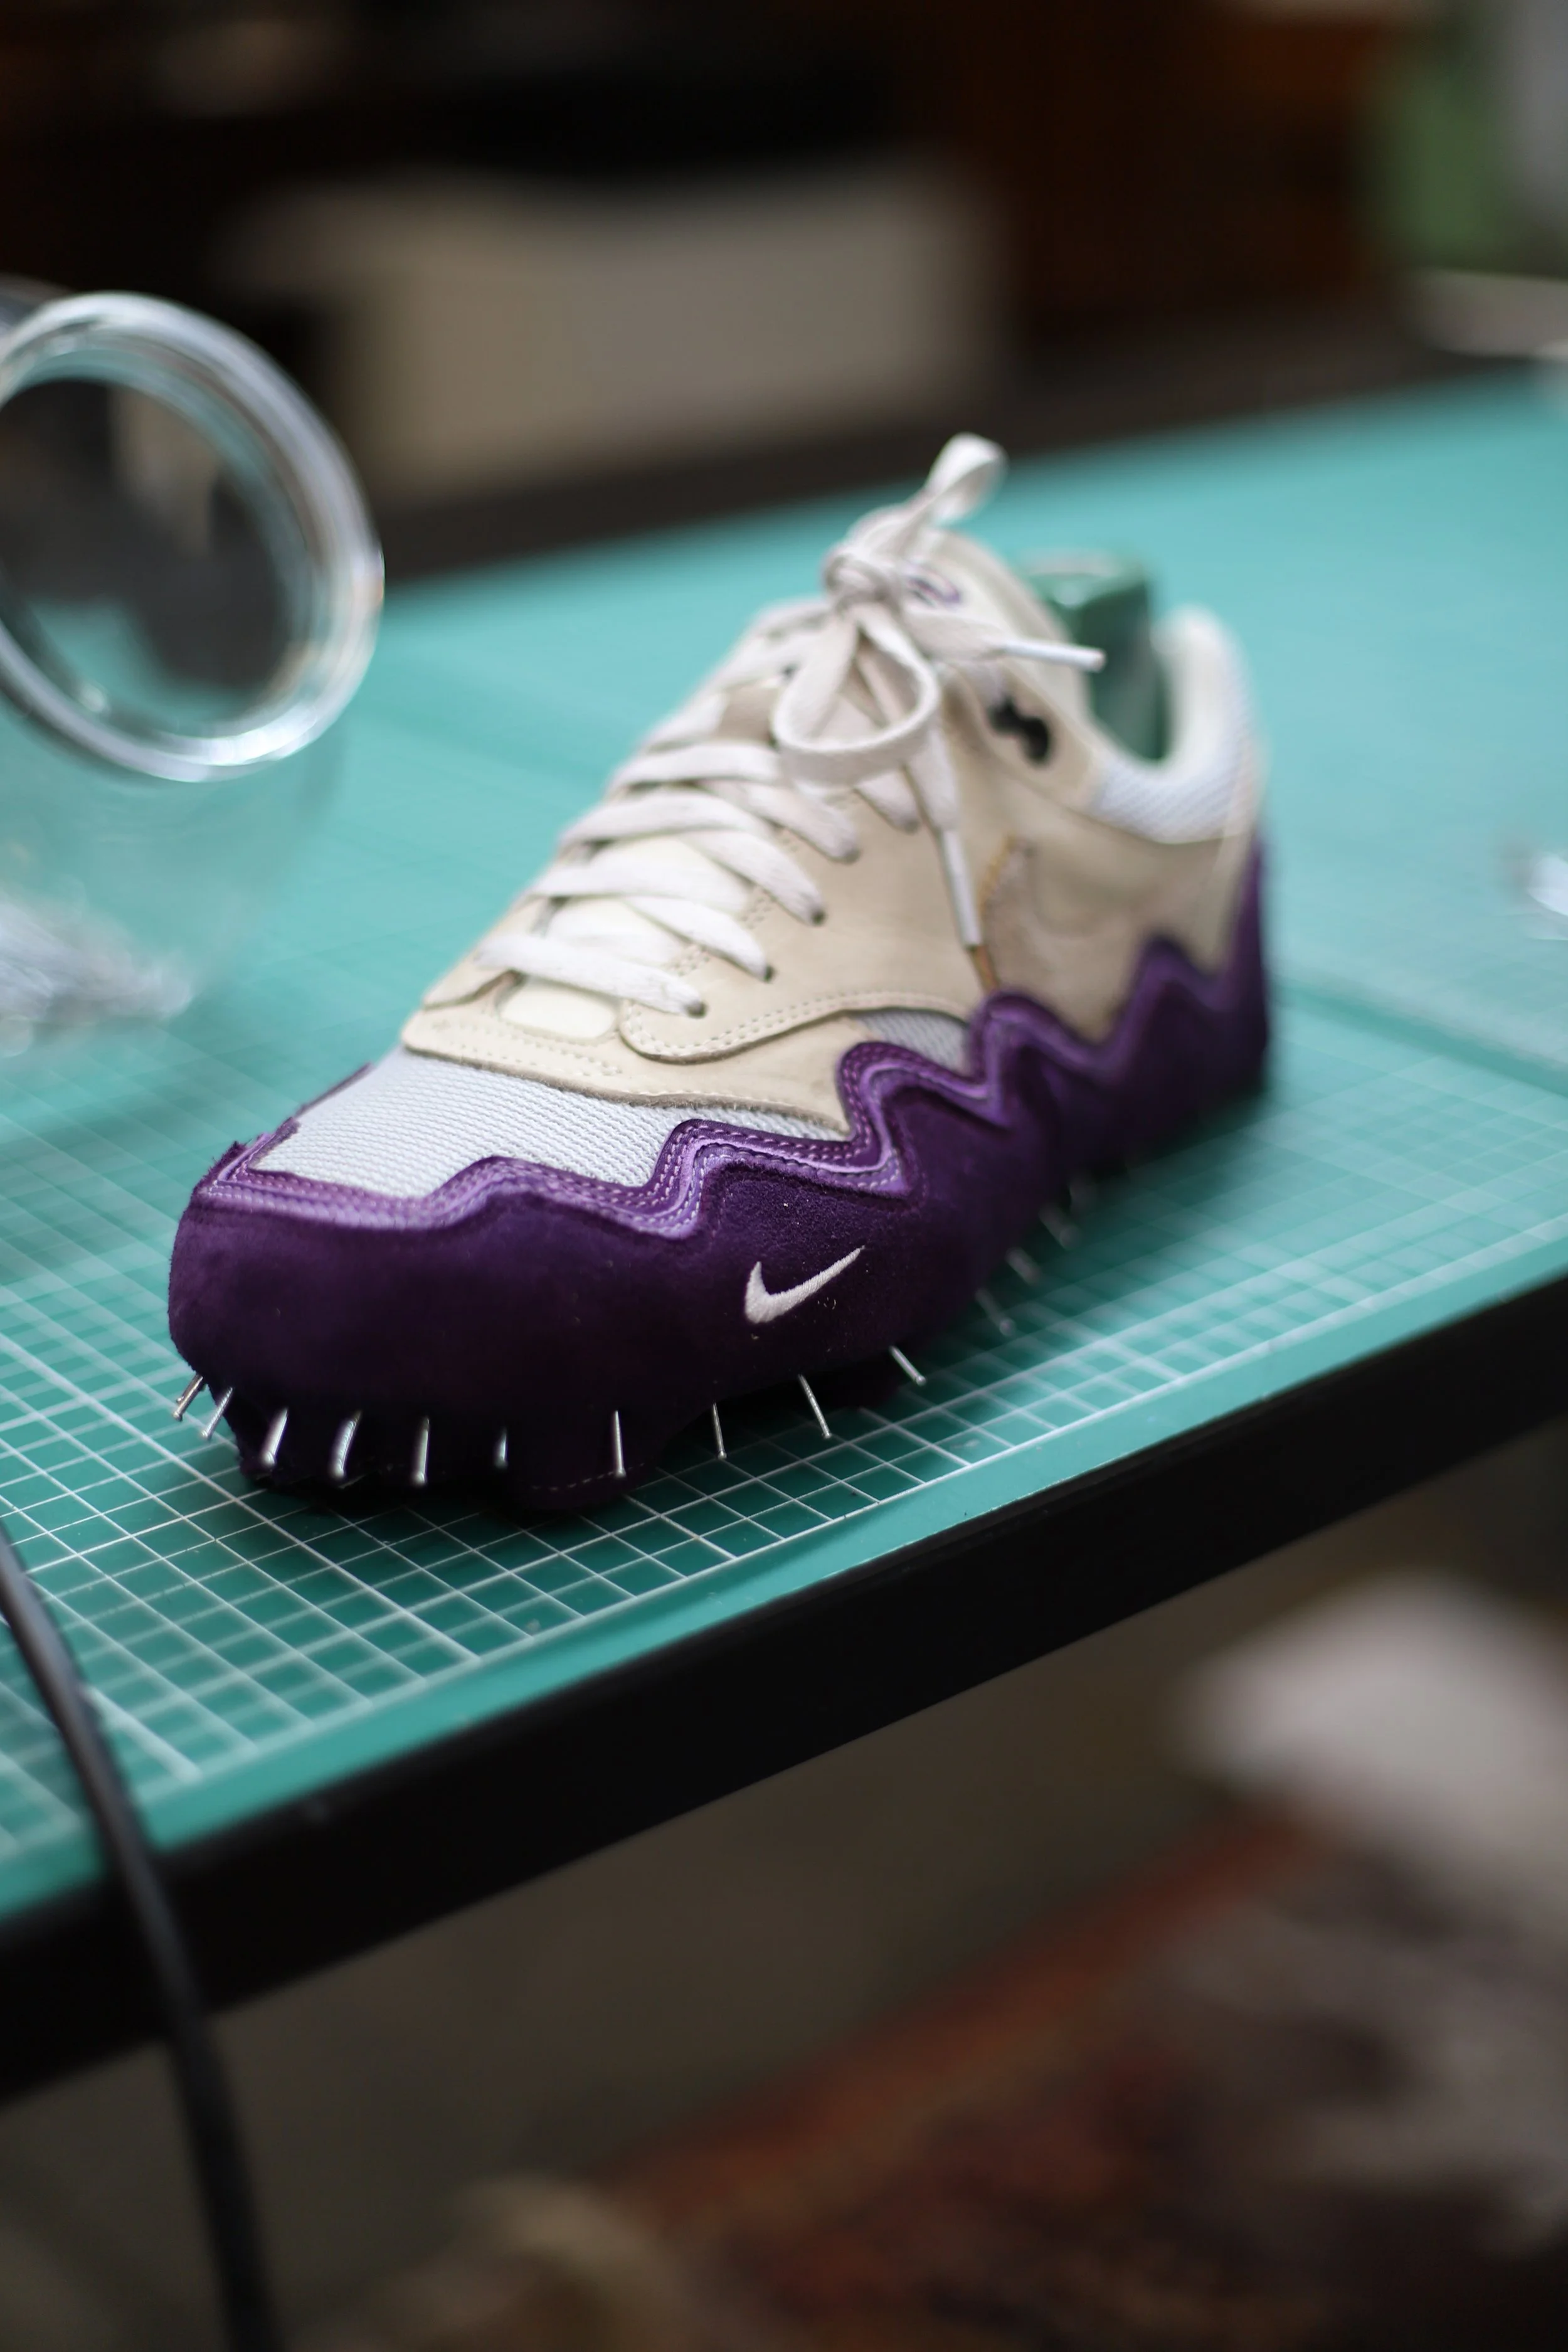
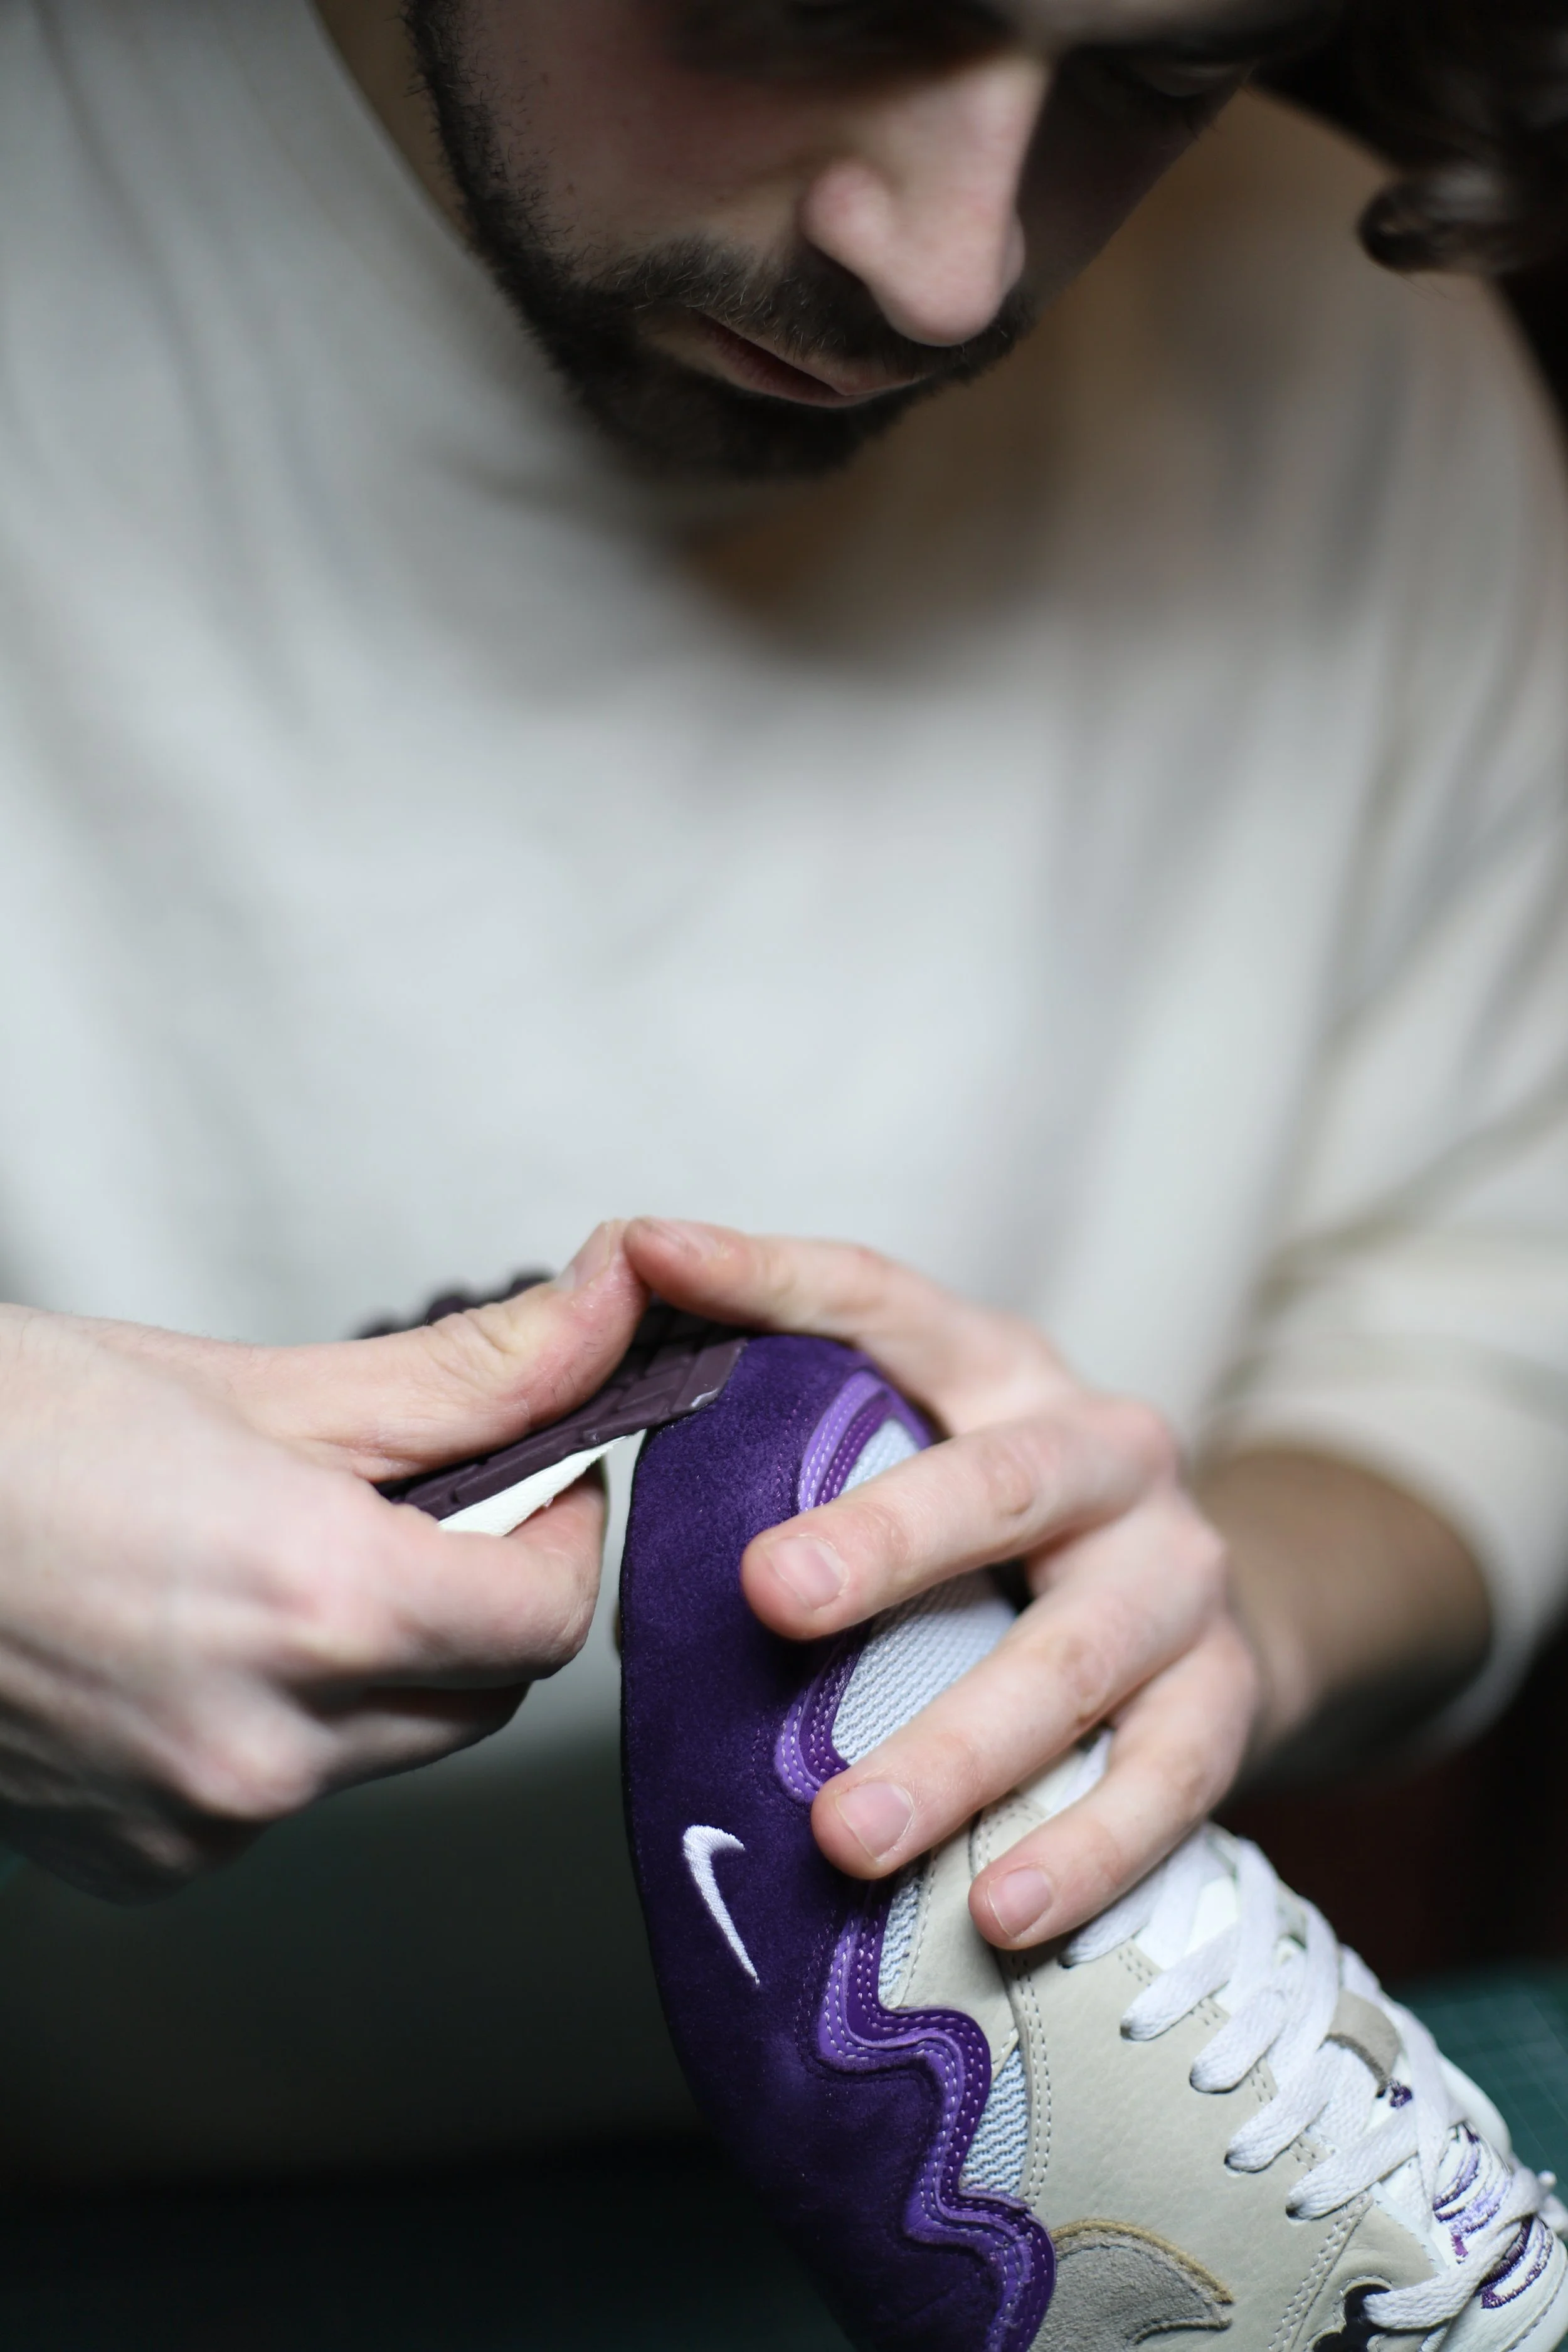
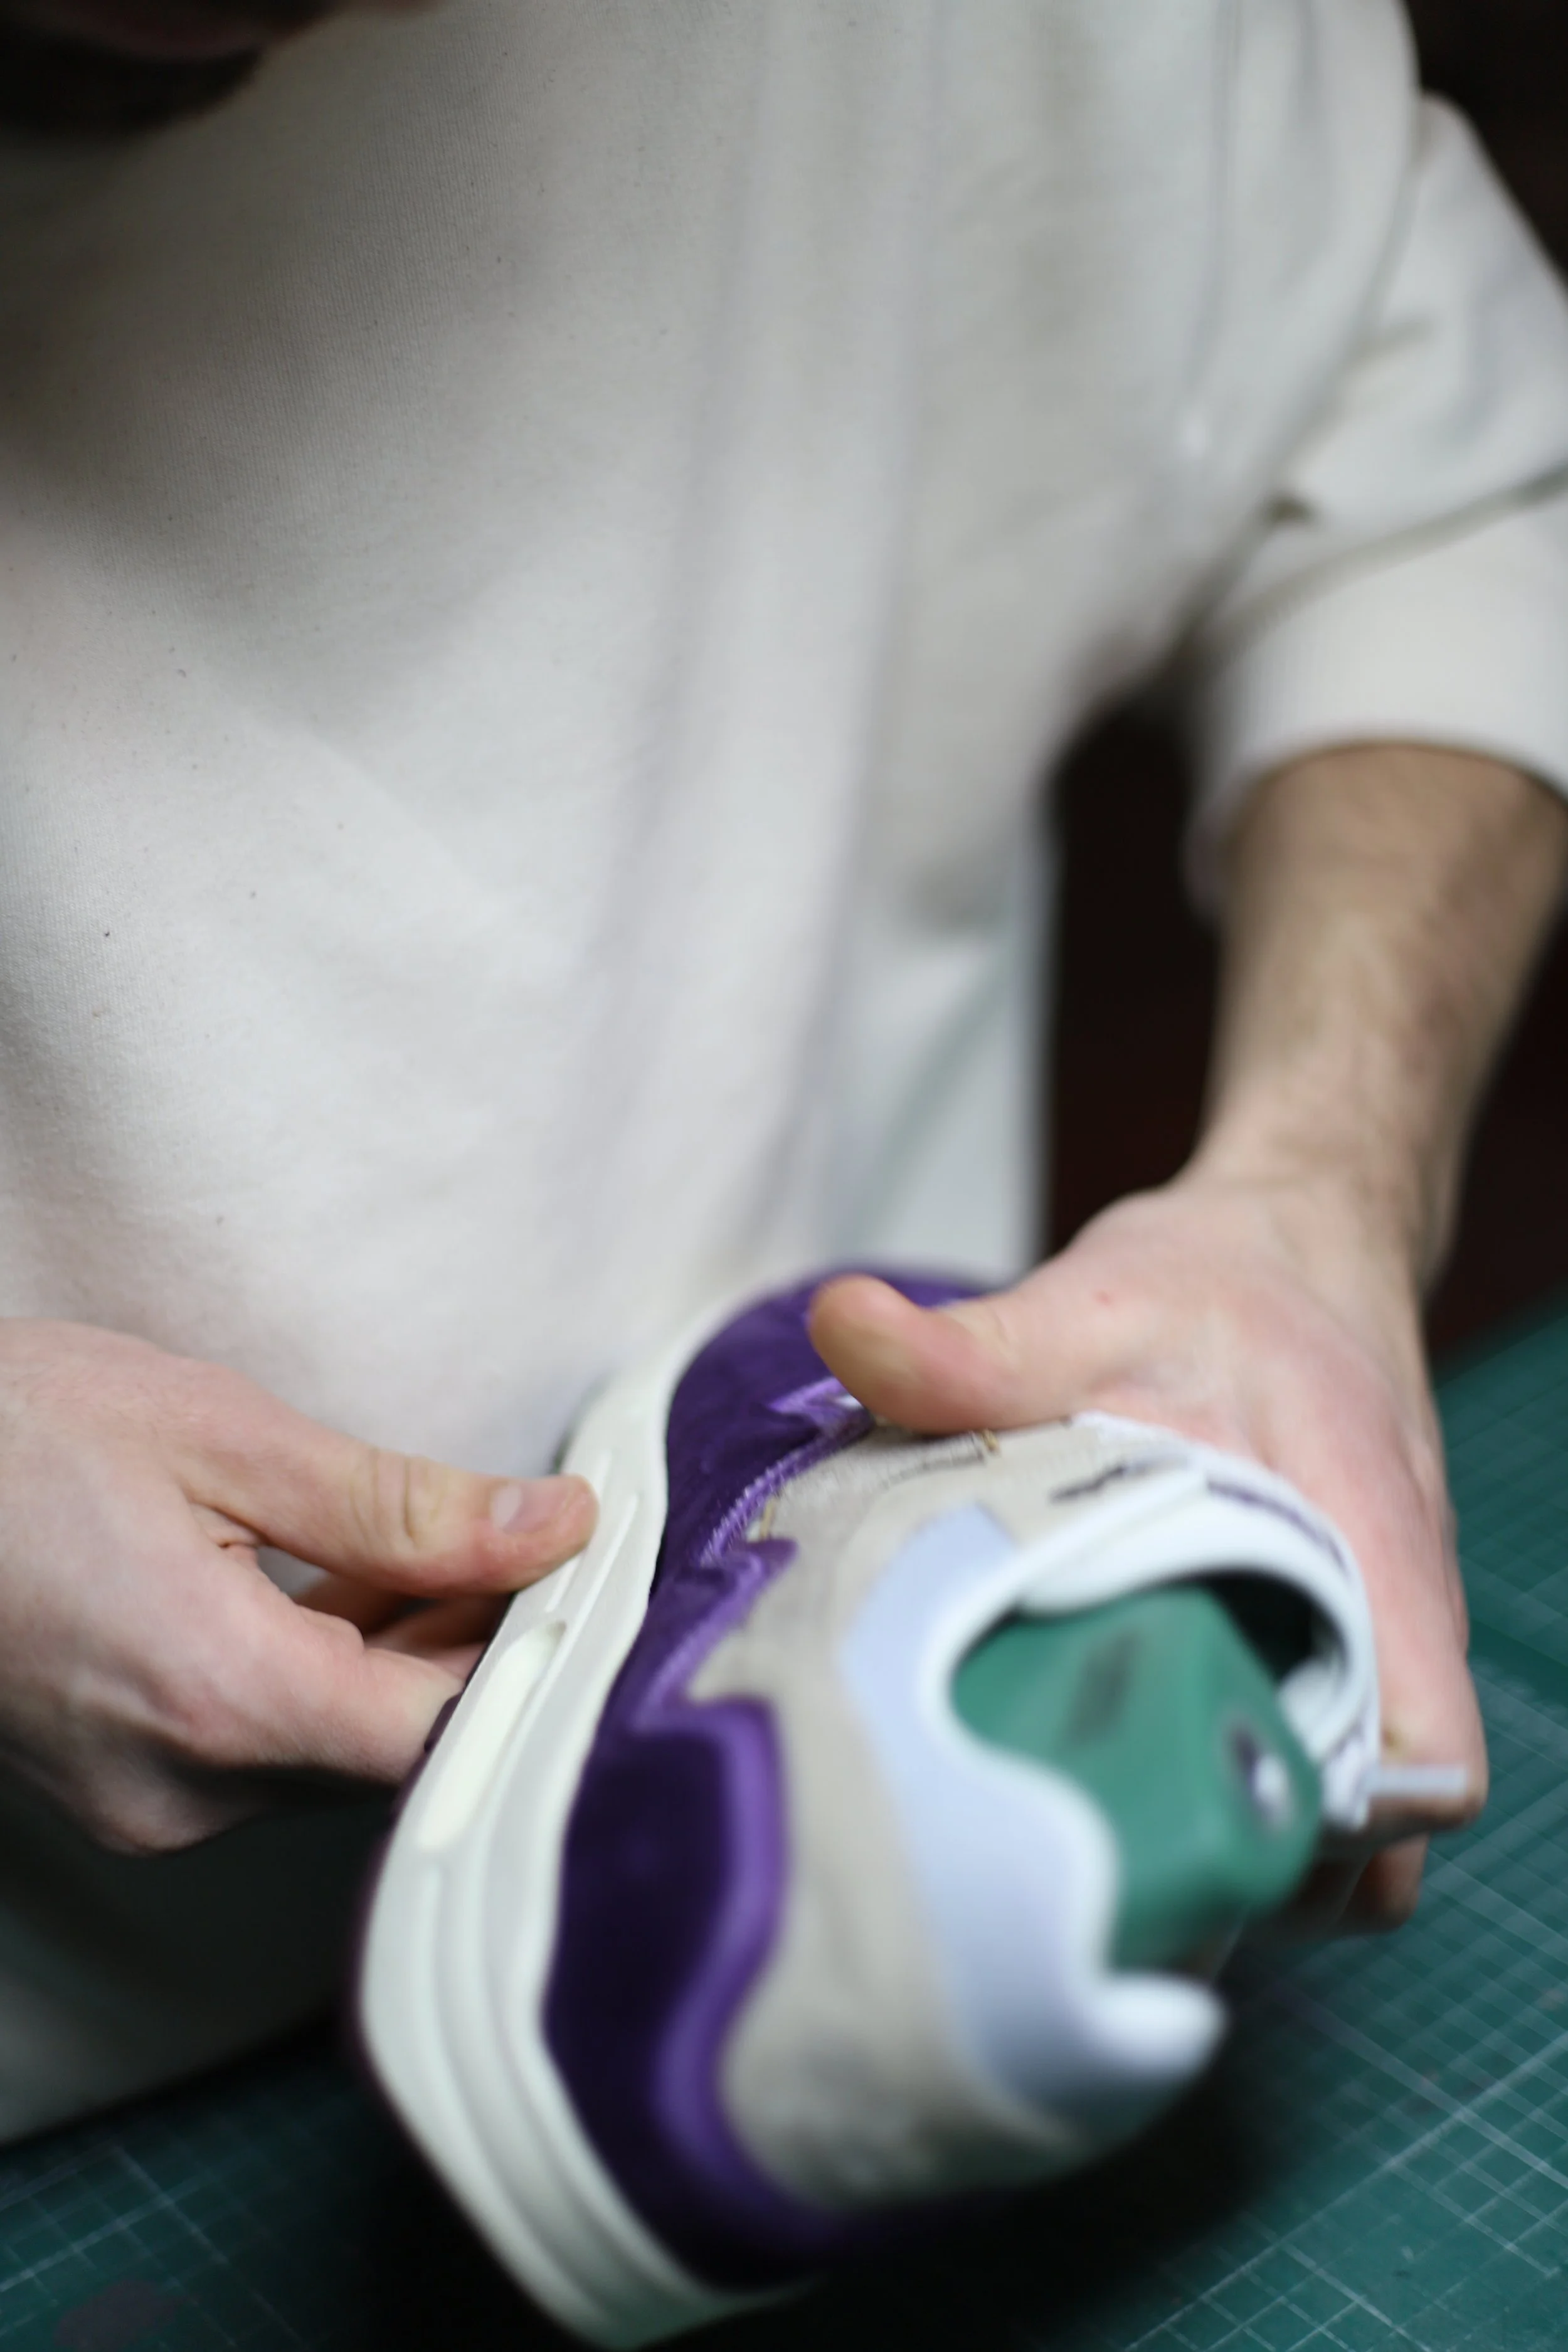
In collaboration with @evange_____ on Instagram, we made these Air Max 1 Purple Storms. In this blog, we will show you our process in detail. For making this shoe it was important to deconstruct an original Patta wave. We used the Air Max 1 x Patta Wave Maroon.
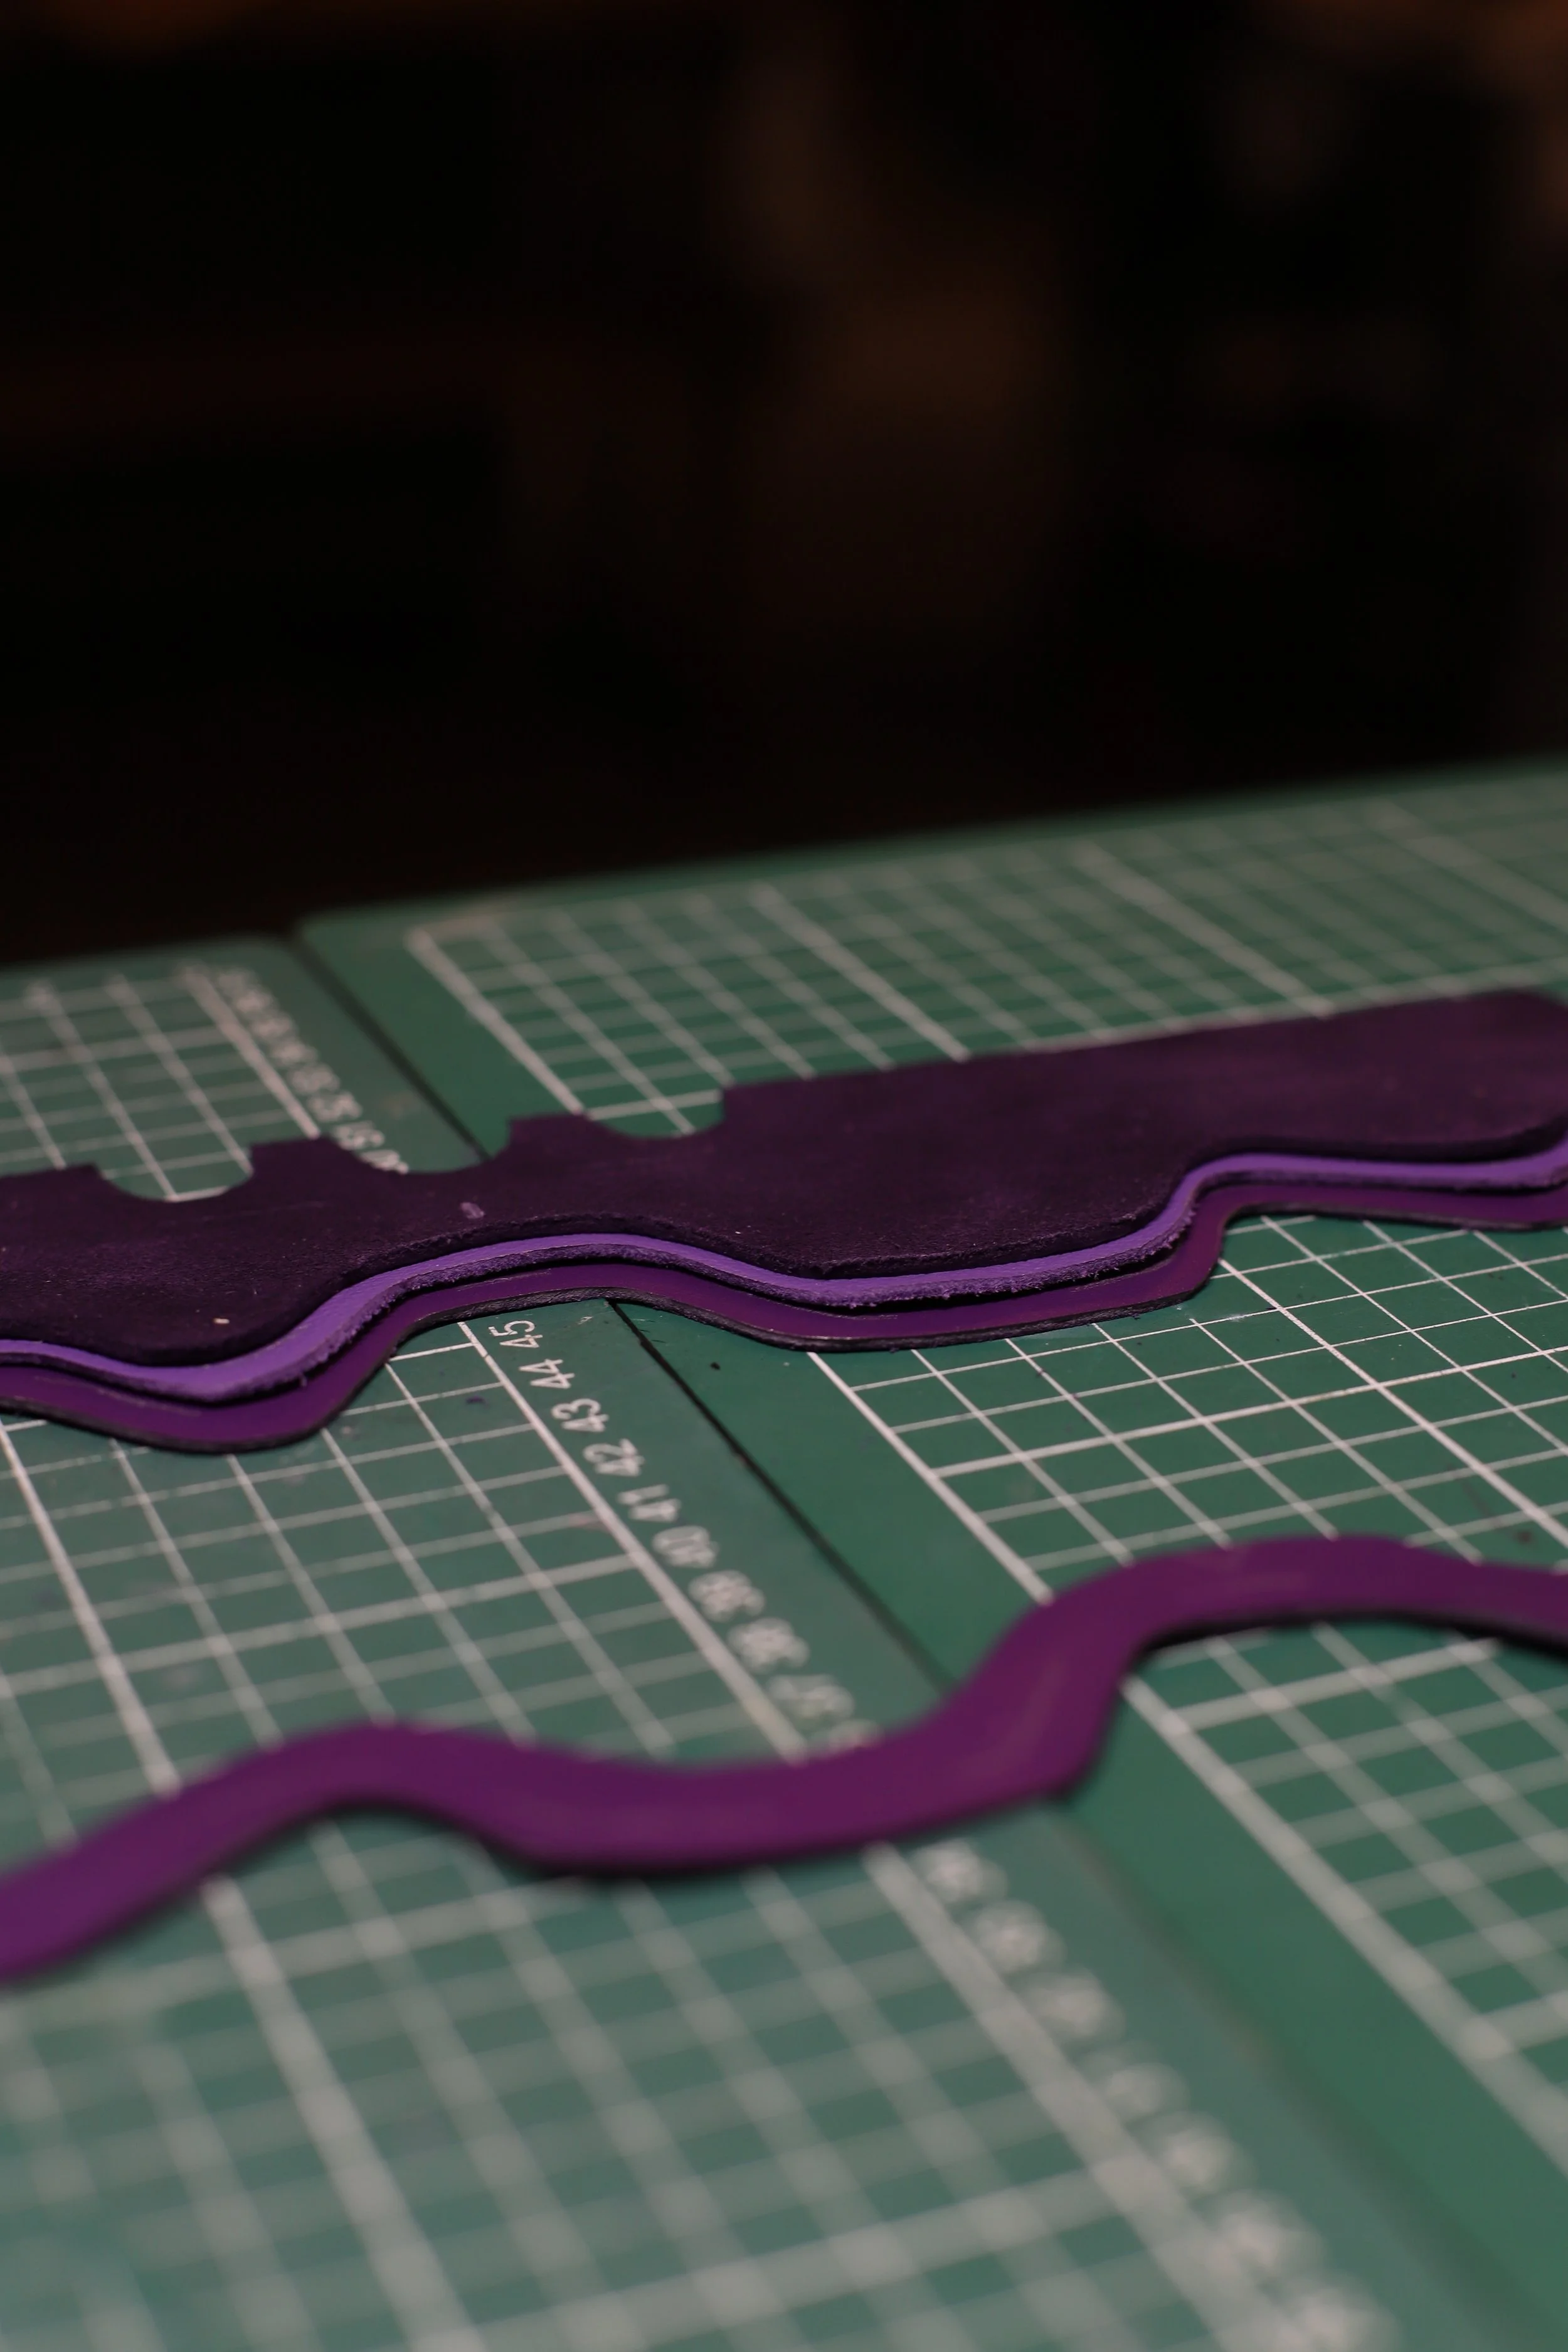
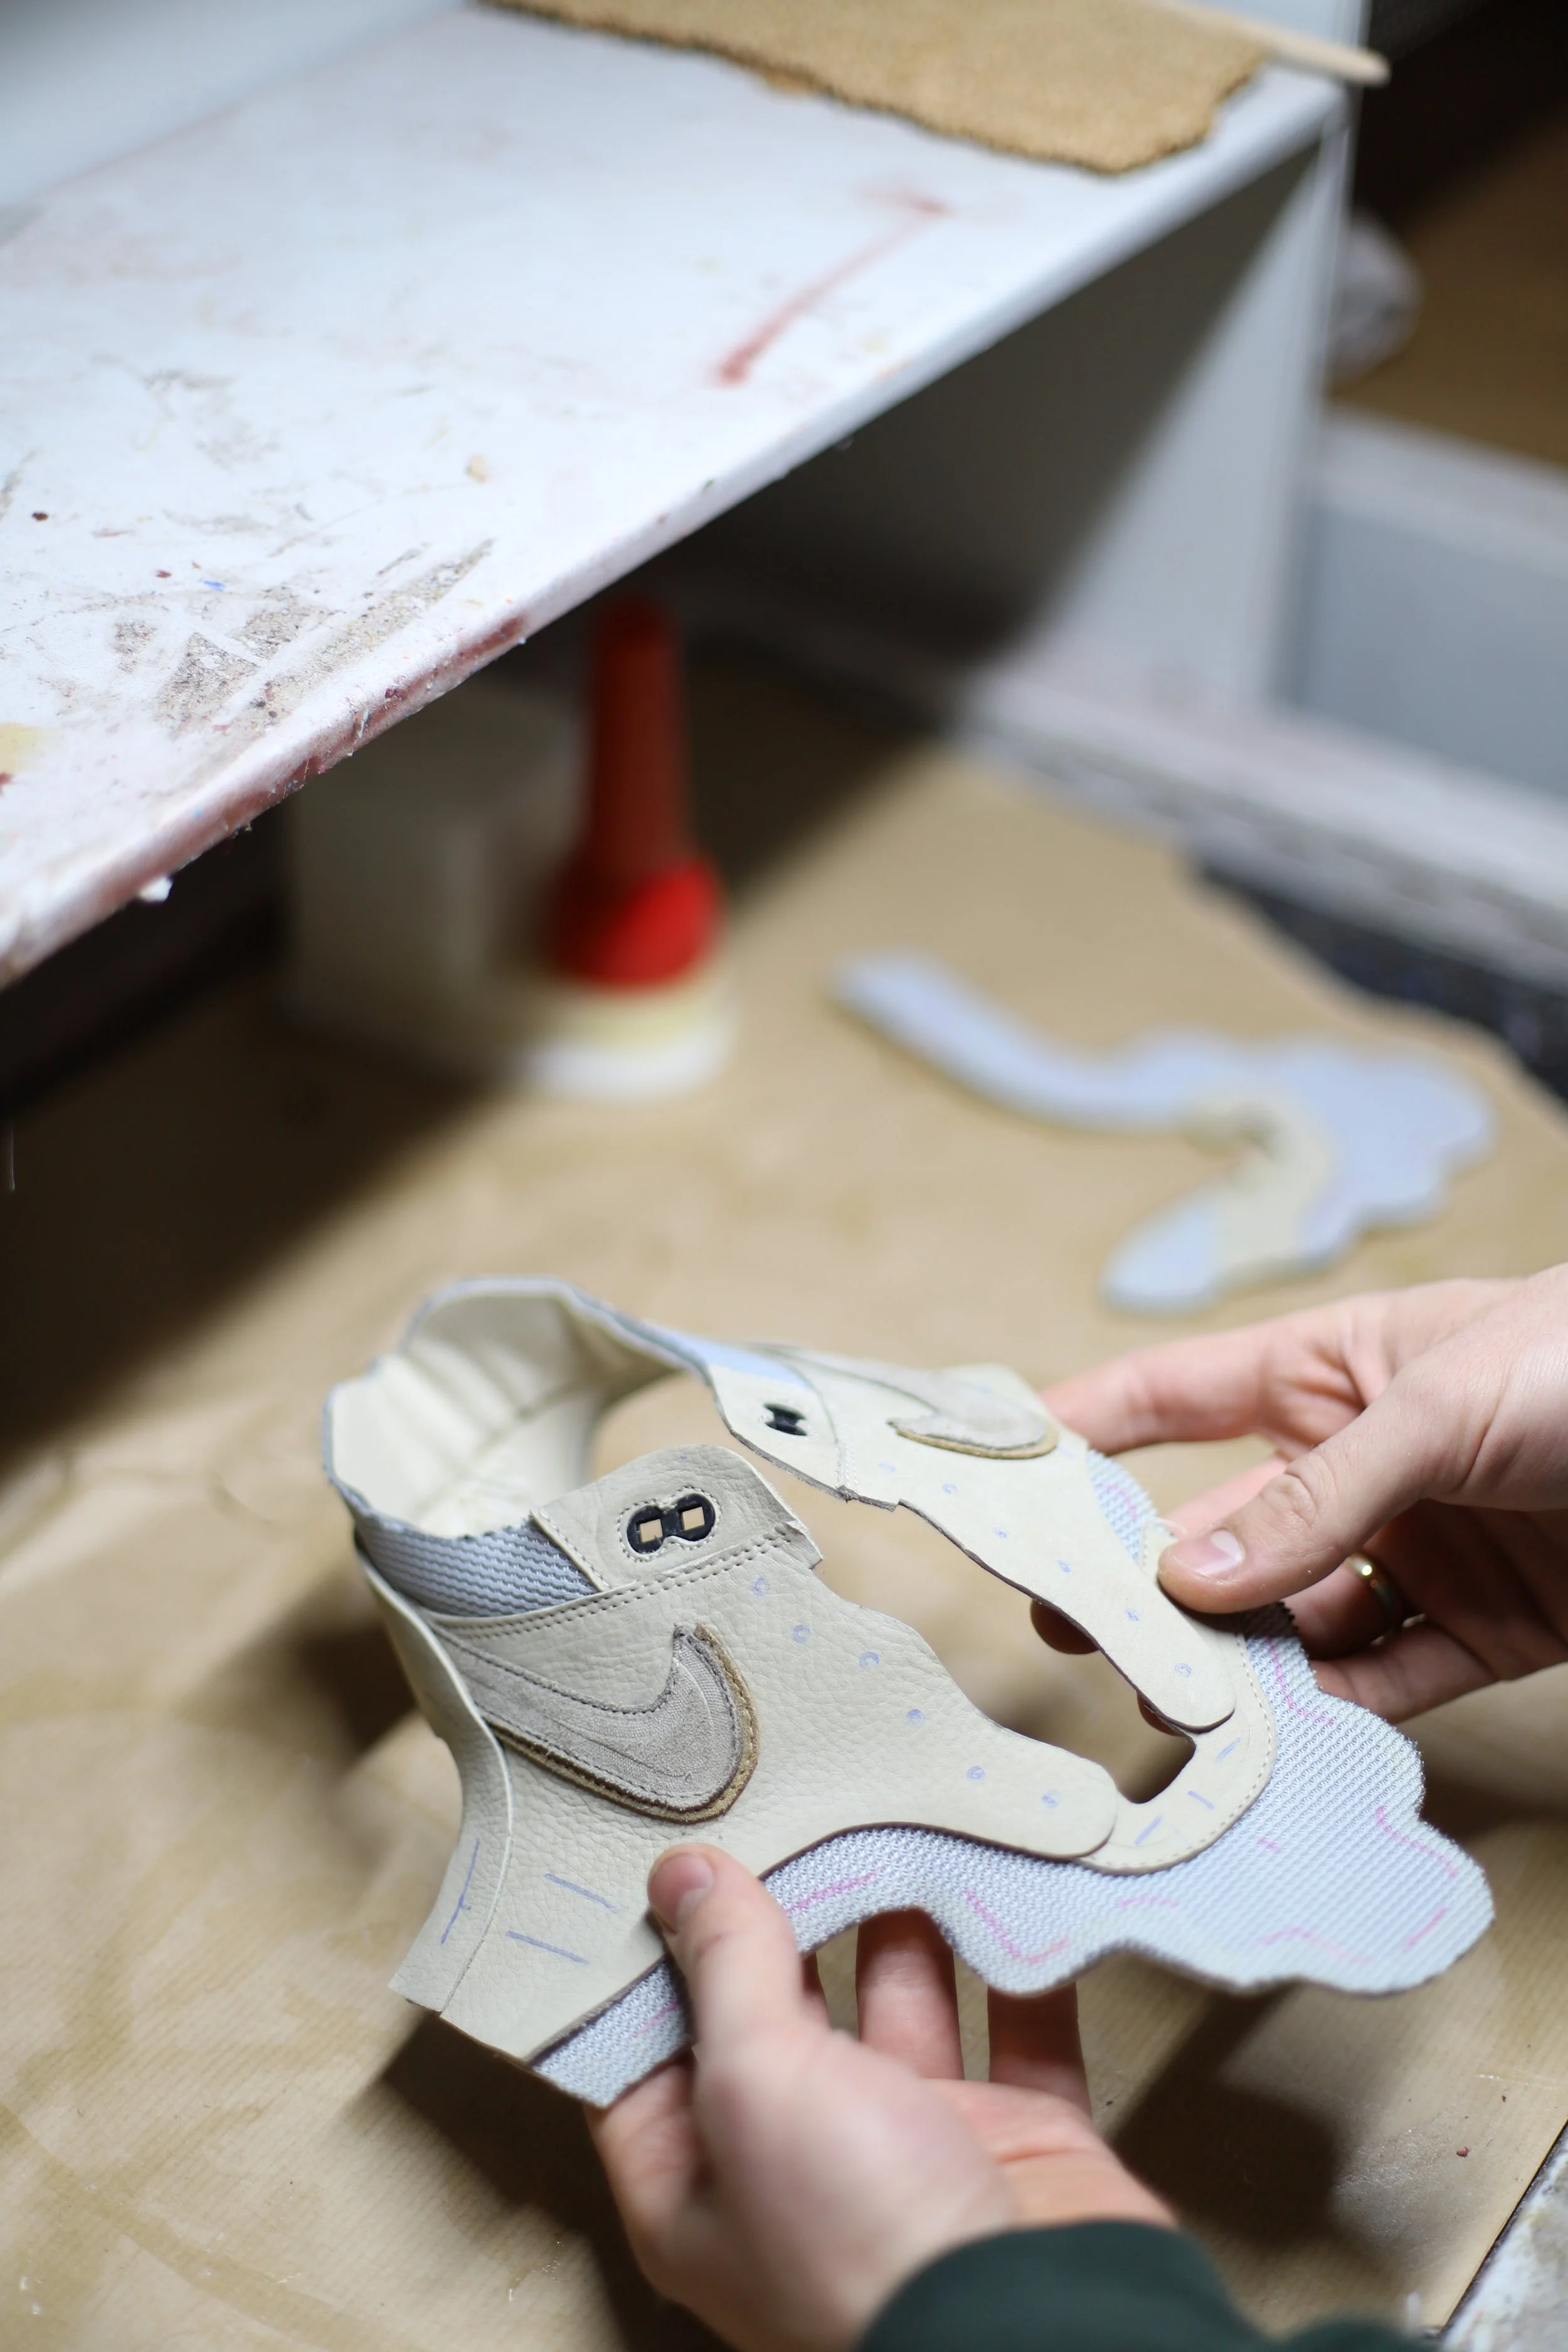
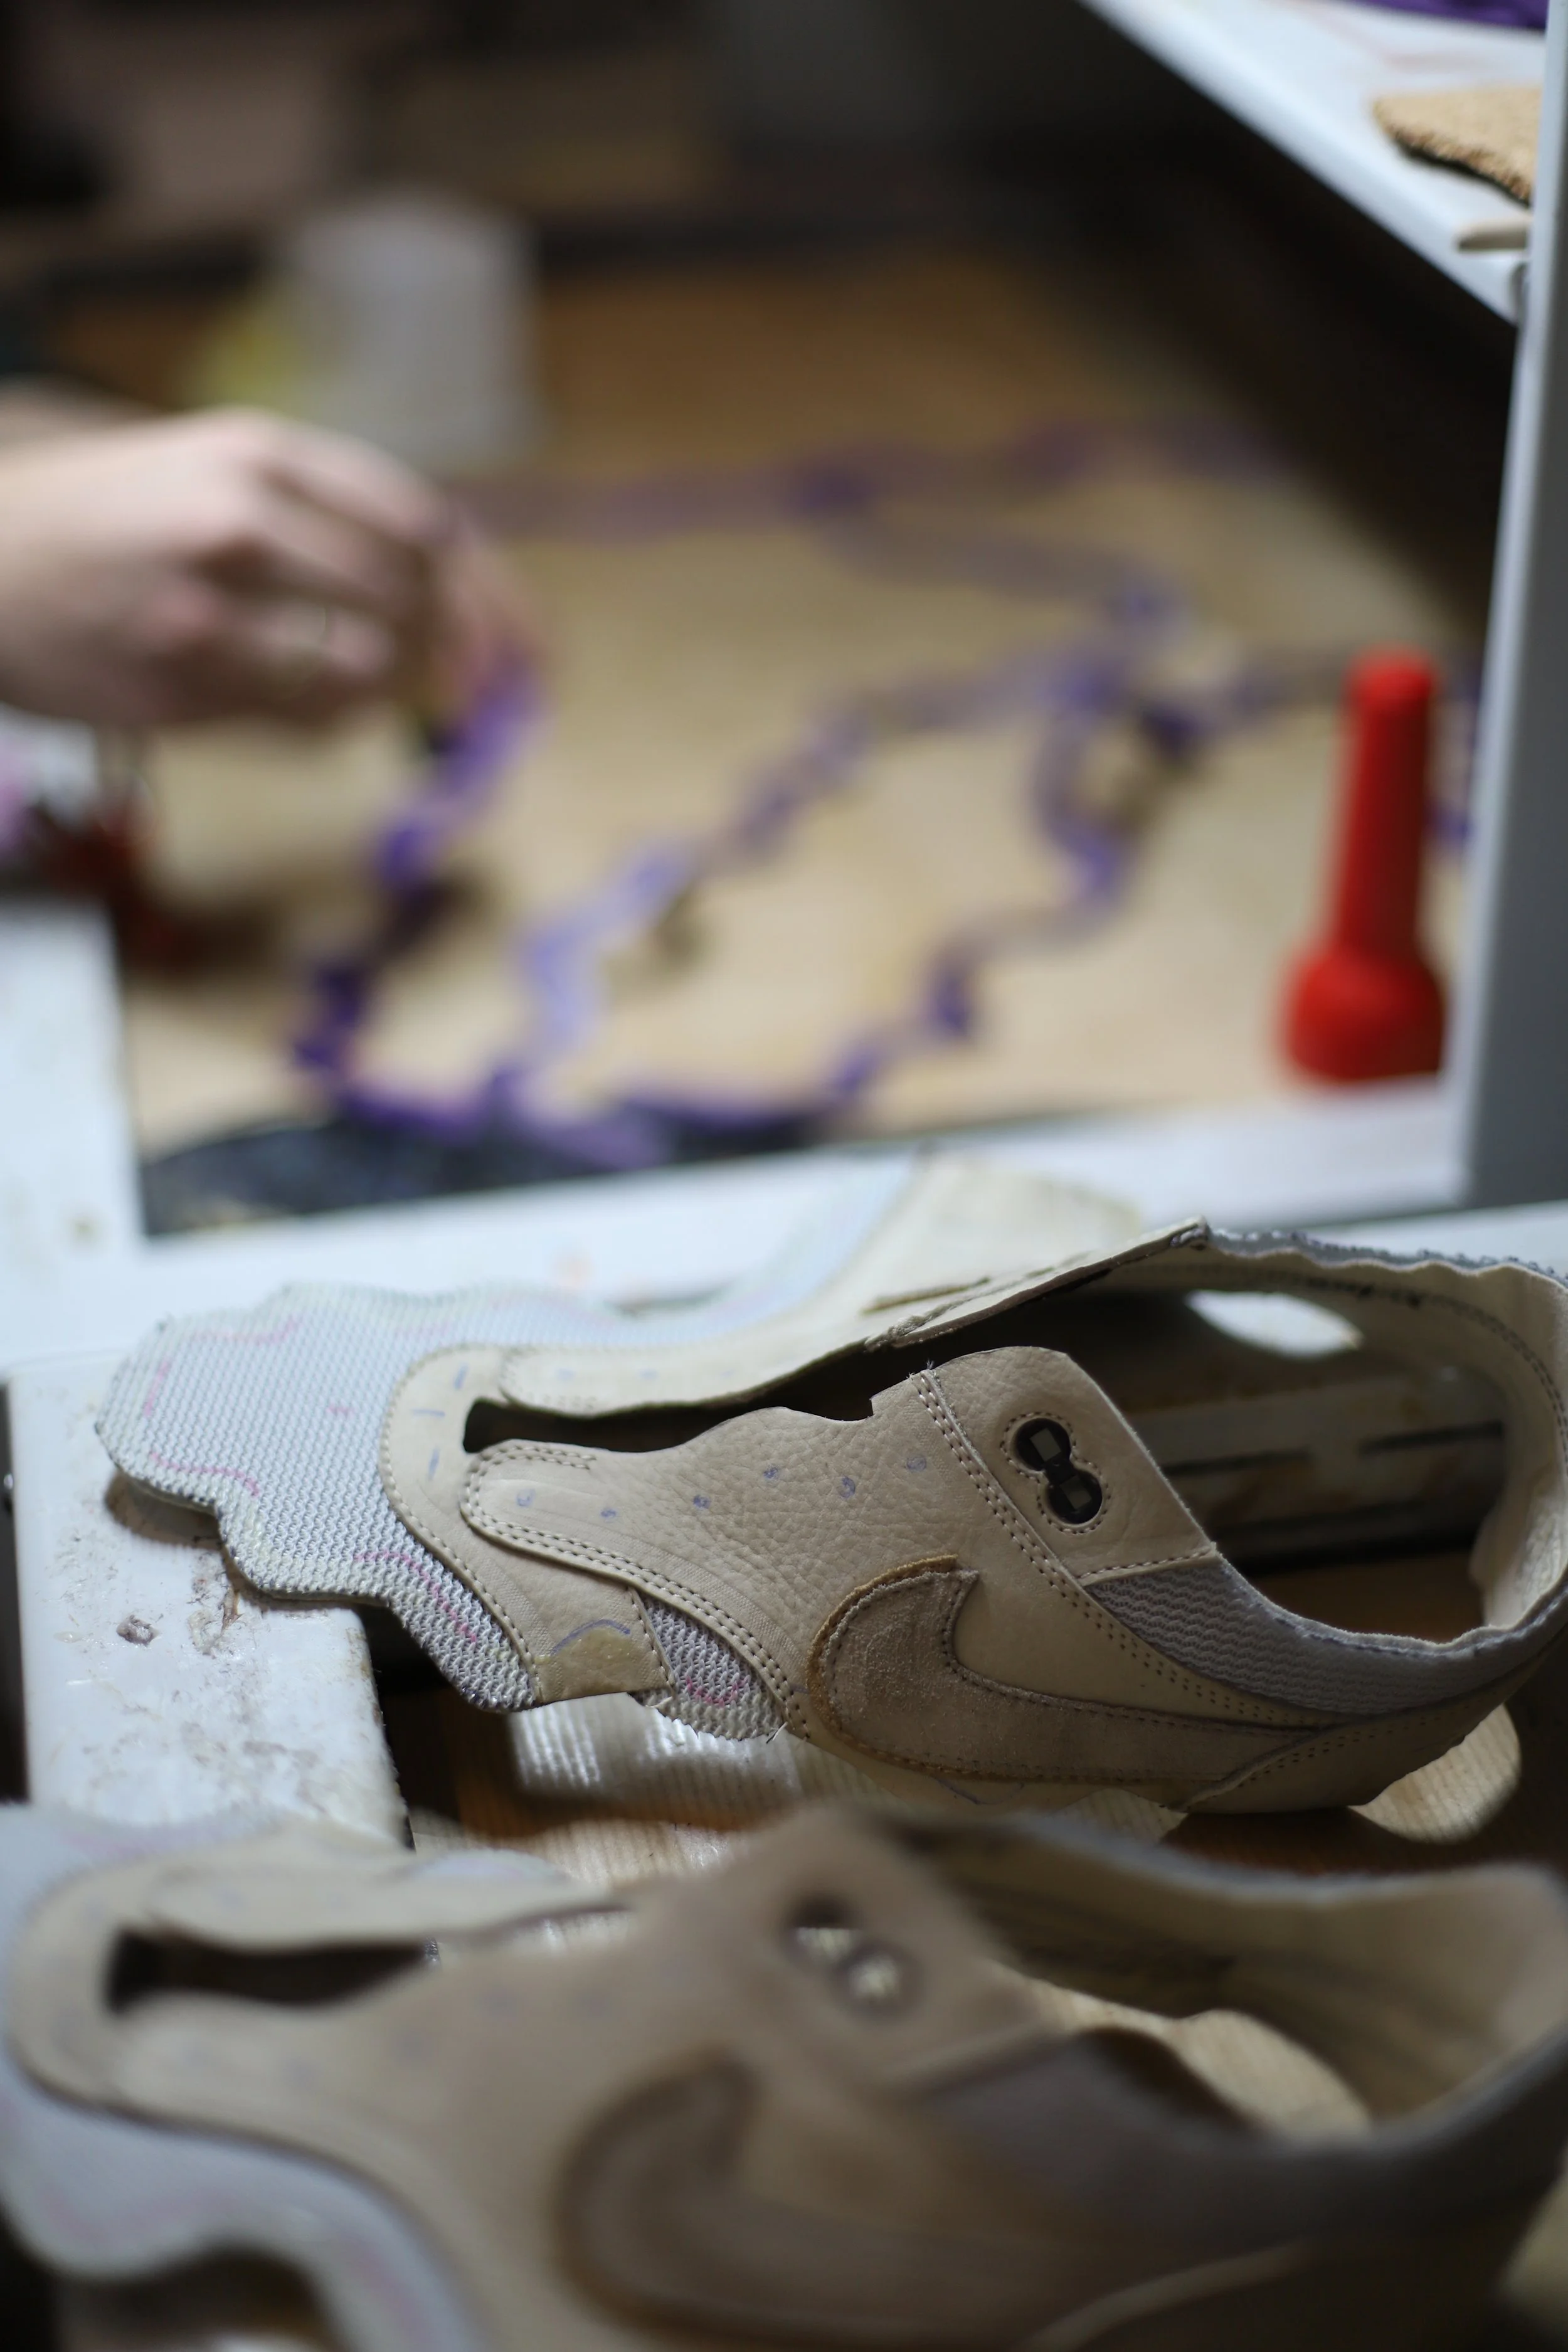
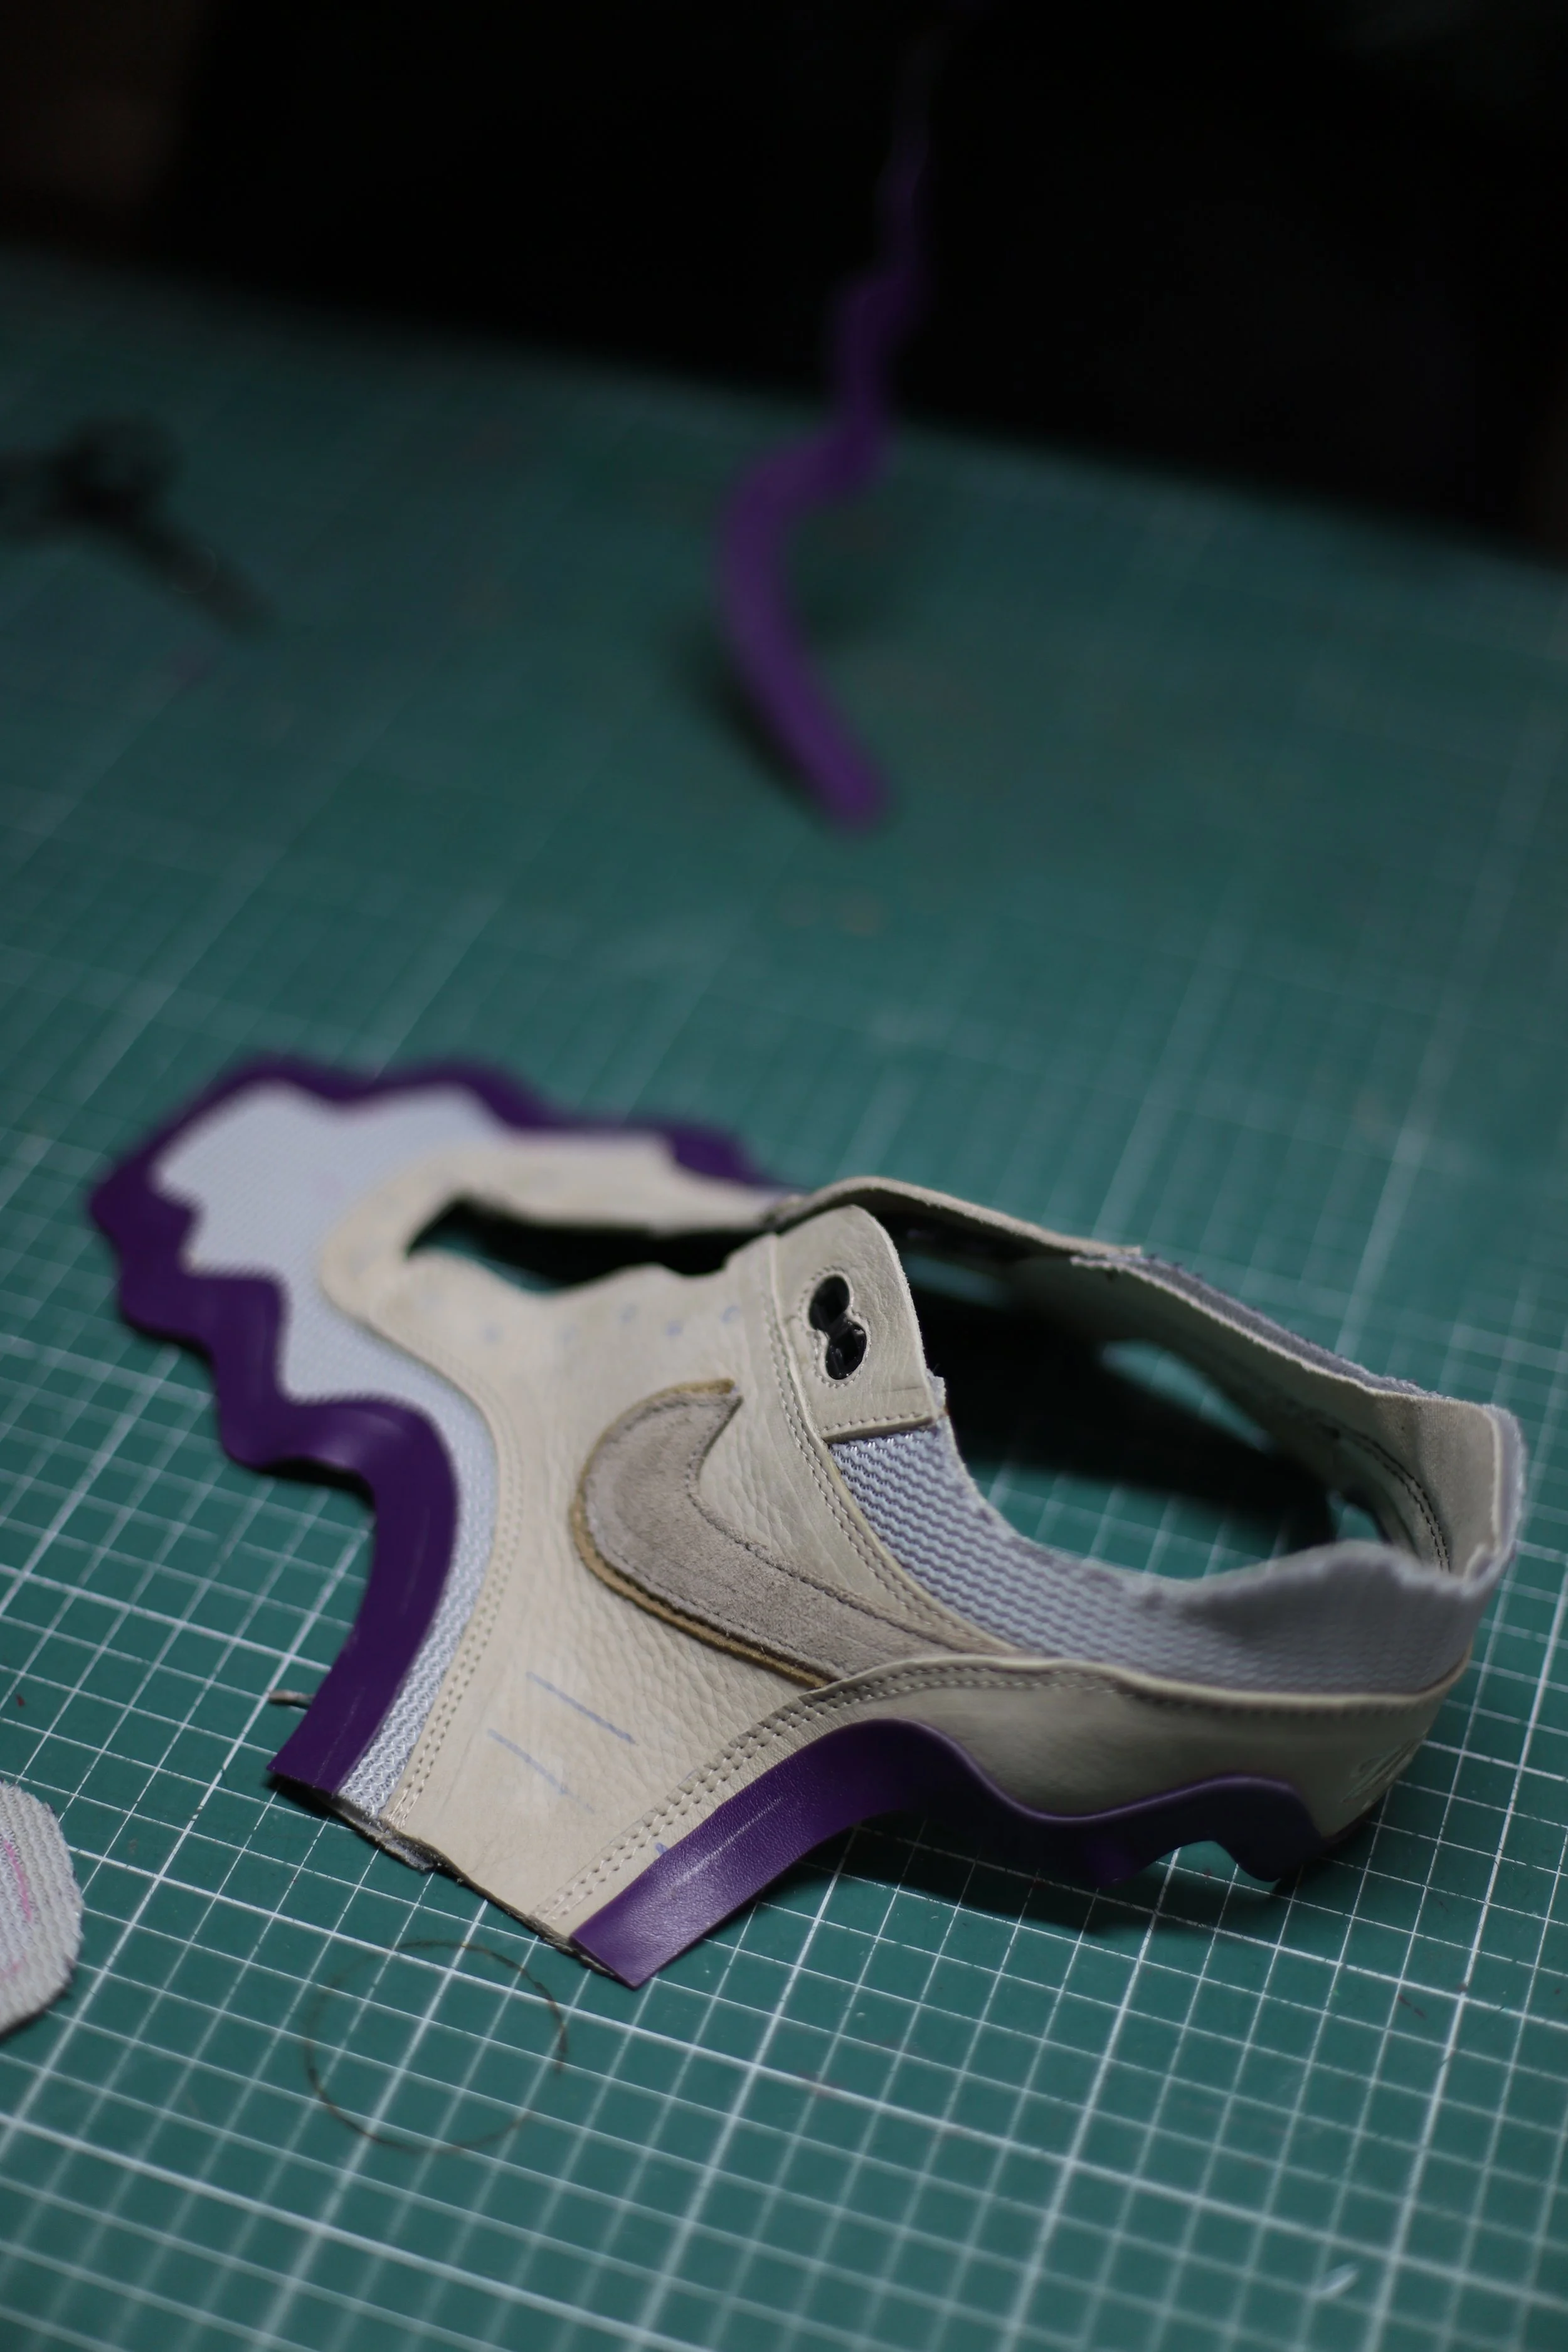
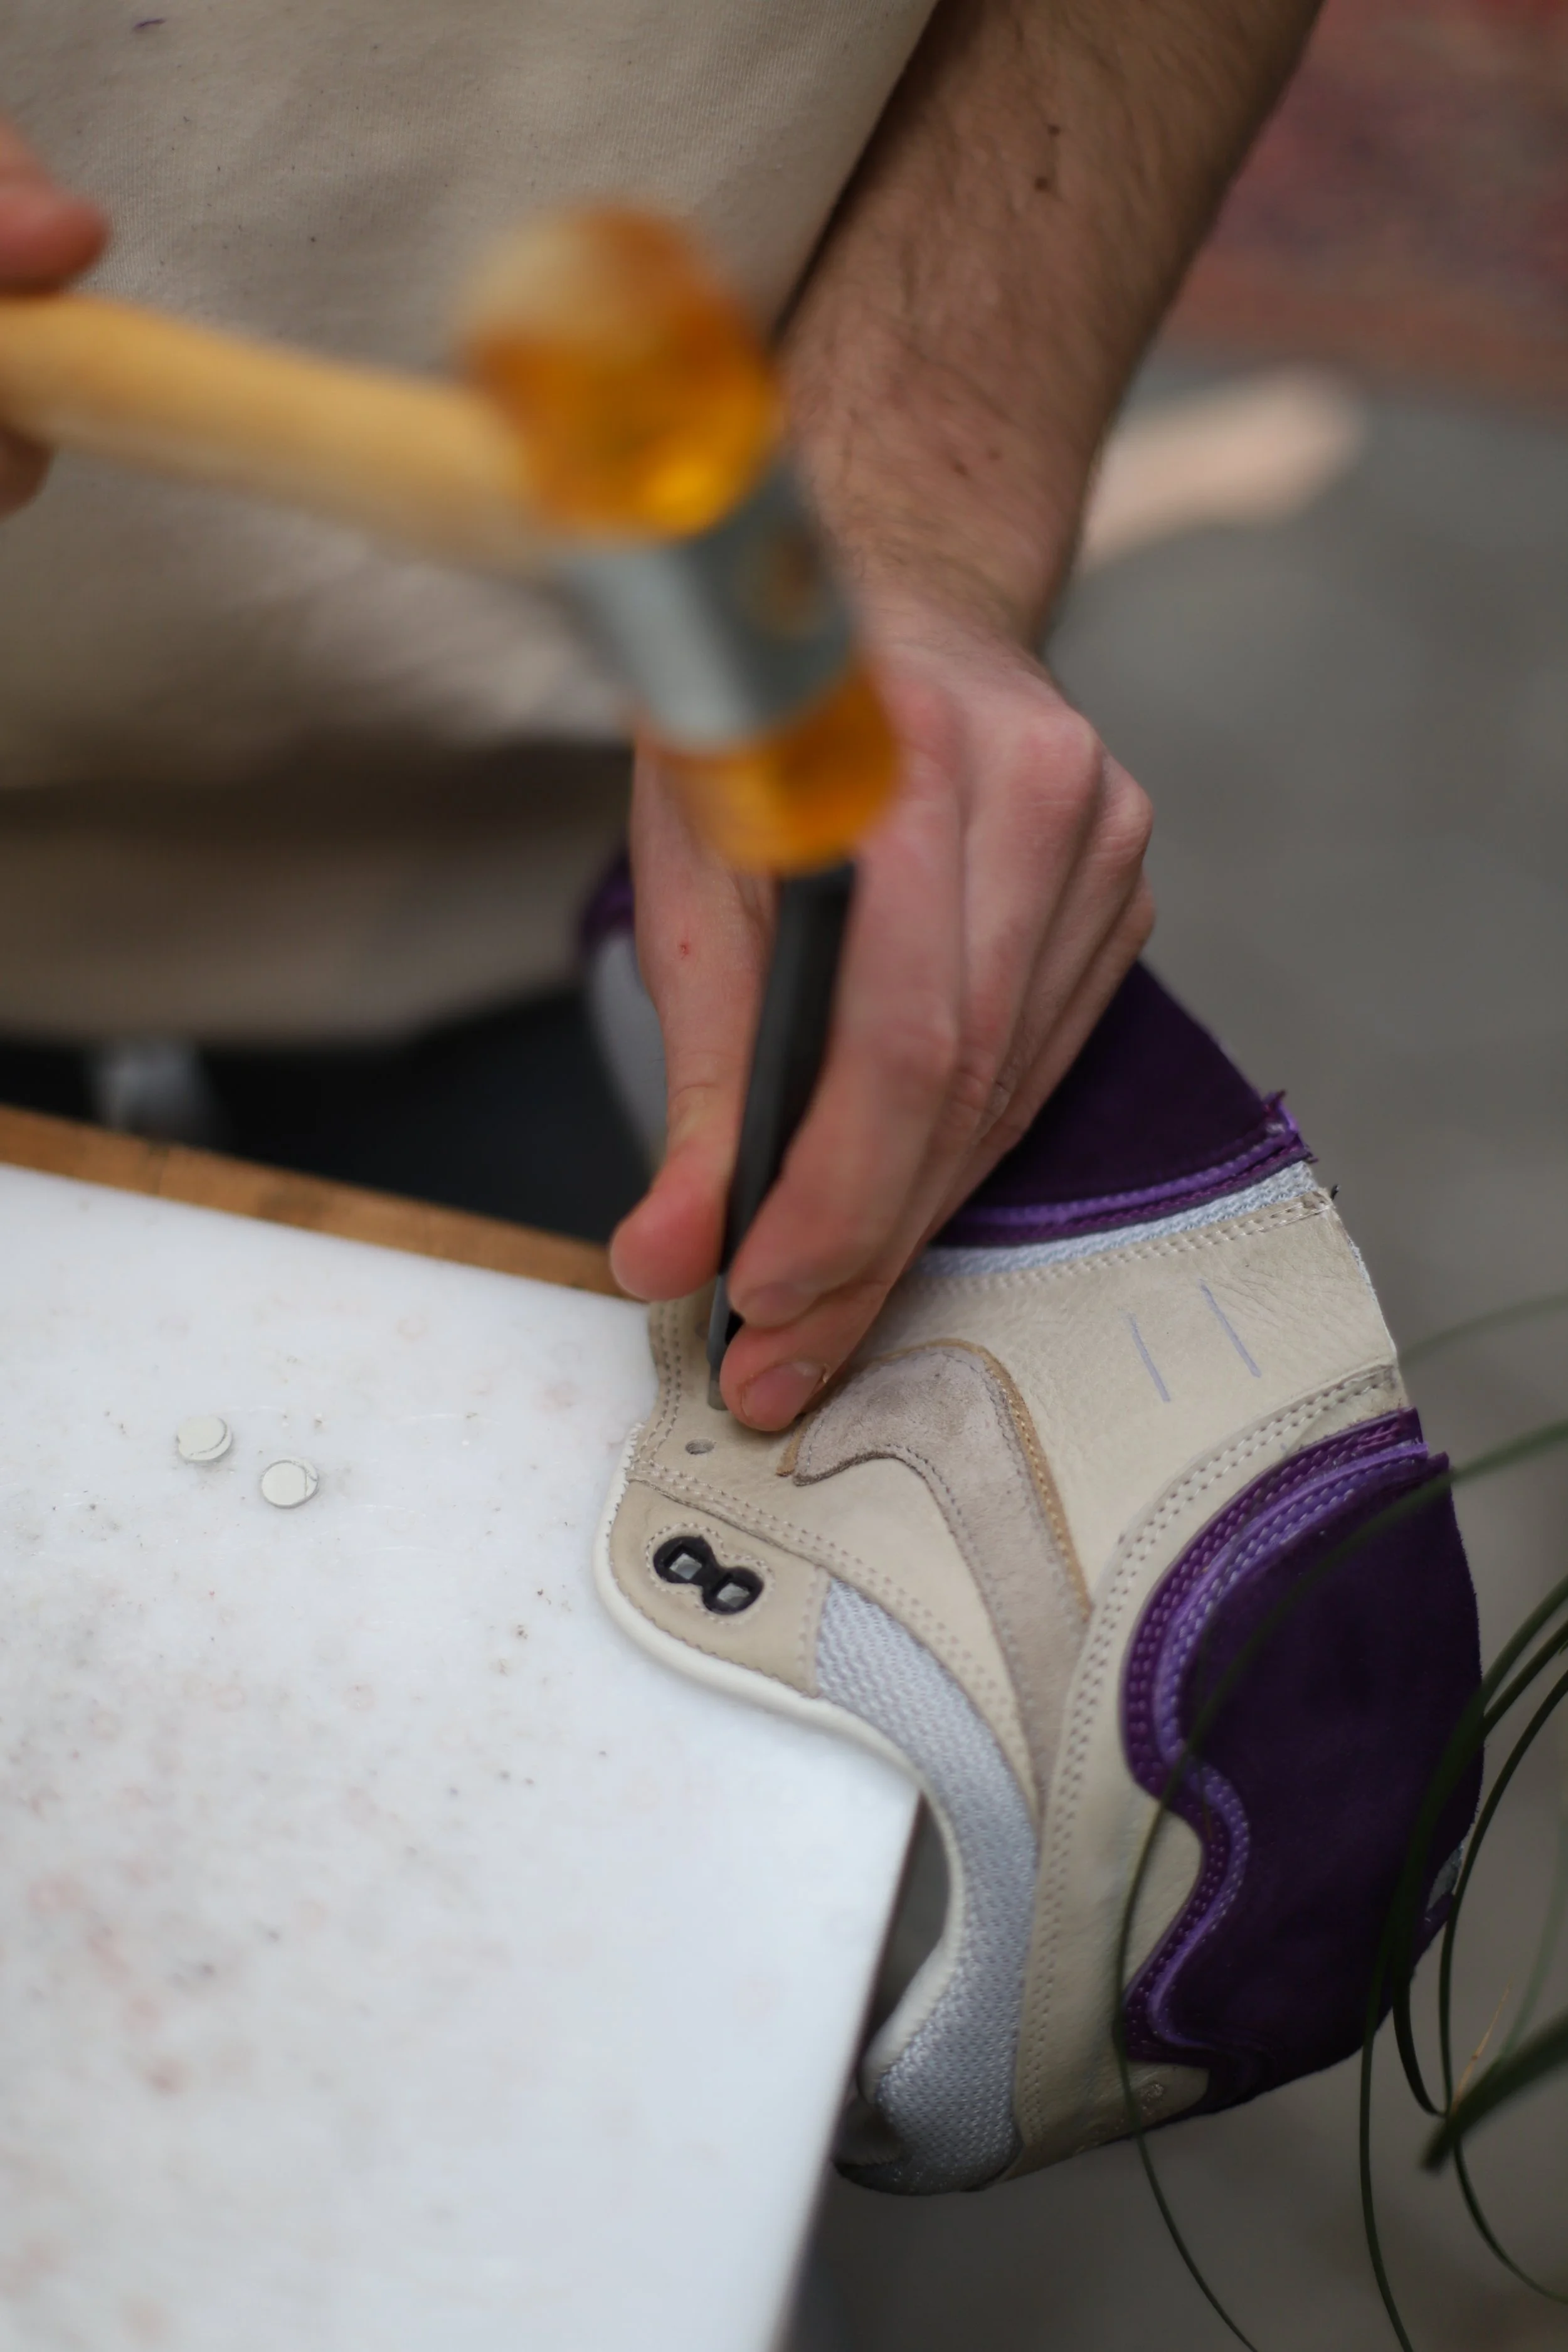
After deconstructing the shoes it was time to make the patterns. As shown below, it was most important to bring the mudguard to the right places. Besides the ‘big’ mudguard, there are two additional mudguards that need to be incorporated. Finally, the other patterns also have to be adjusted. Due to the waves of the mudguard, some pieces on the patterns are superfluous. By removing these superfluous pieces, the shoe remains streamlined. As you can see in the image below, the quarter has also been adjusted for the wave.
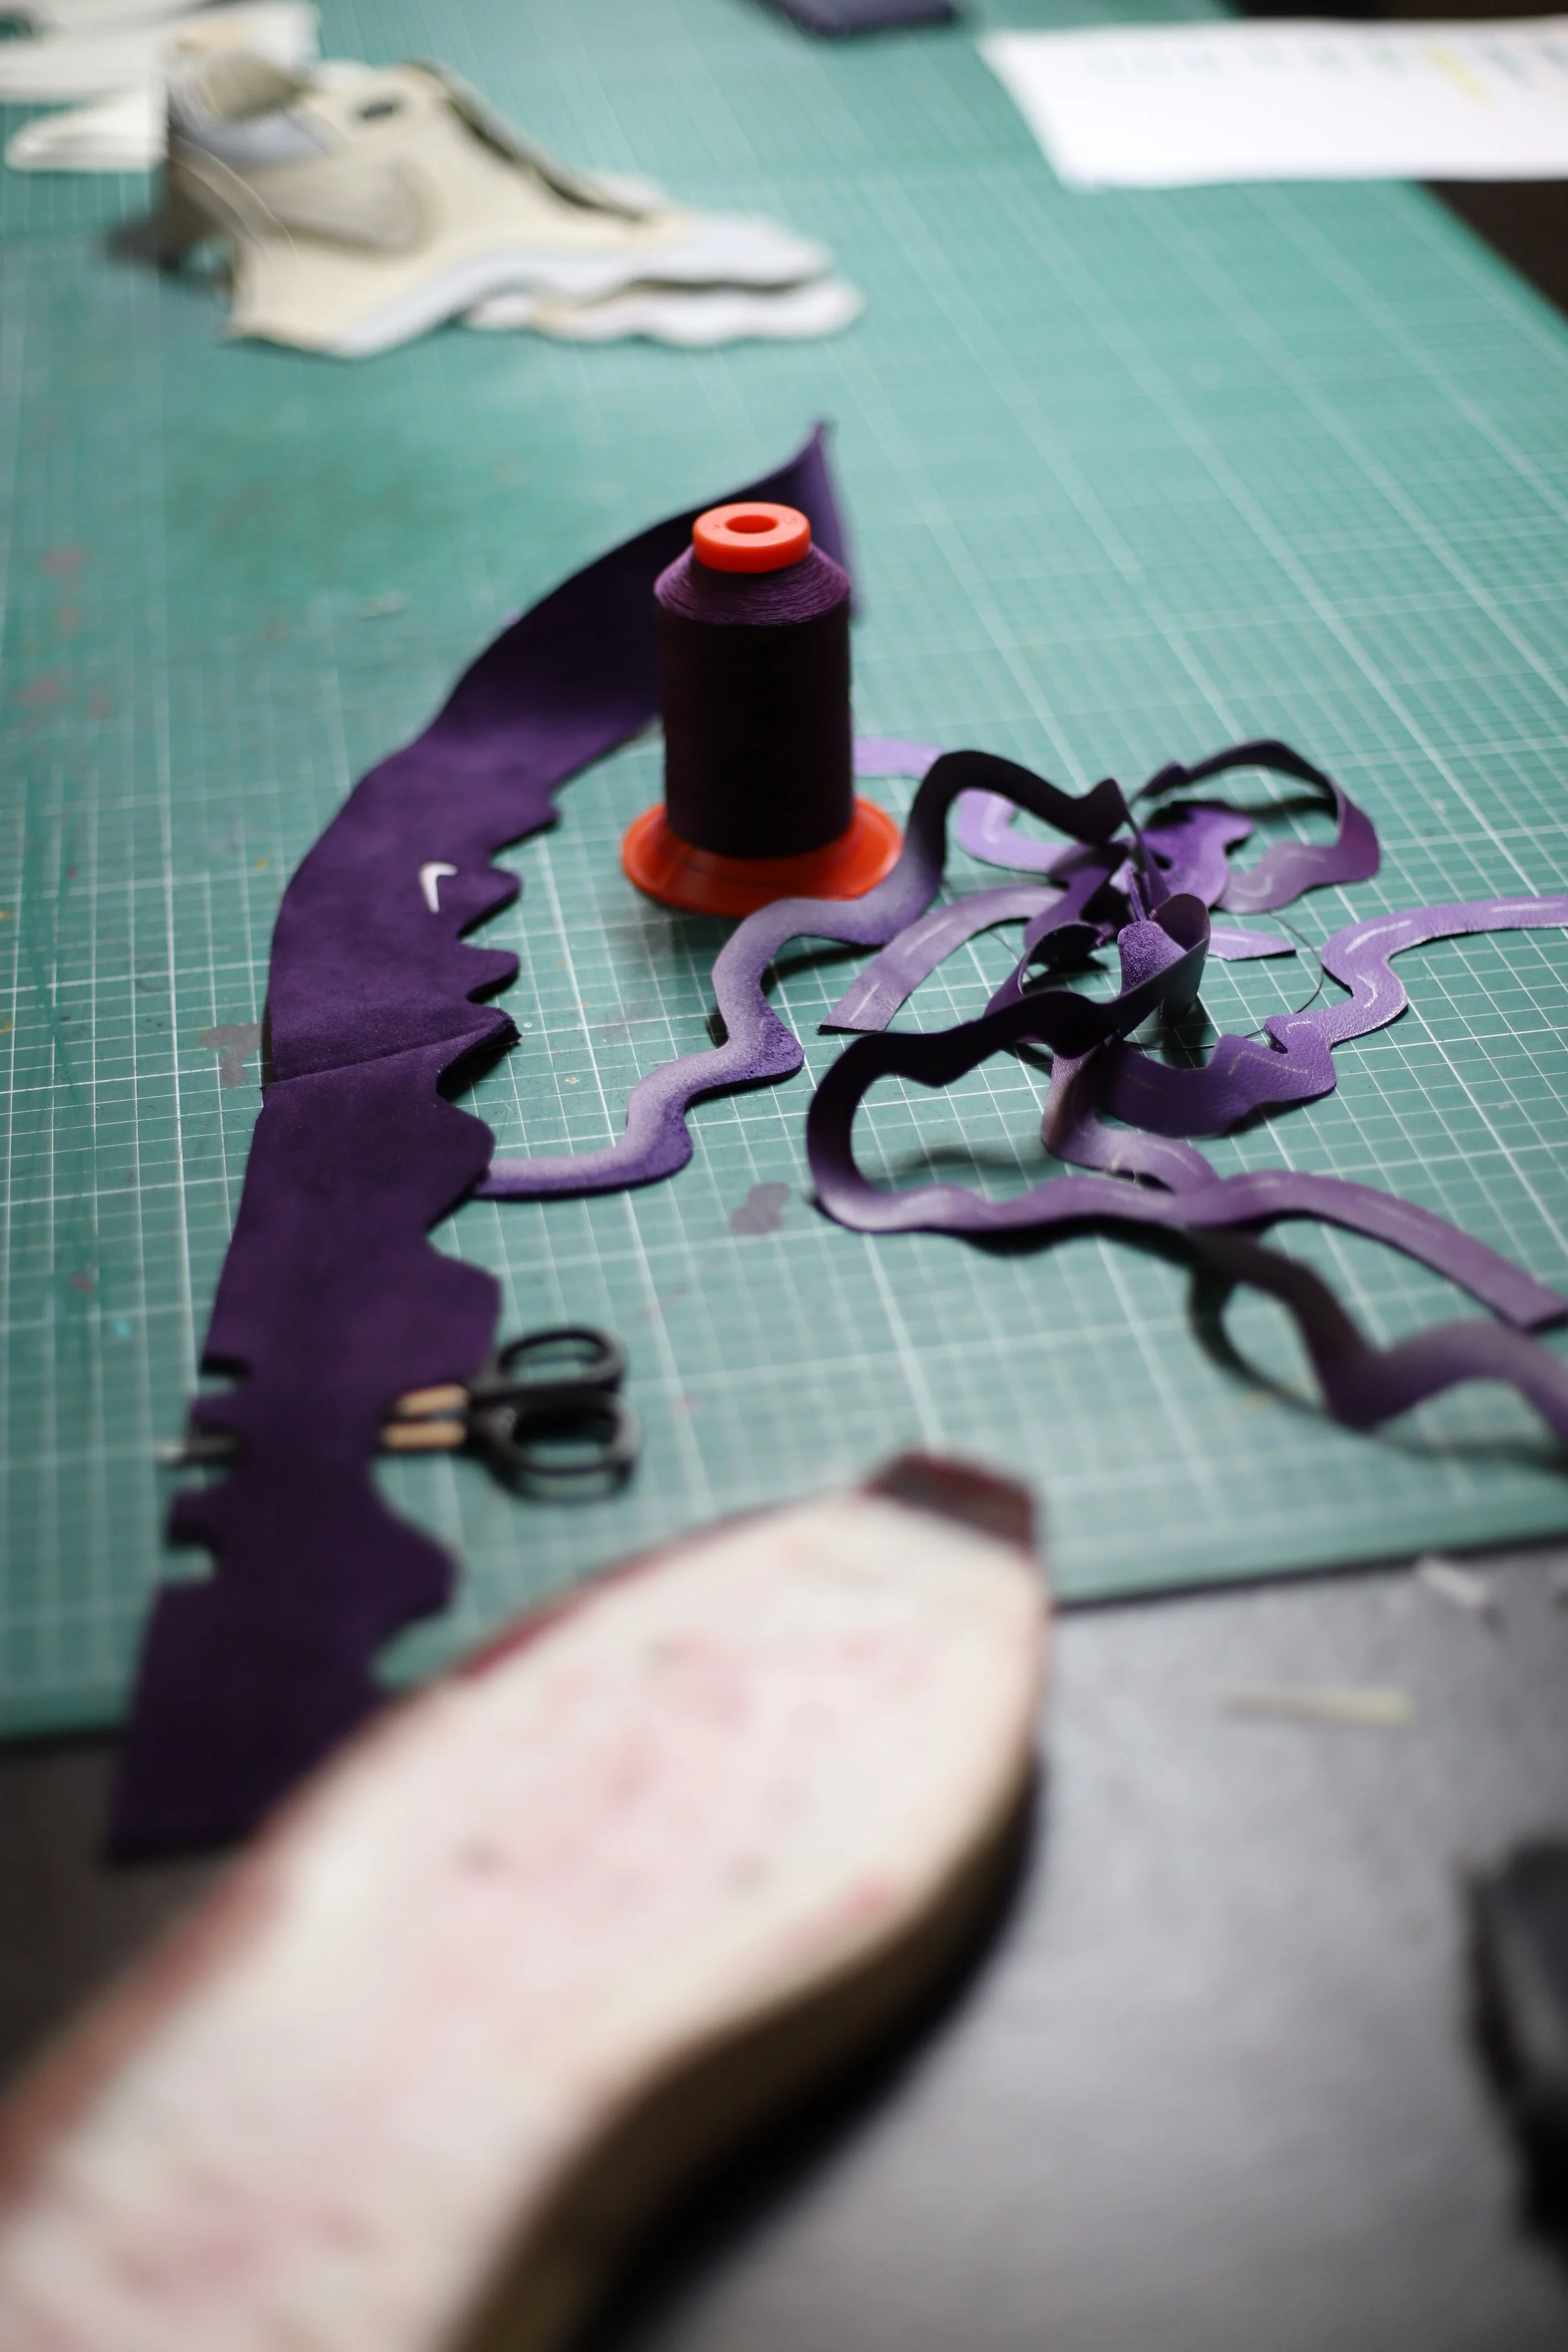
Now all the patterns are finished, it is time to cut out the pieces in the right fabrics. We only use the best leathers.
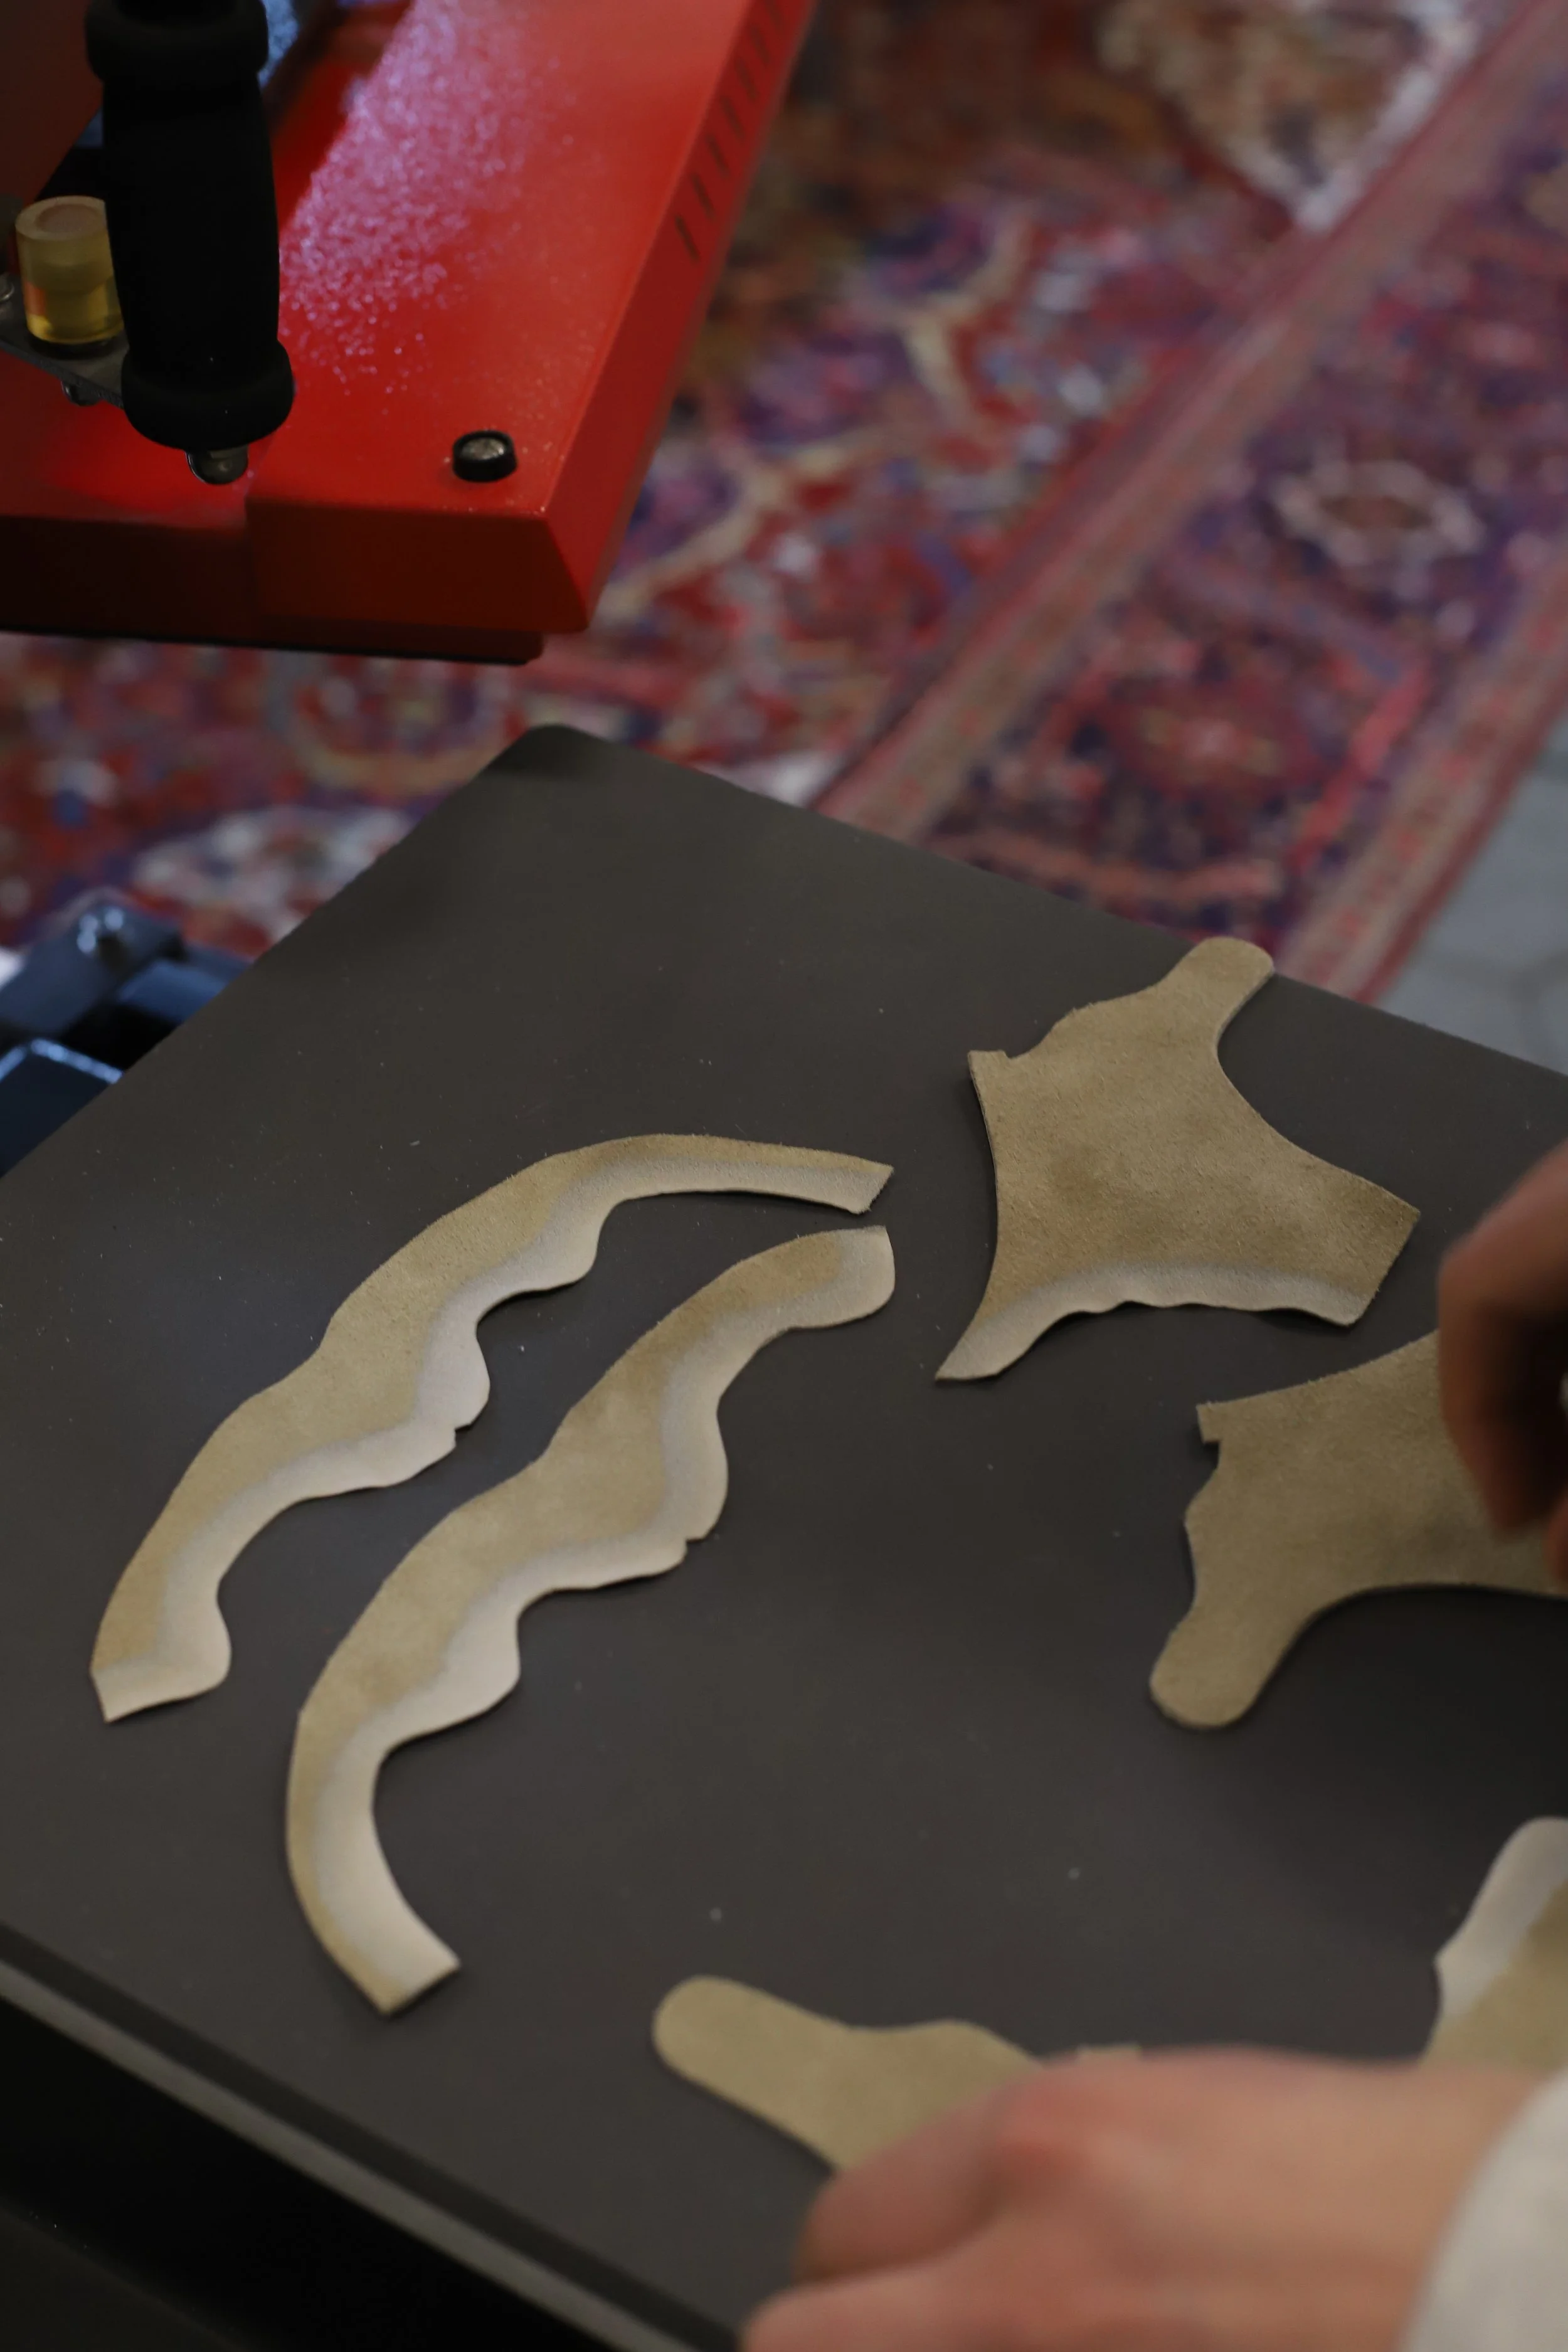
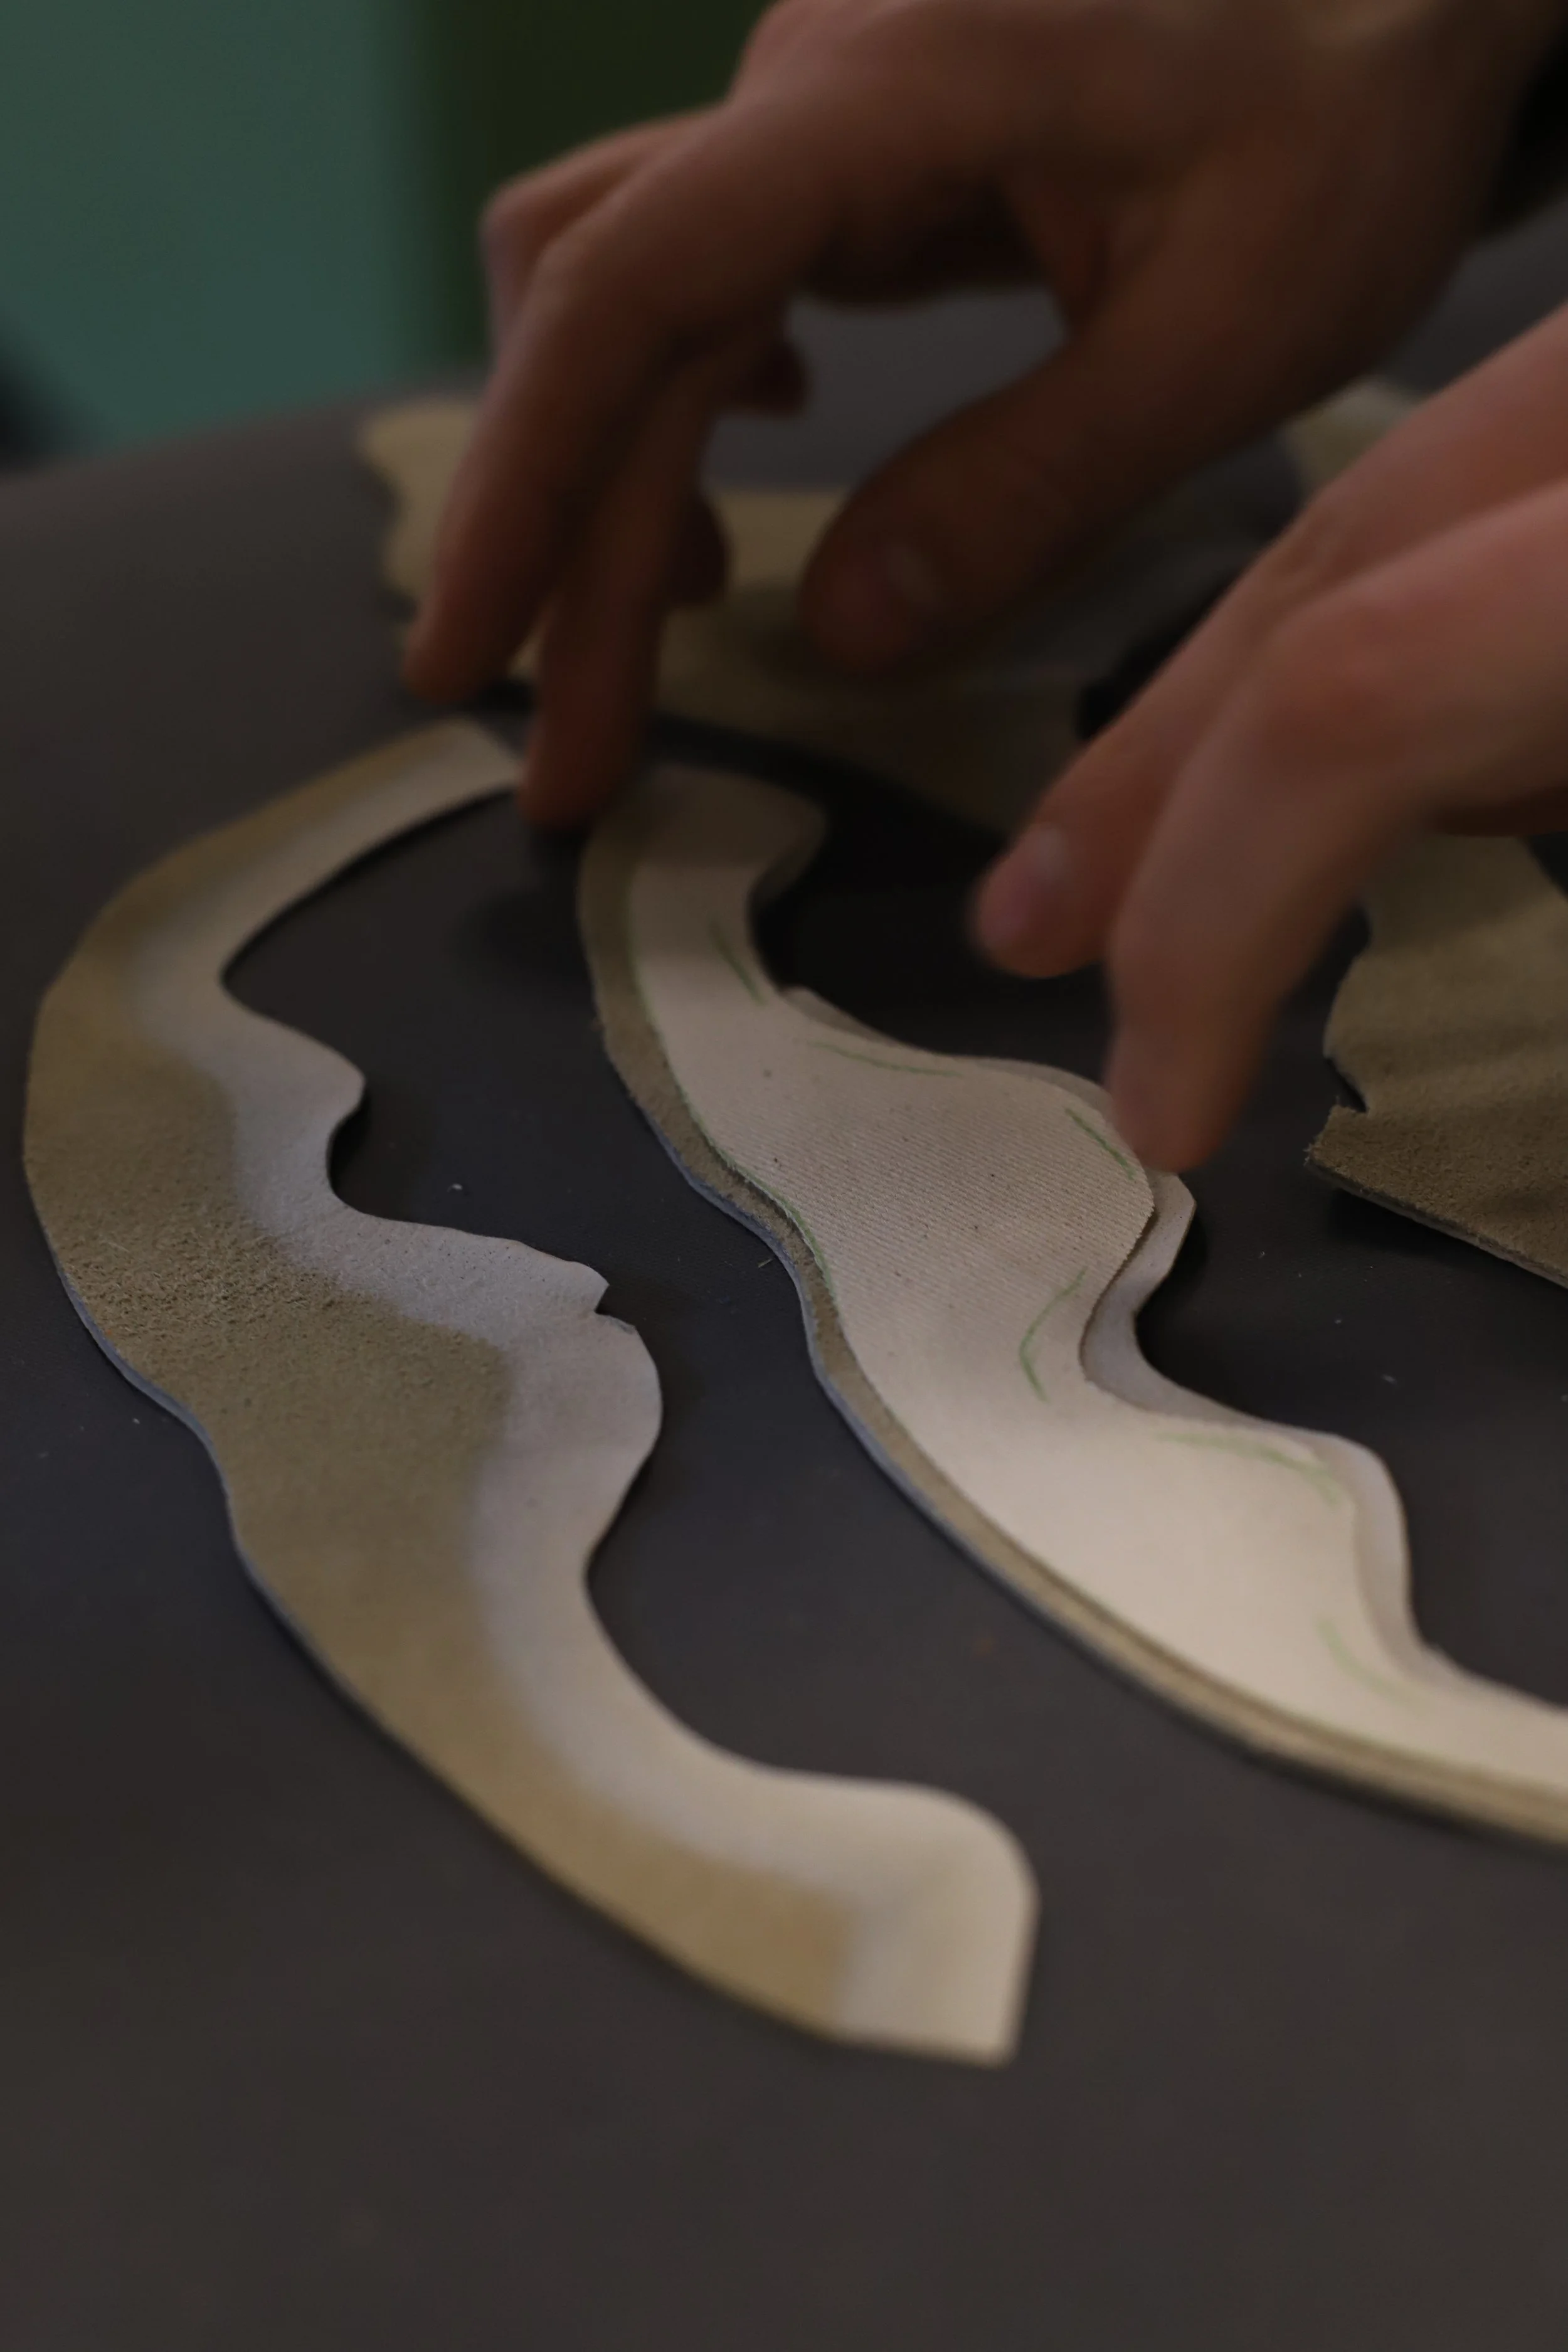
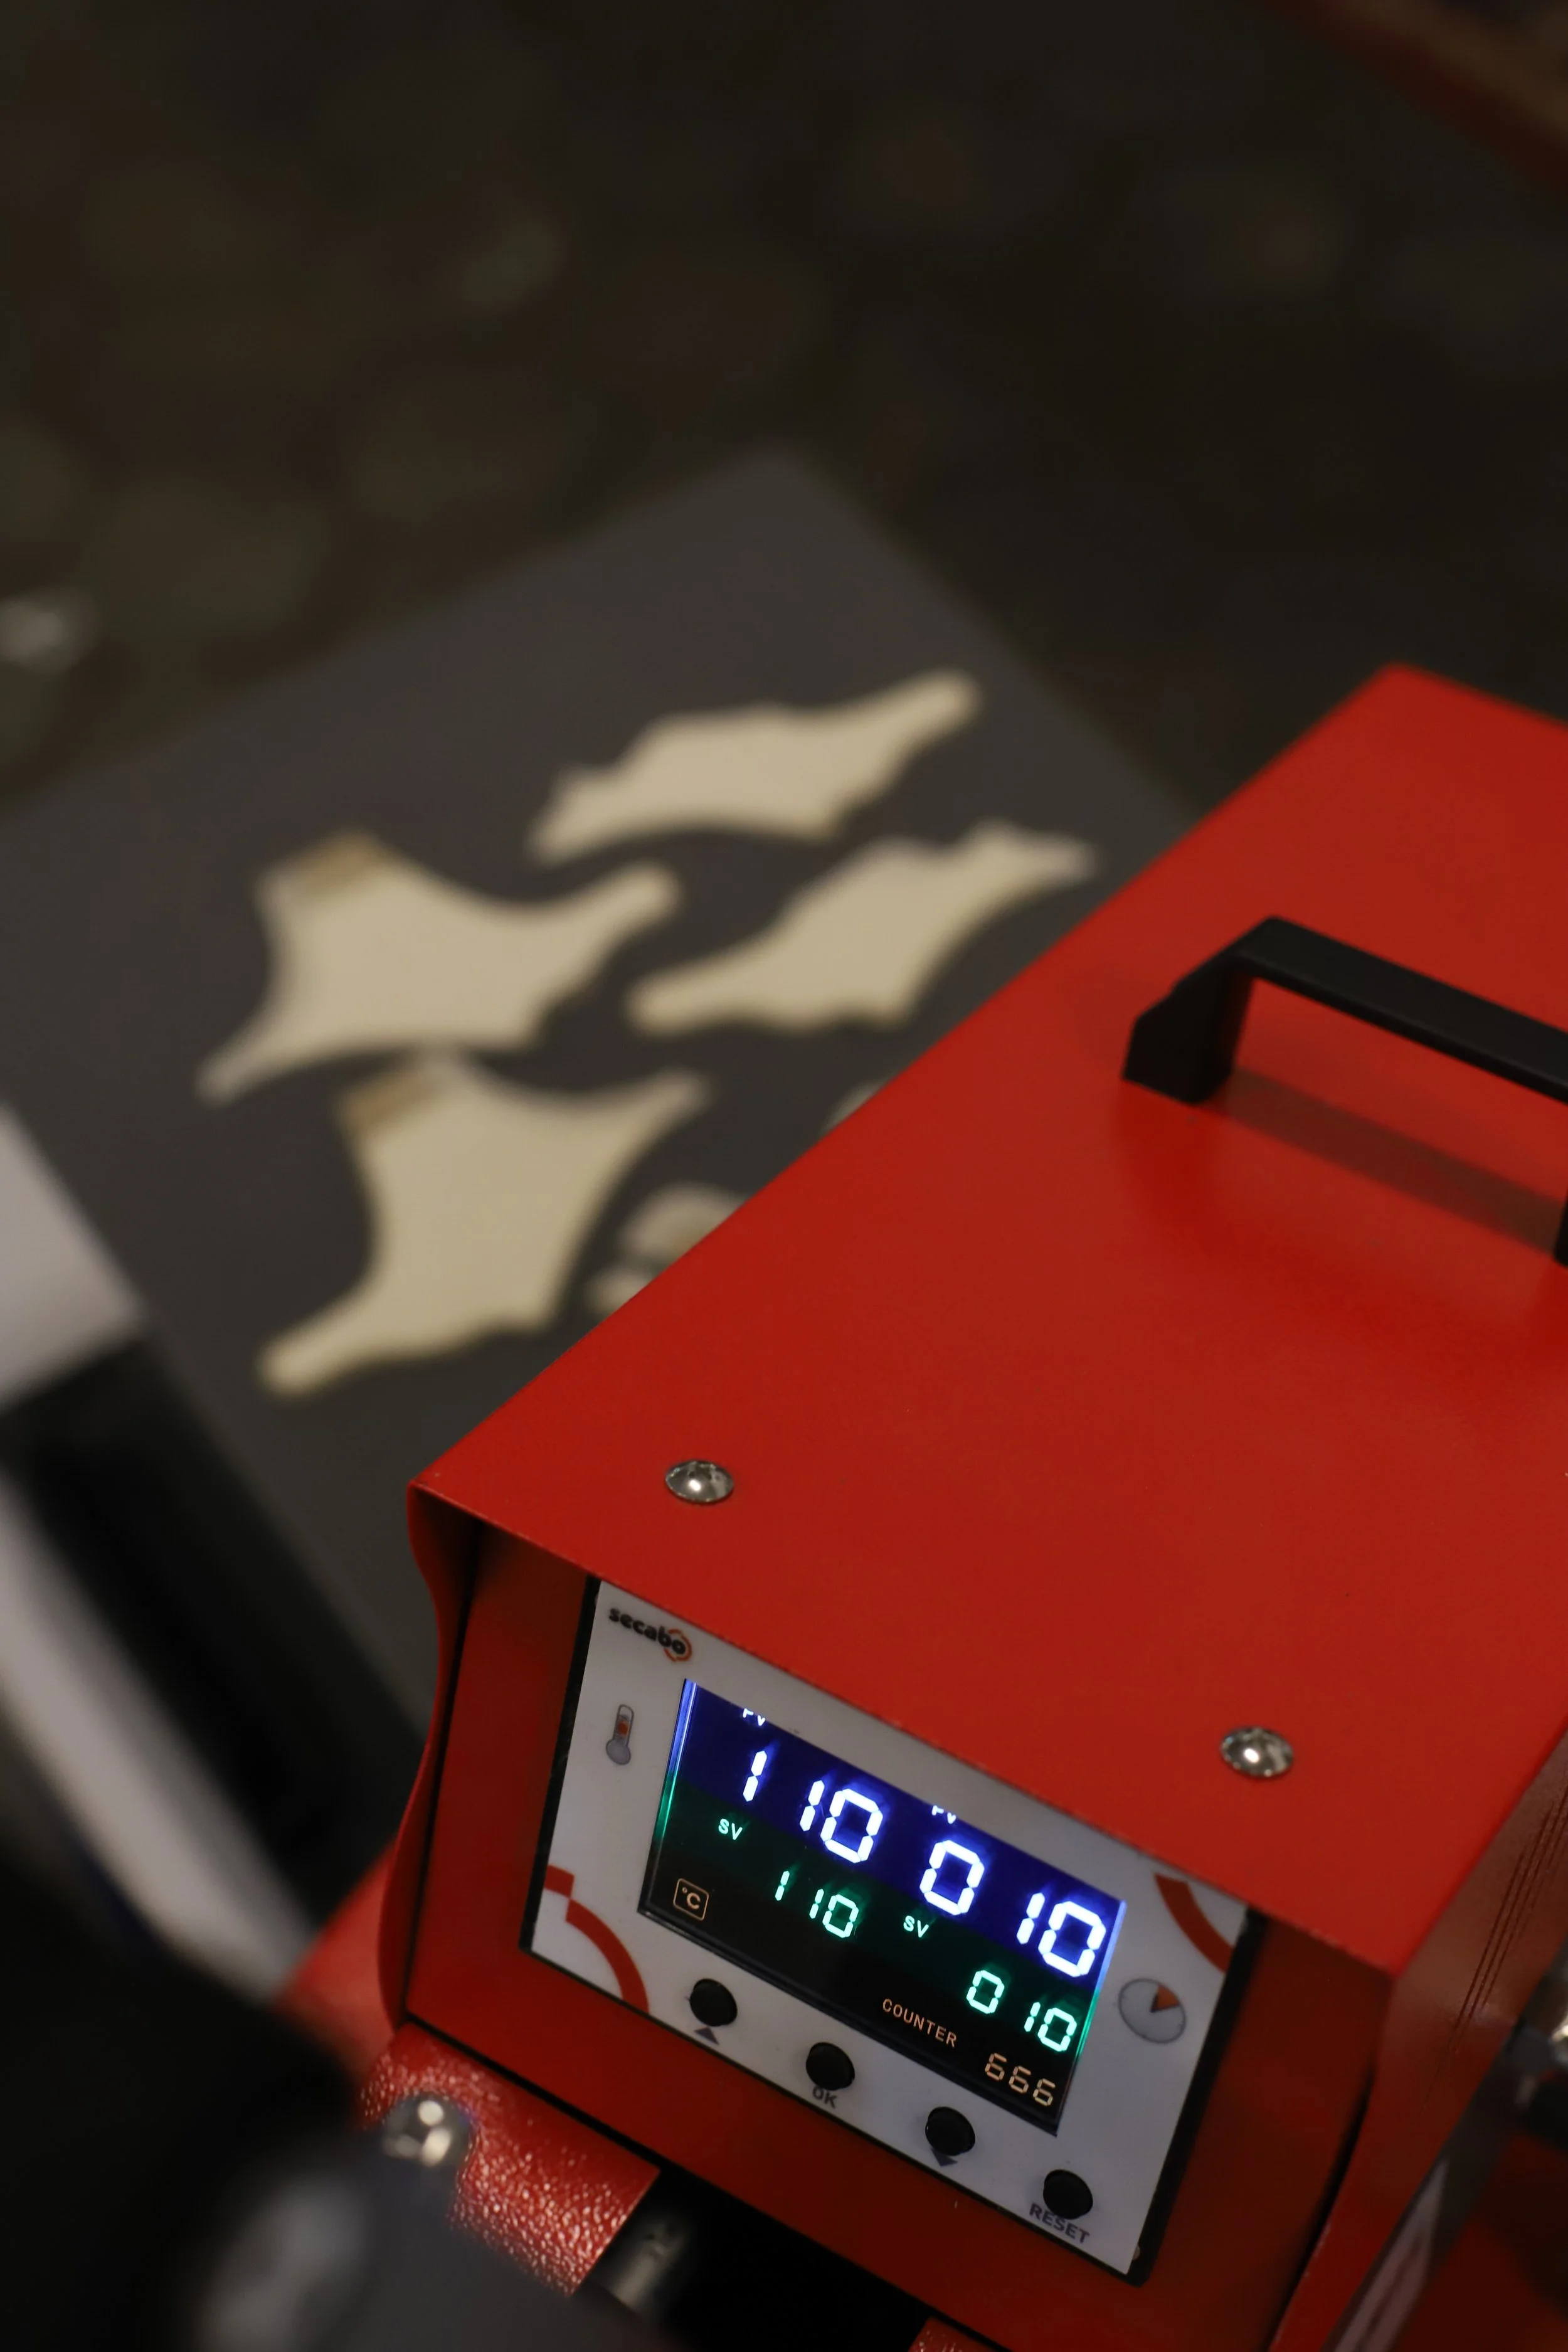
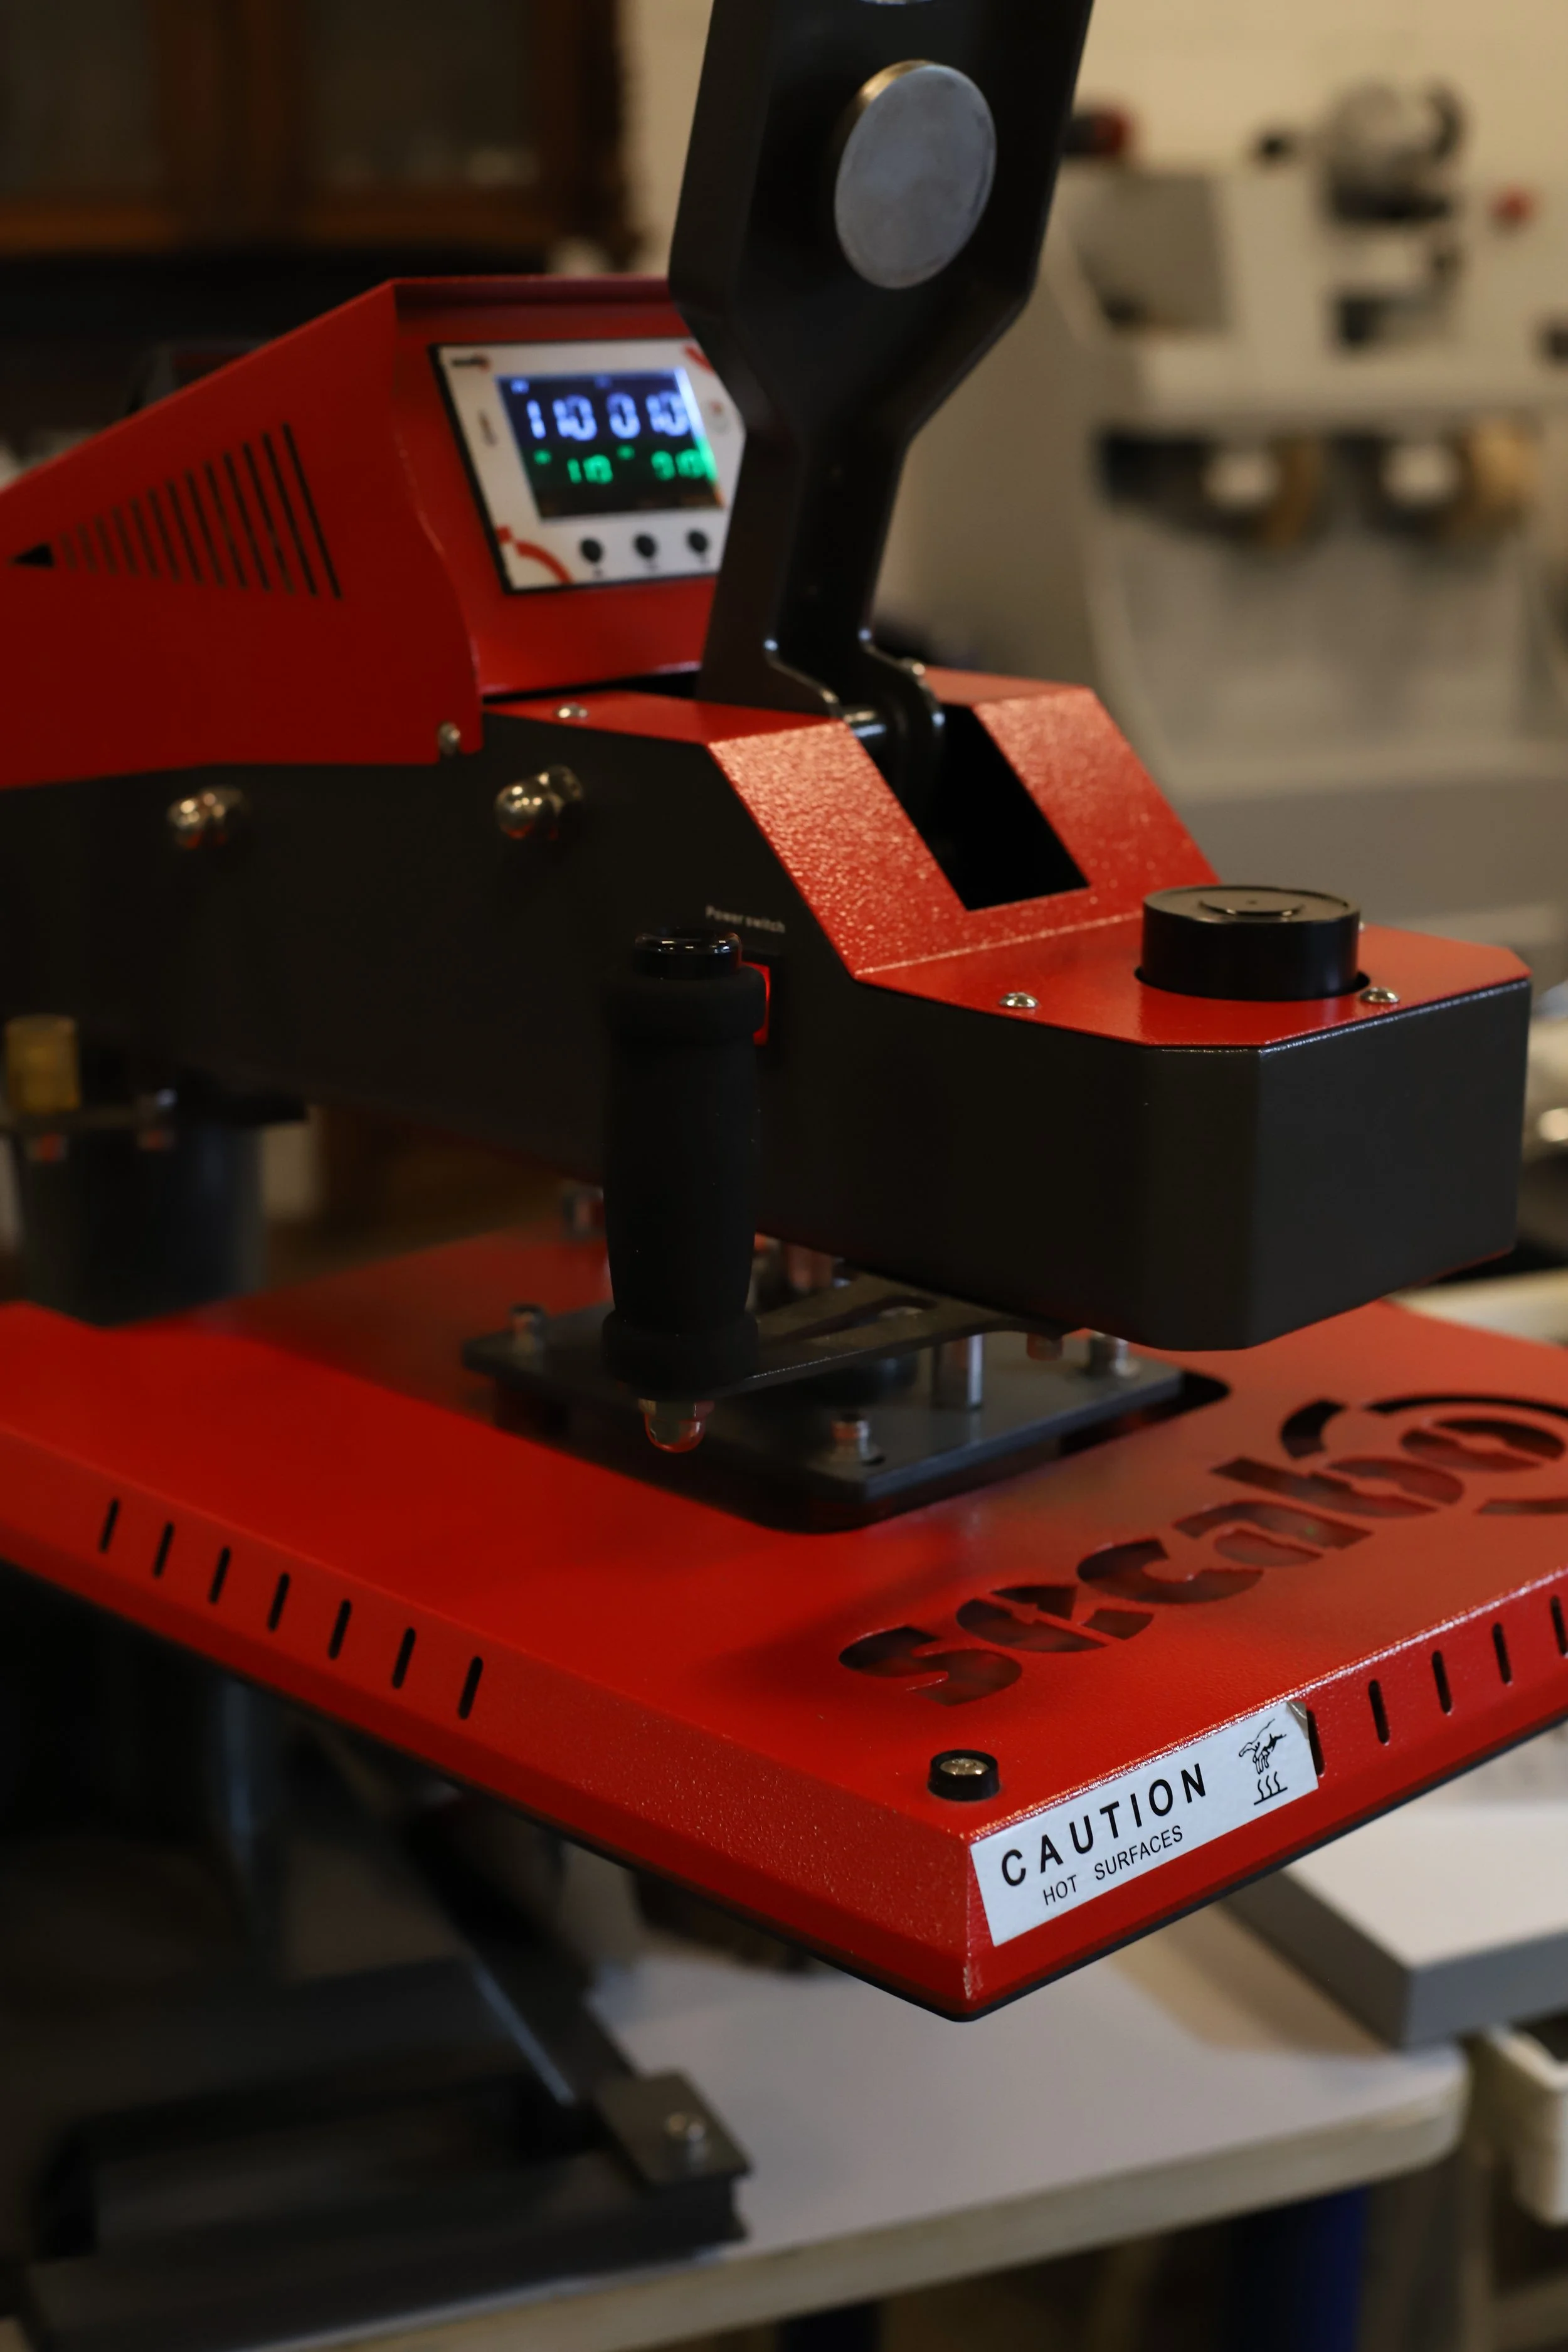
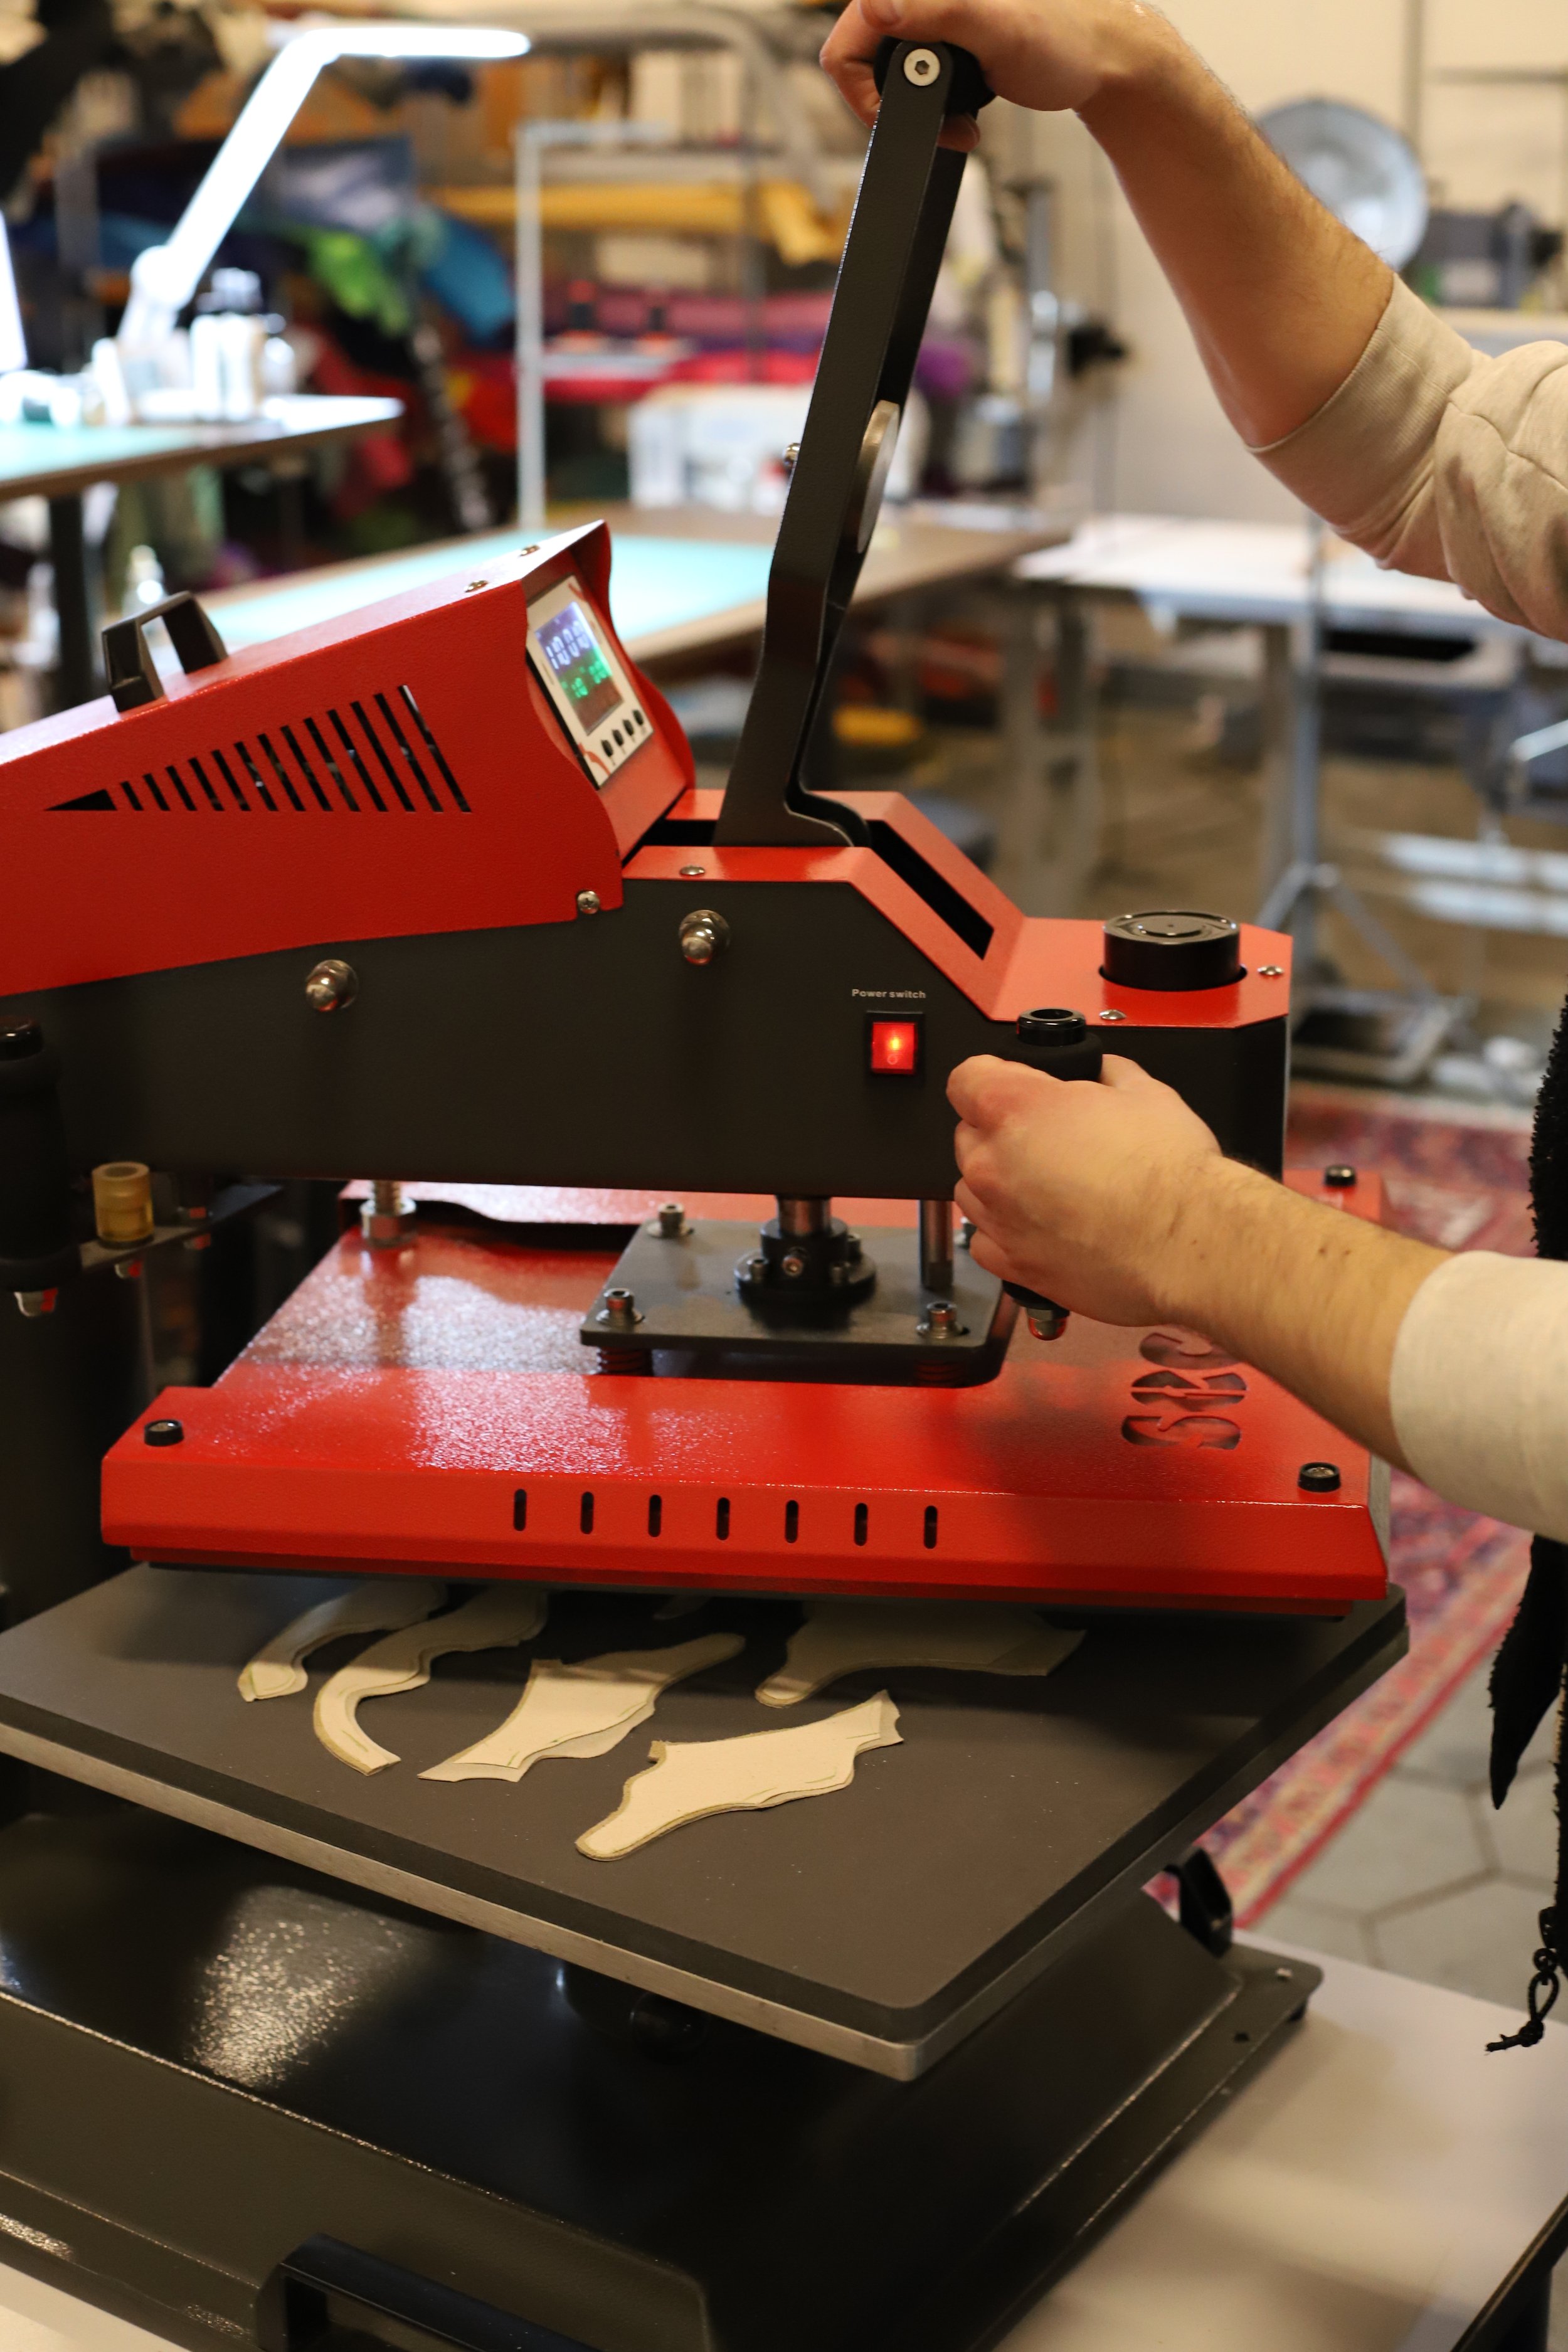
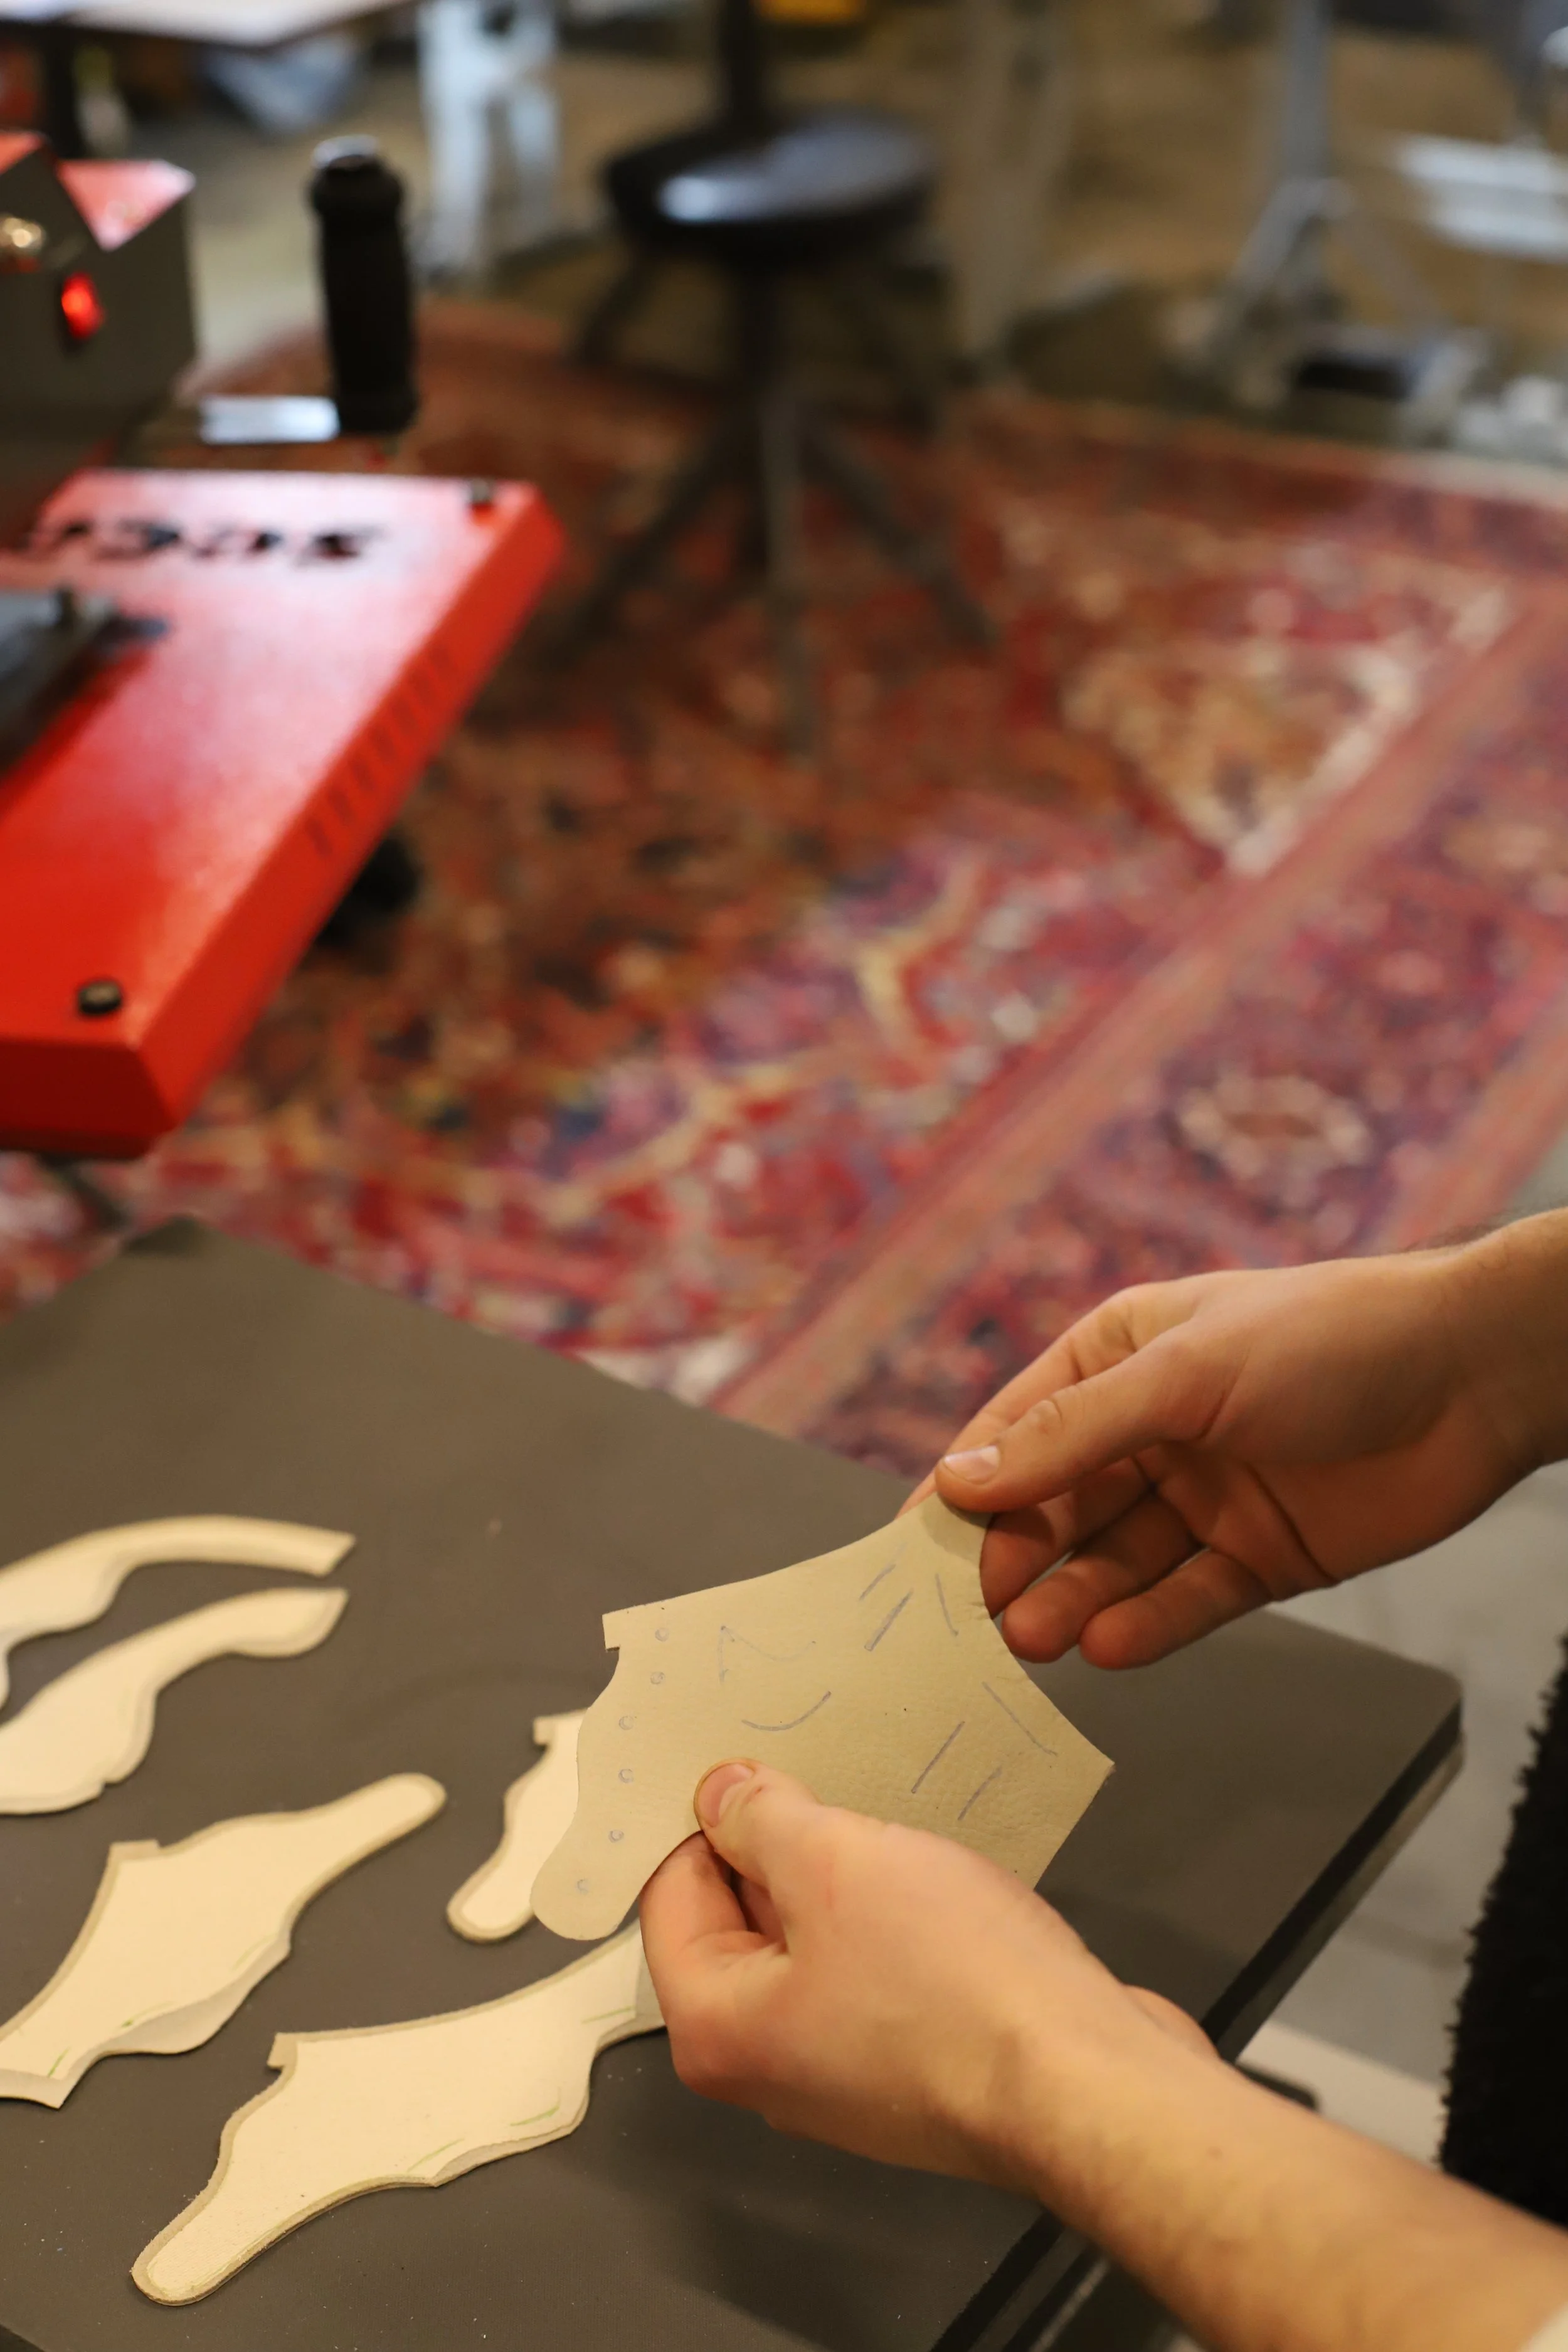
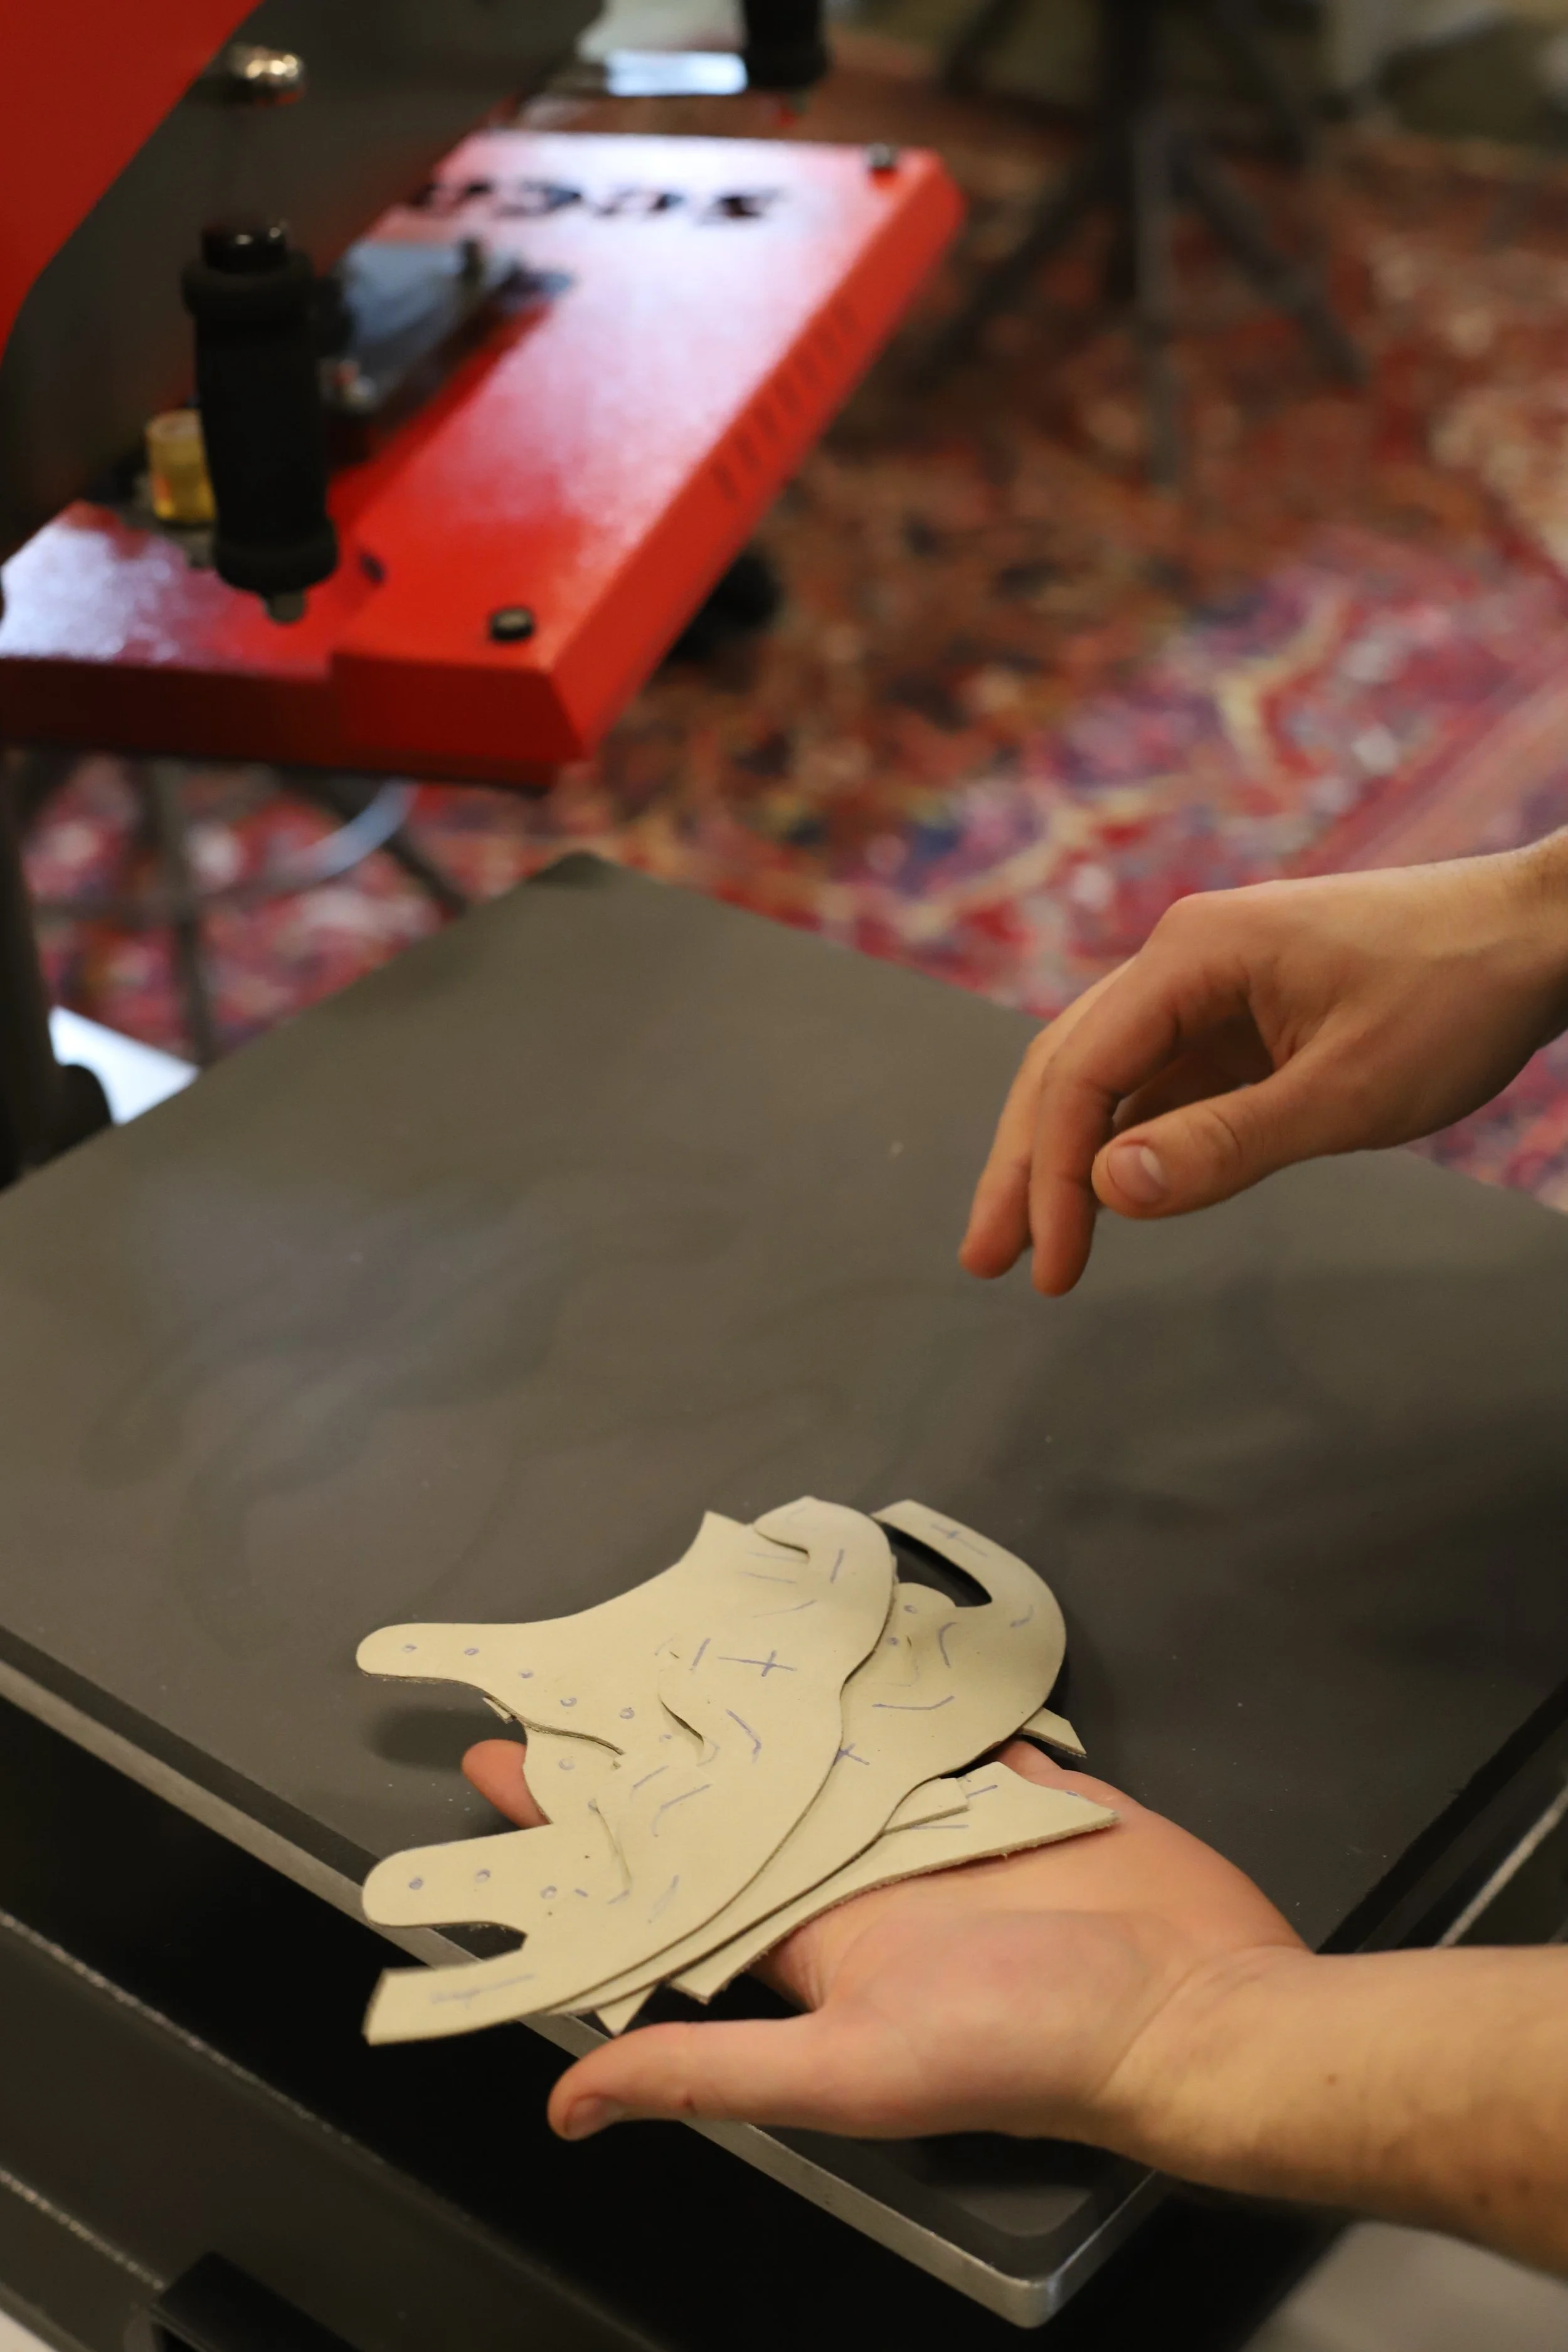
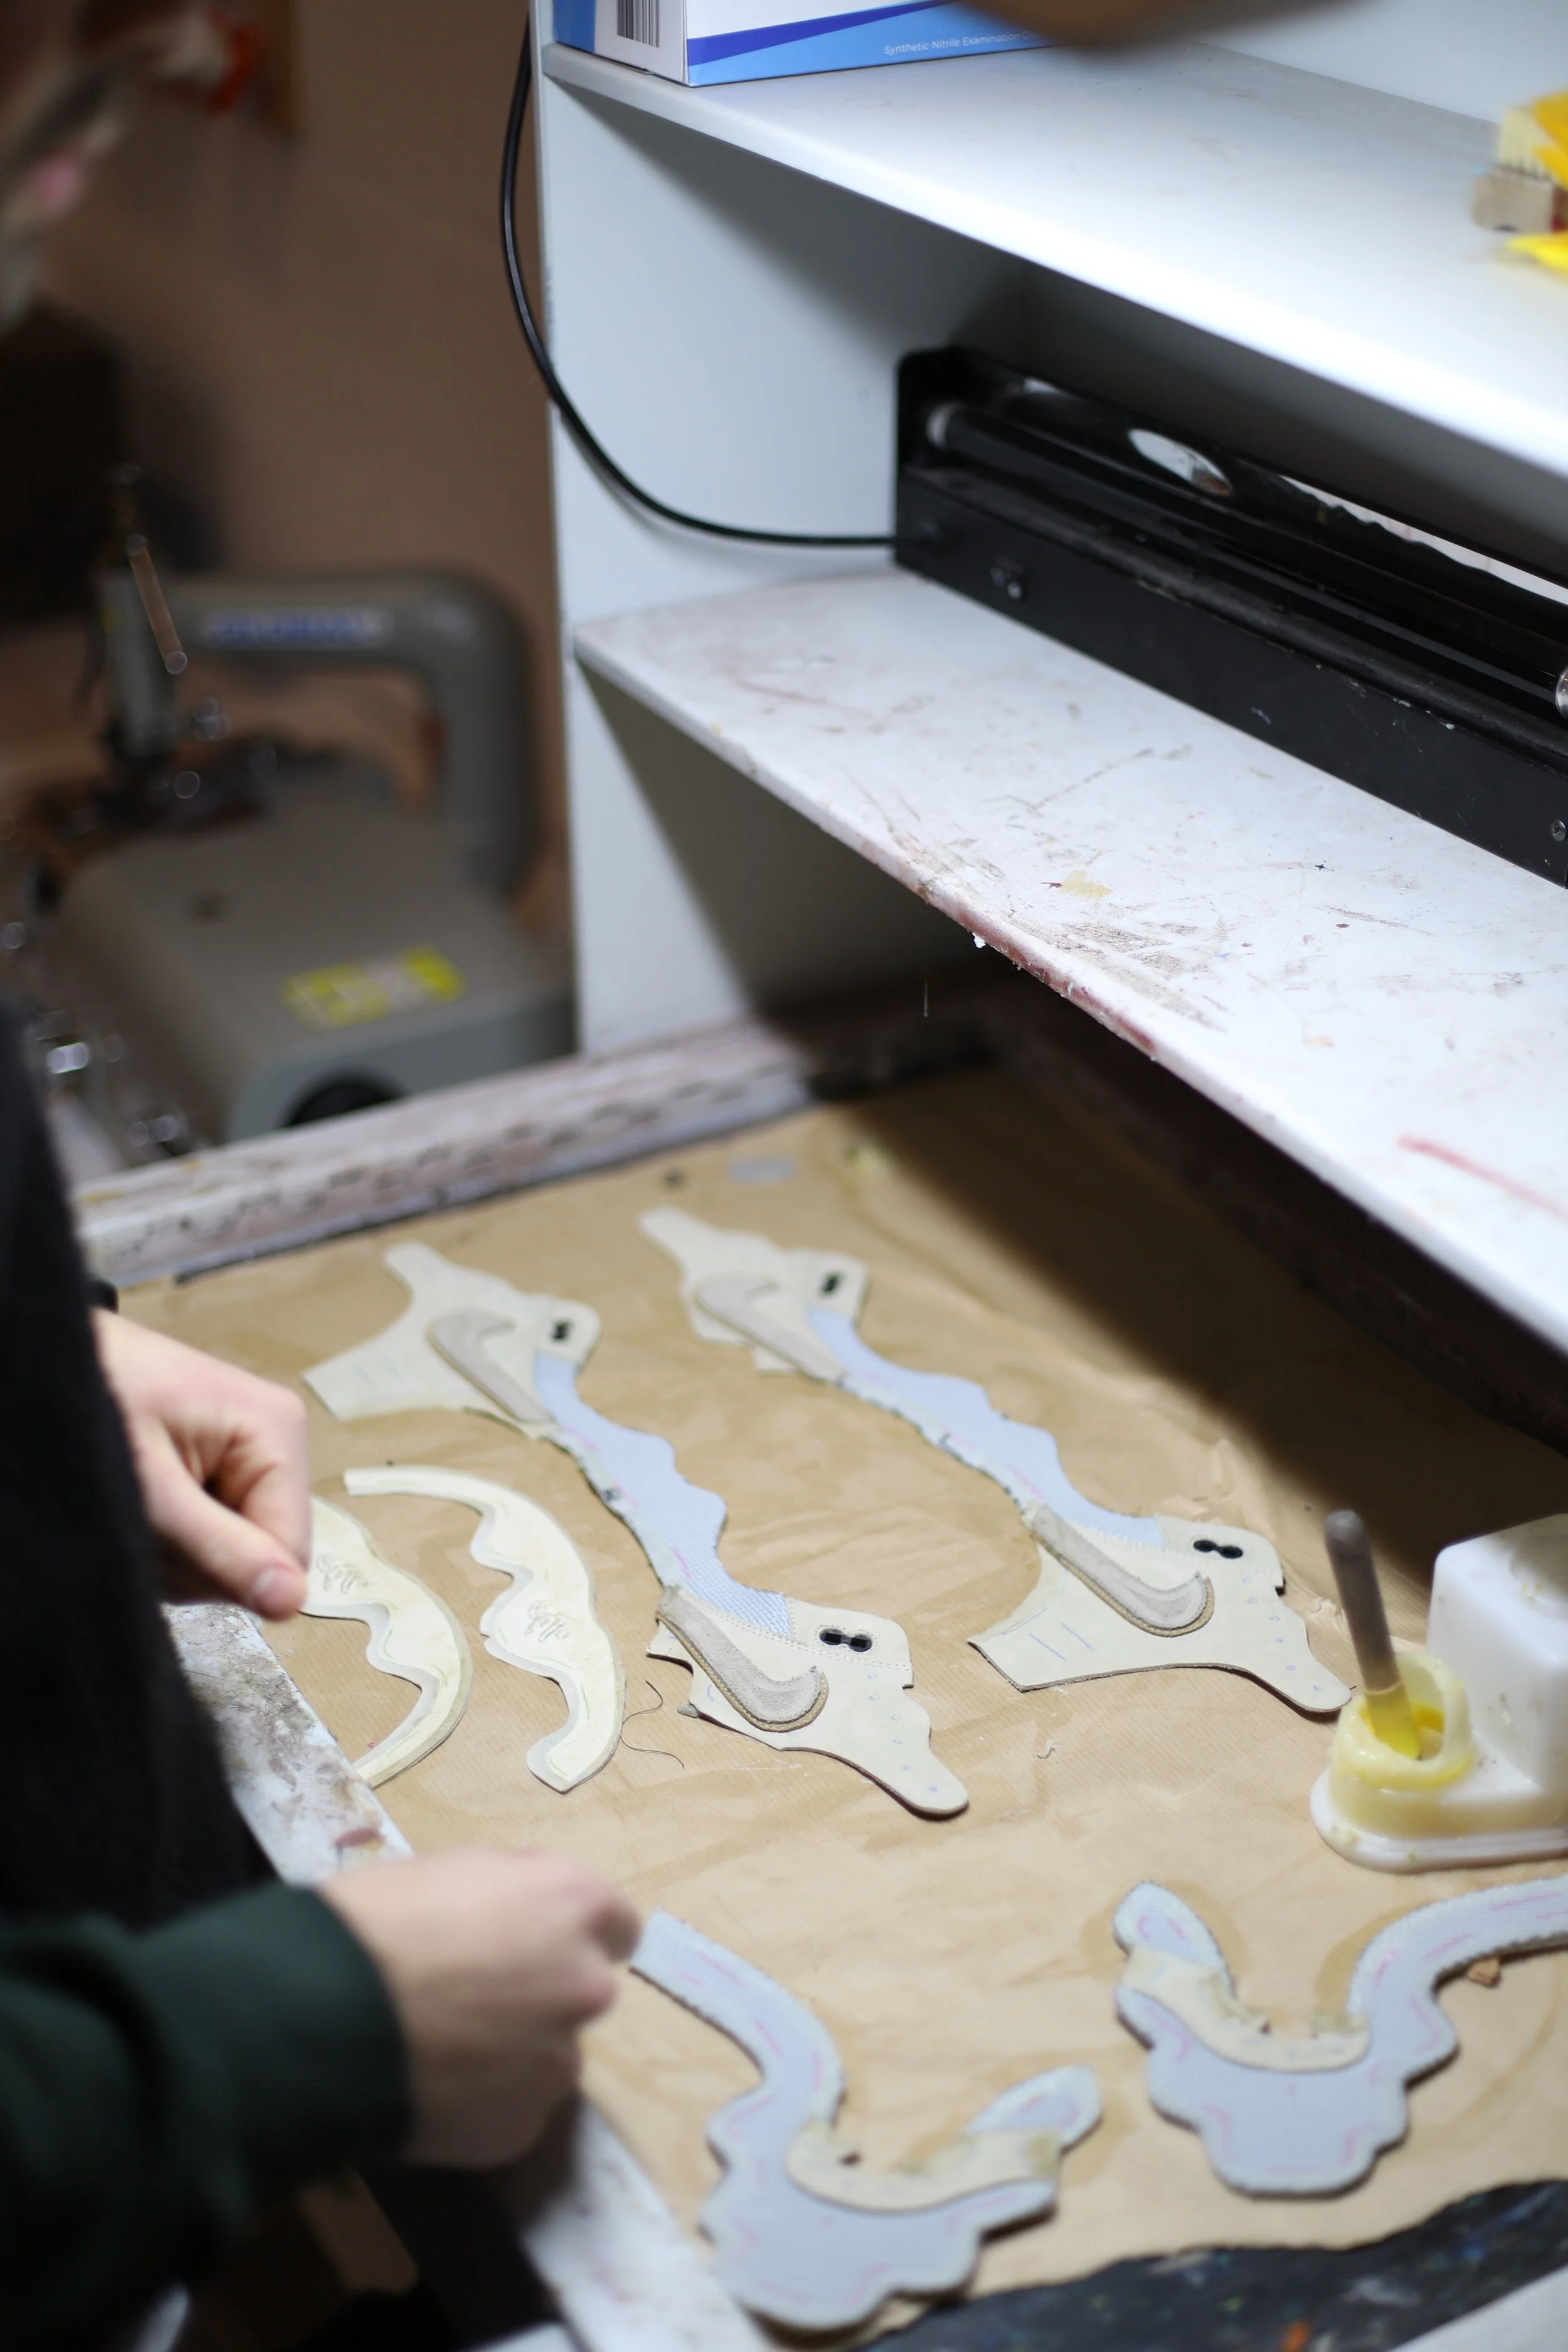
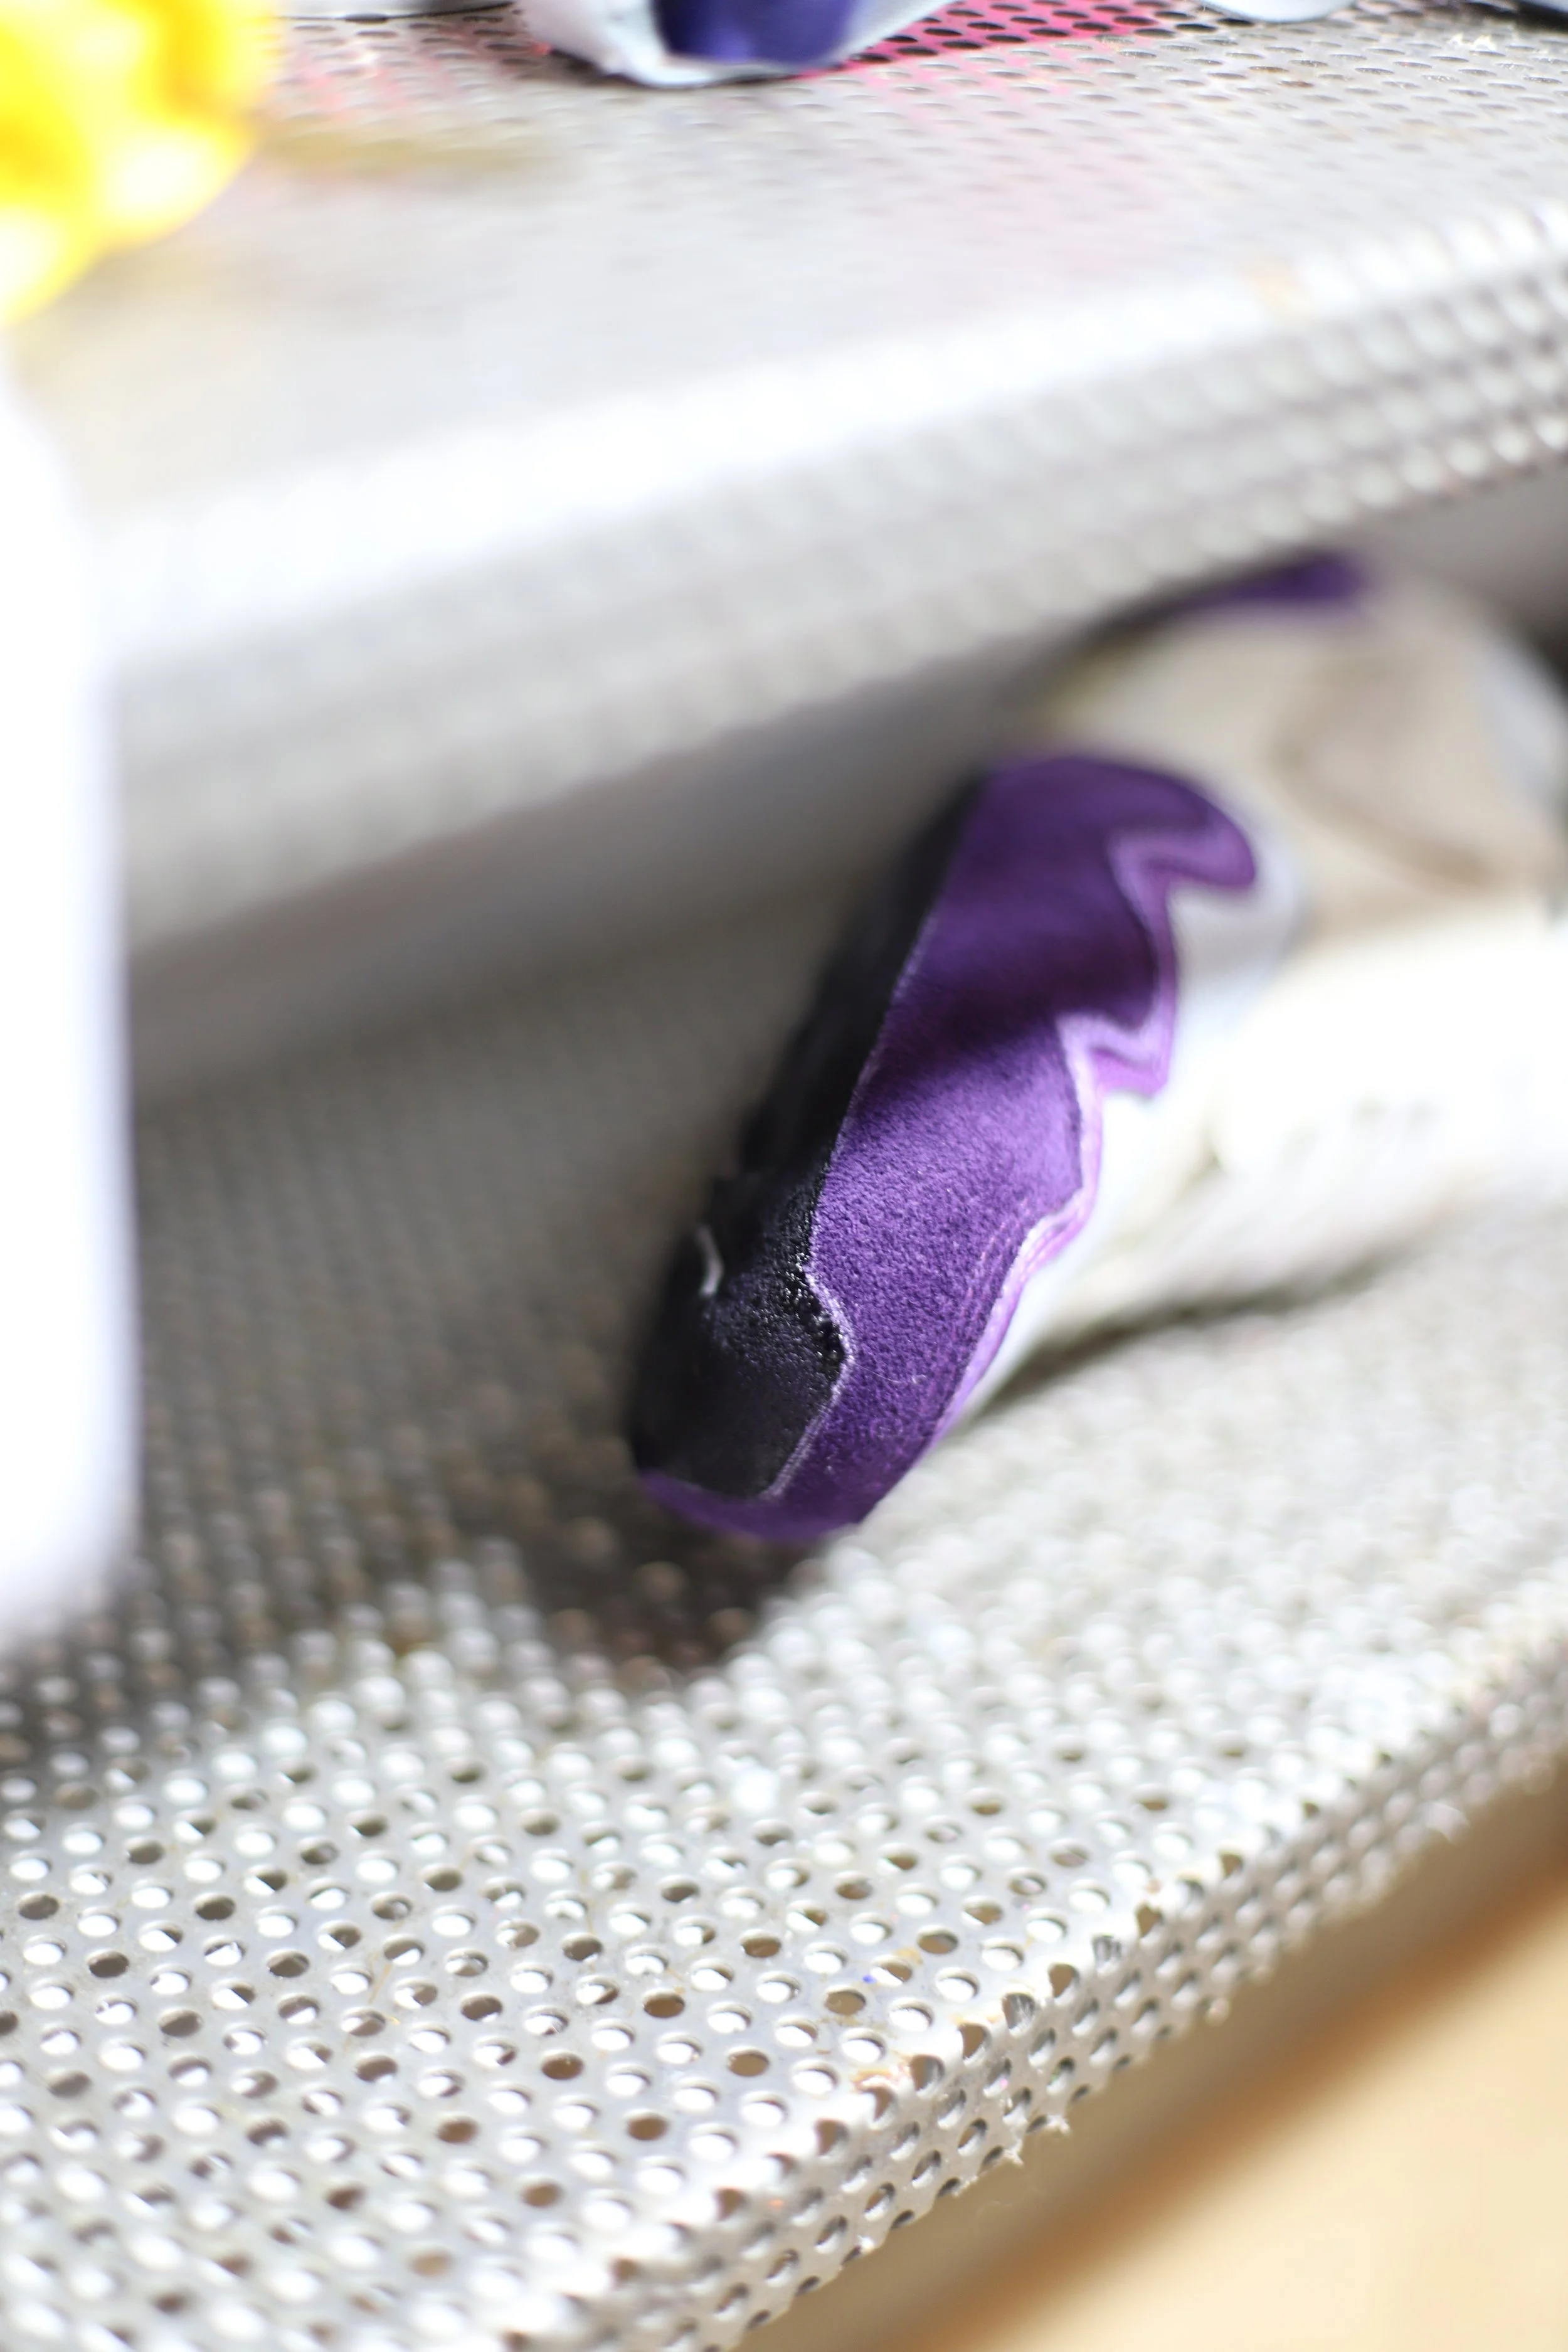
We reinforce all our patterns. This way the fabrics won’t stretch out and keep the same nice shape. To reinforce the fabrics, we use some special paper that we put on the pattern. As shown below, those papers are a little bit smaller. When all the papers lie well, it’s time to bring some heat. With the heat press, we make sure that the reinforcement paper is in the fabric and does not come loose.
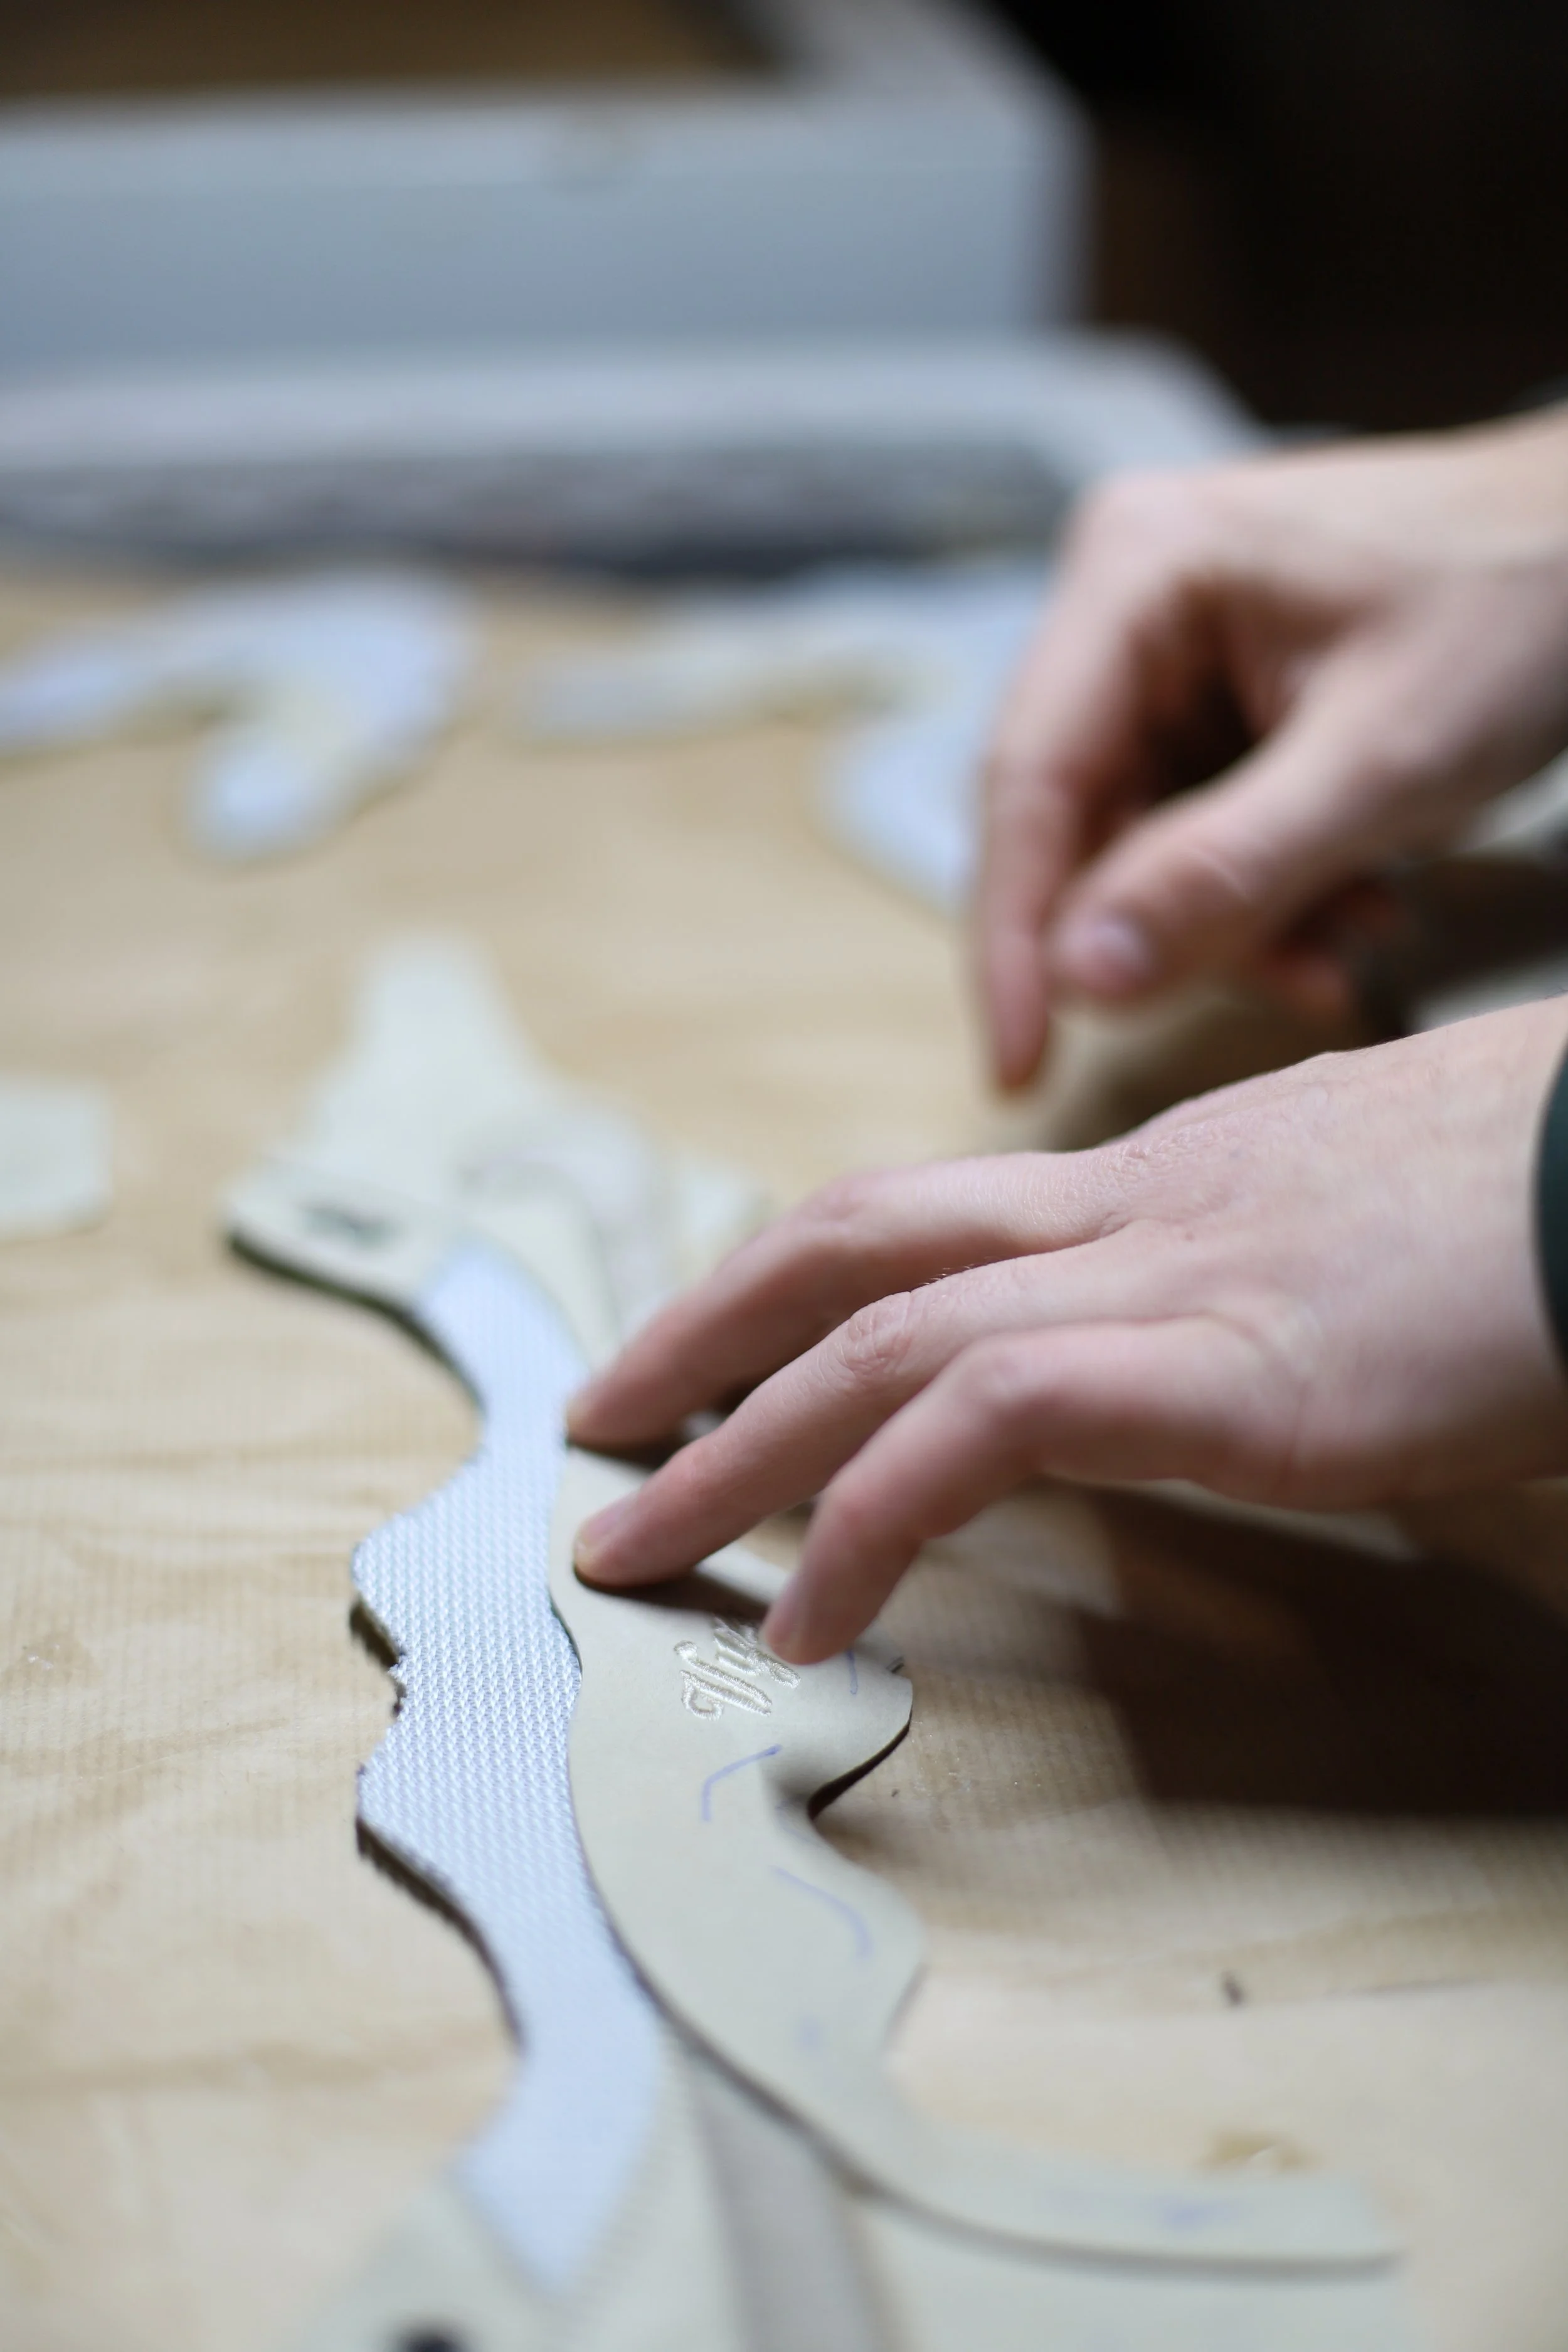
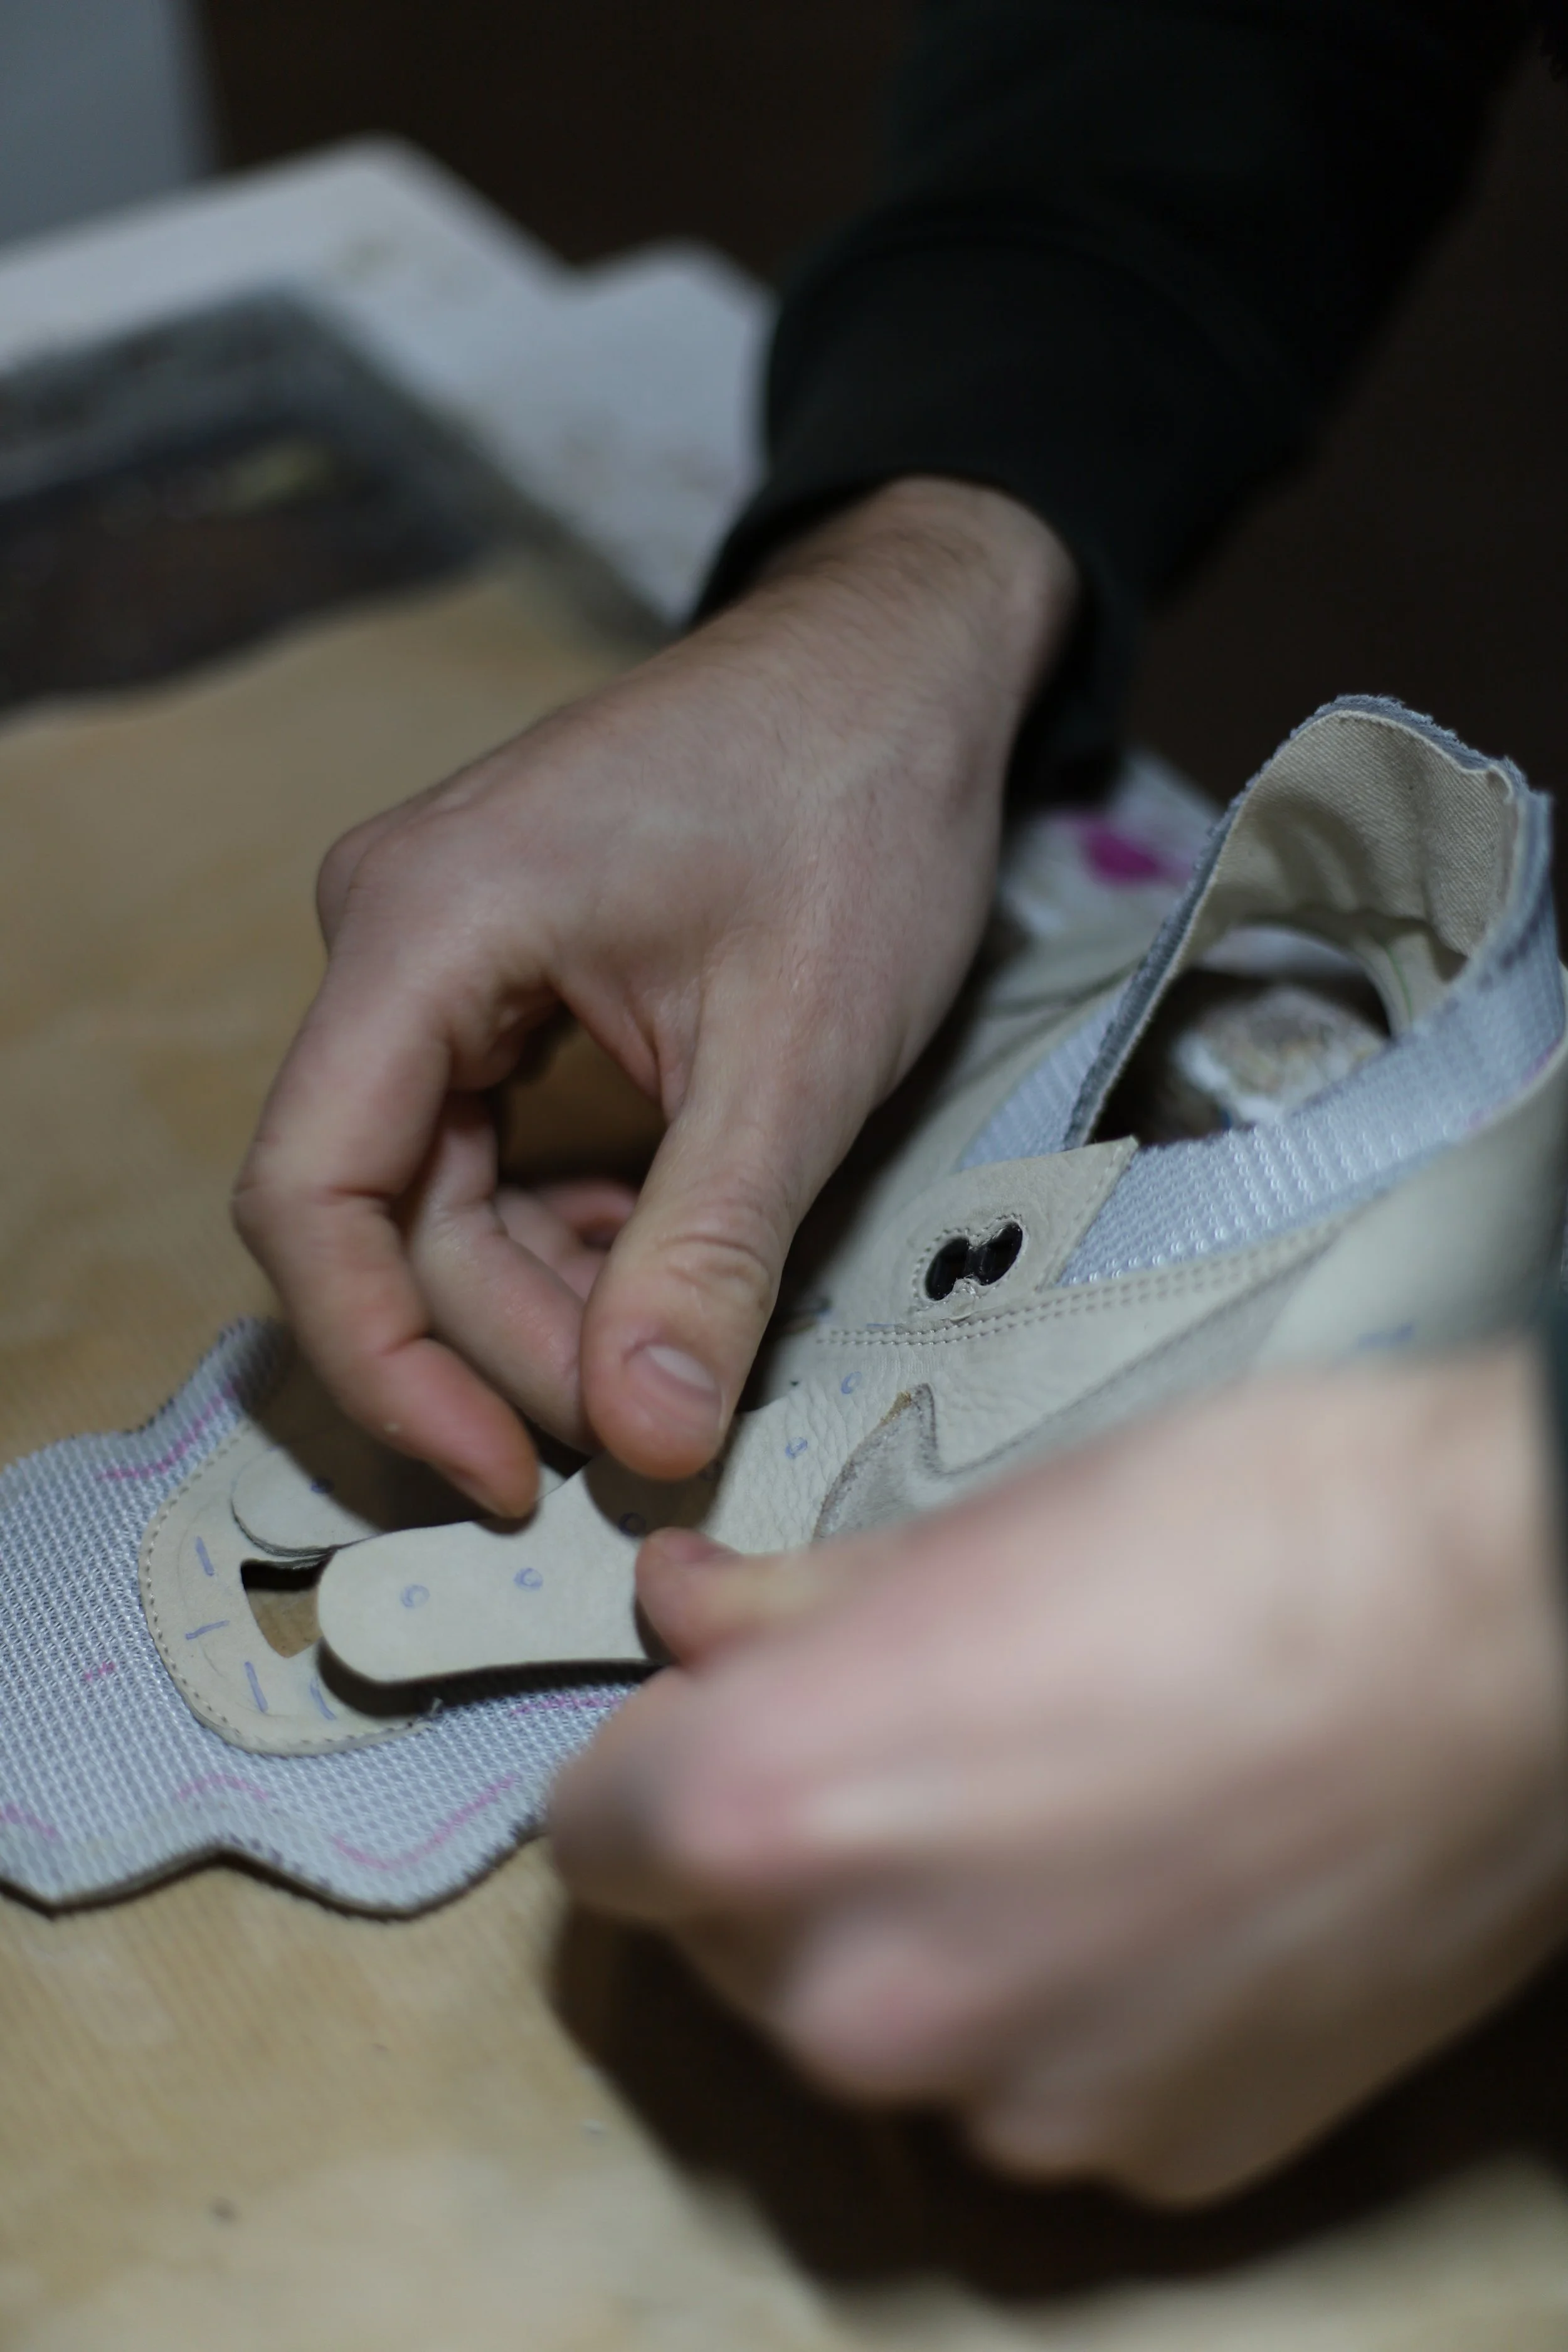
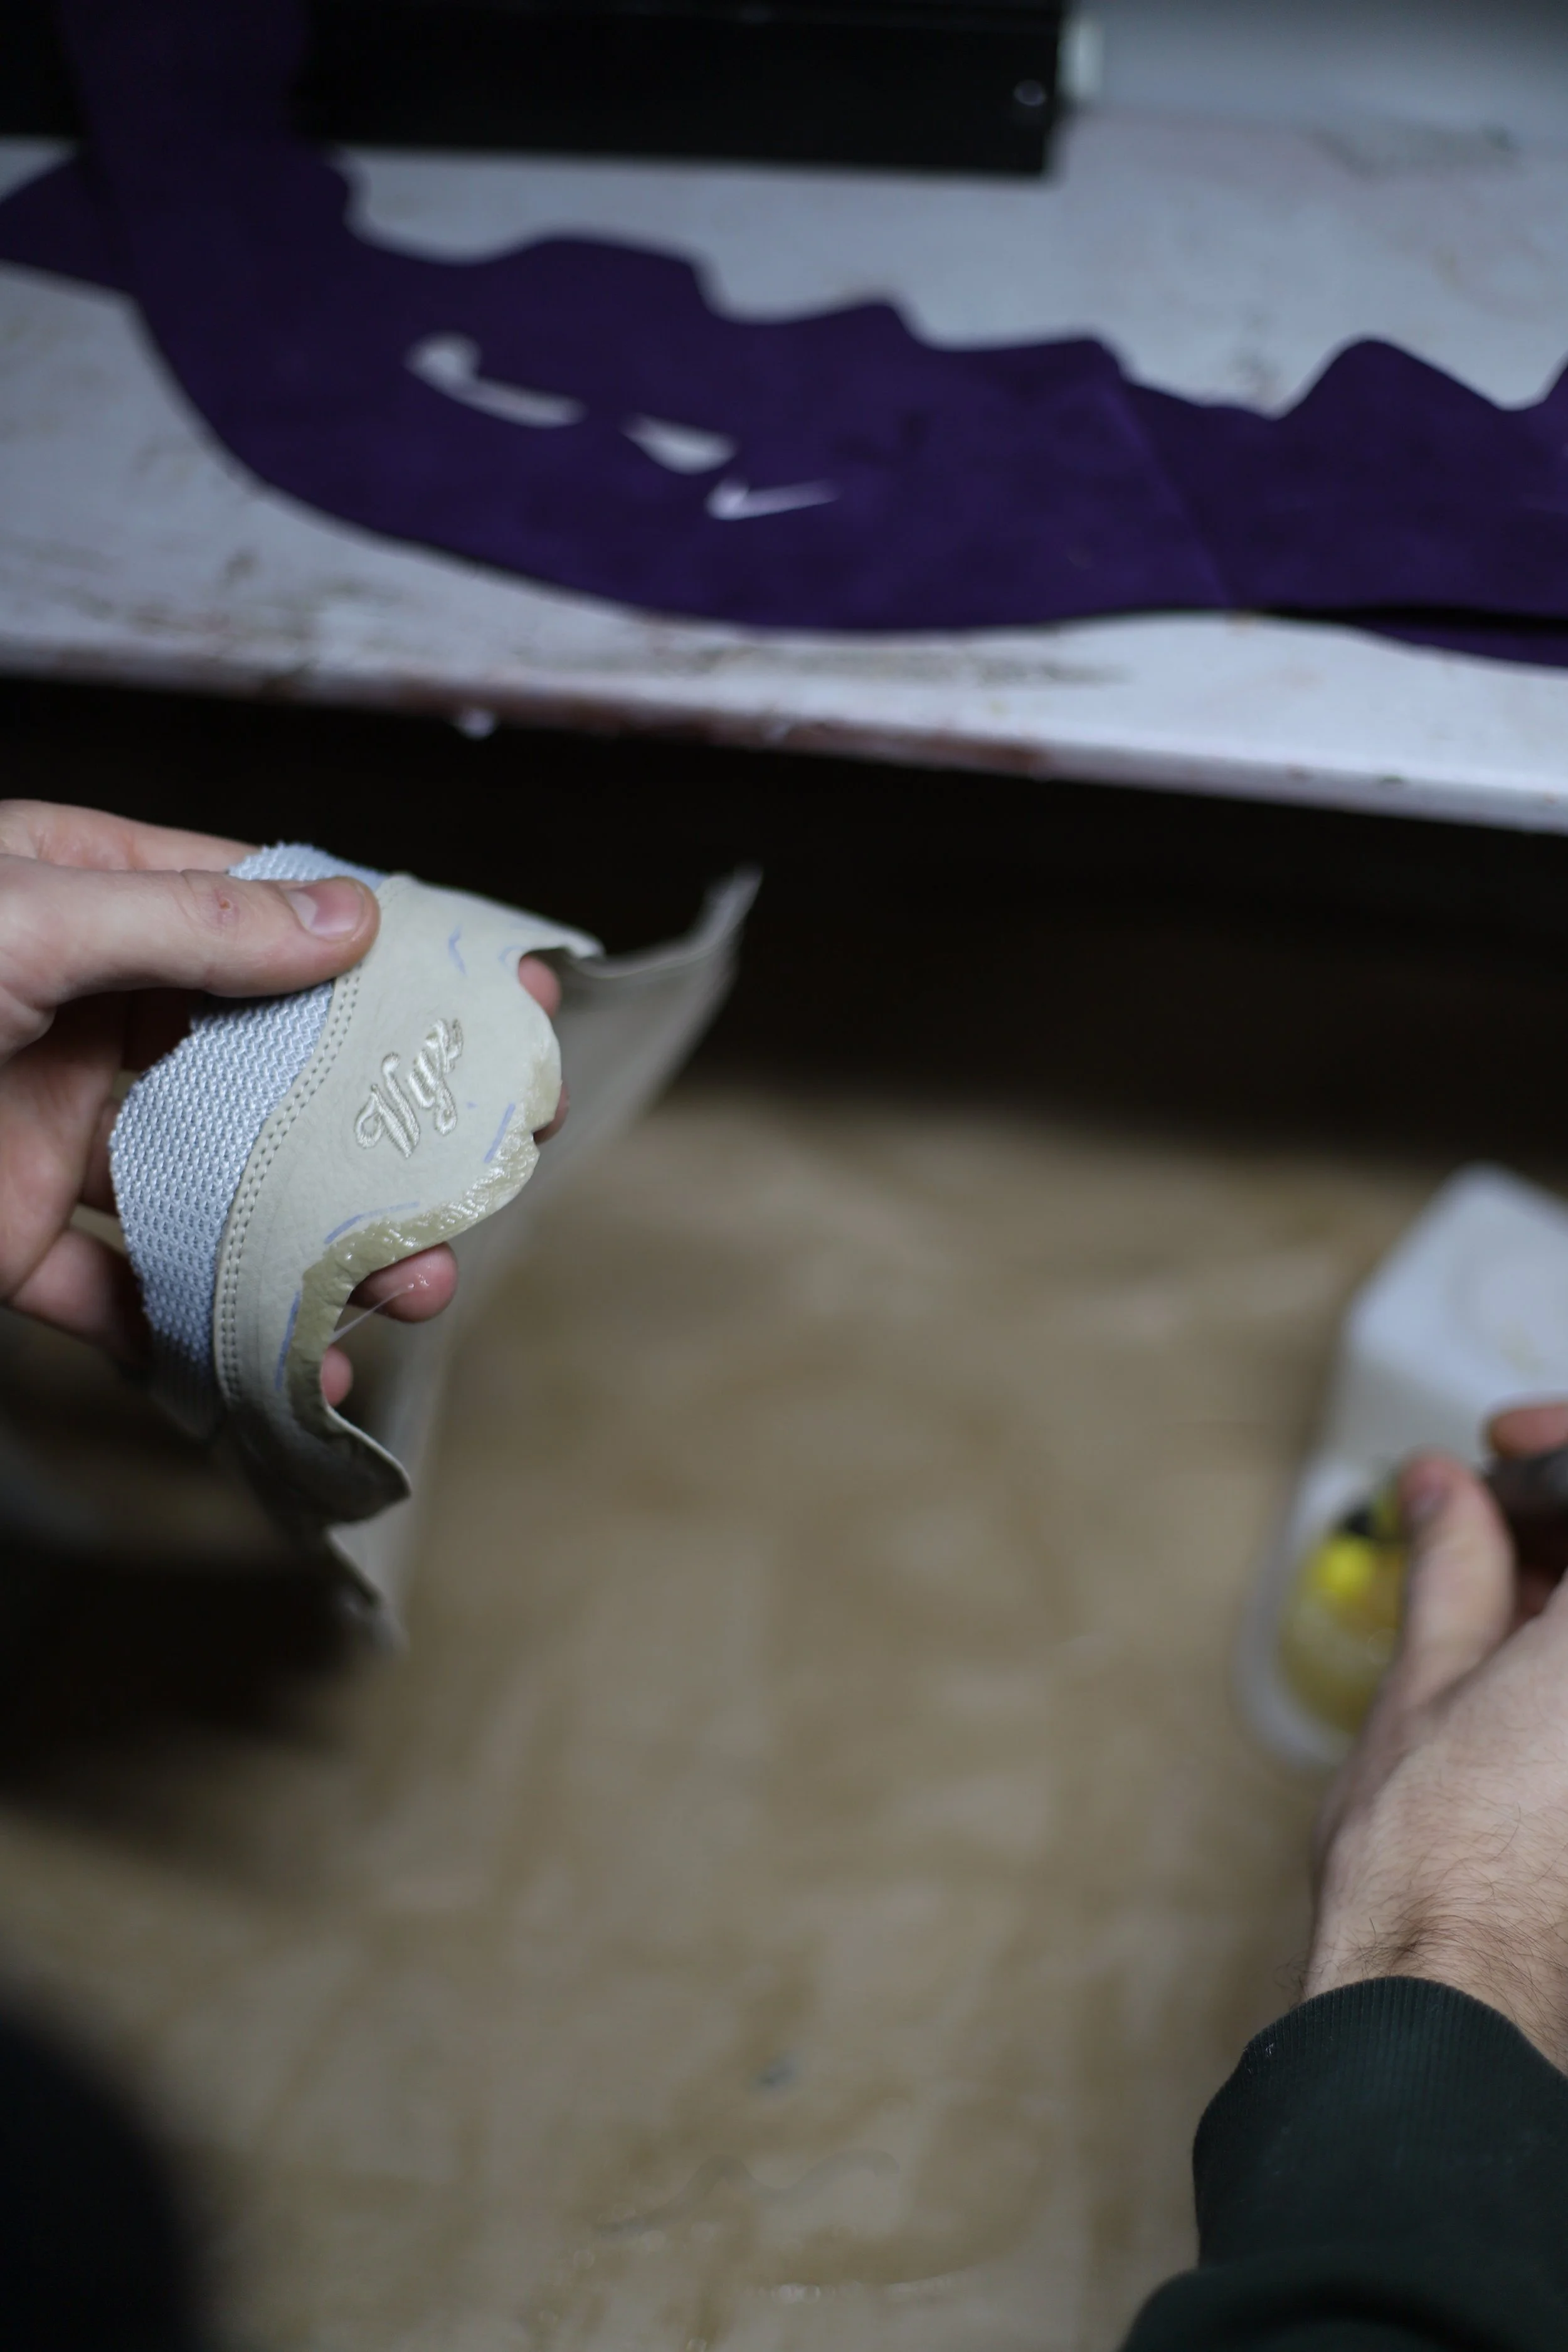
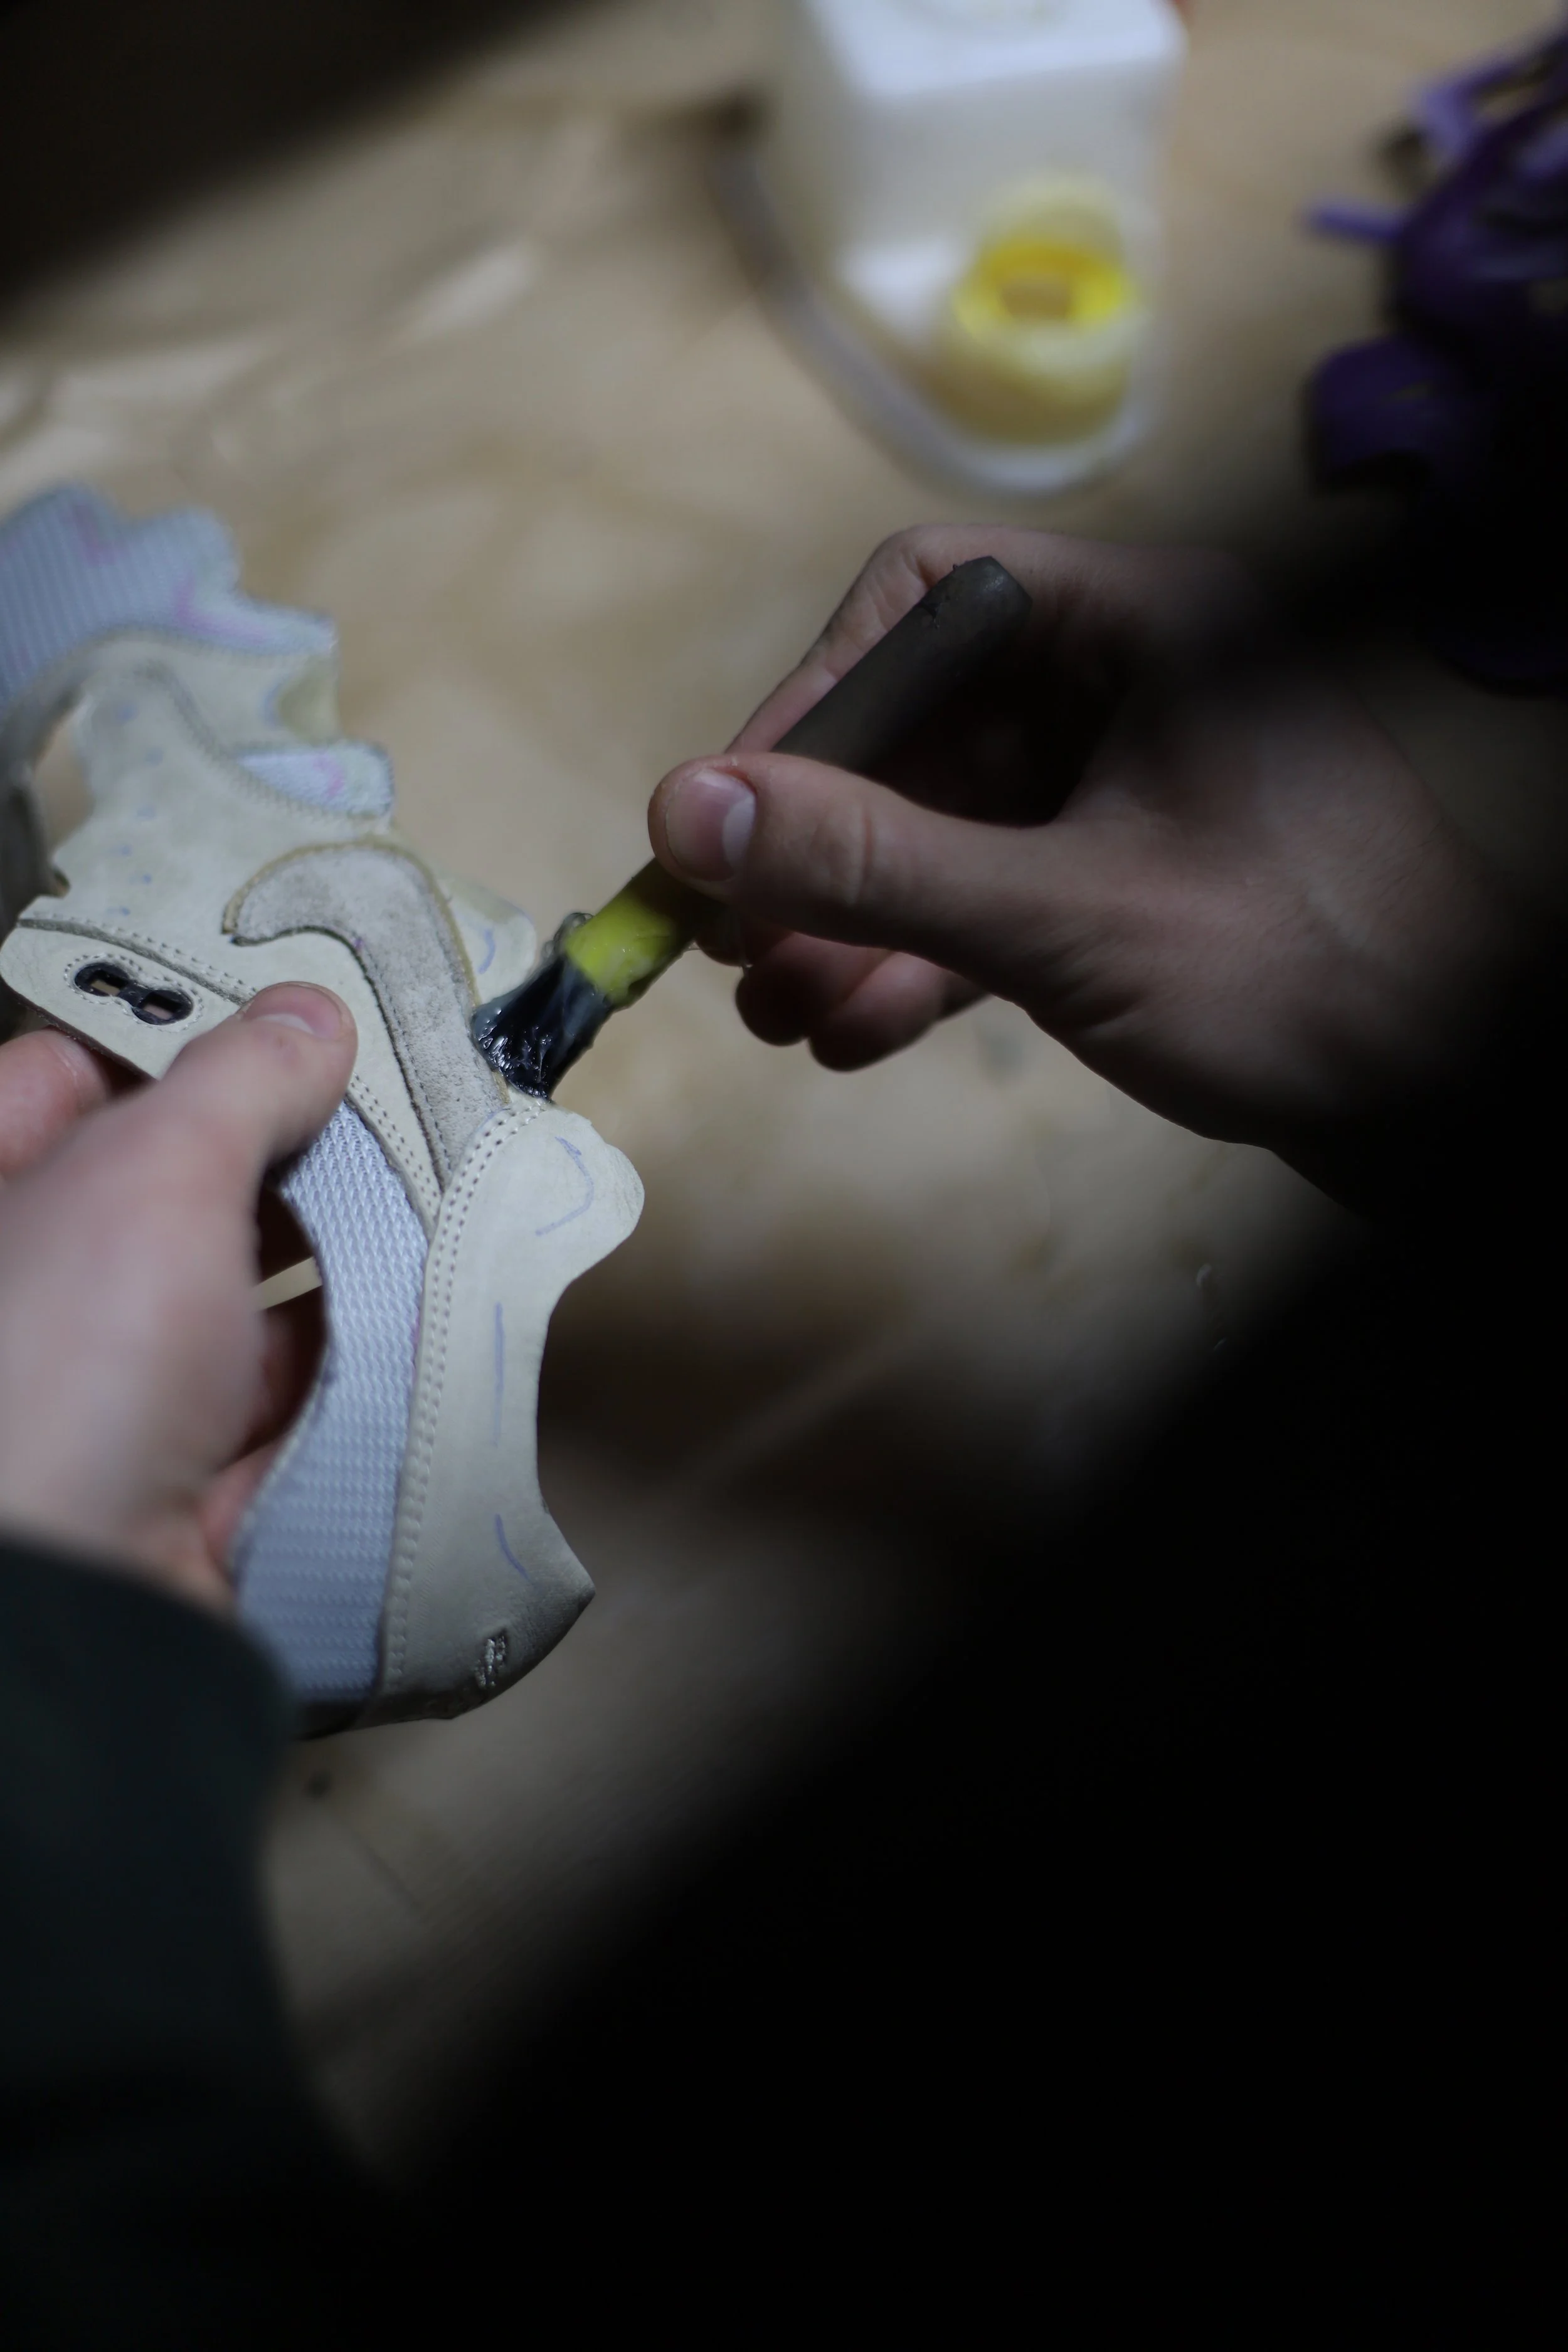
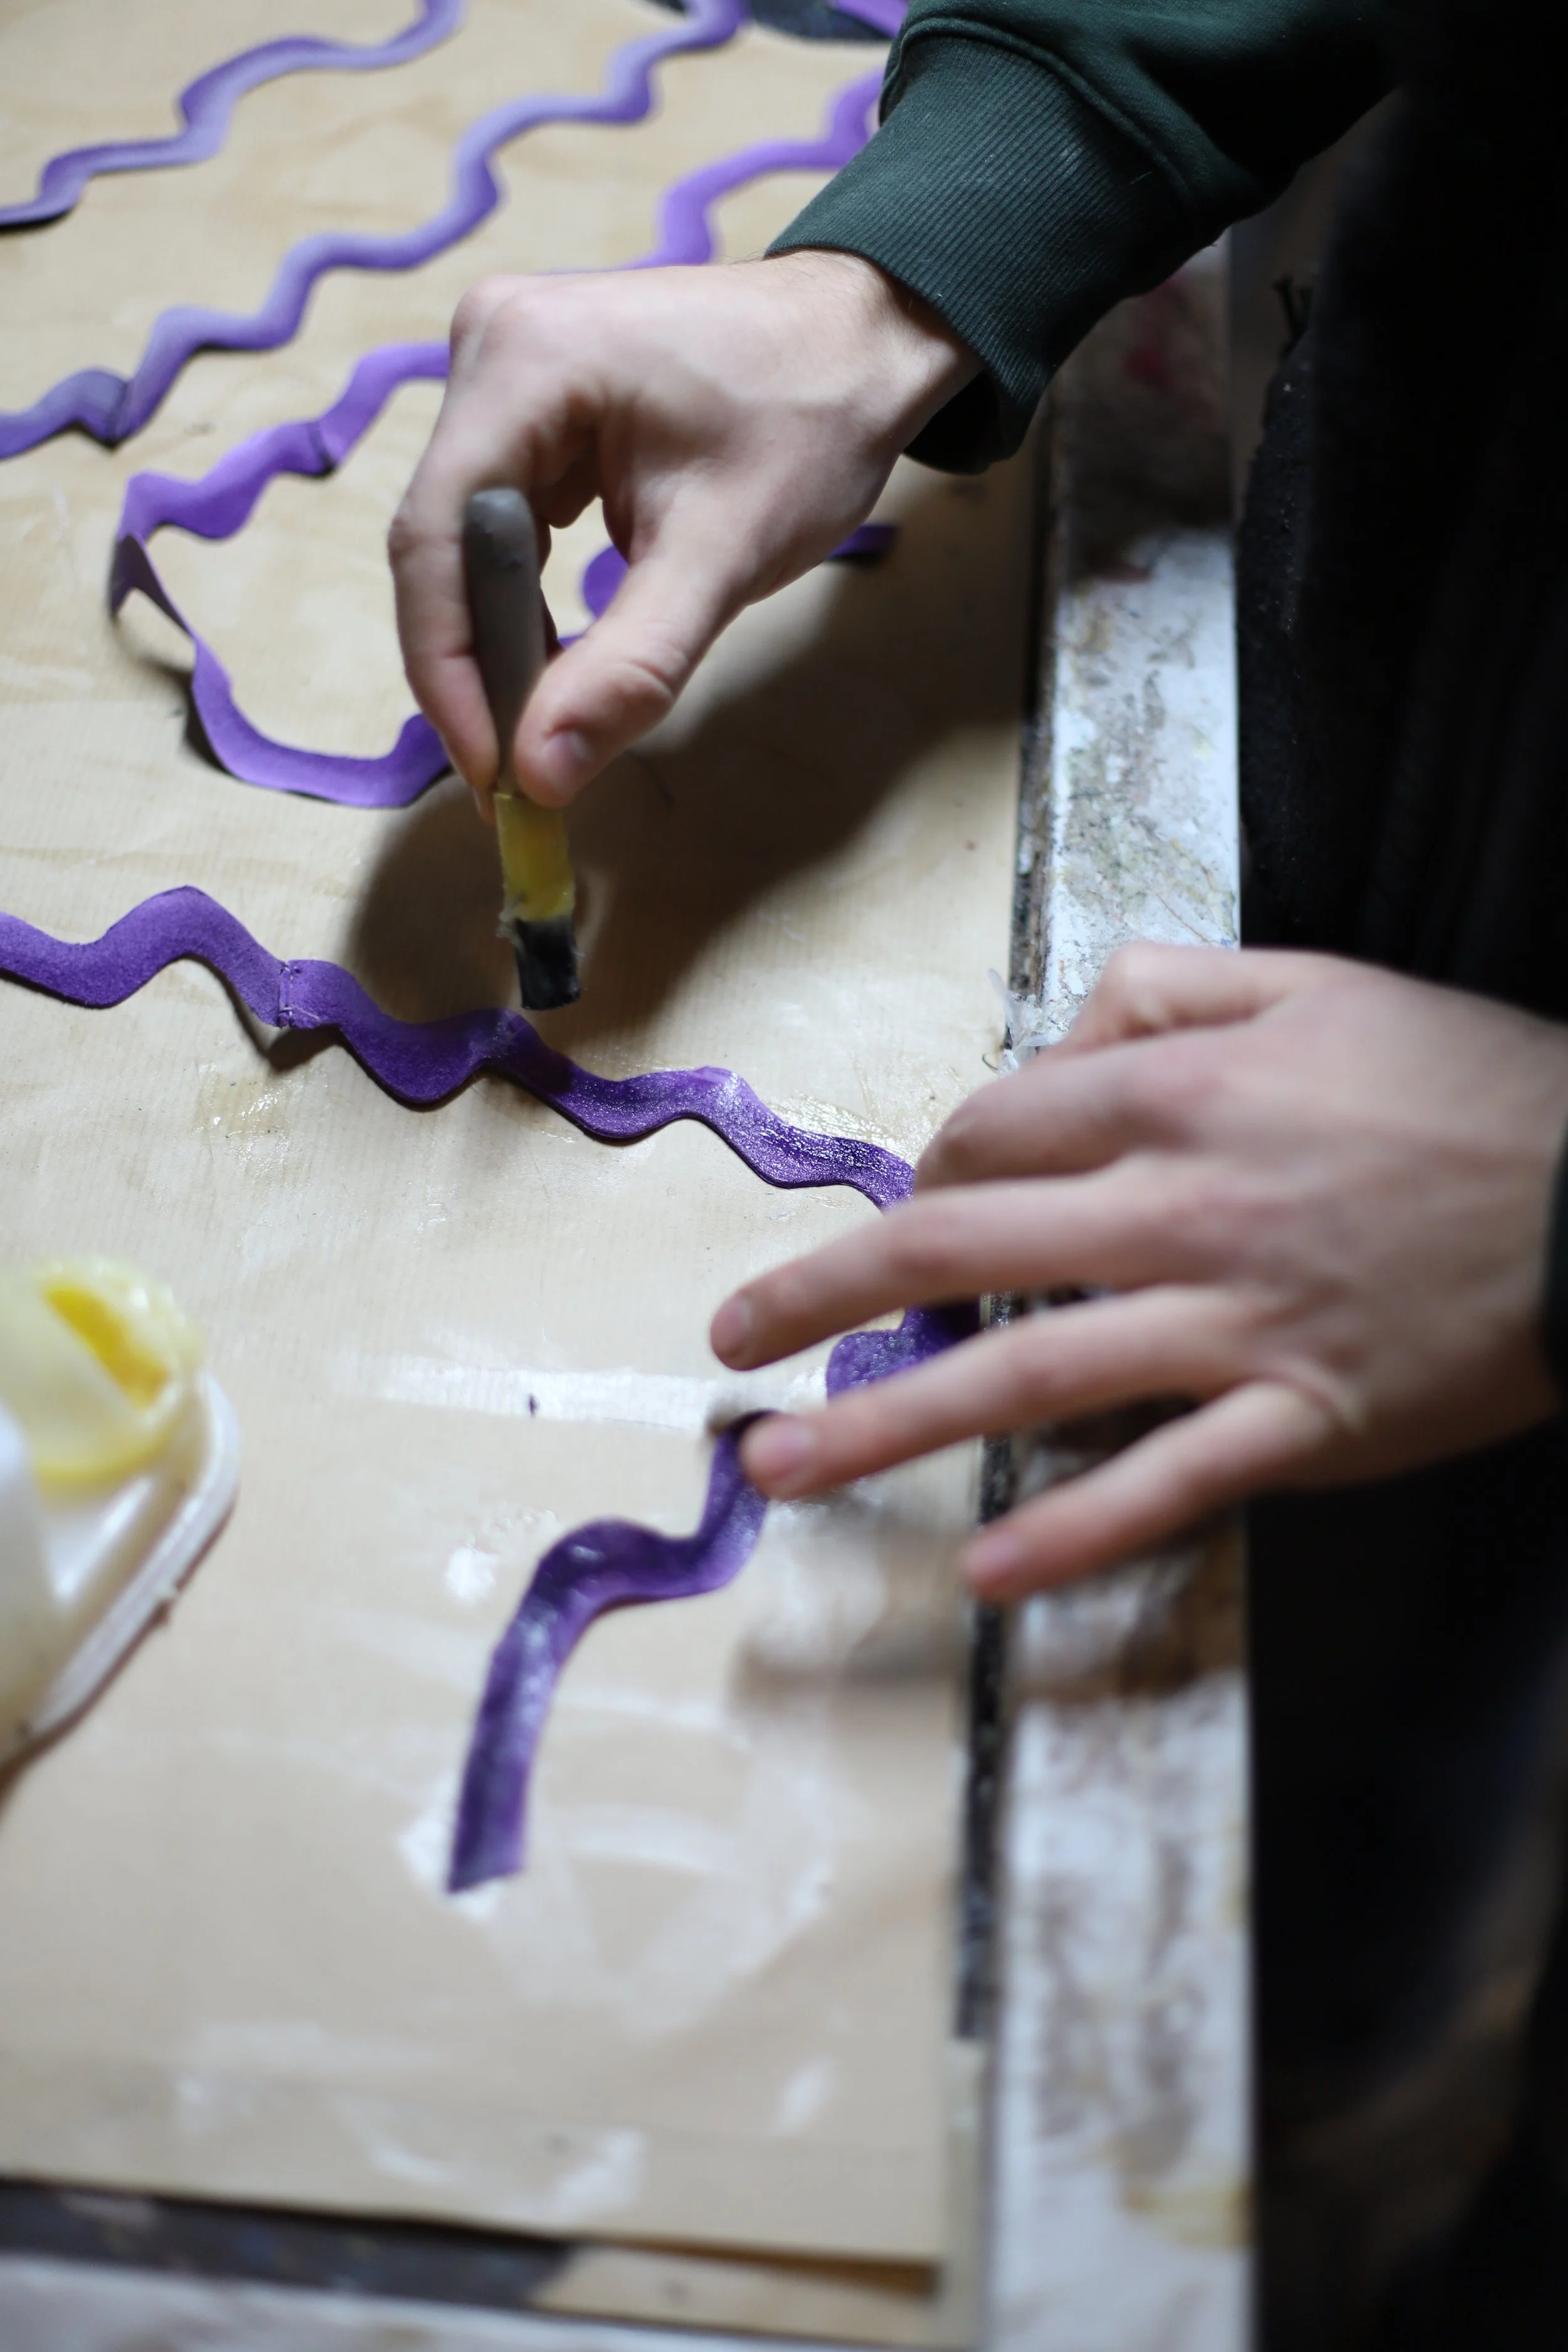
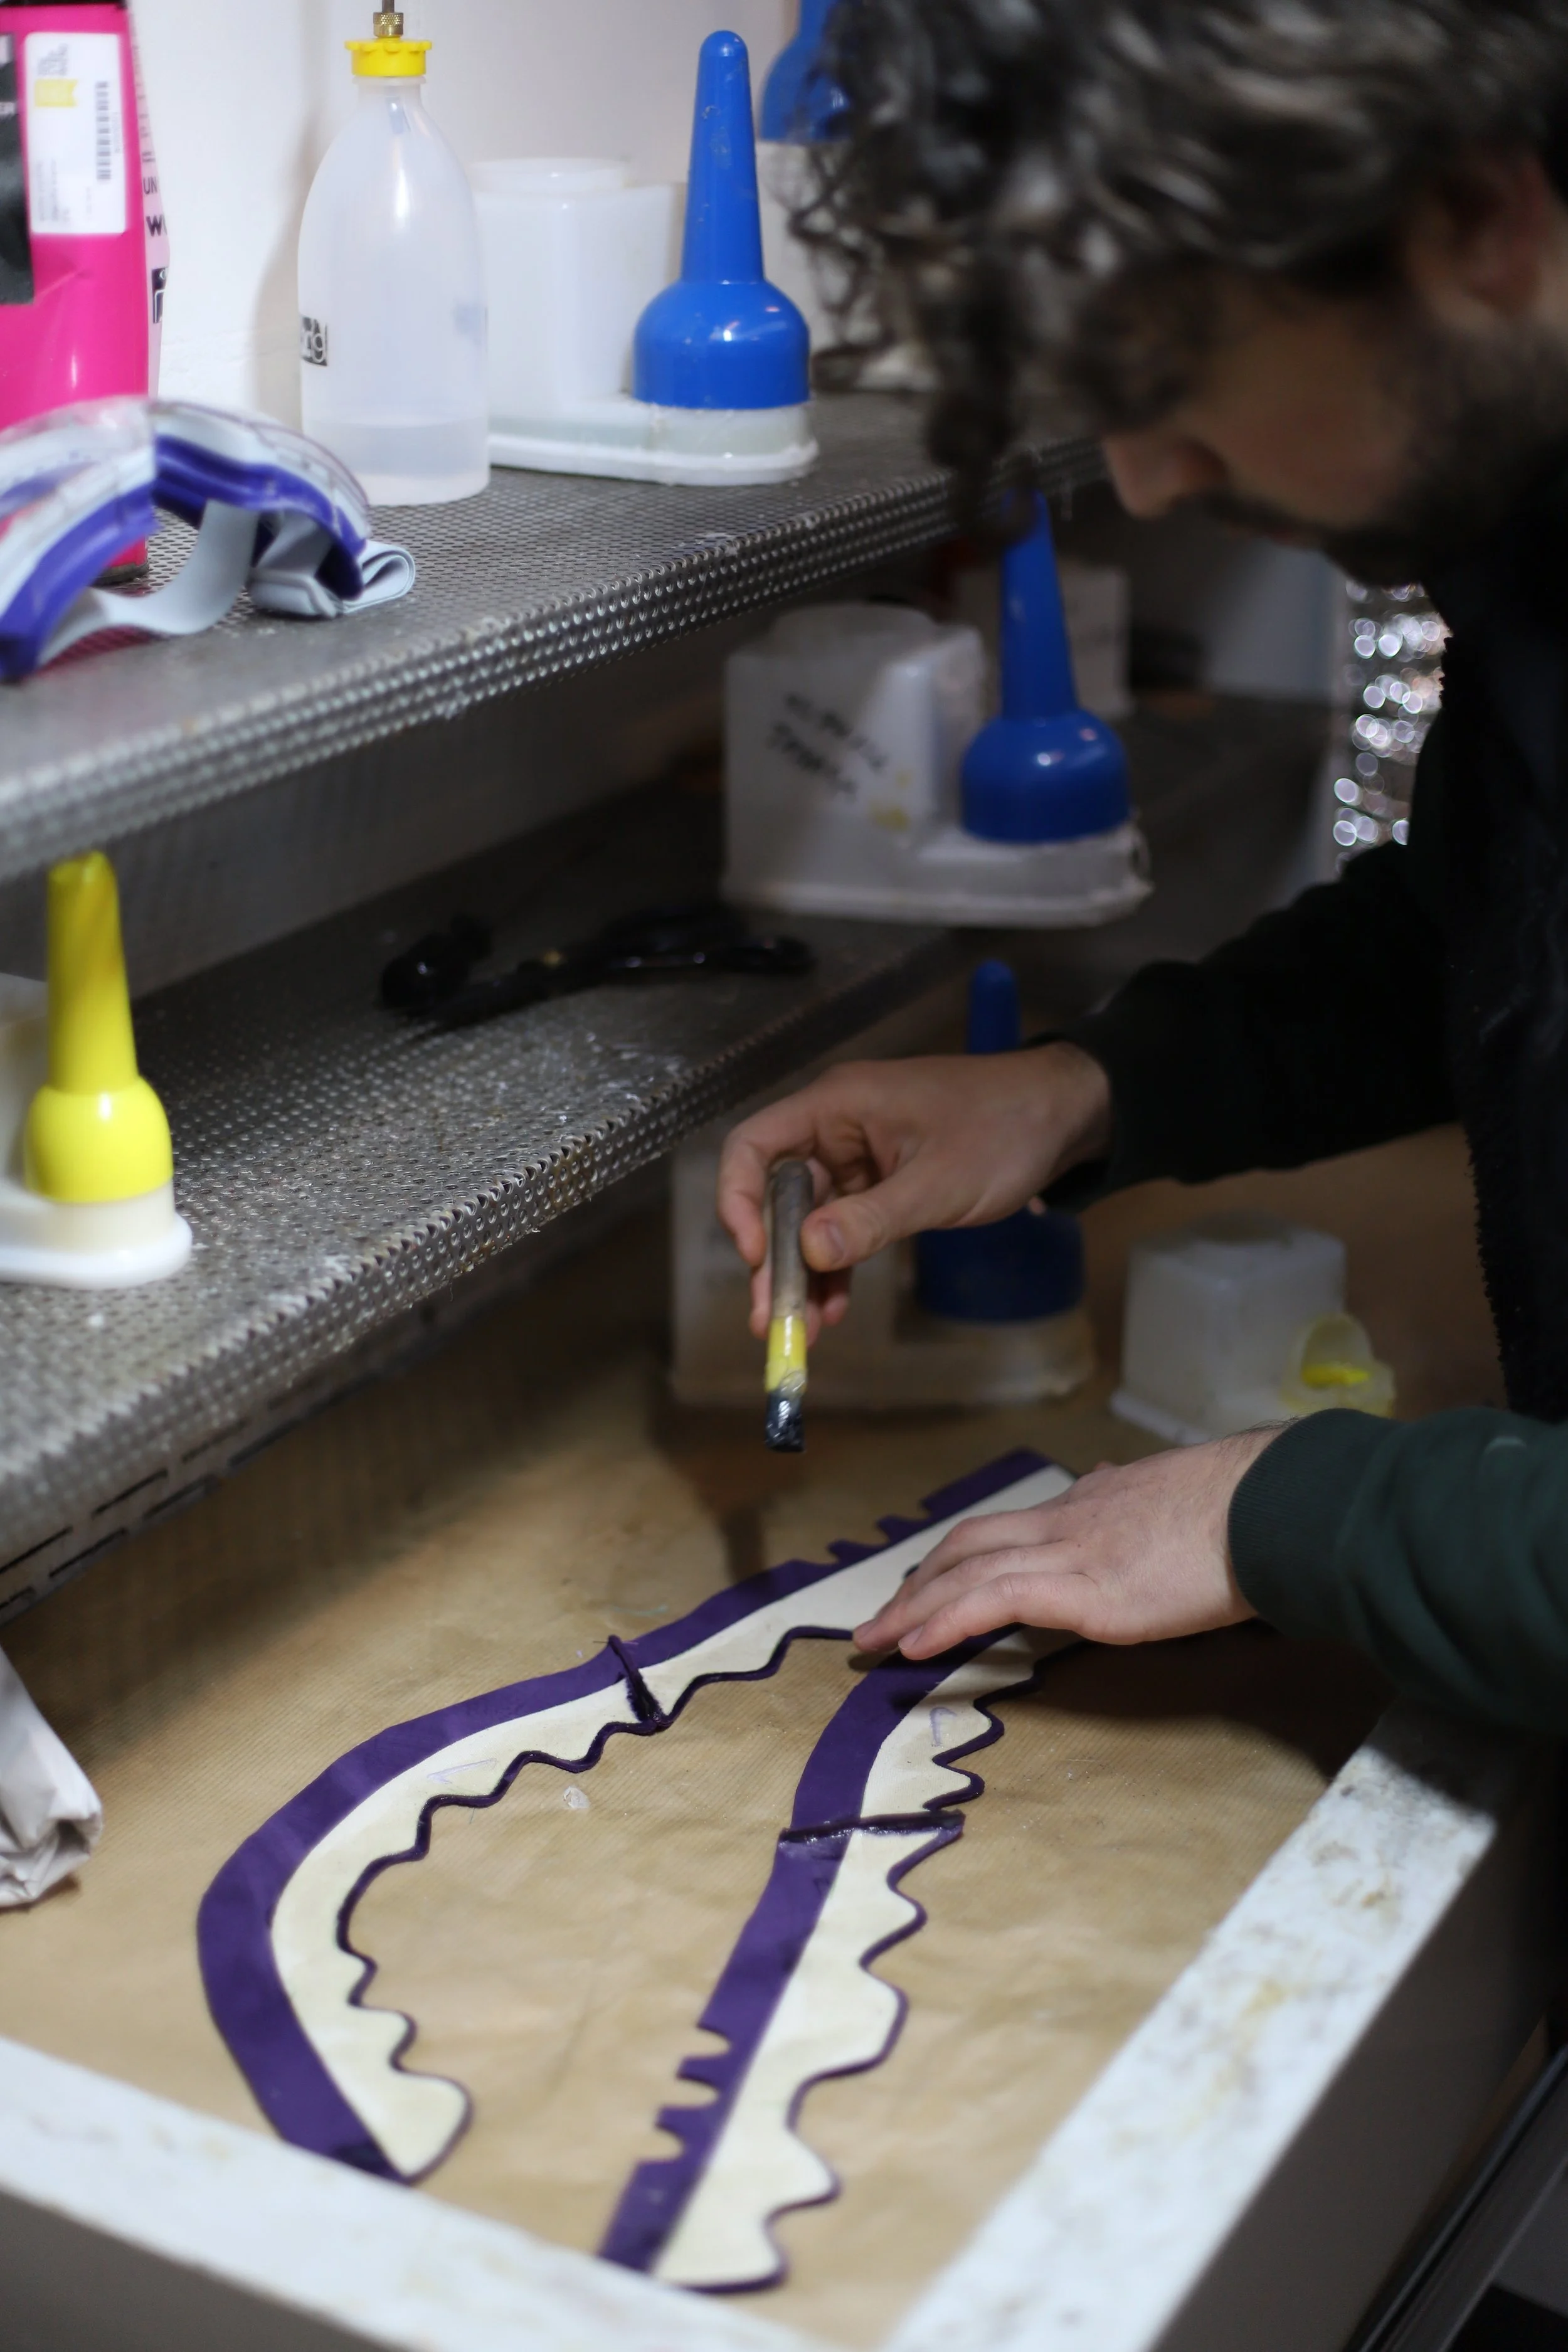
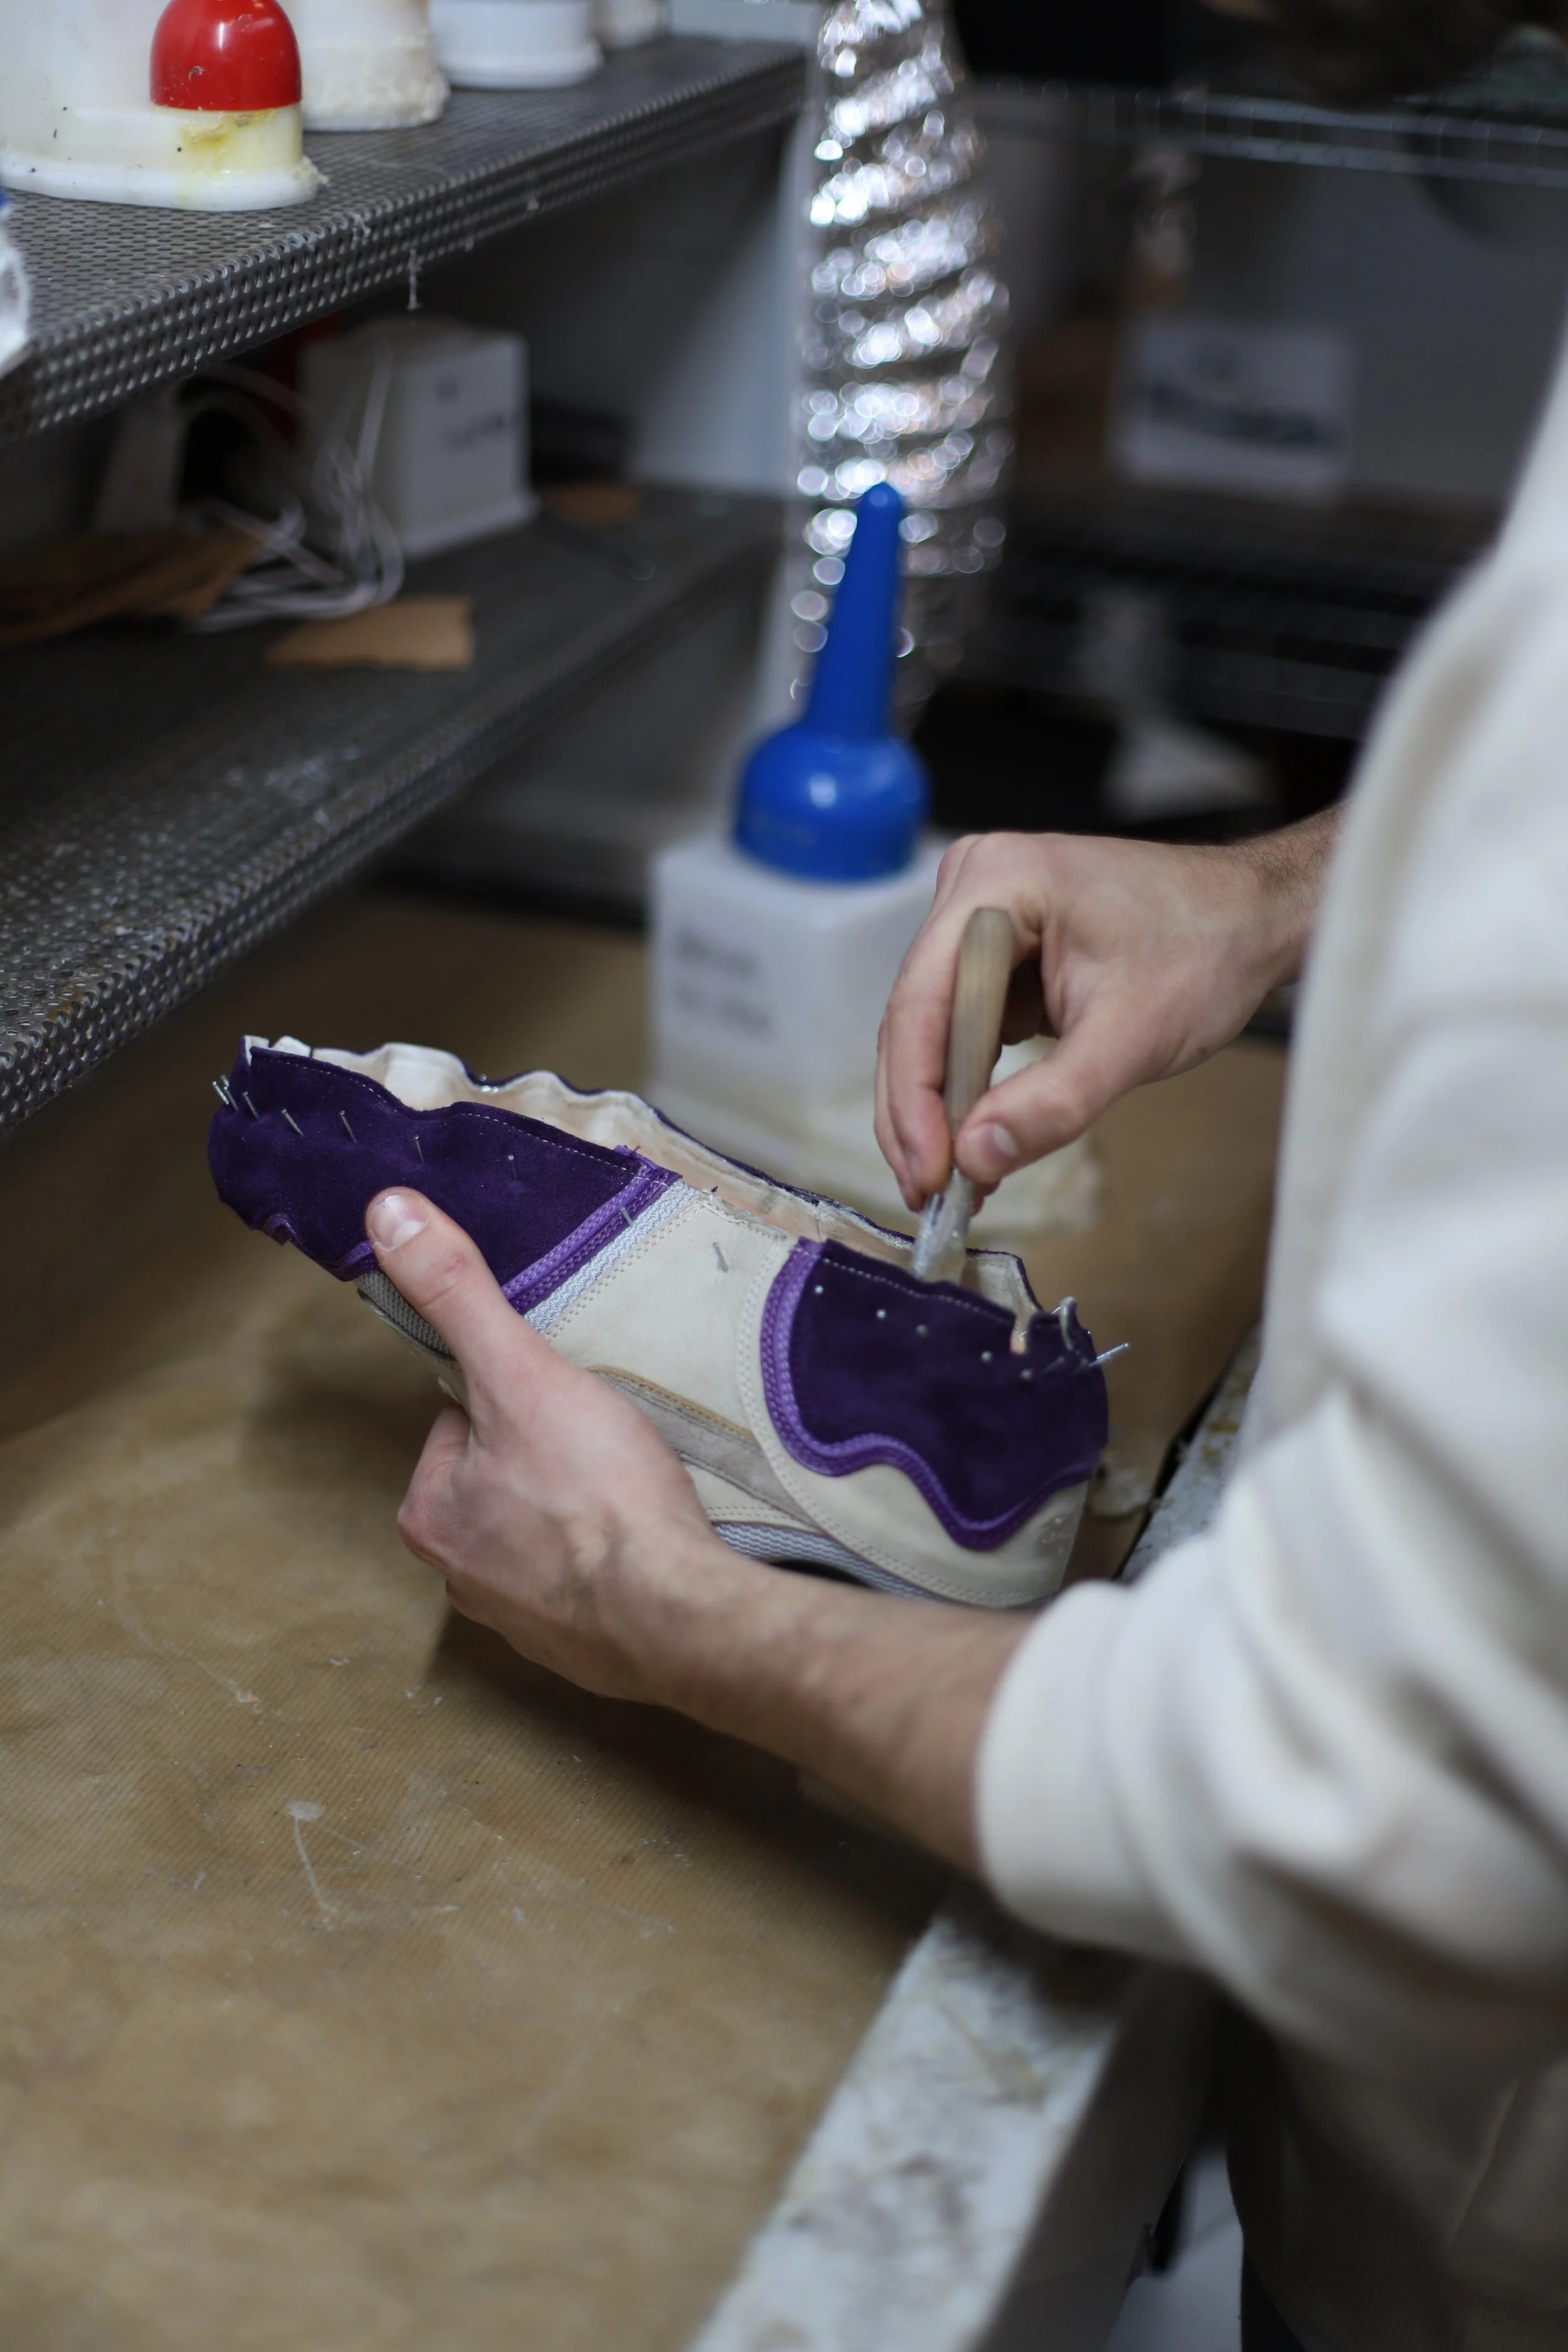
Before we stitch anything together, we first glue it together. When there are multiple layers of leather it is possible that the fabrics may slightly shift. By gluing it together, we know for sure it stays at the right place.
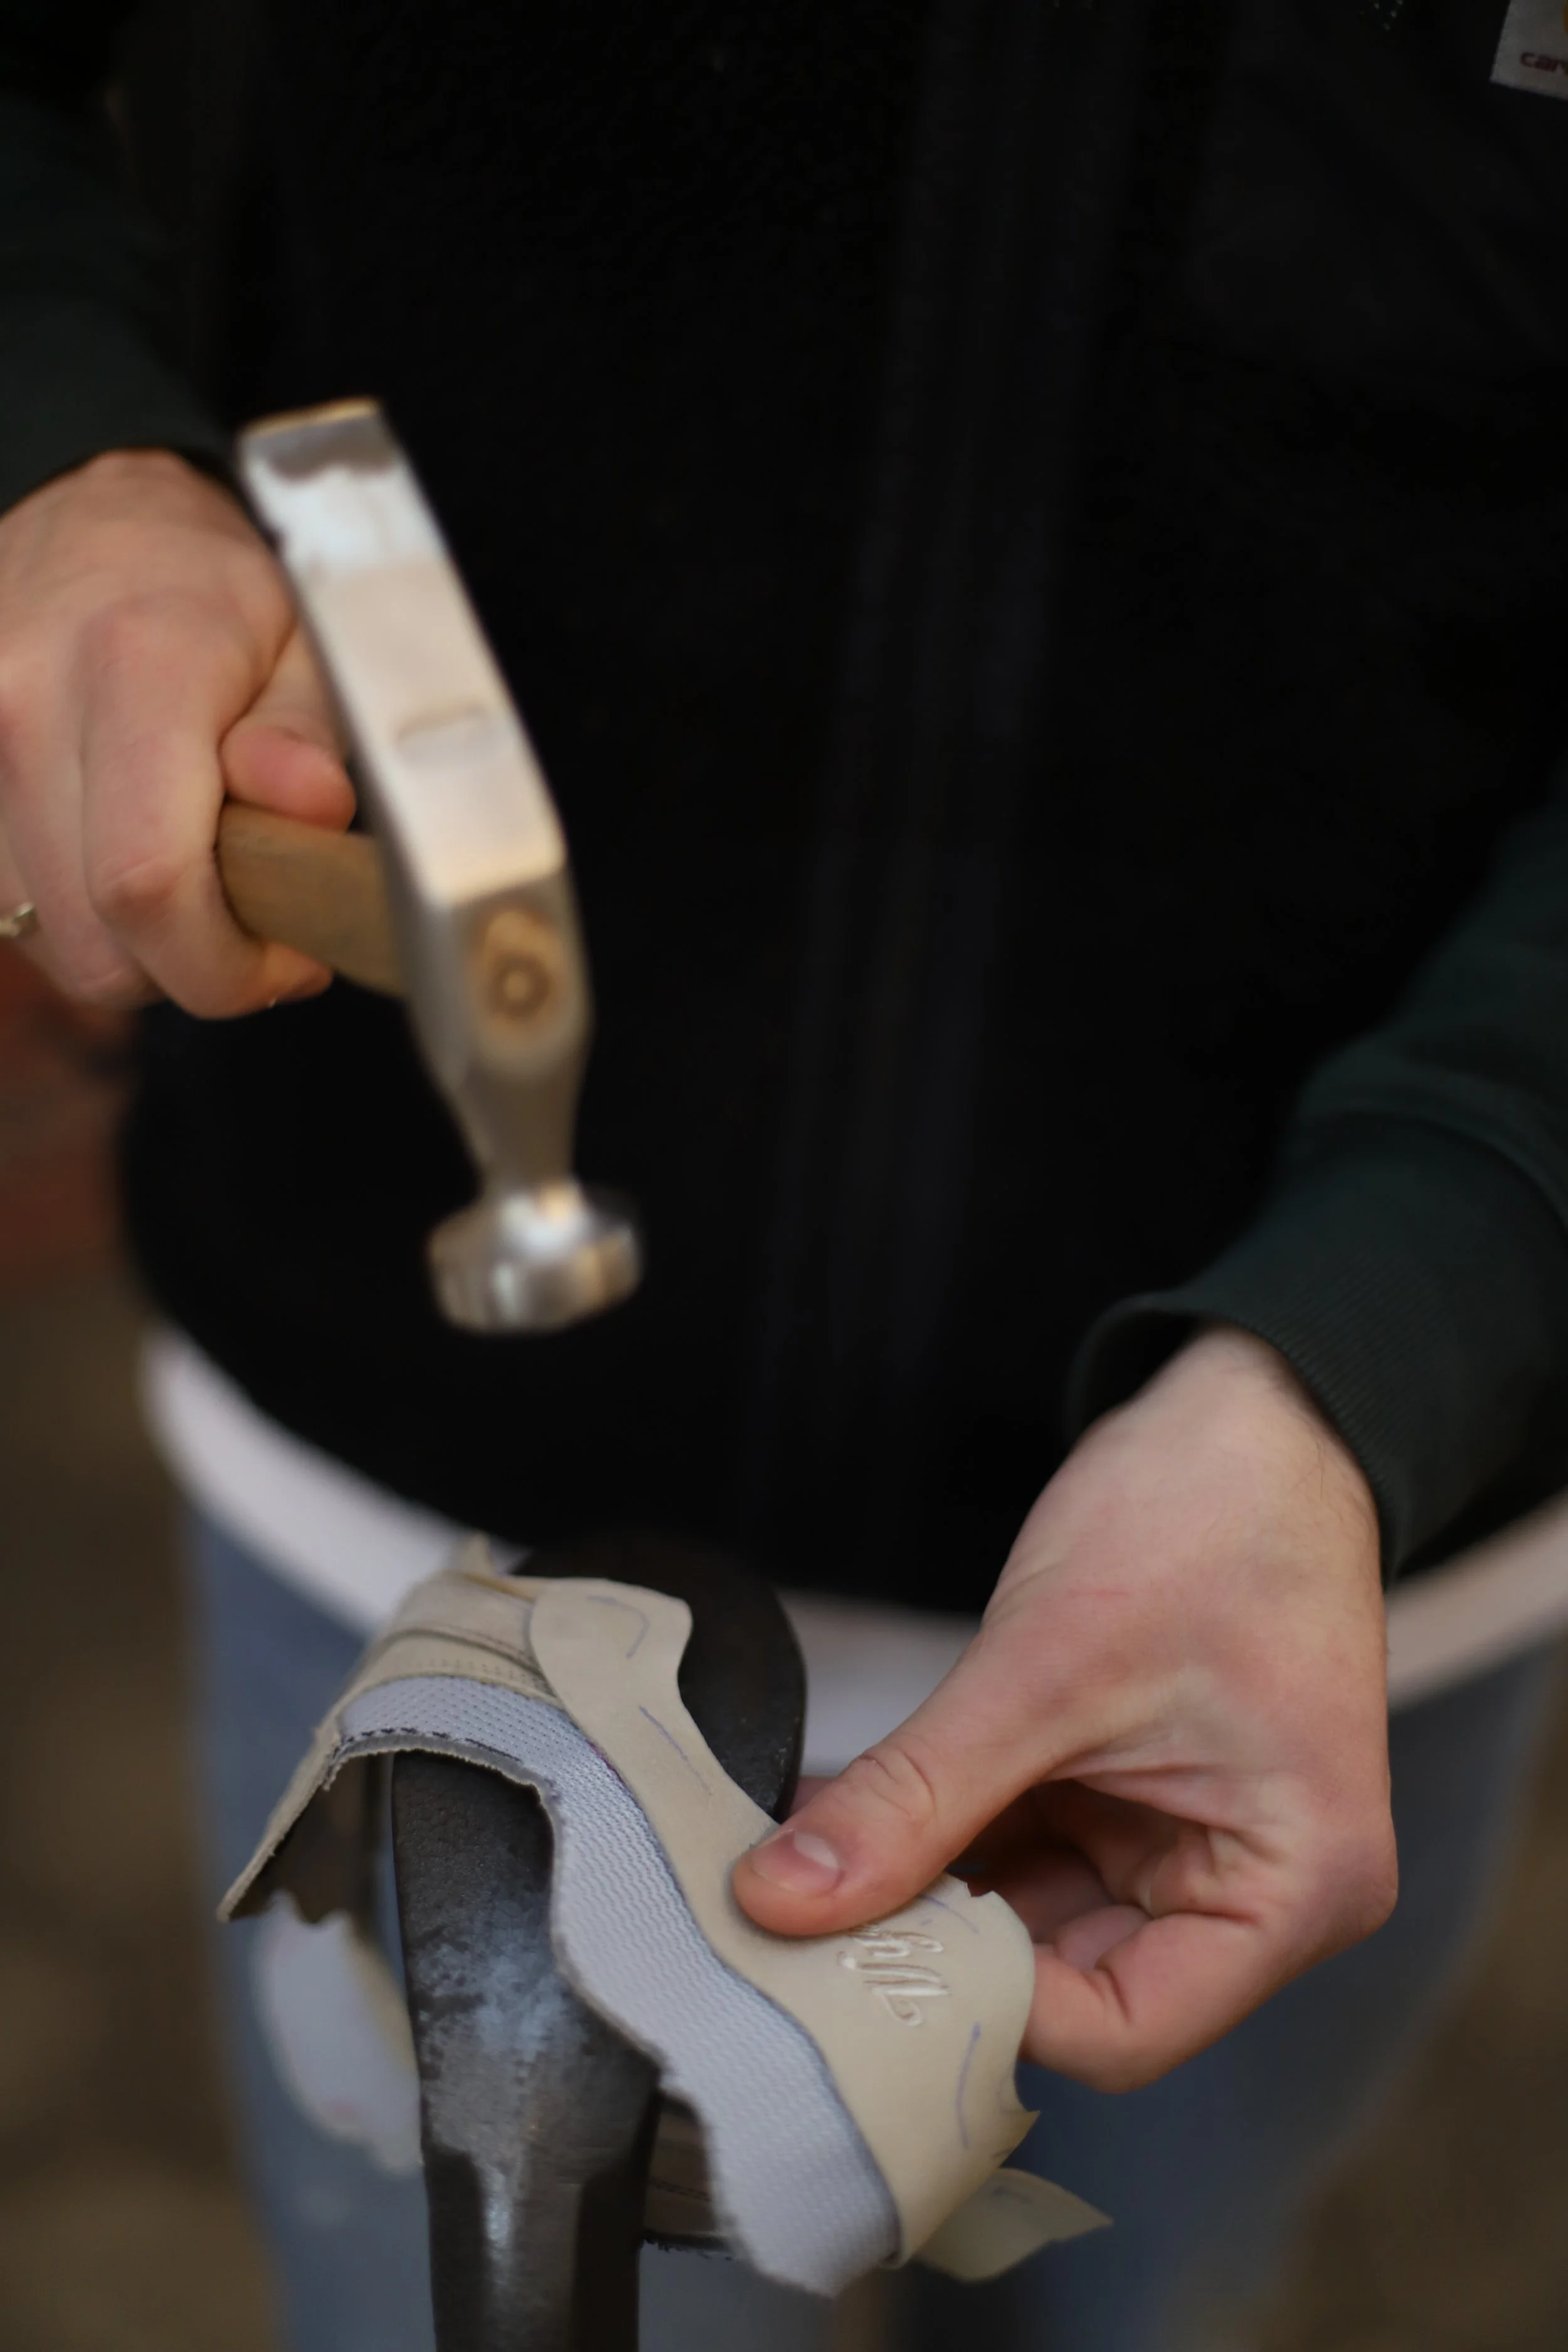
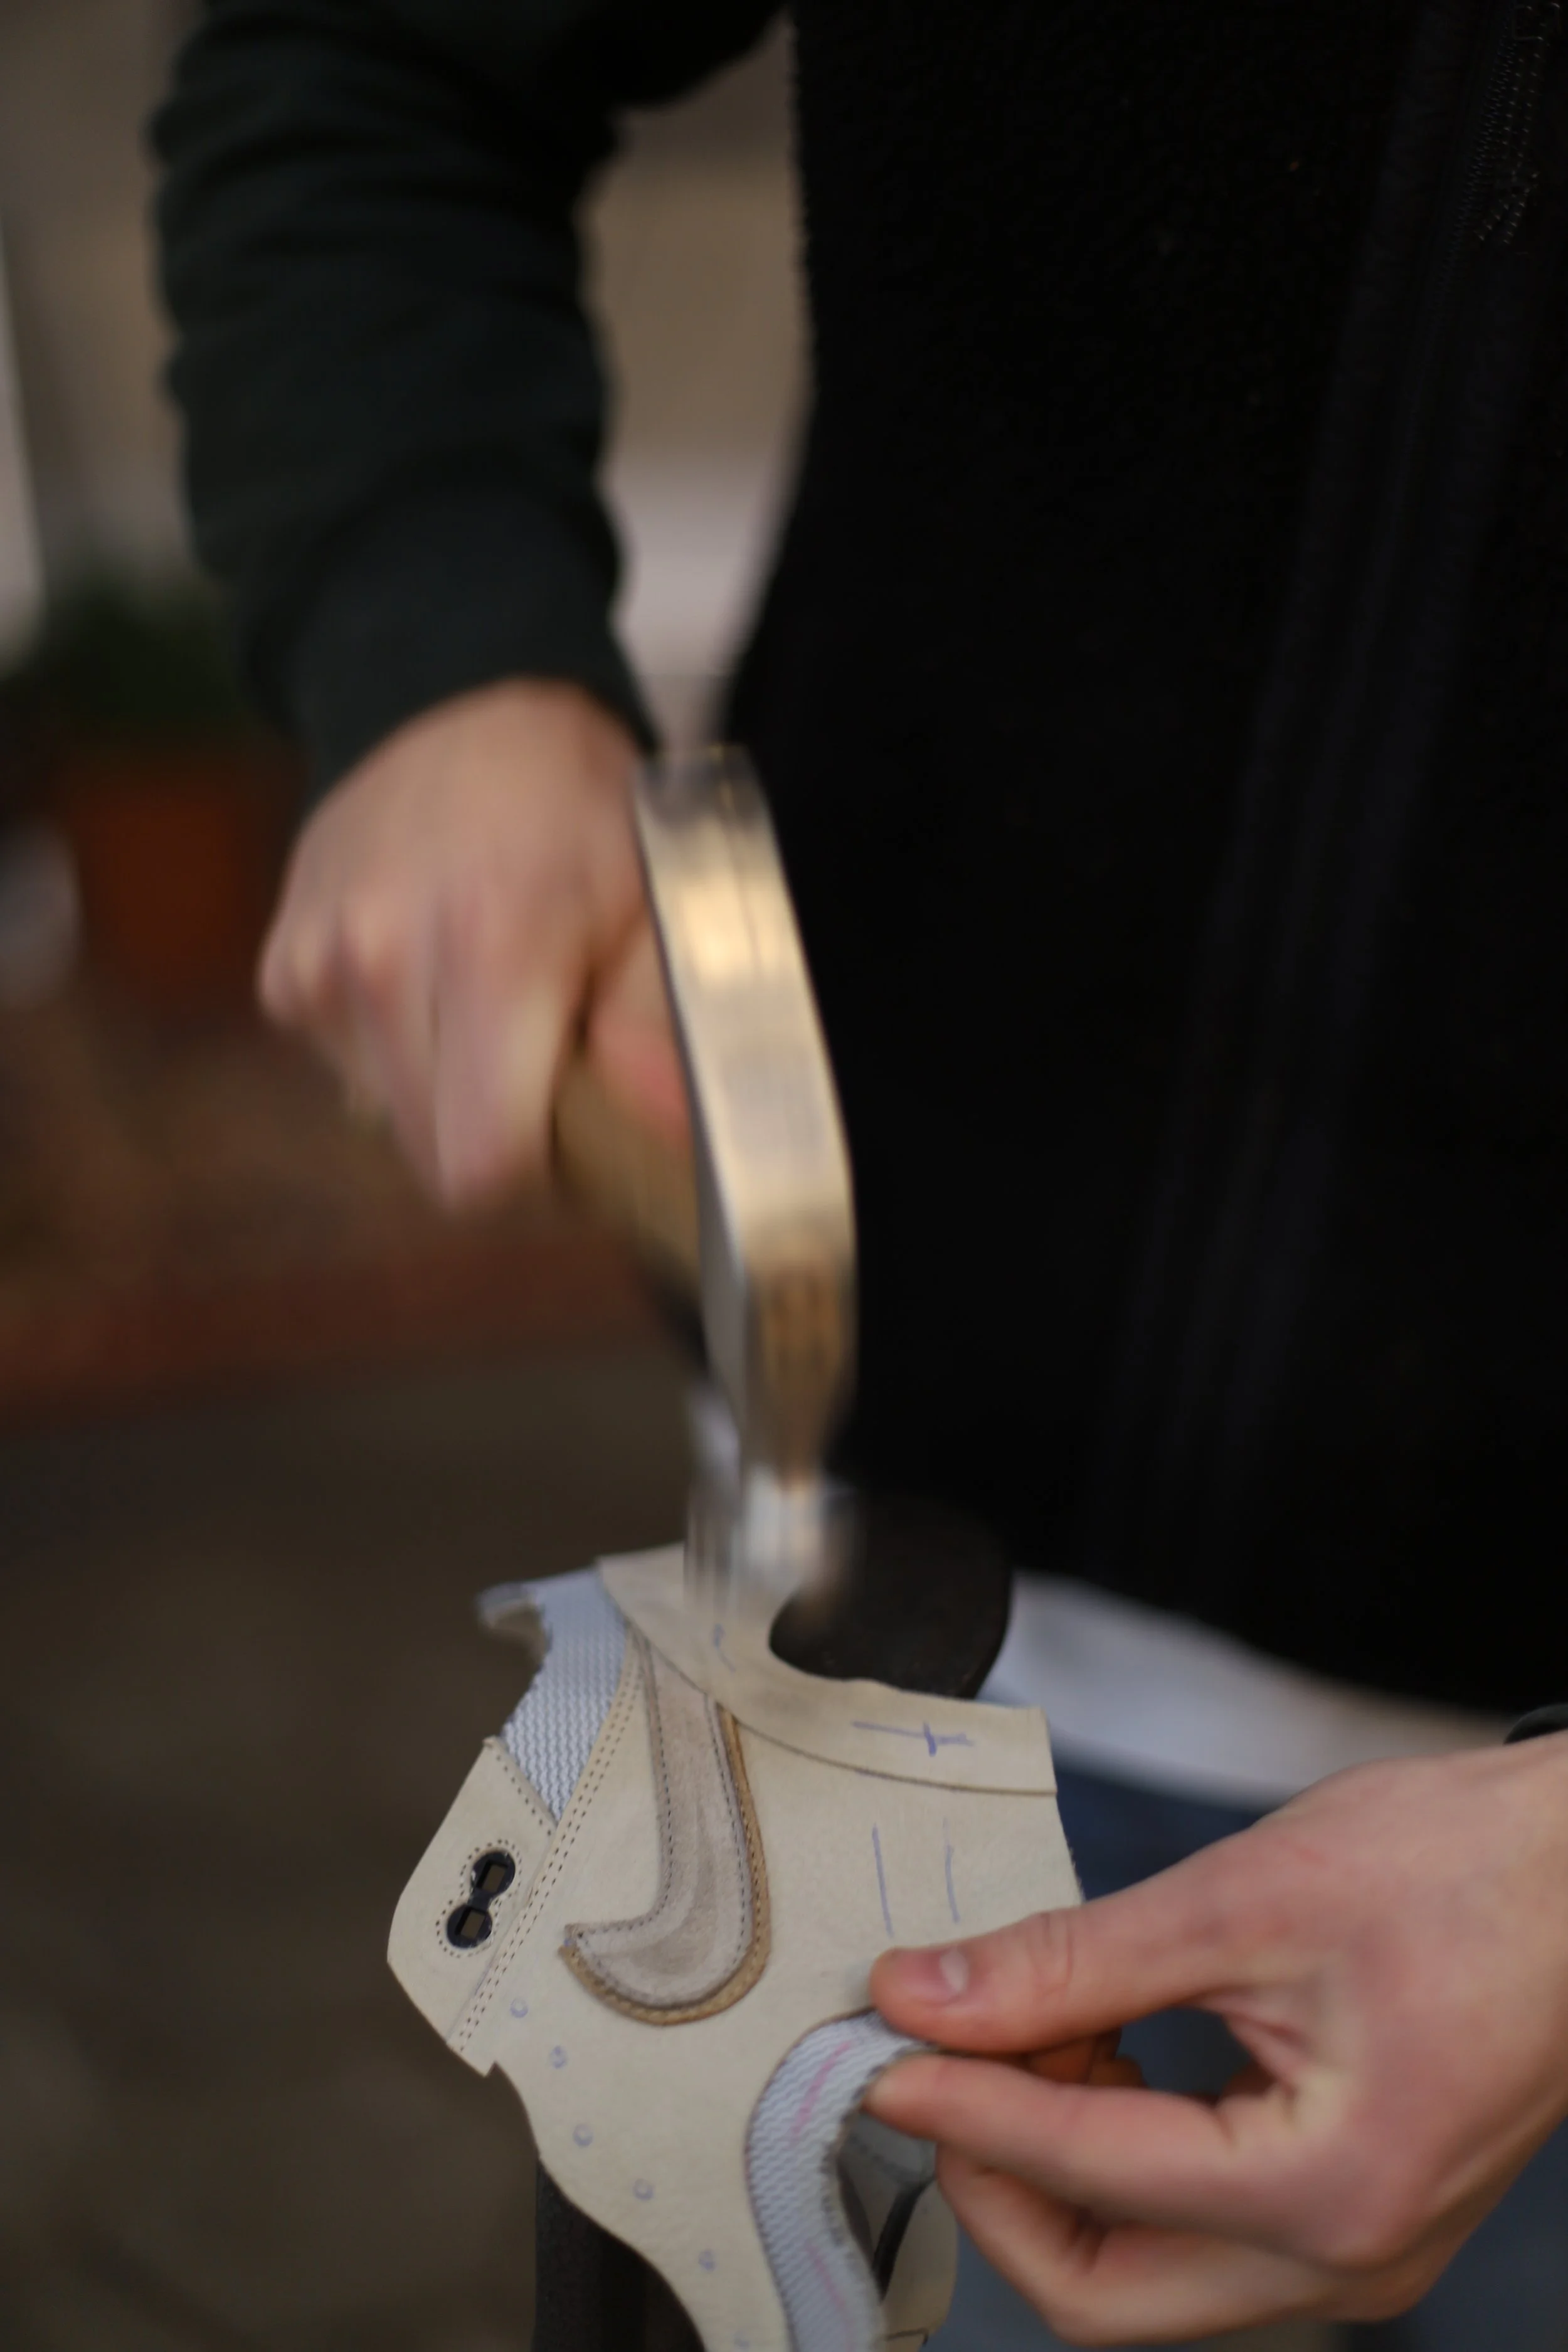
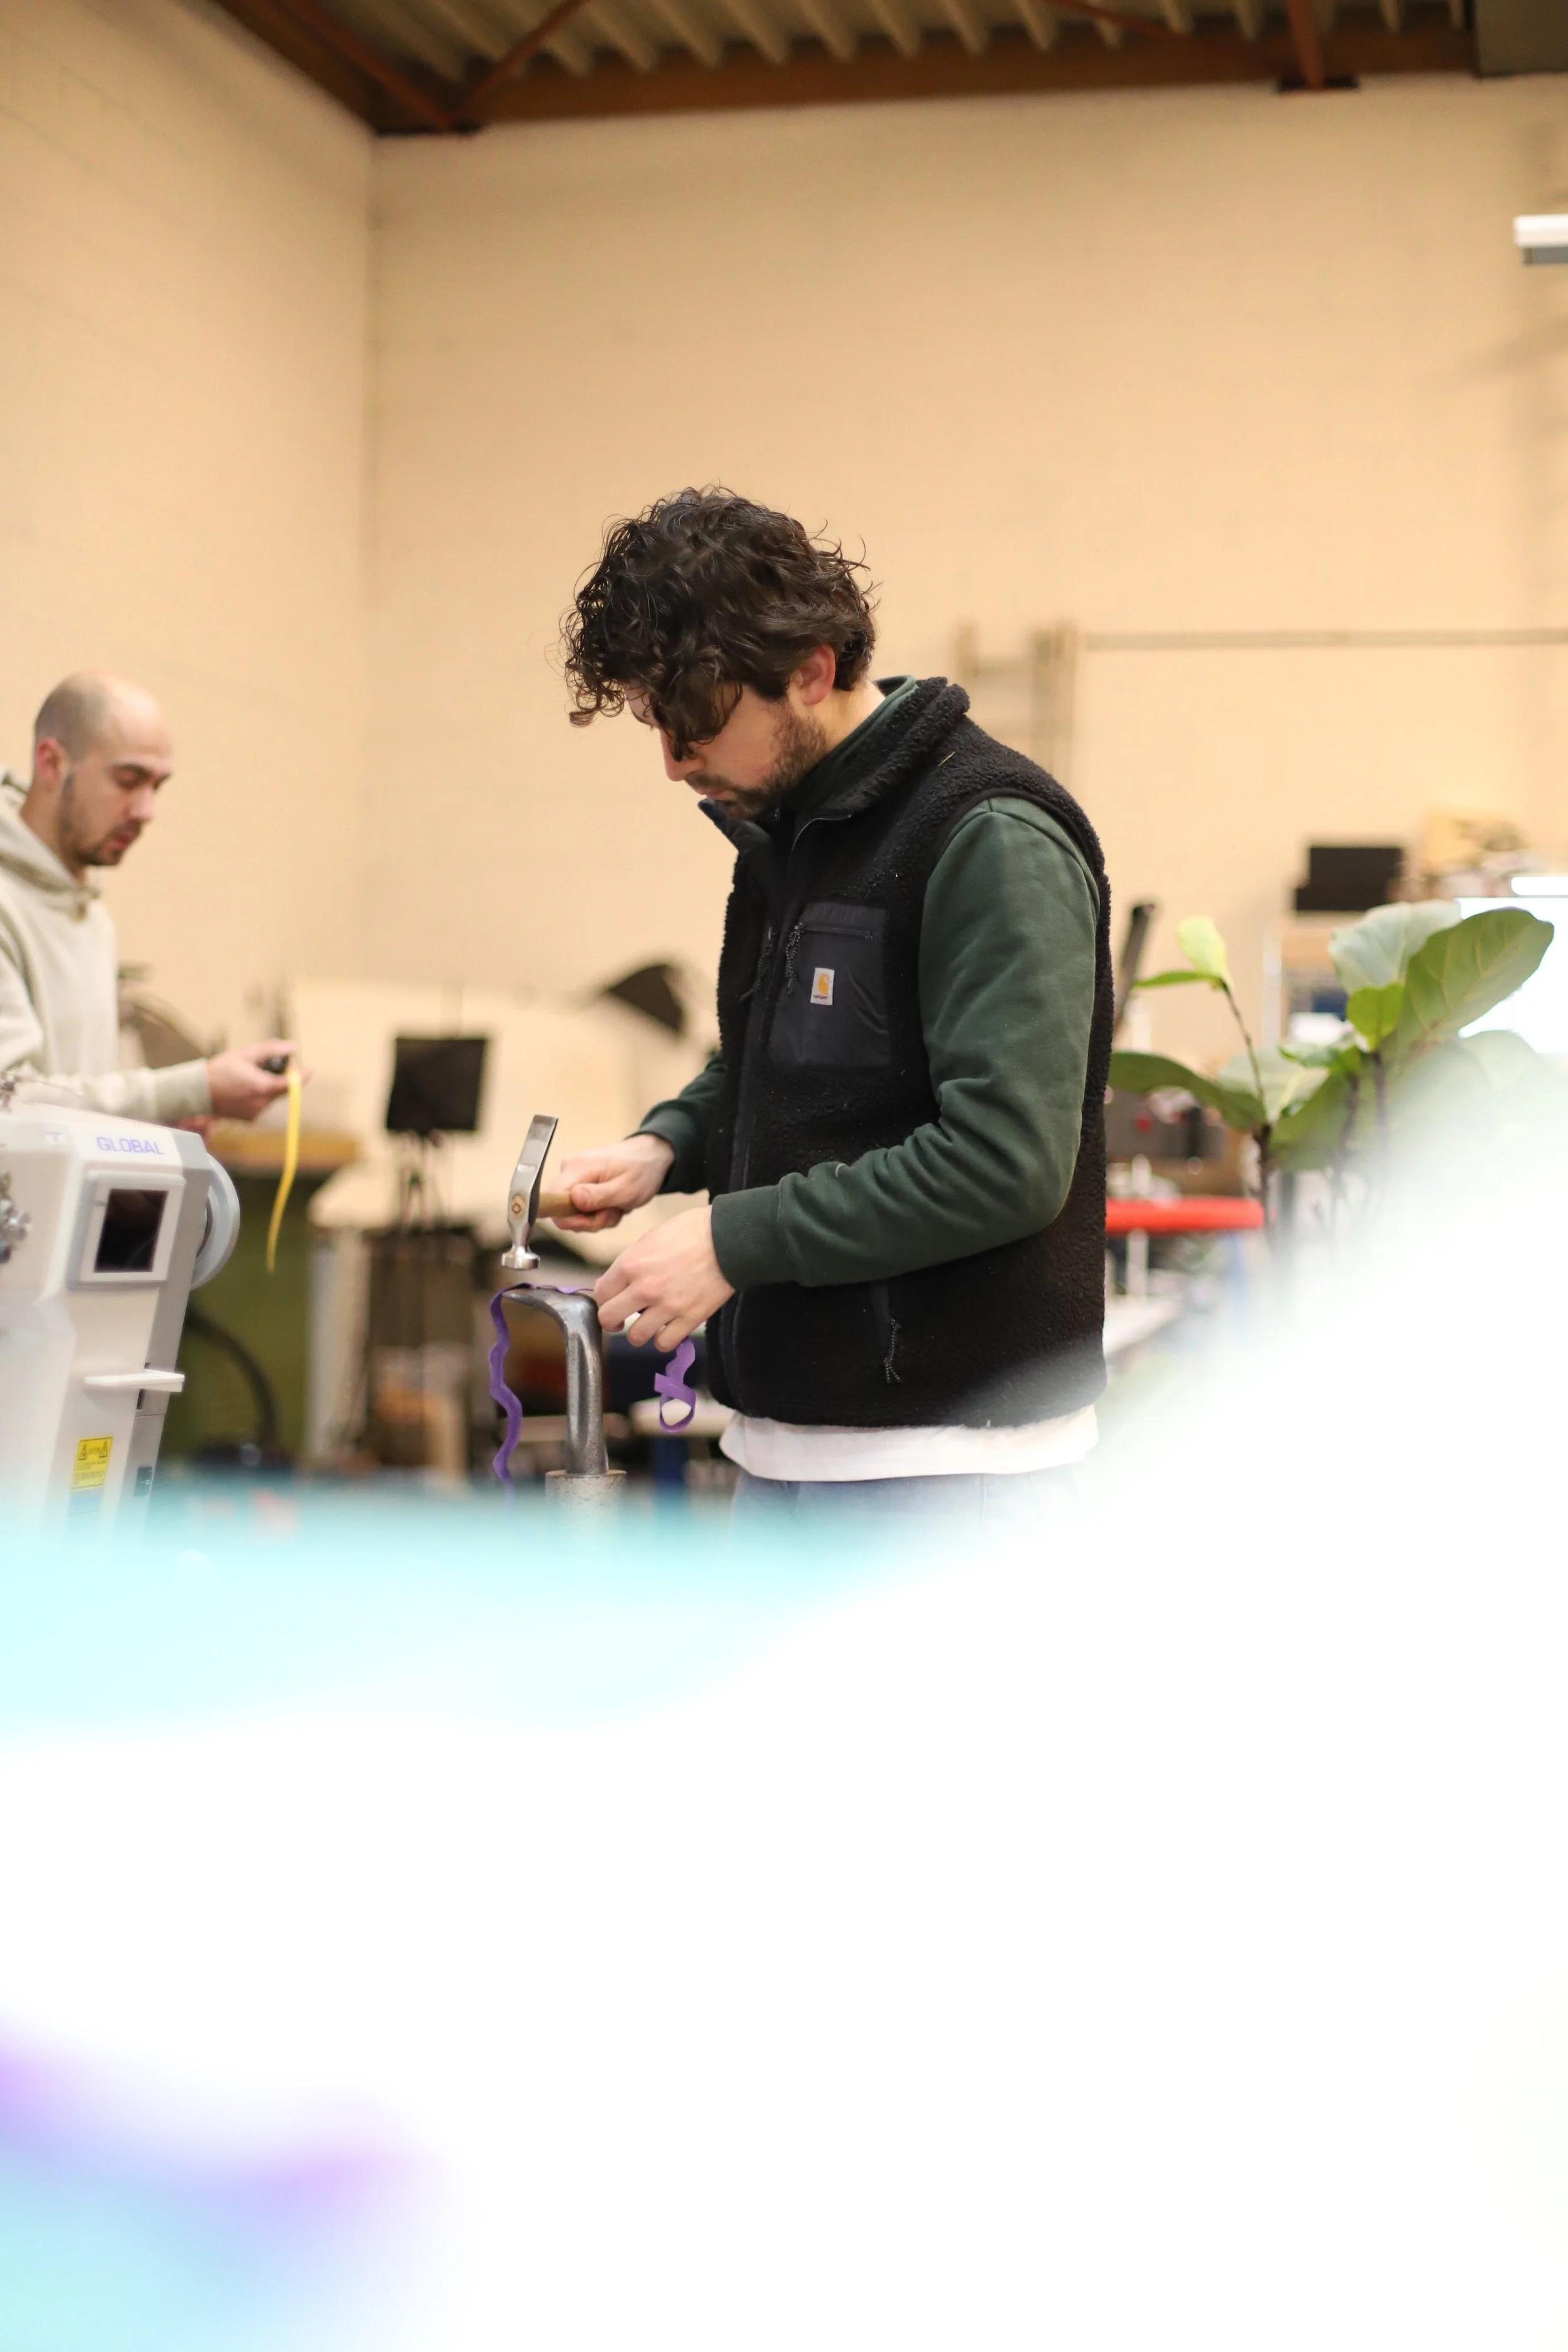
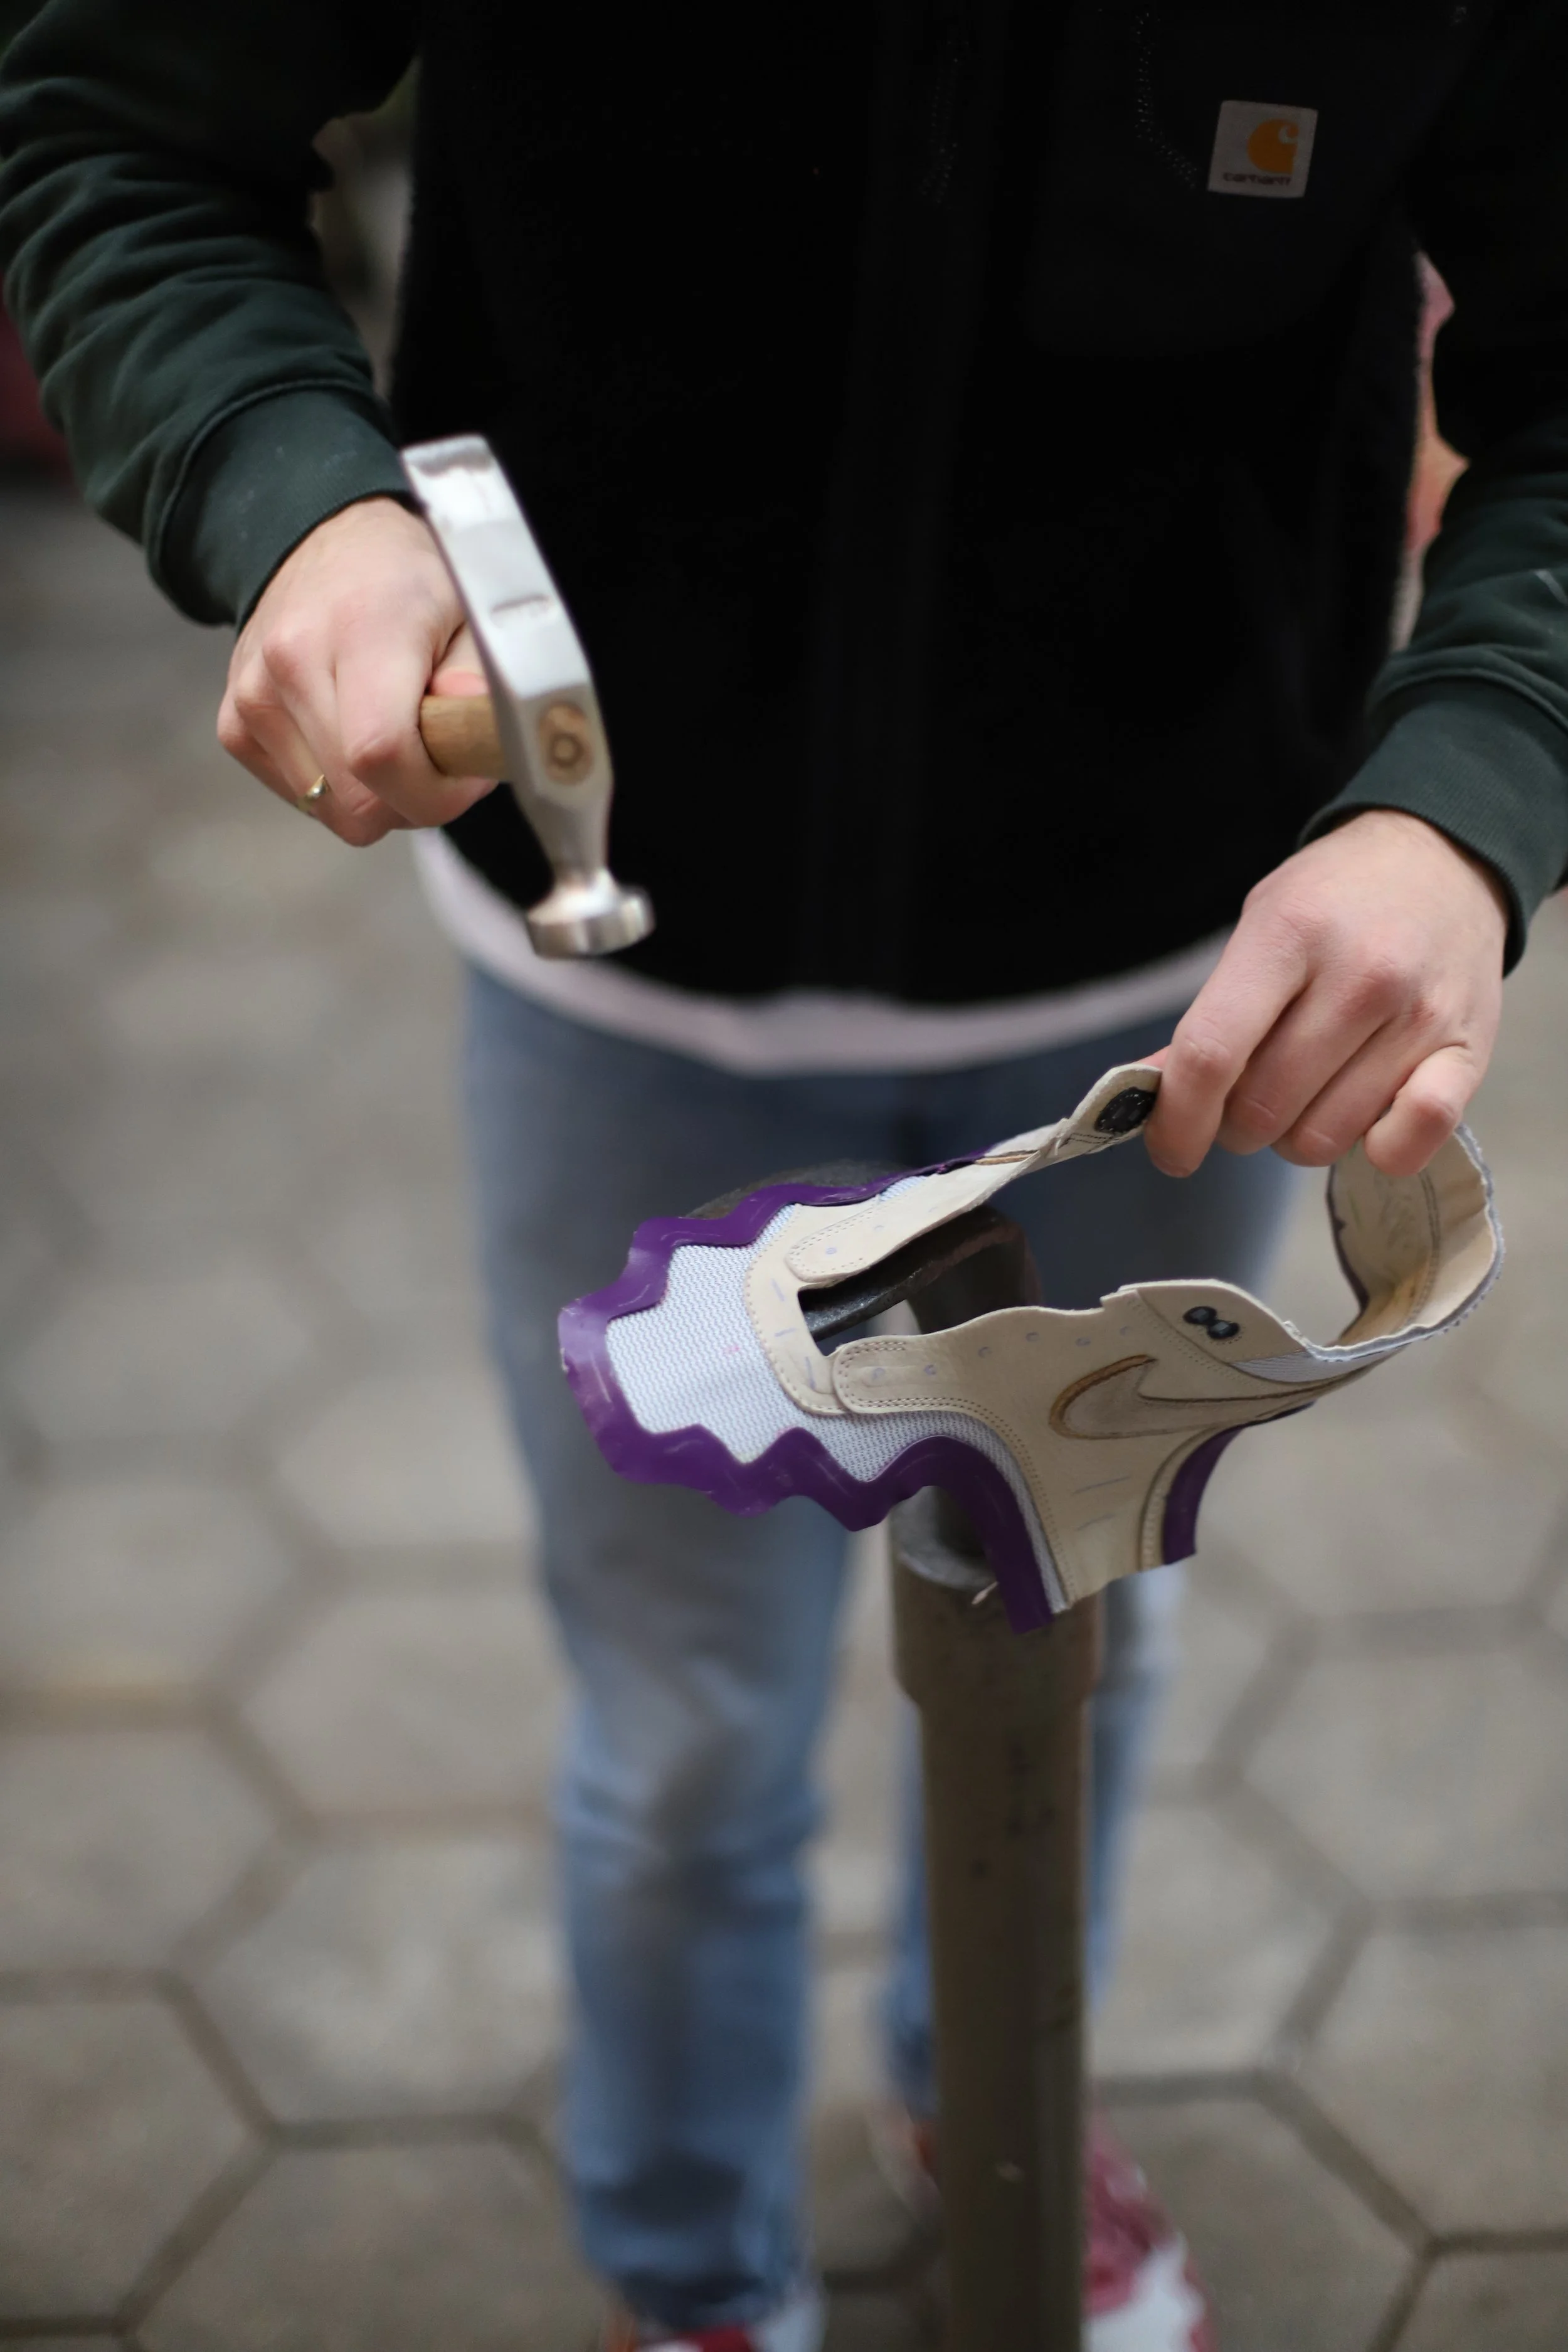
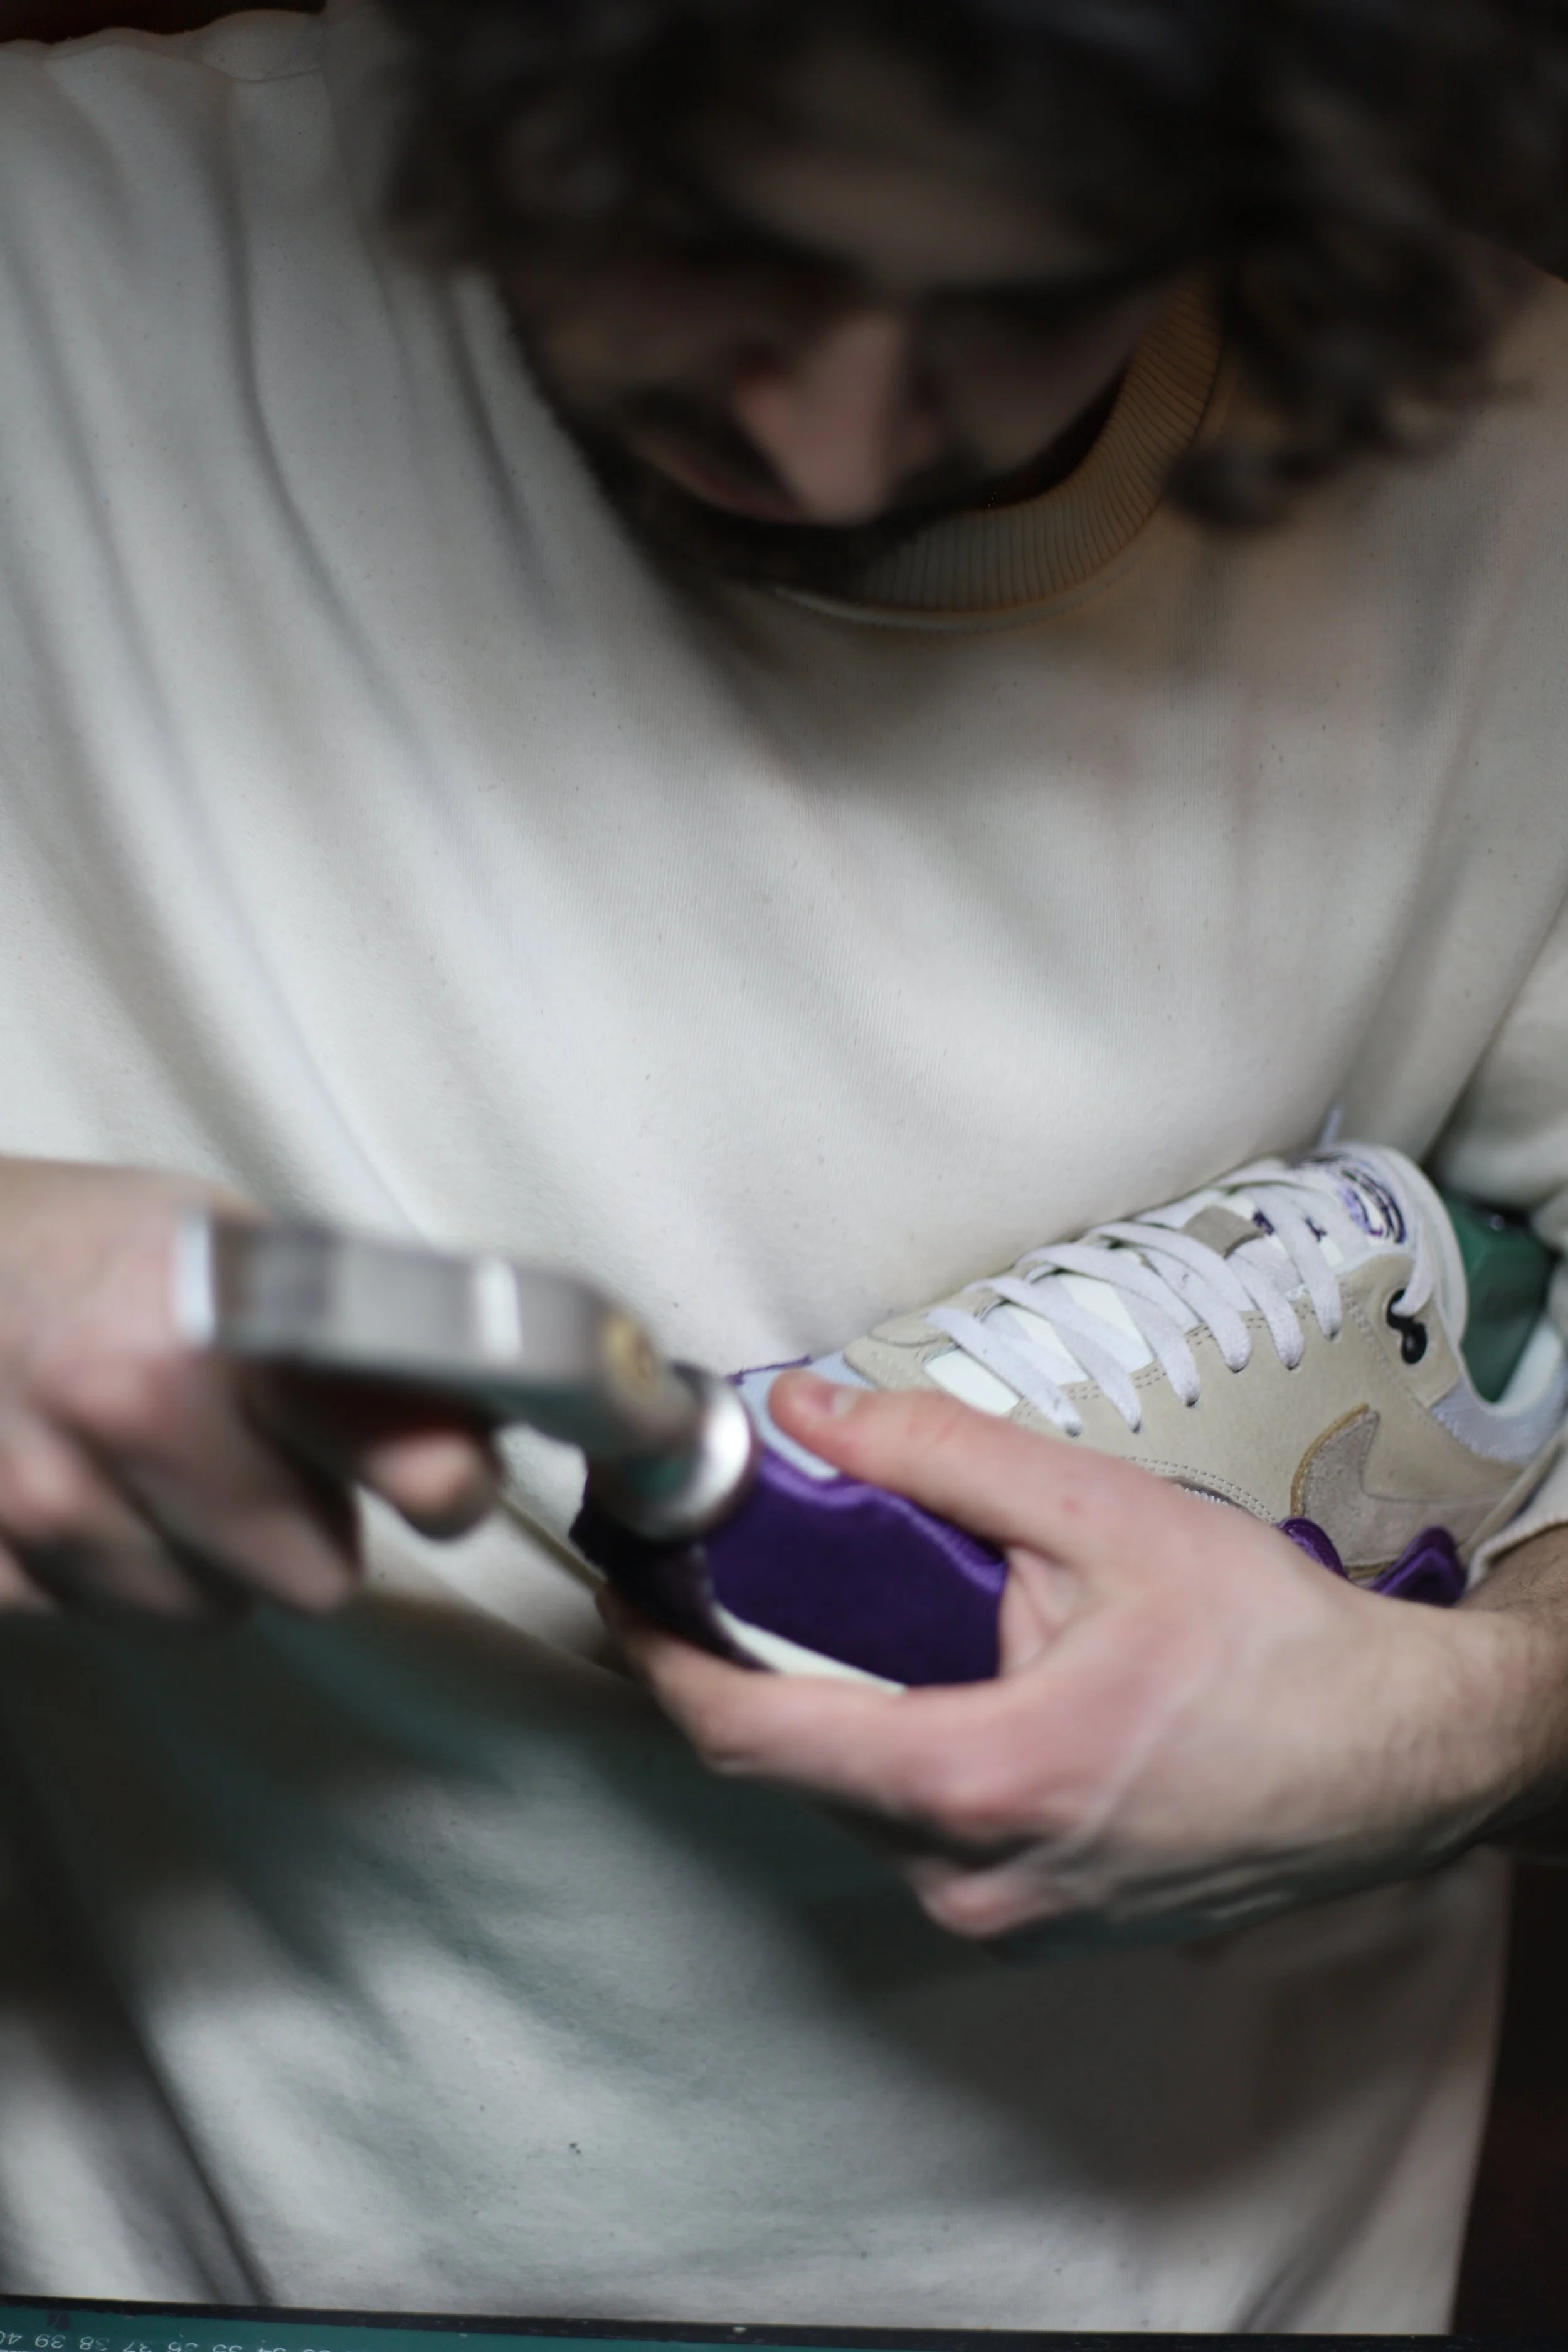
After the many gluing steps, it is also important to strike the fabrics with a hammer. This makes them bond even better. But you have to be careful with this, with some fabrics it will damage the color and structure.
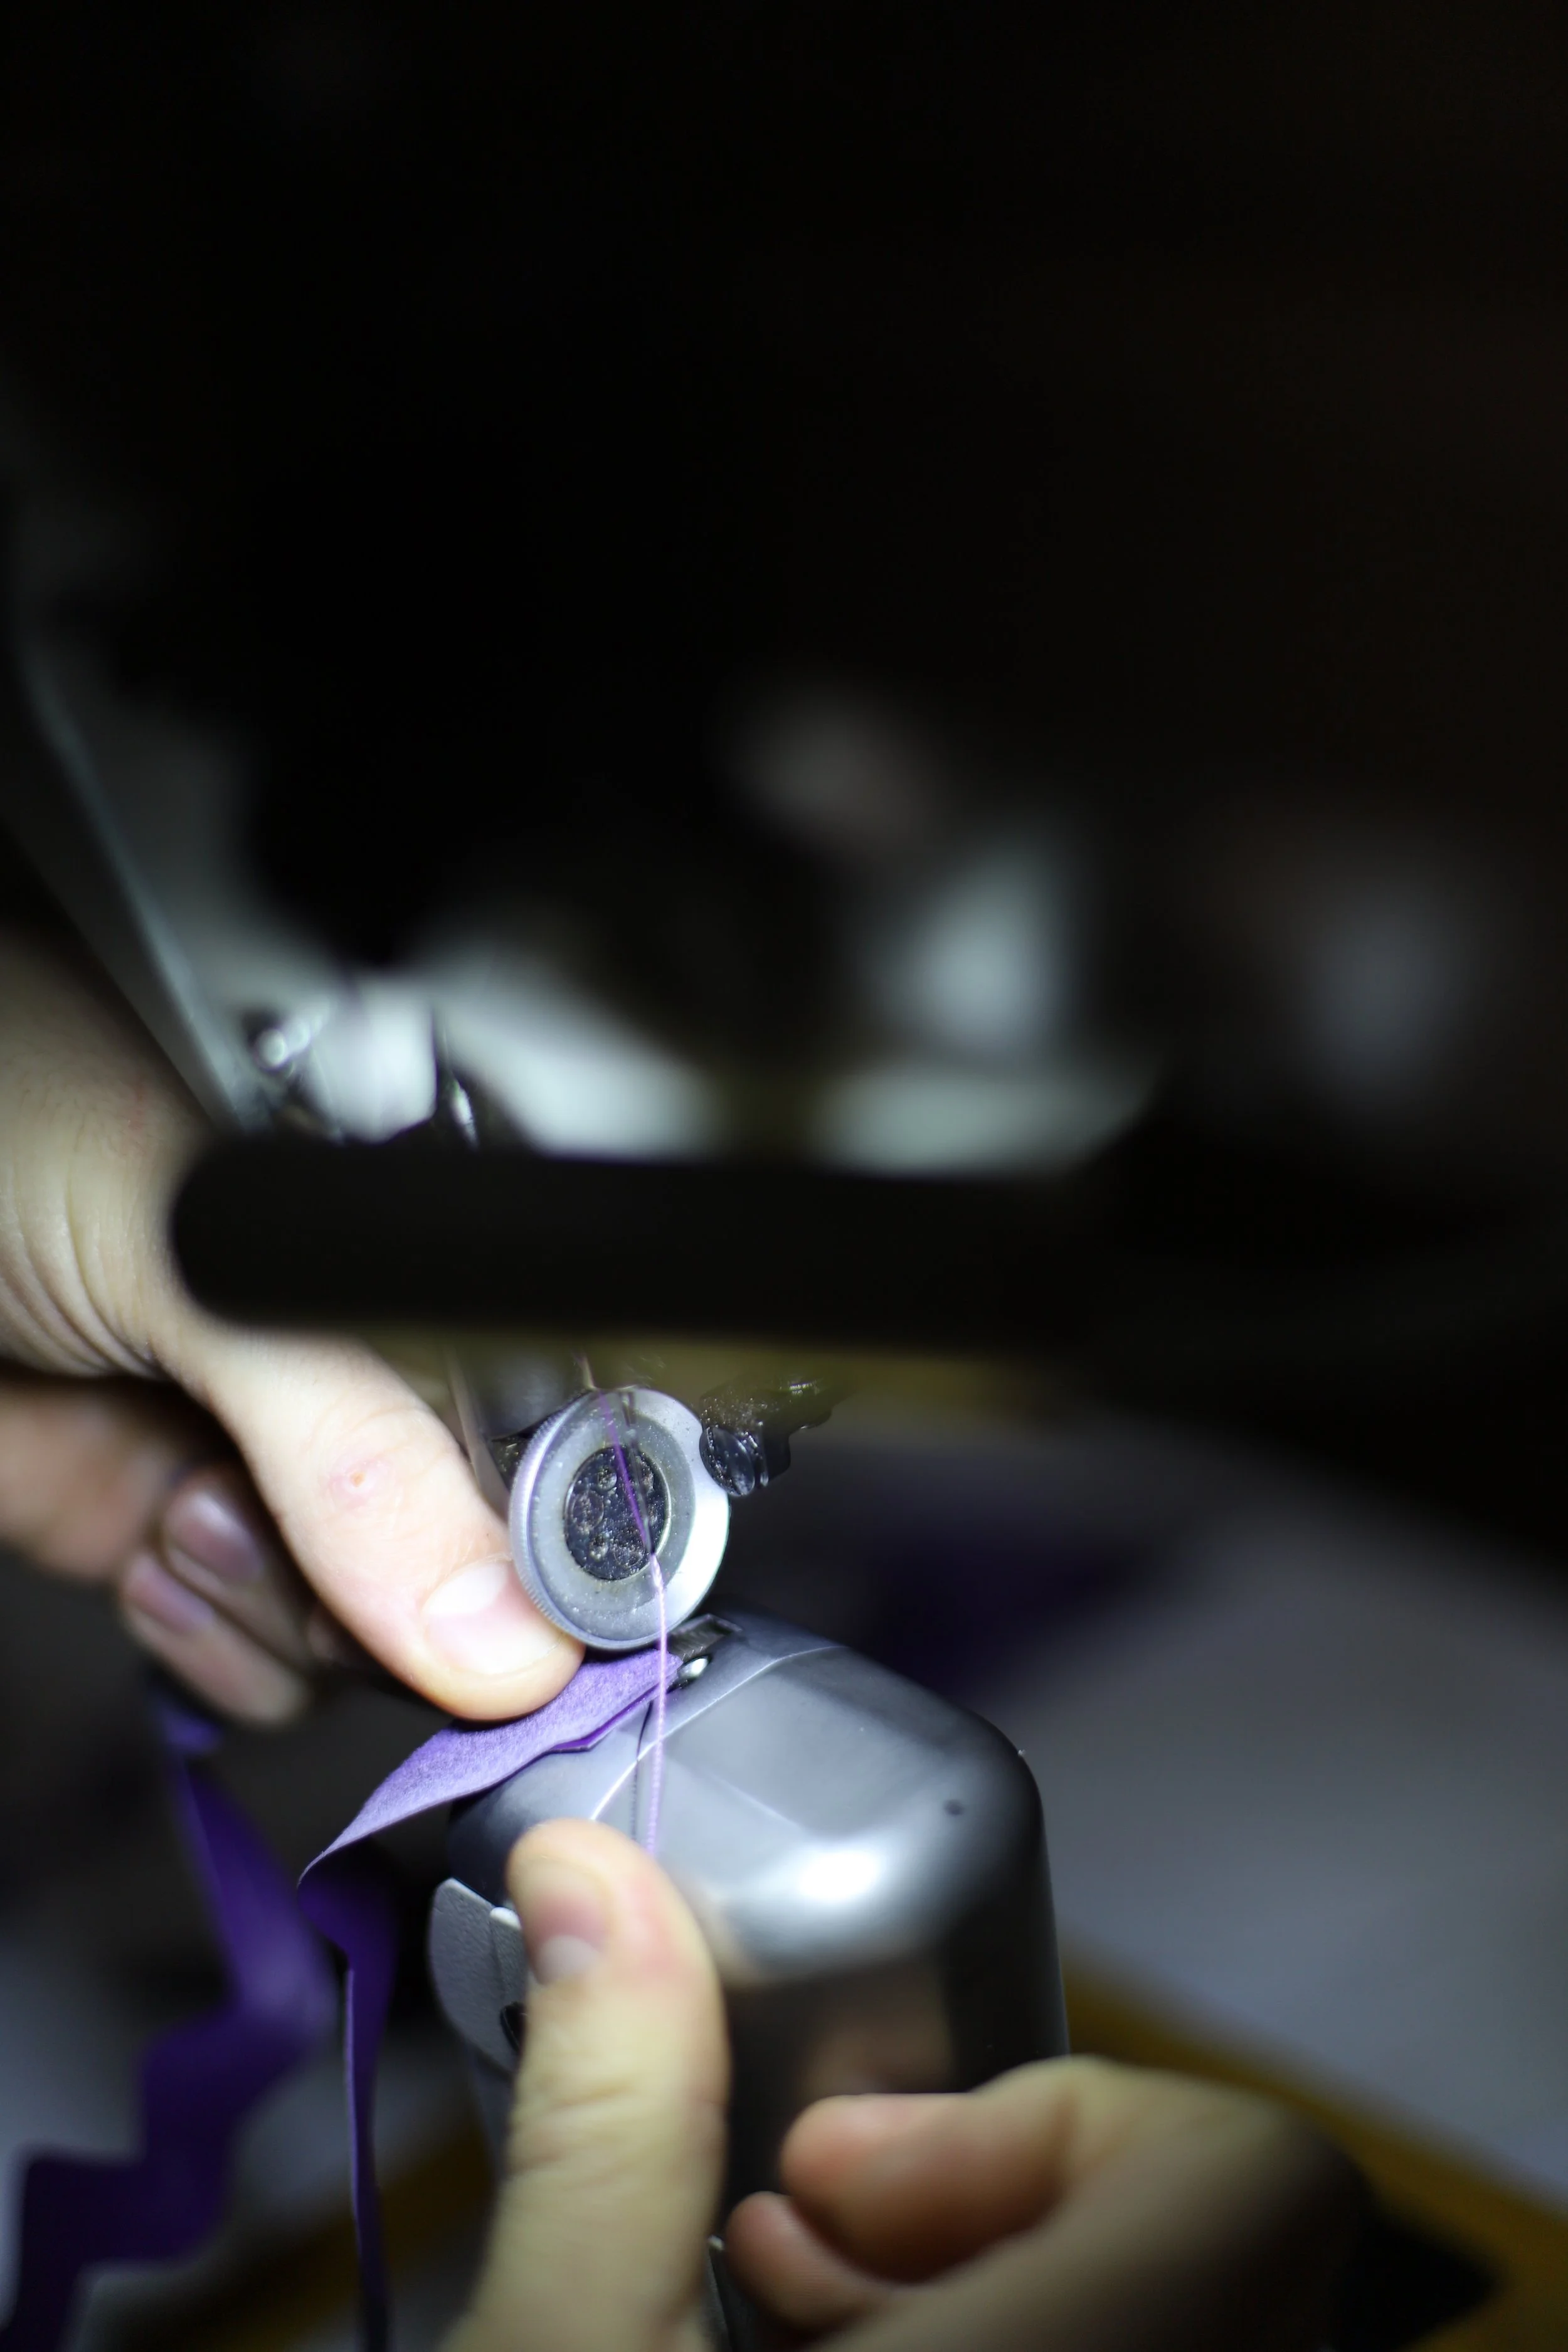
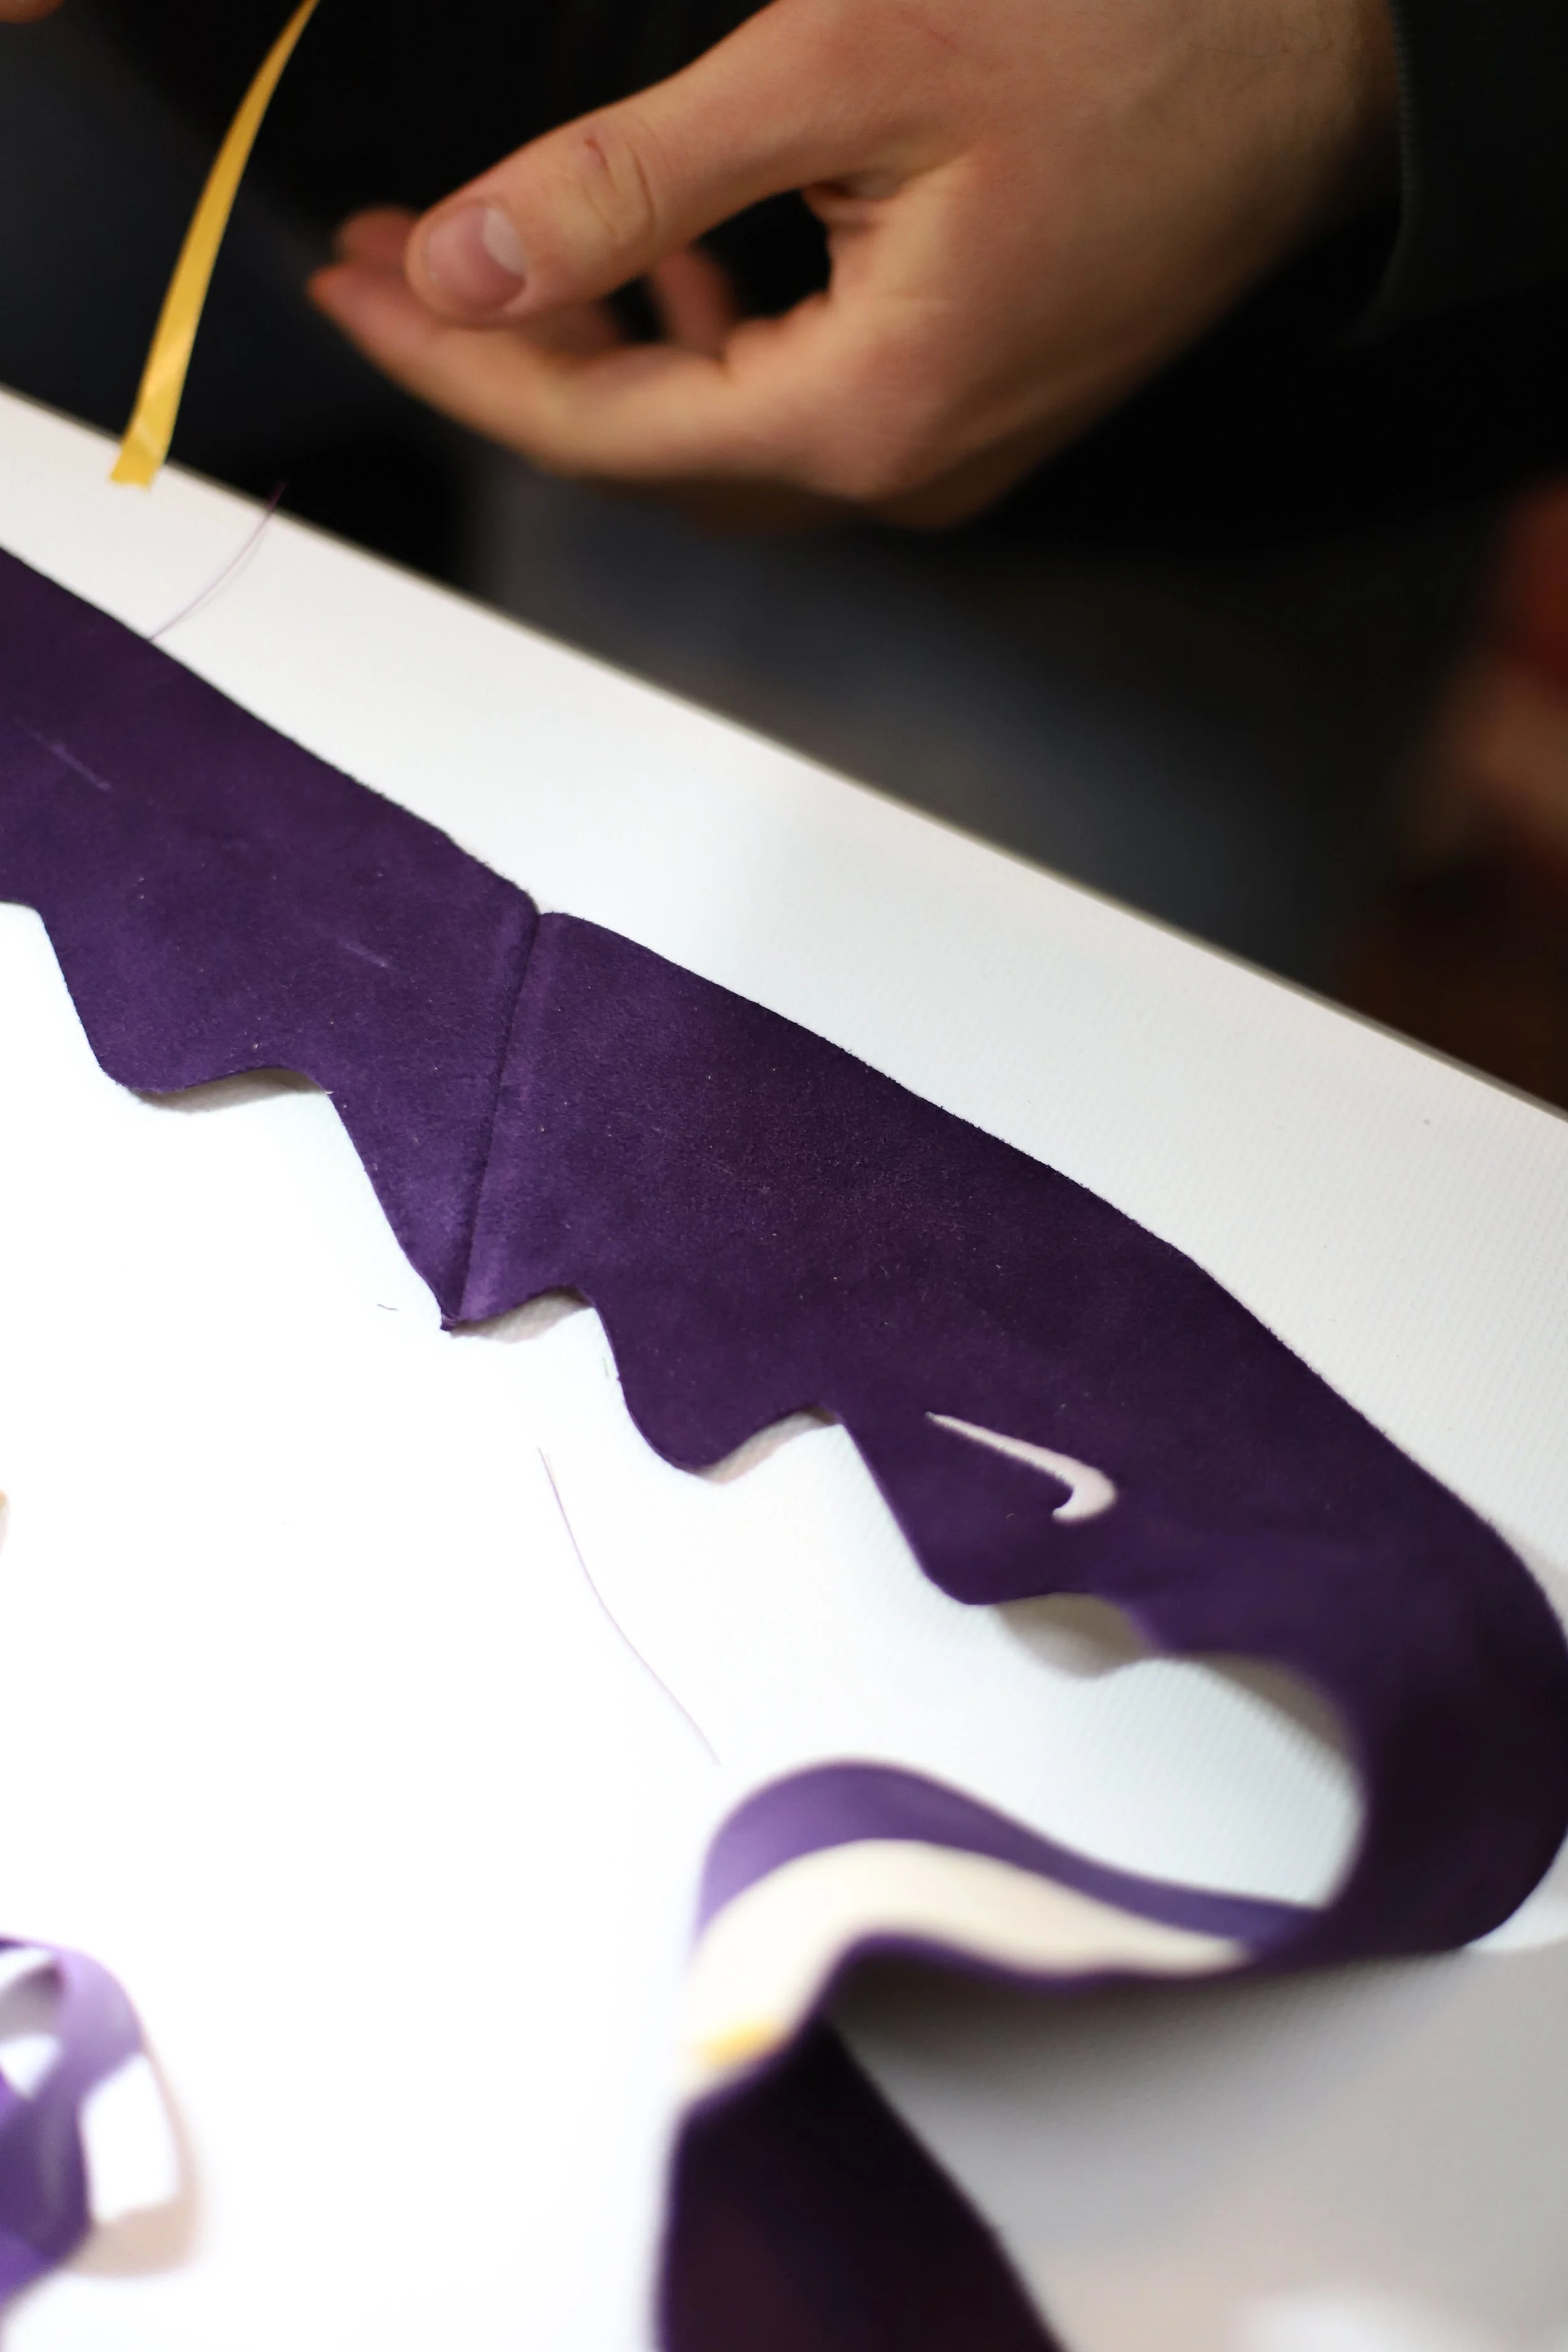
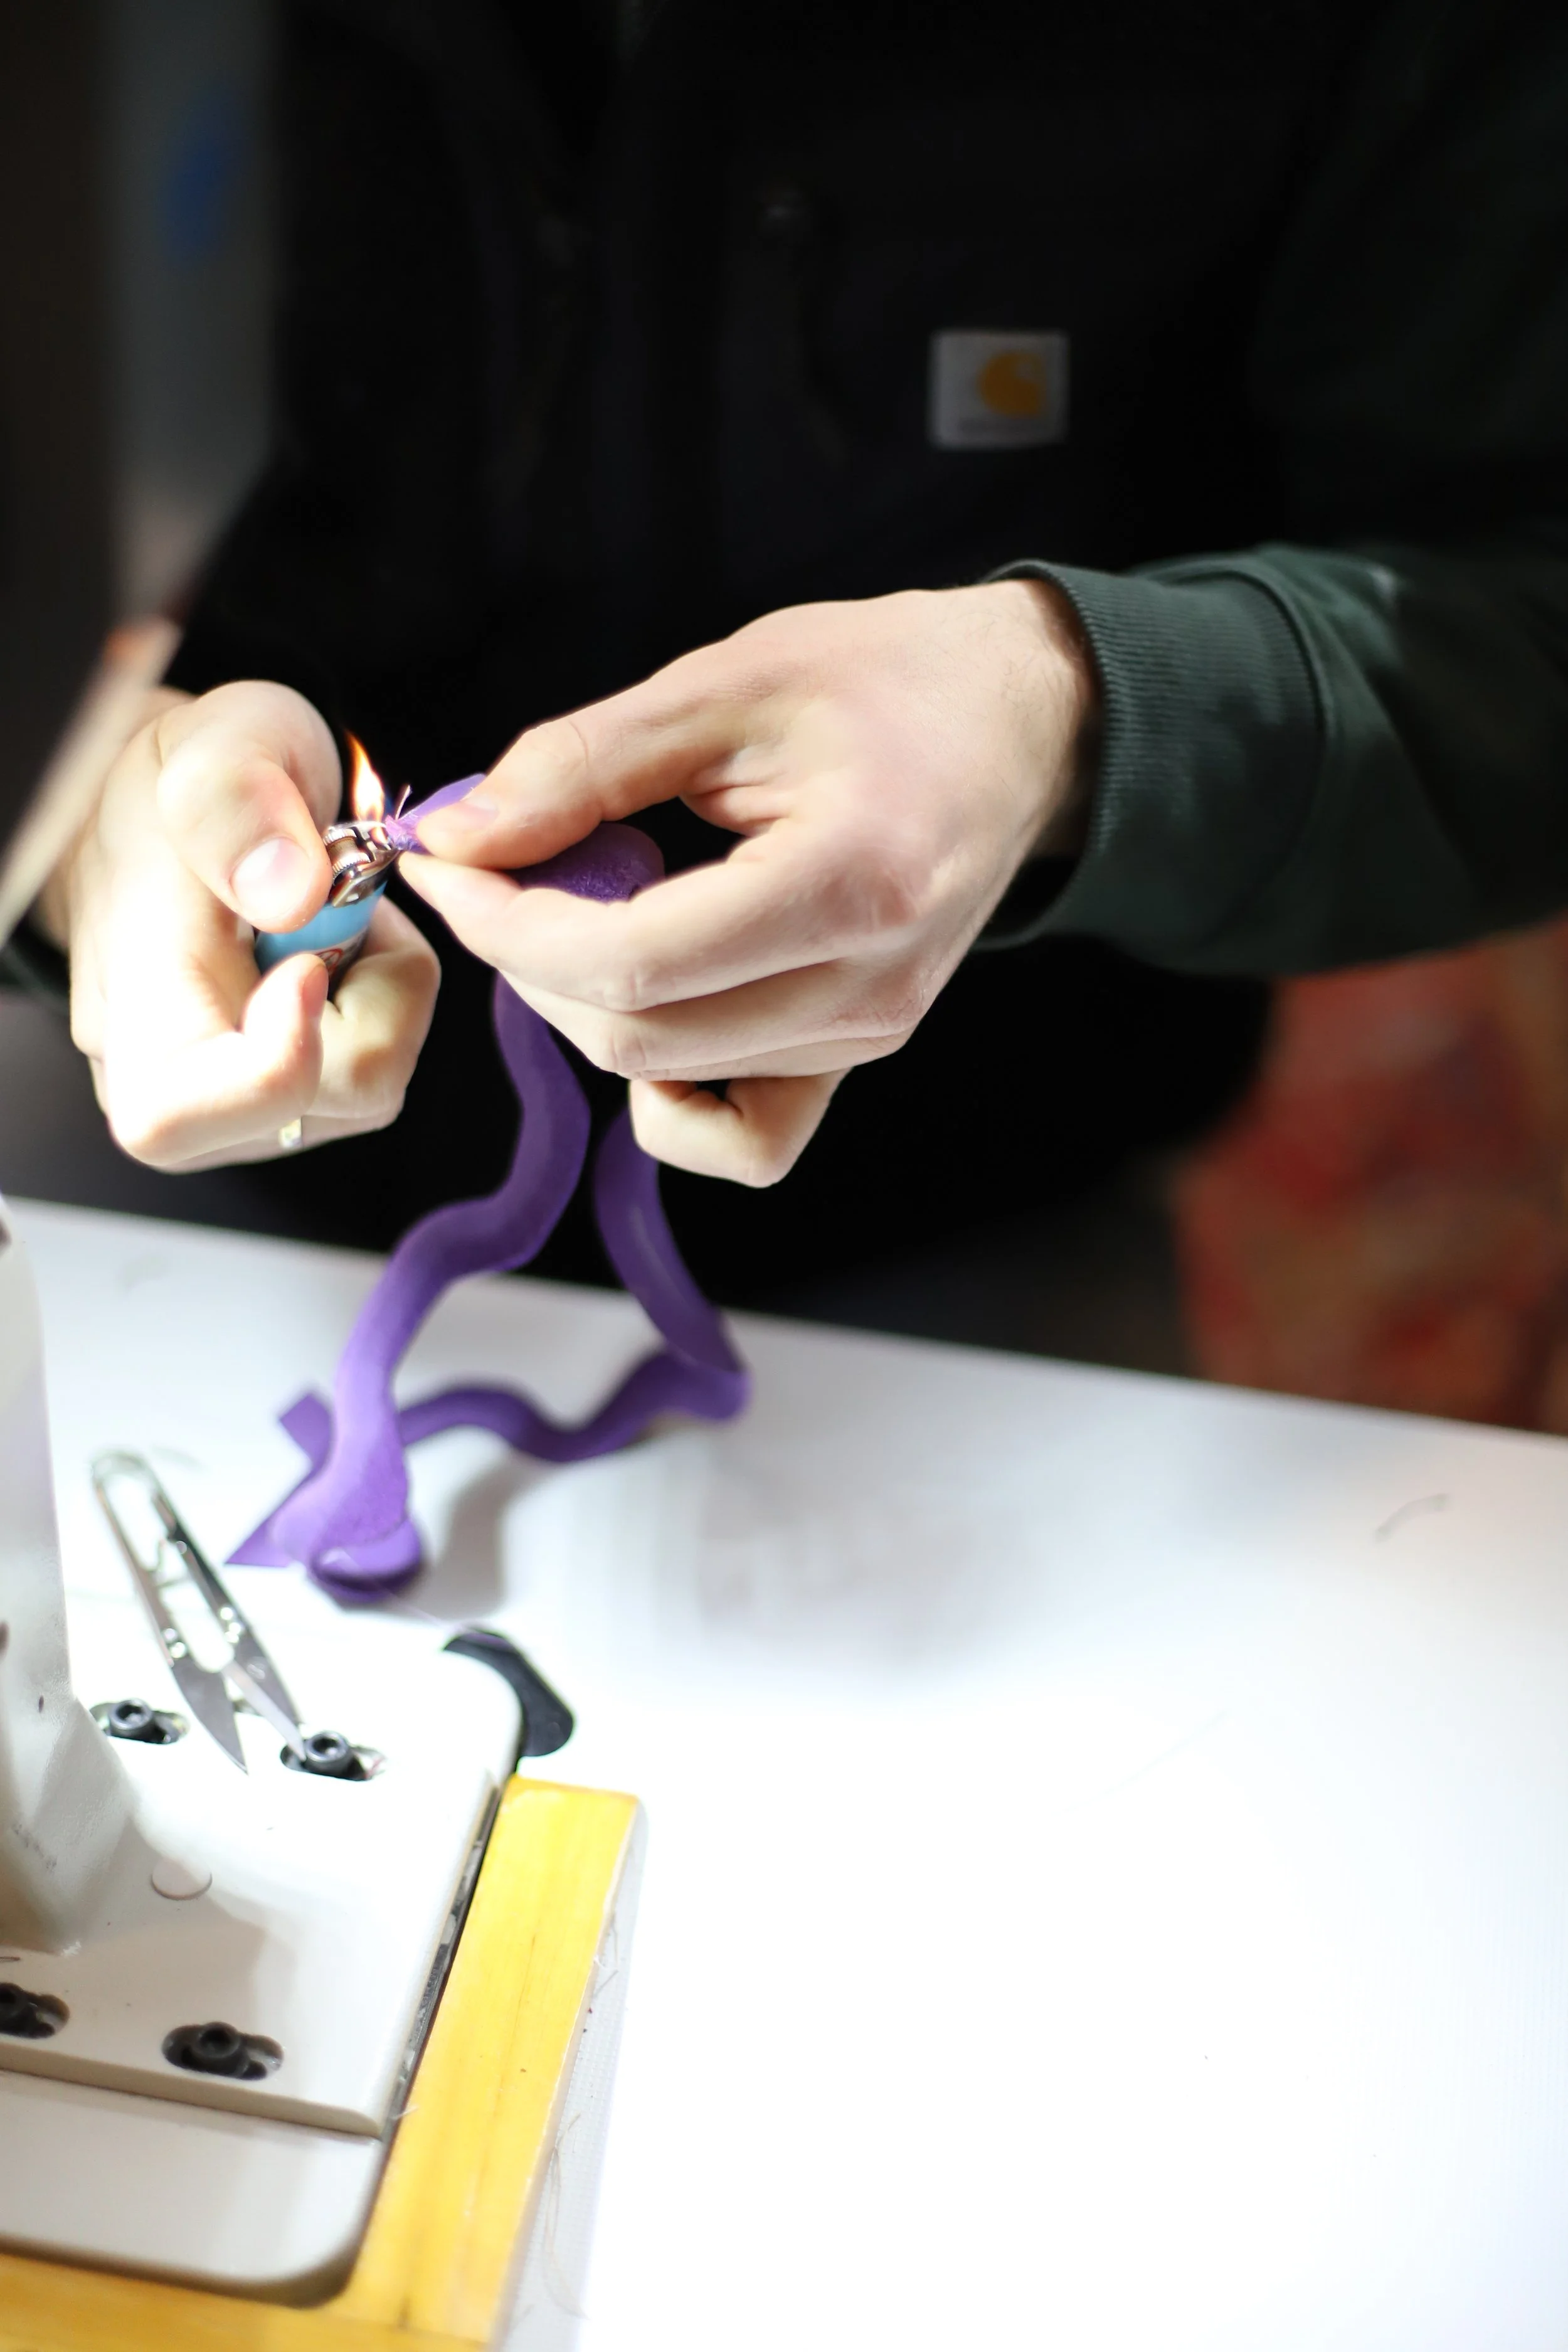
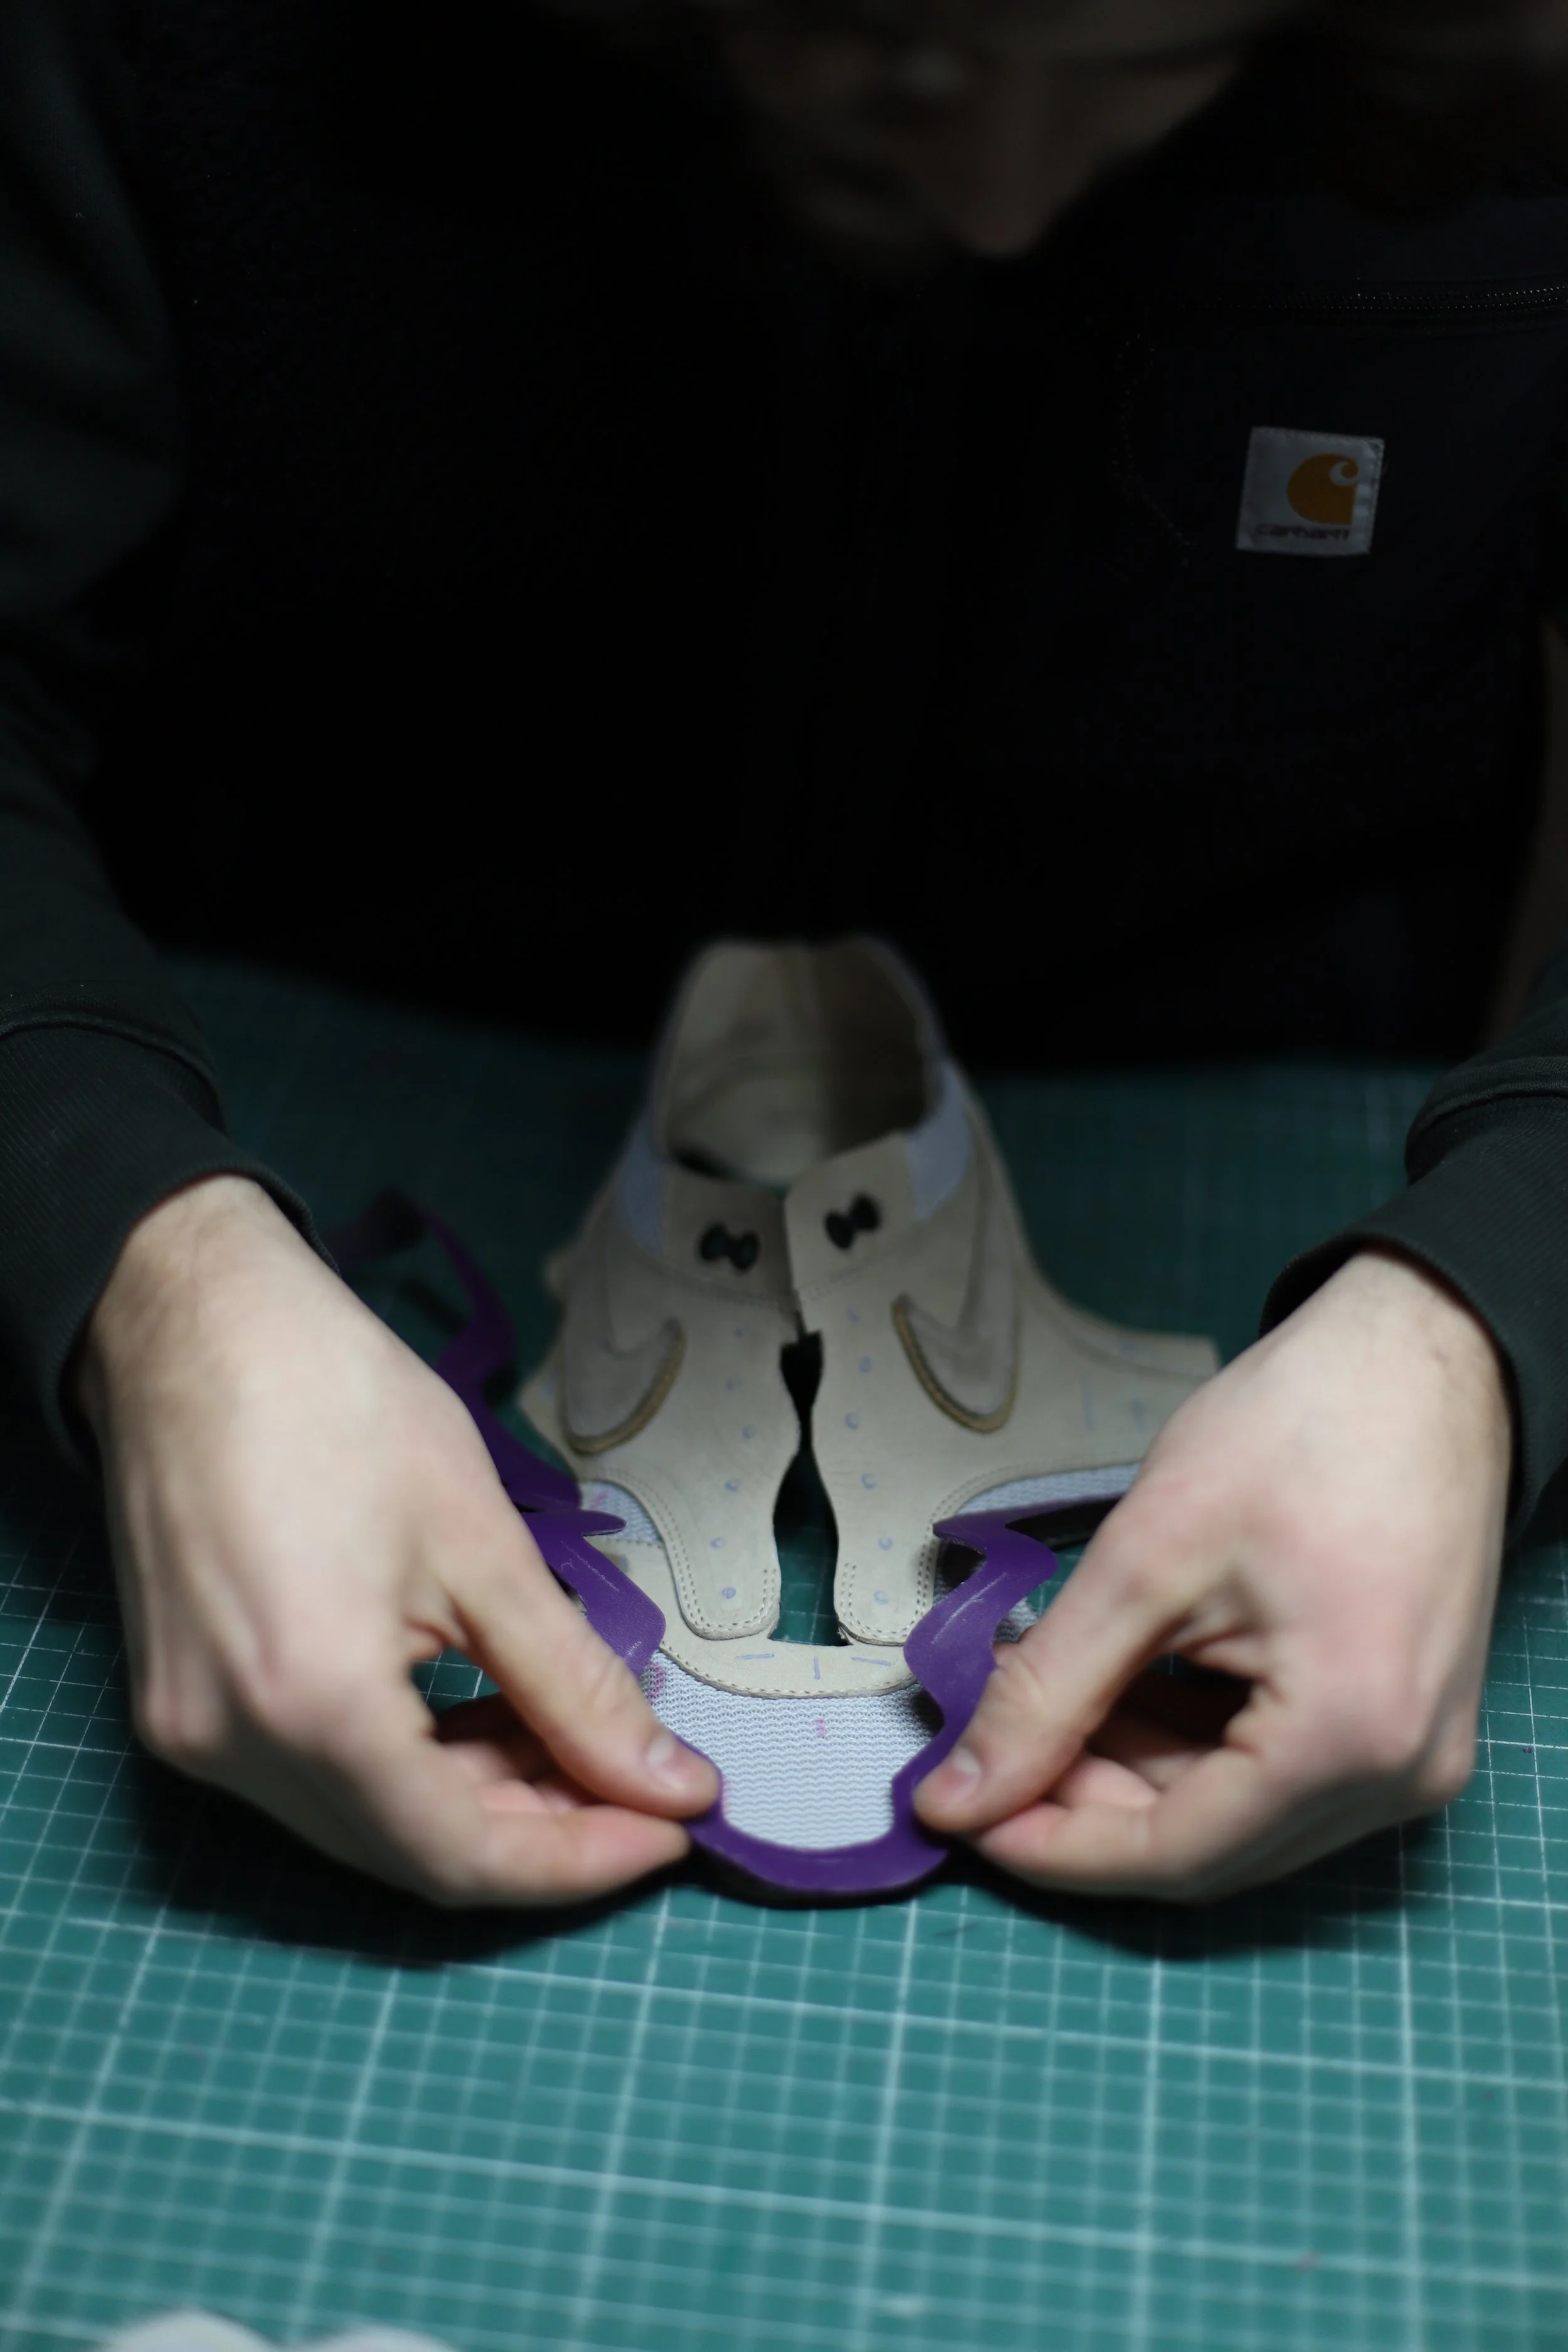
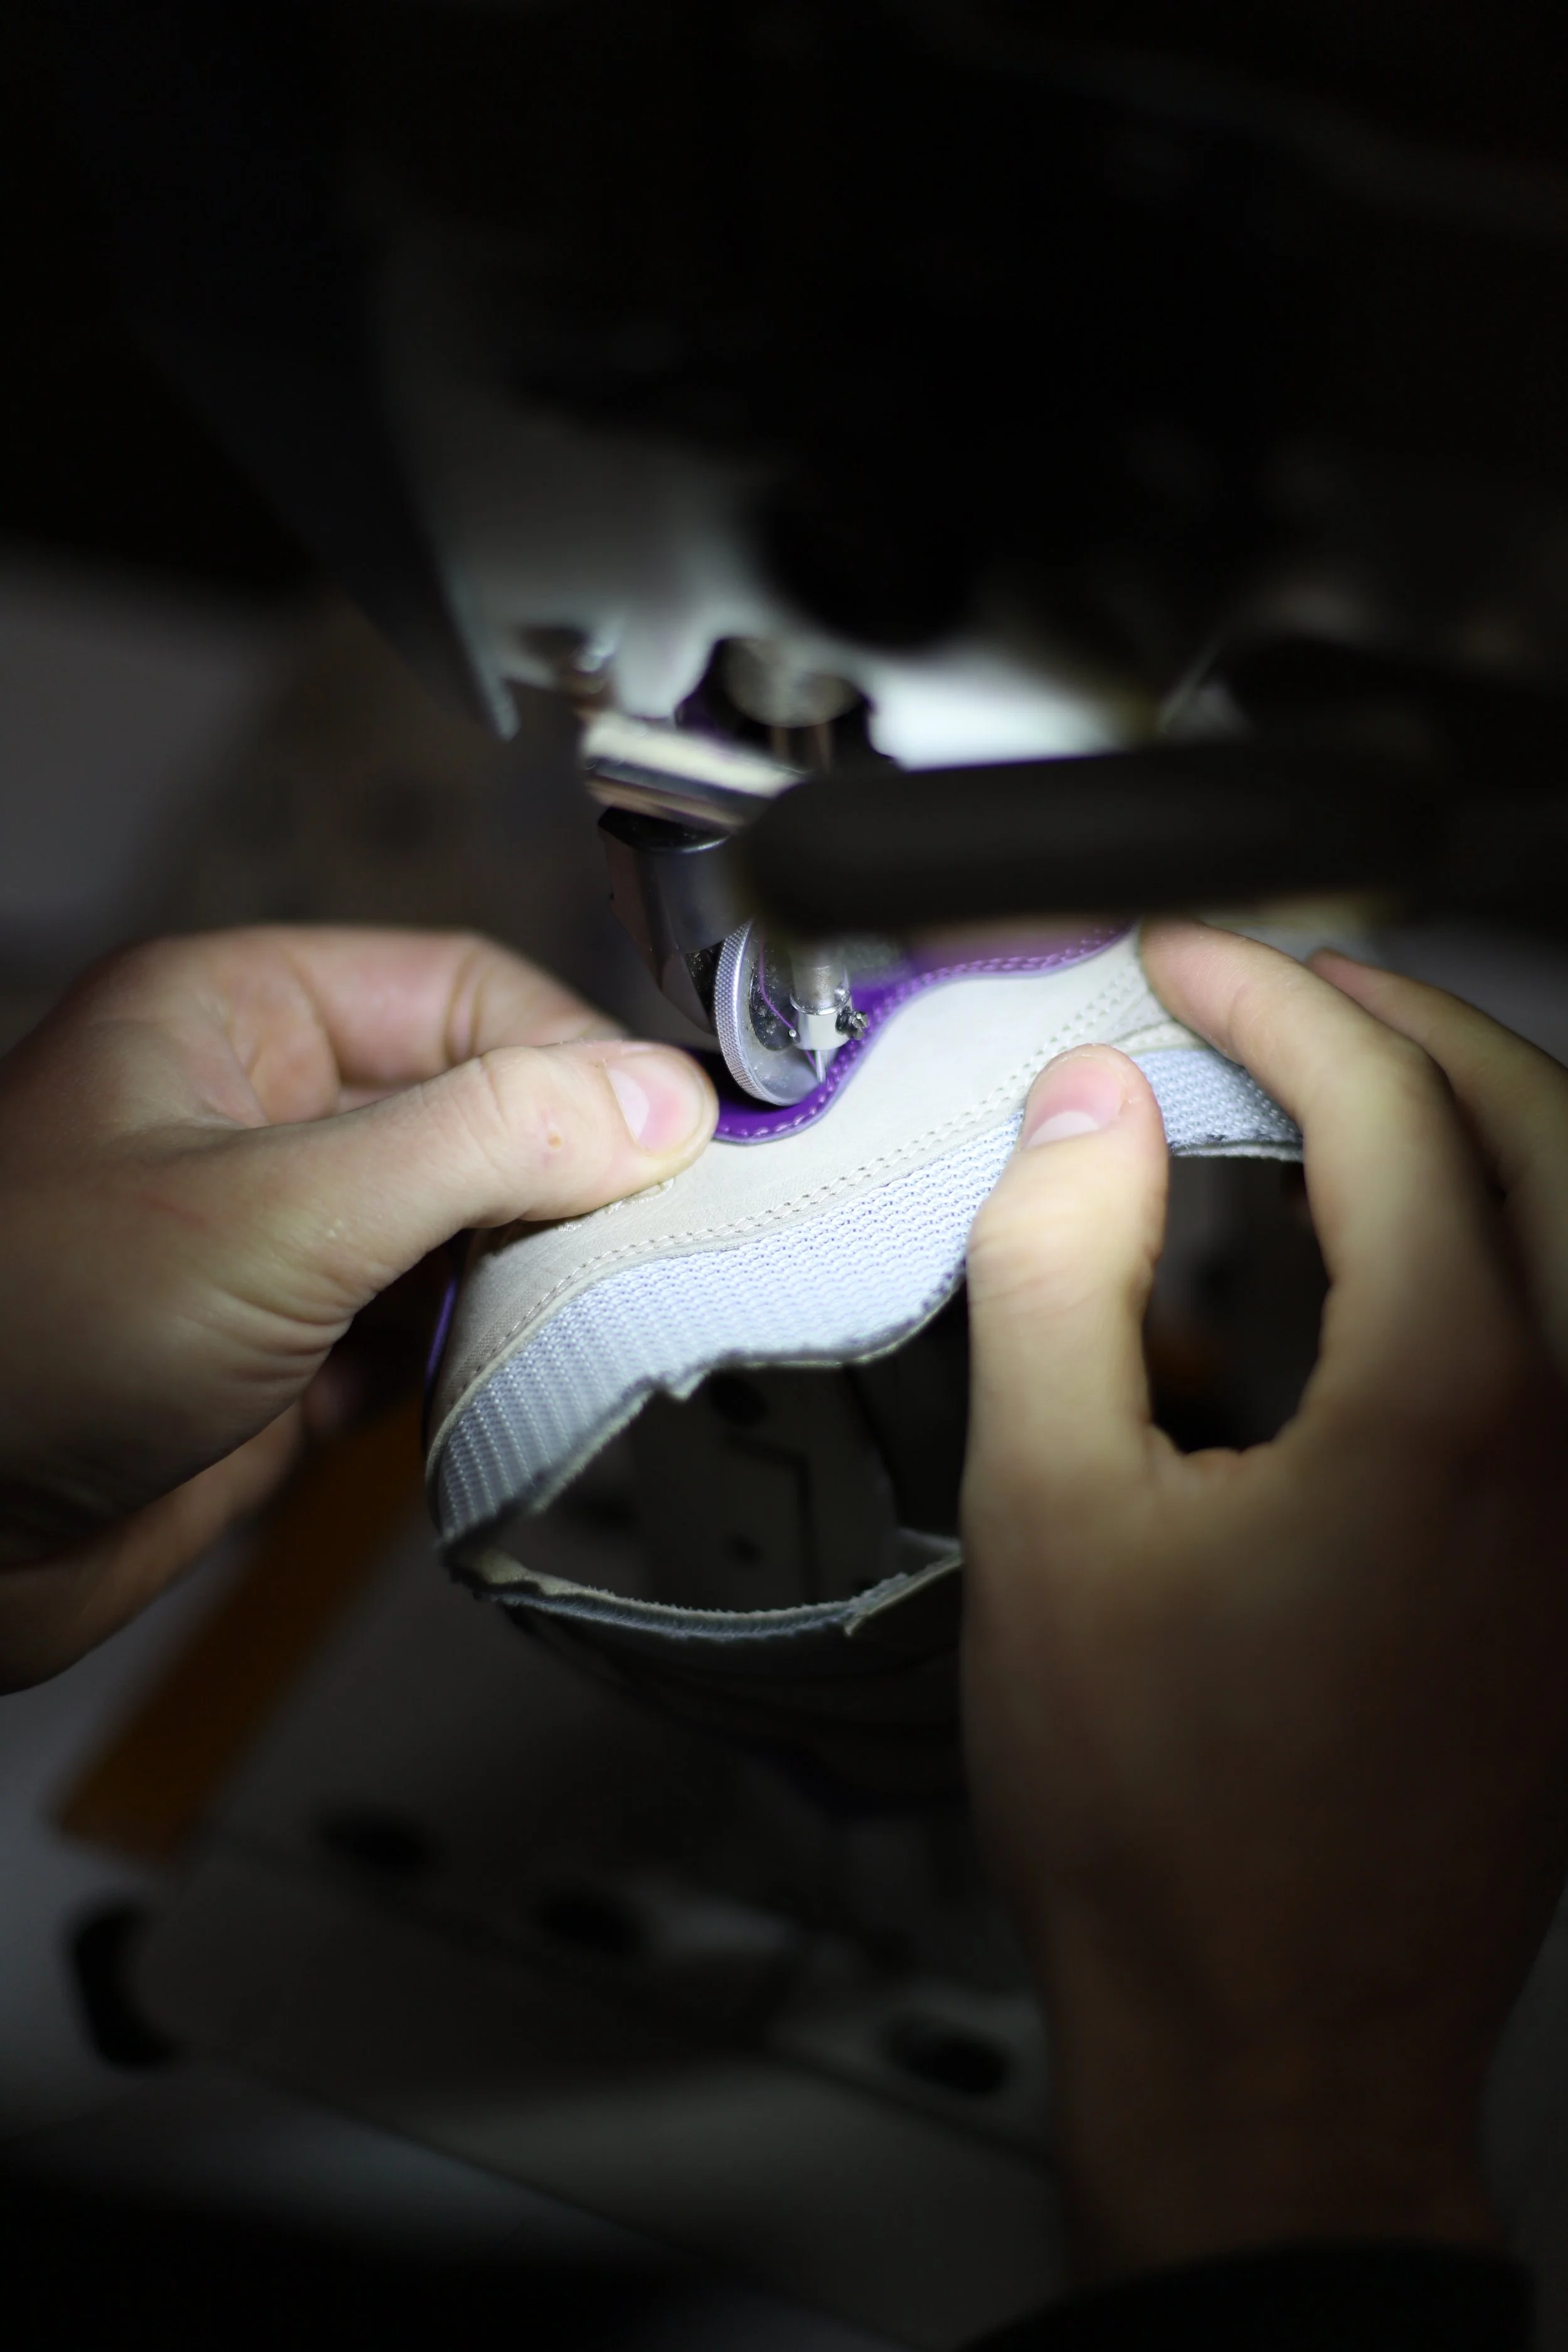
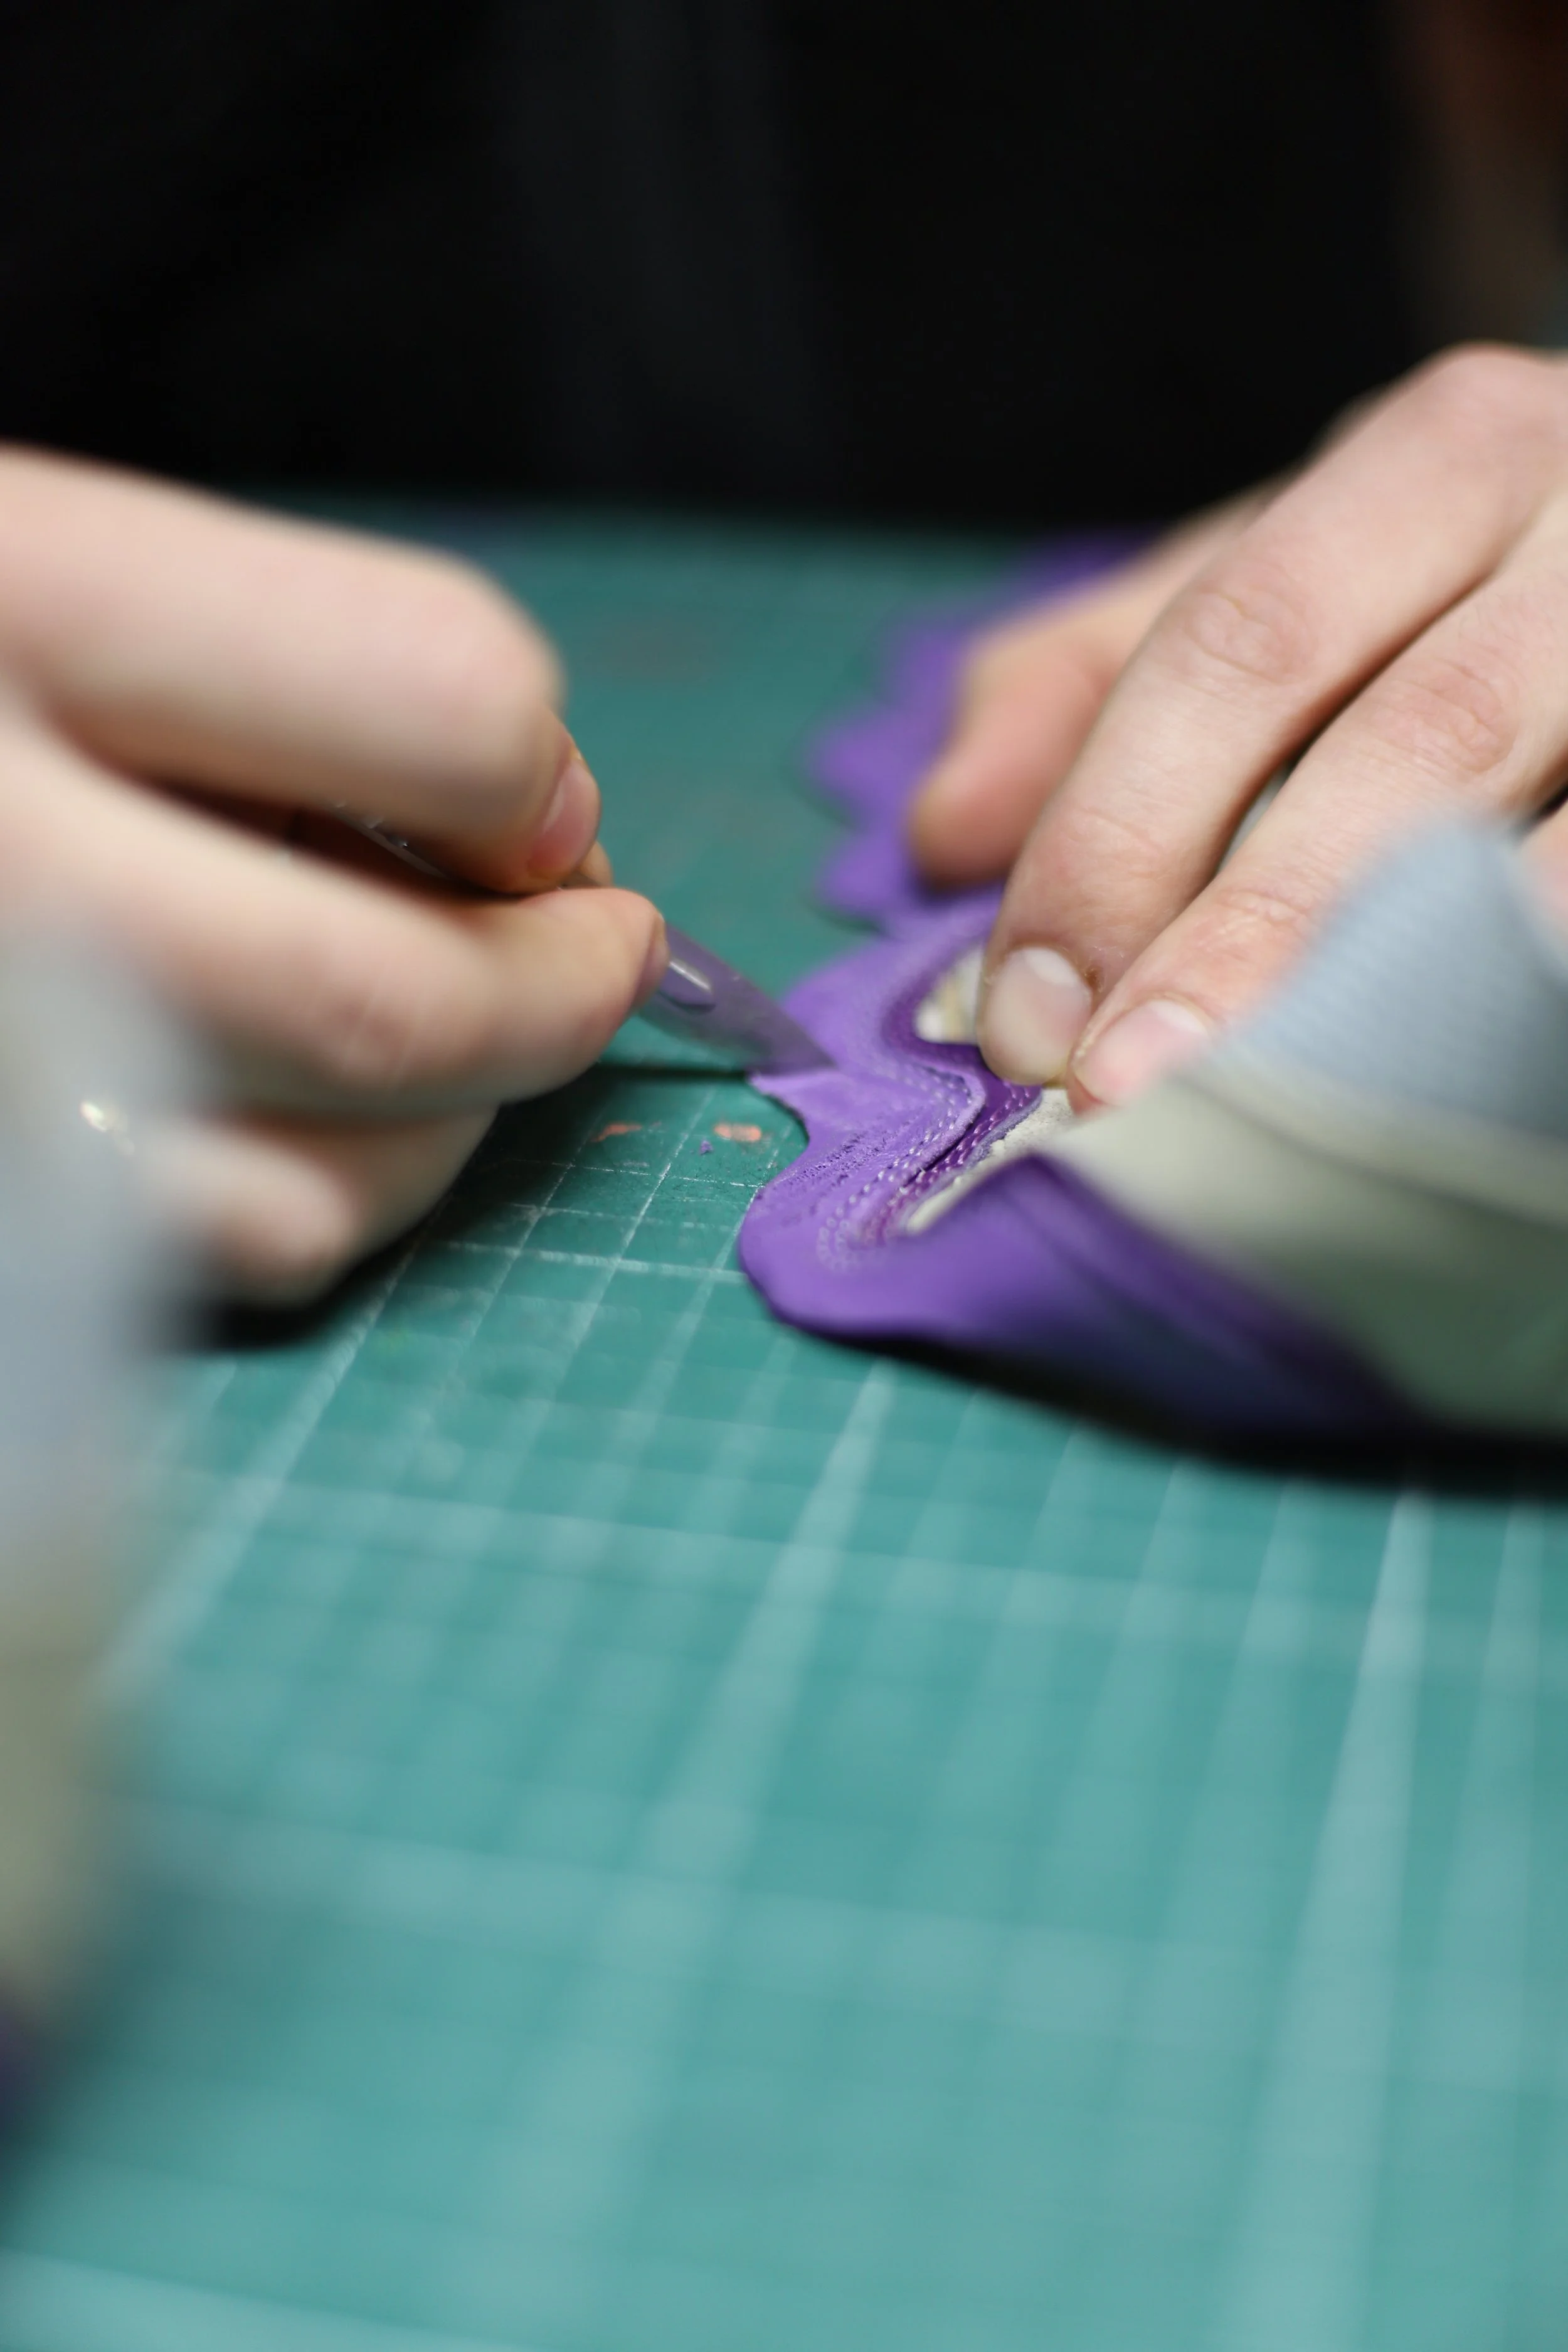
When the fabrics are glued and bonded, it's time to stitch the fabrics together. The mudguard actually consists of two parts. To make this a part, ‘stitch and turn’ is used. With stitch and turn, you sew the fabrics on top of each other. After stitching you unfold them and you have made these two parts one.
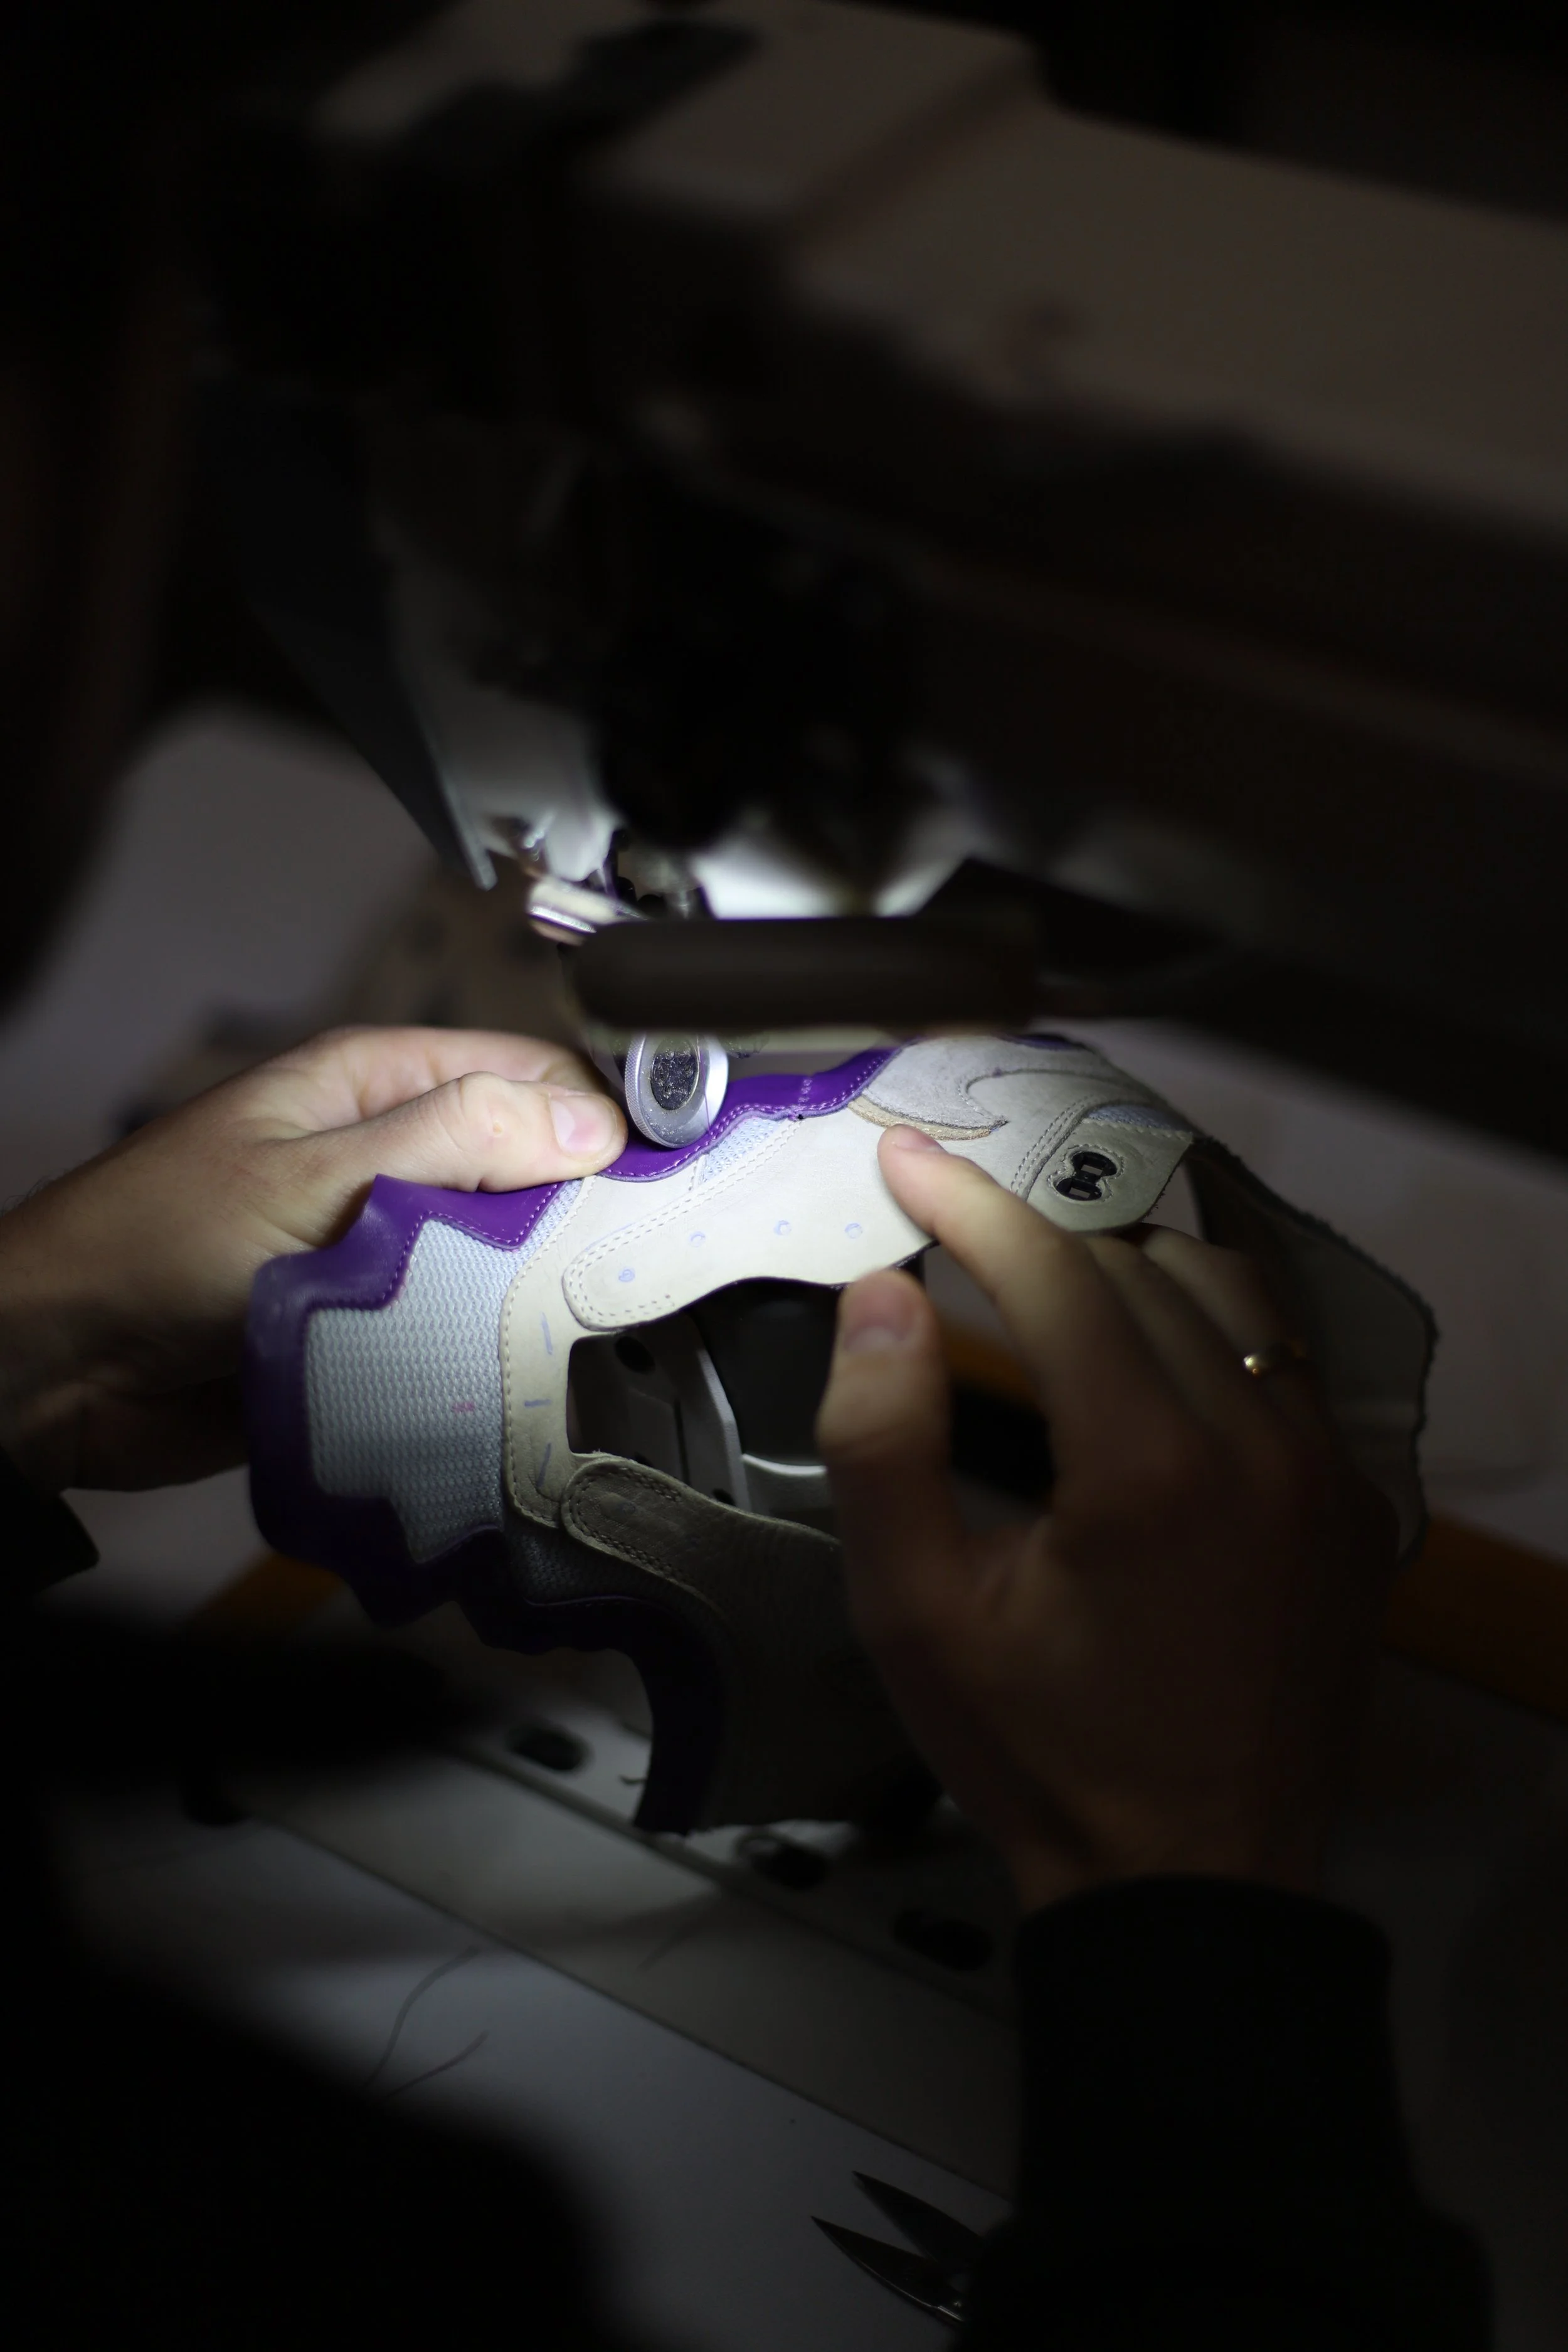
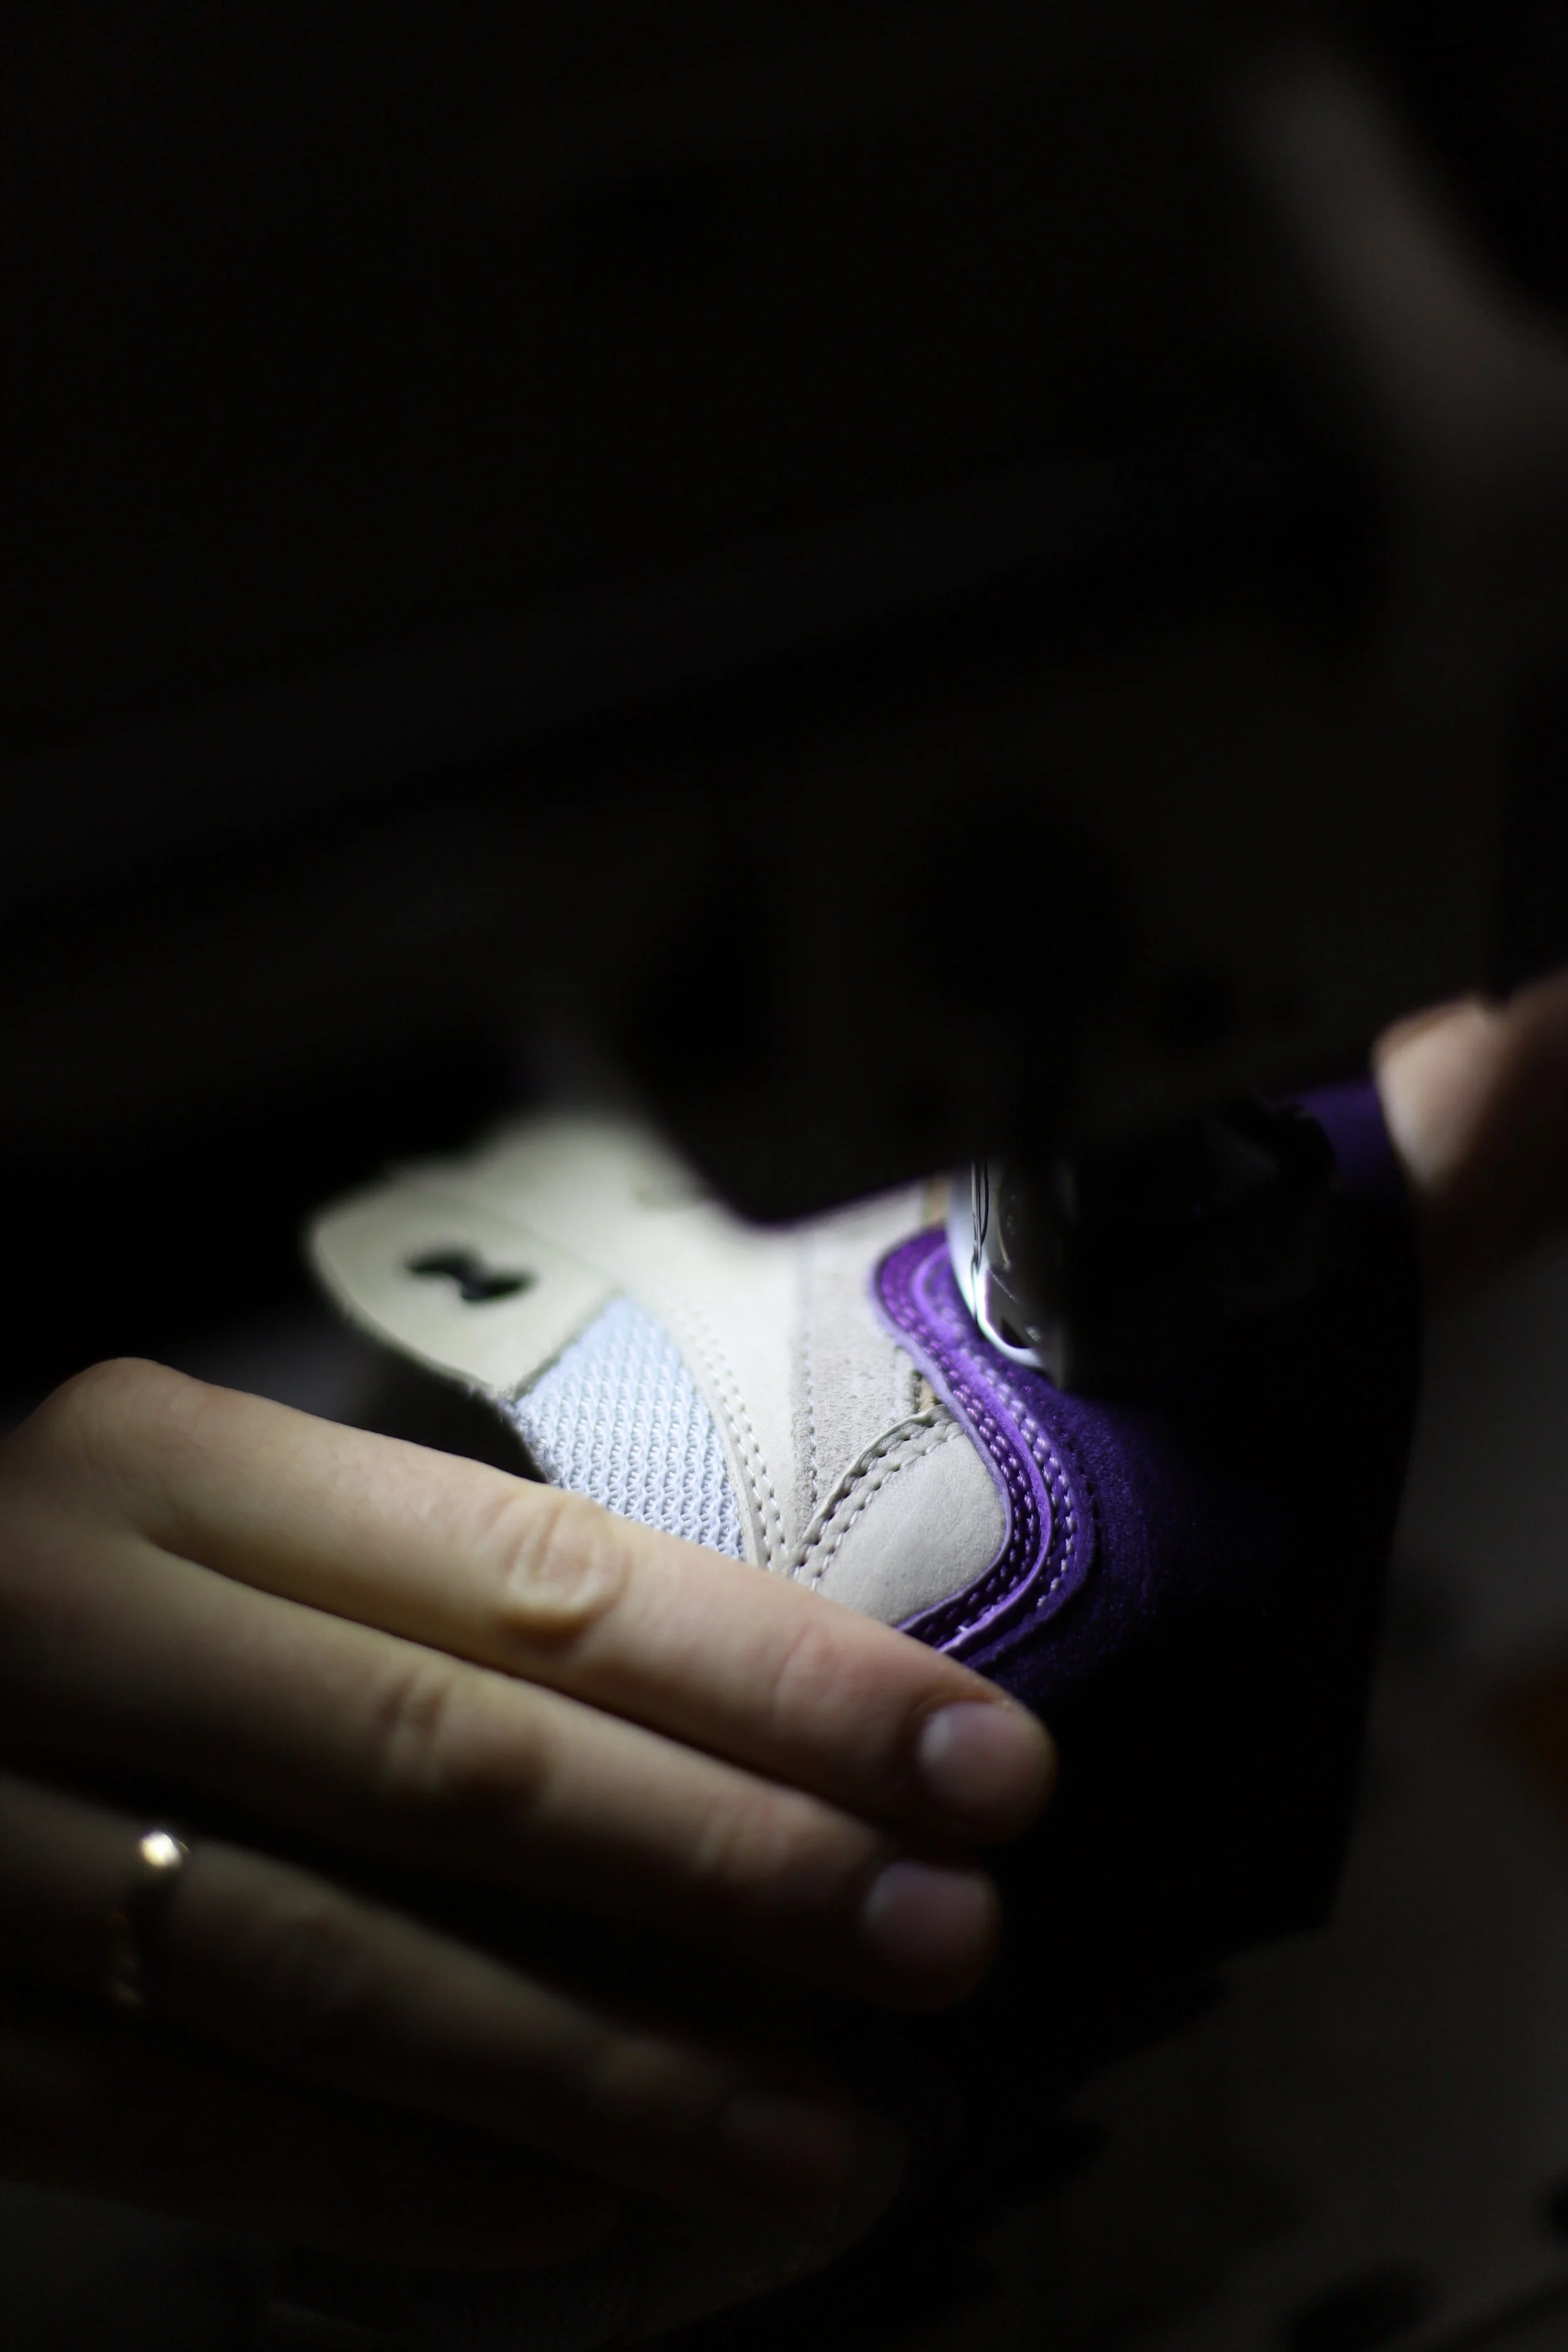
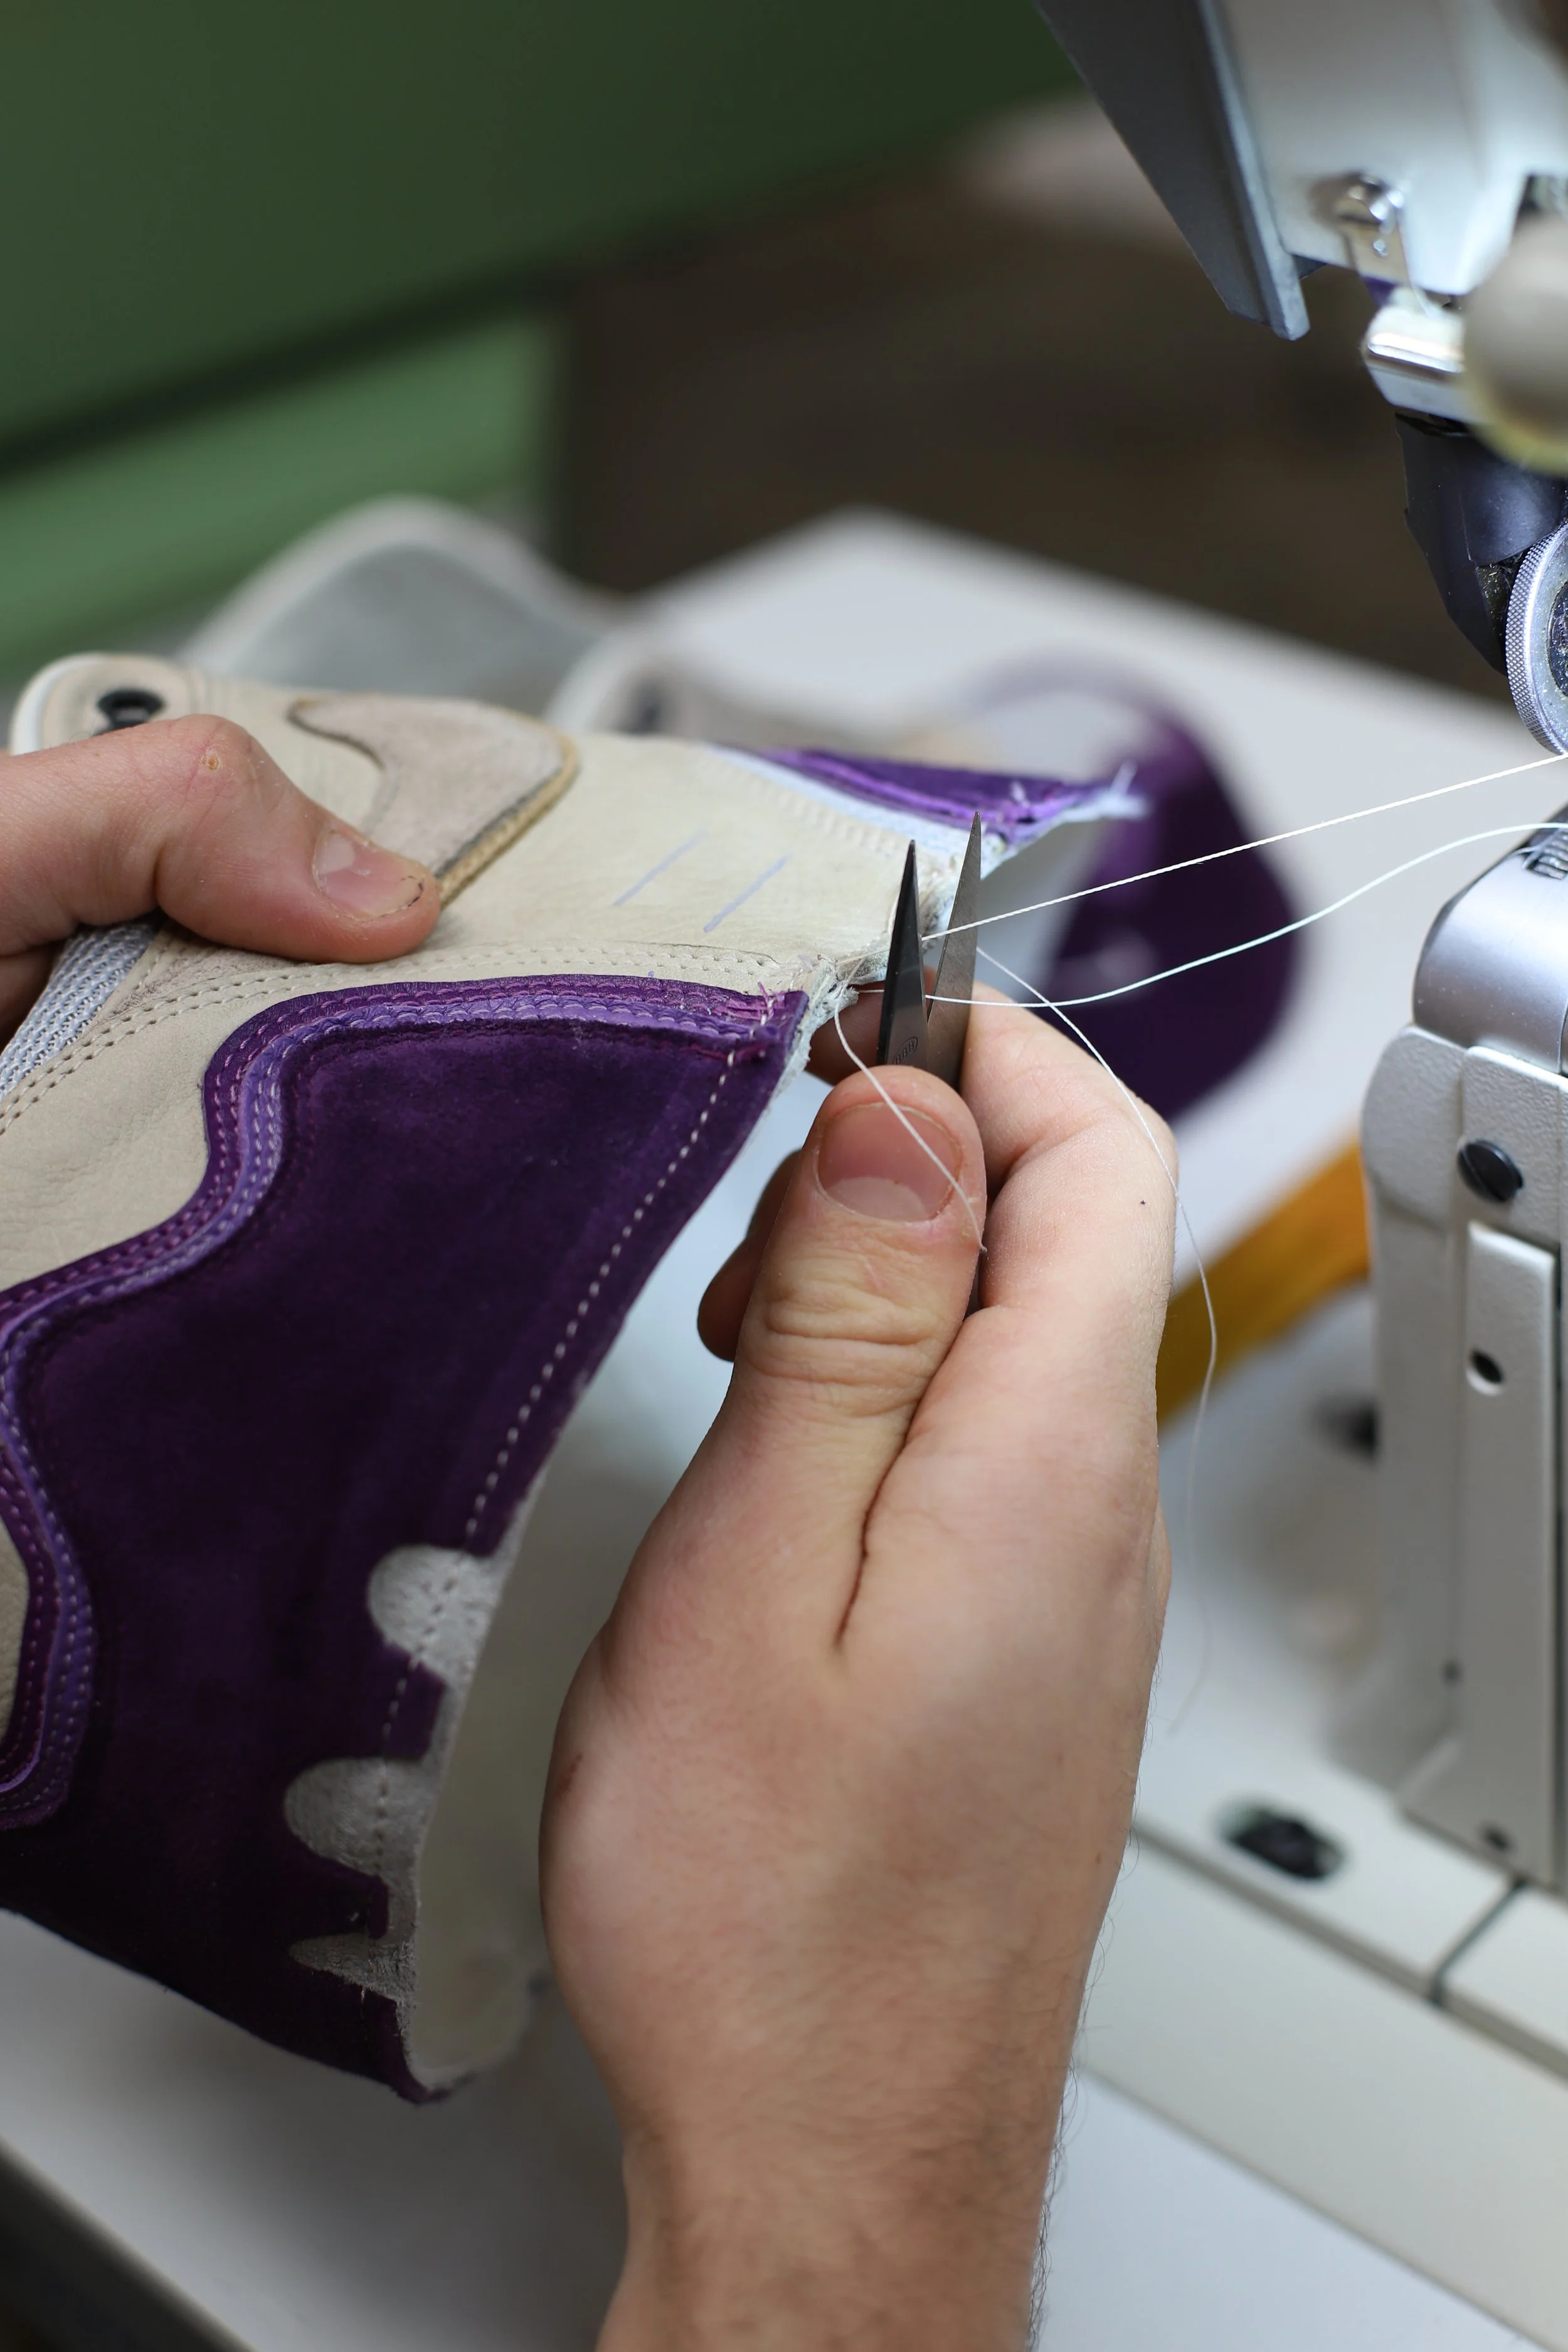
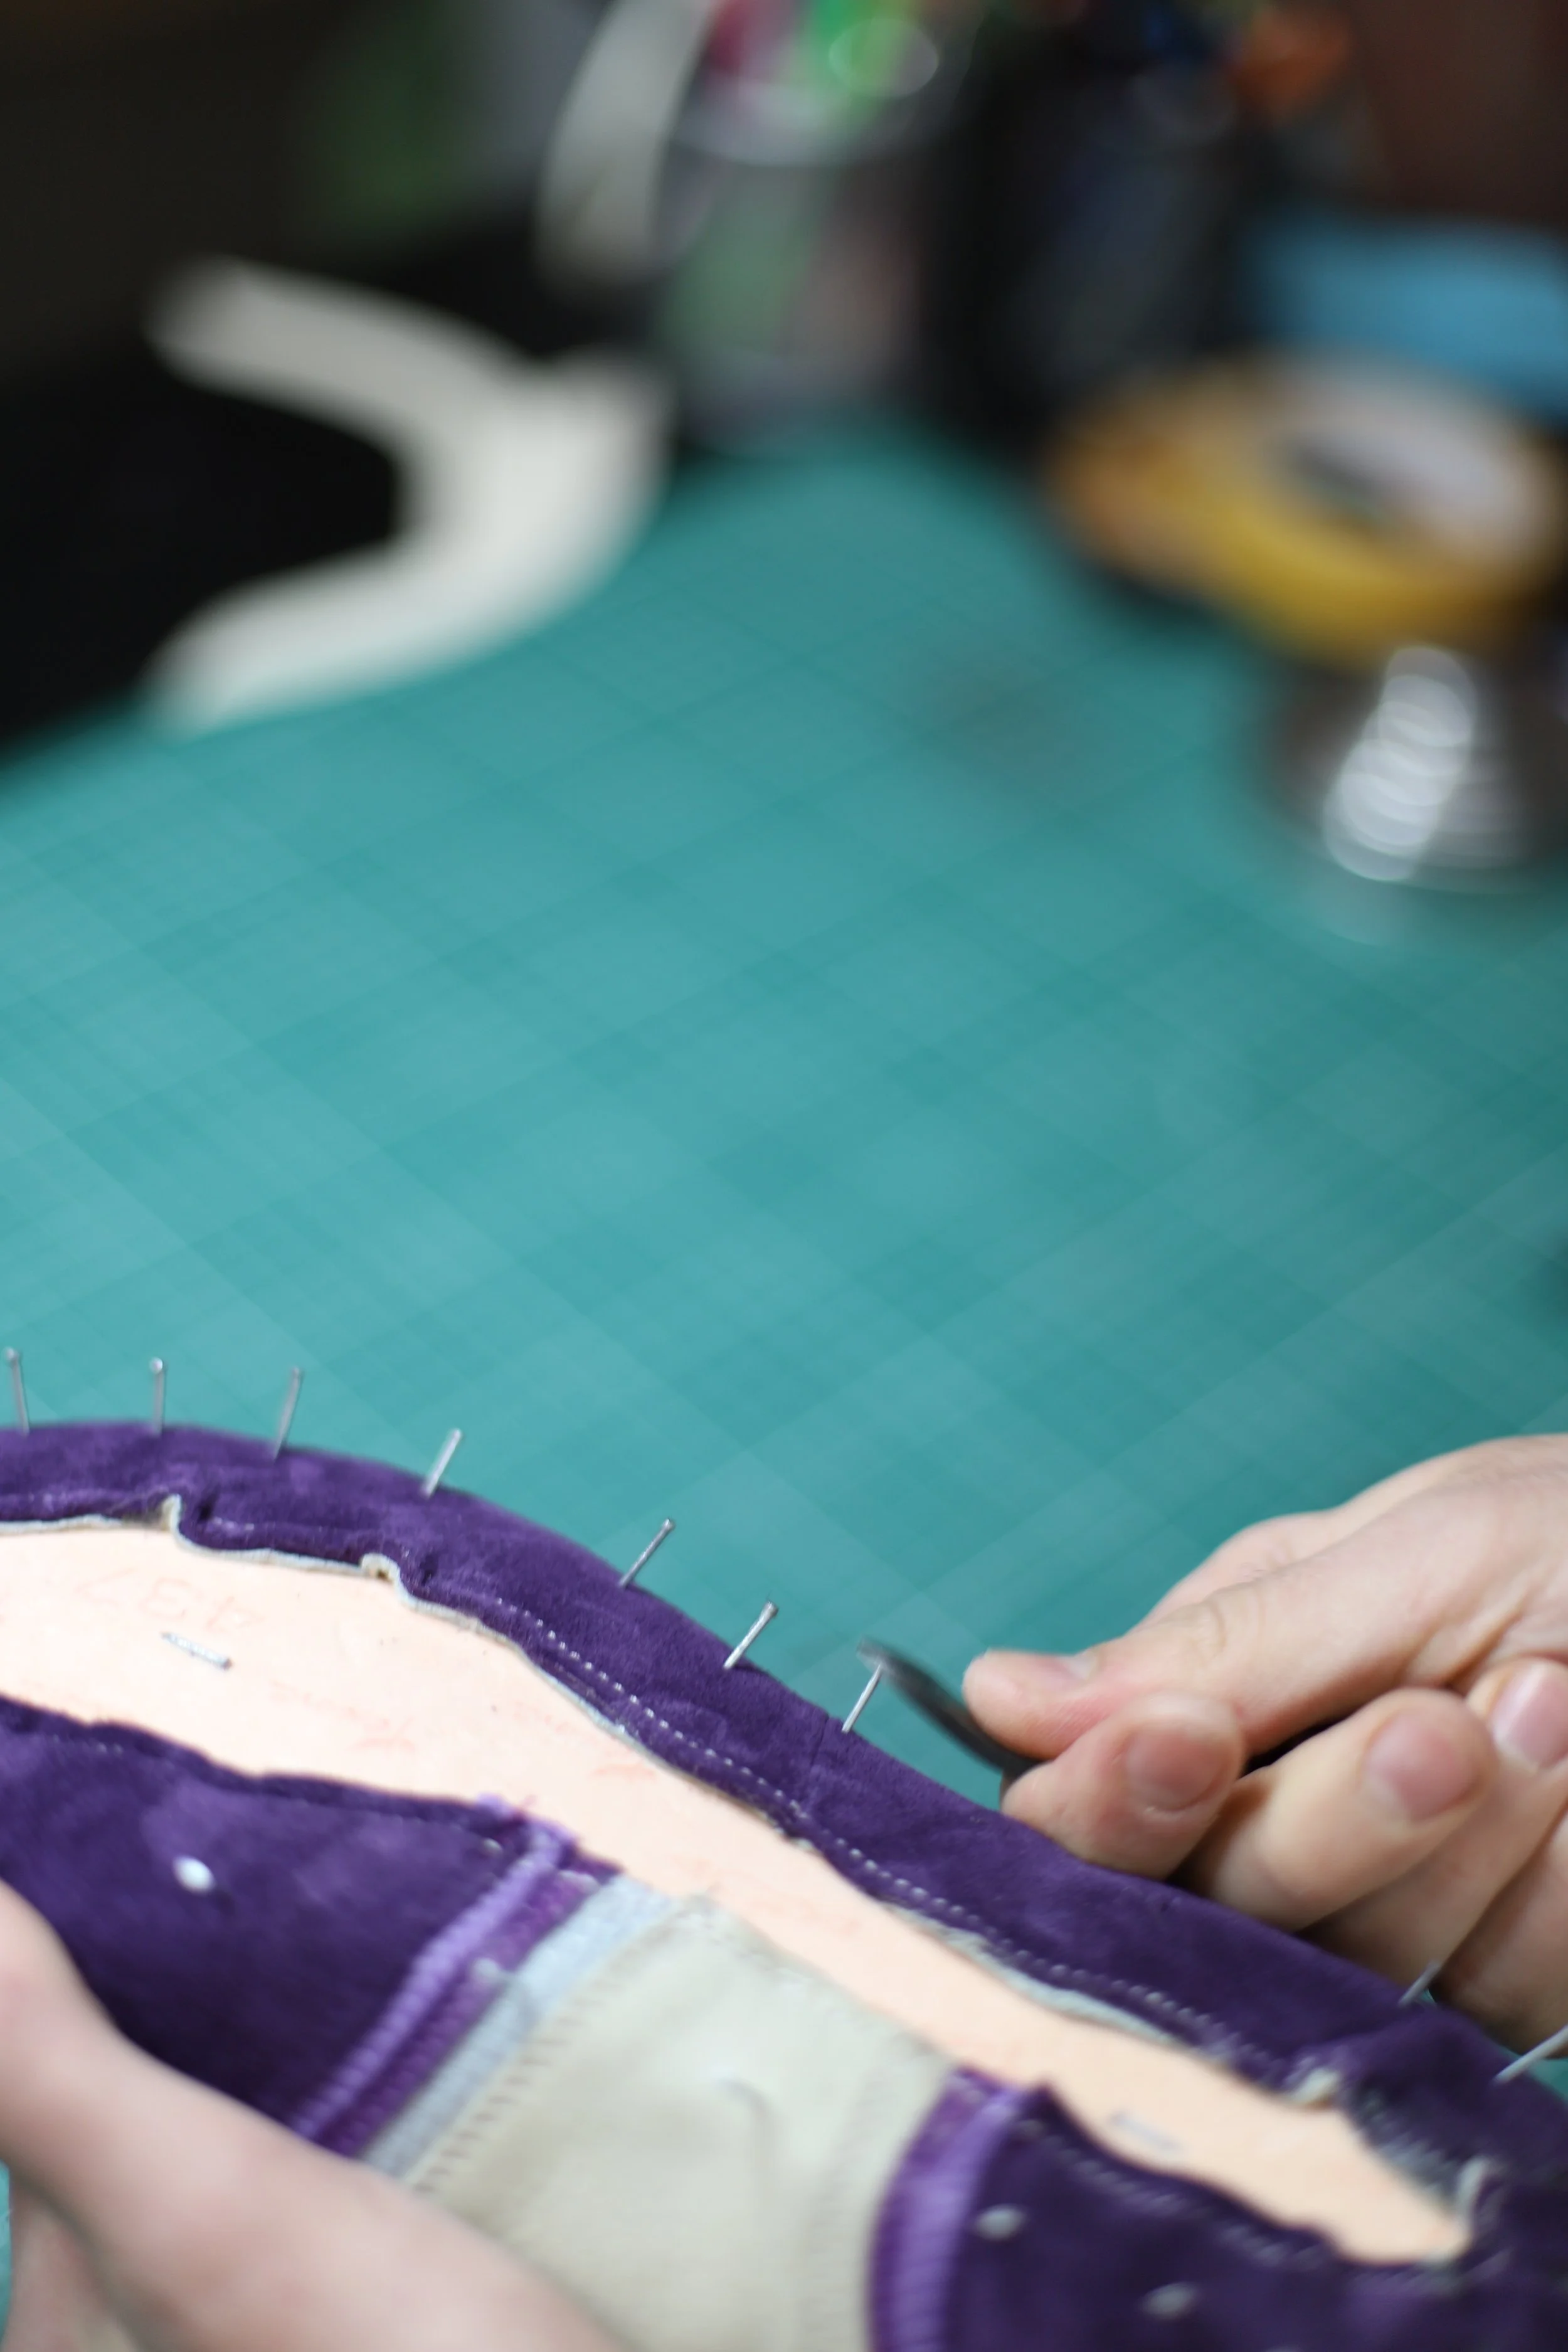
It is now time for the most exciting thing: stitching the mudguard on the shoe. We started with the top wave and so on down. Here too, we glue the fabrics first before stitching them together.
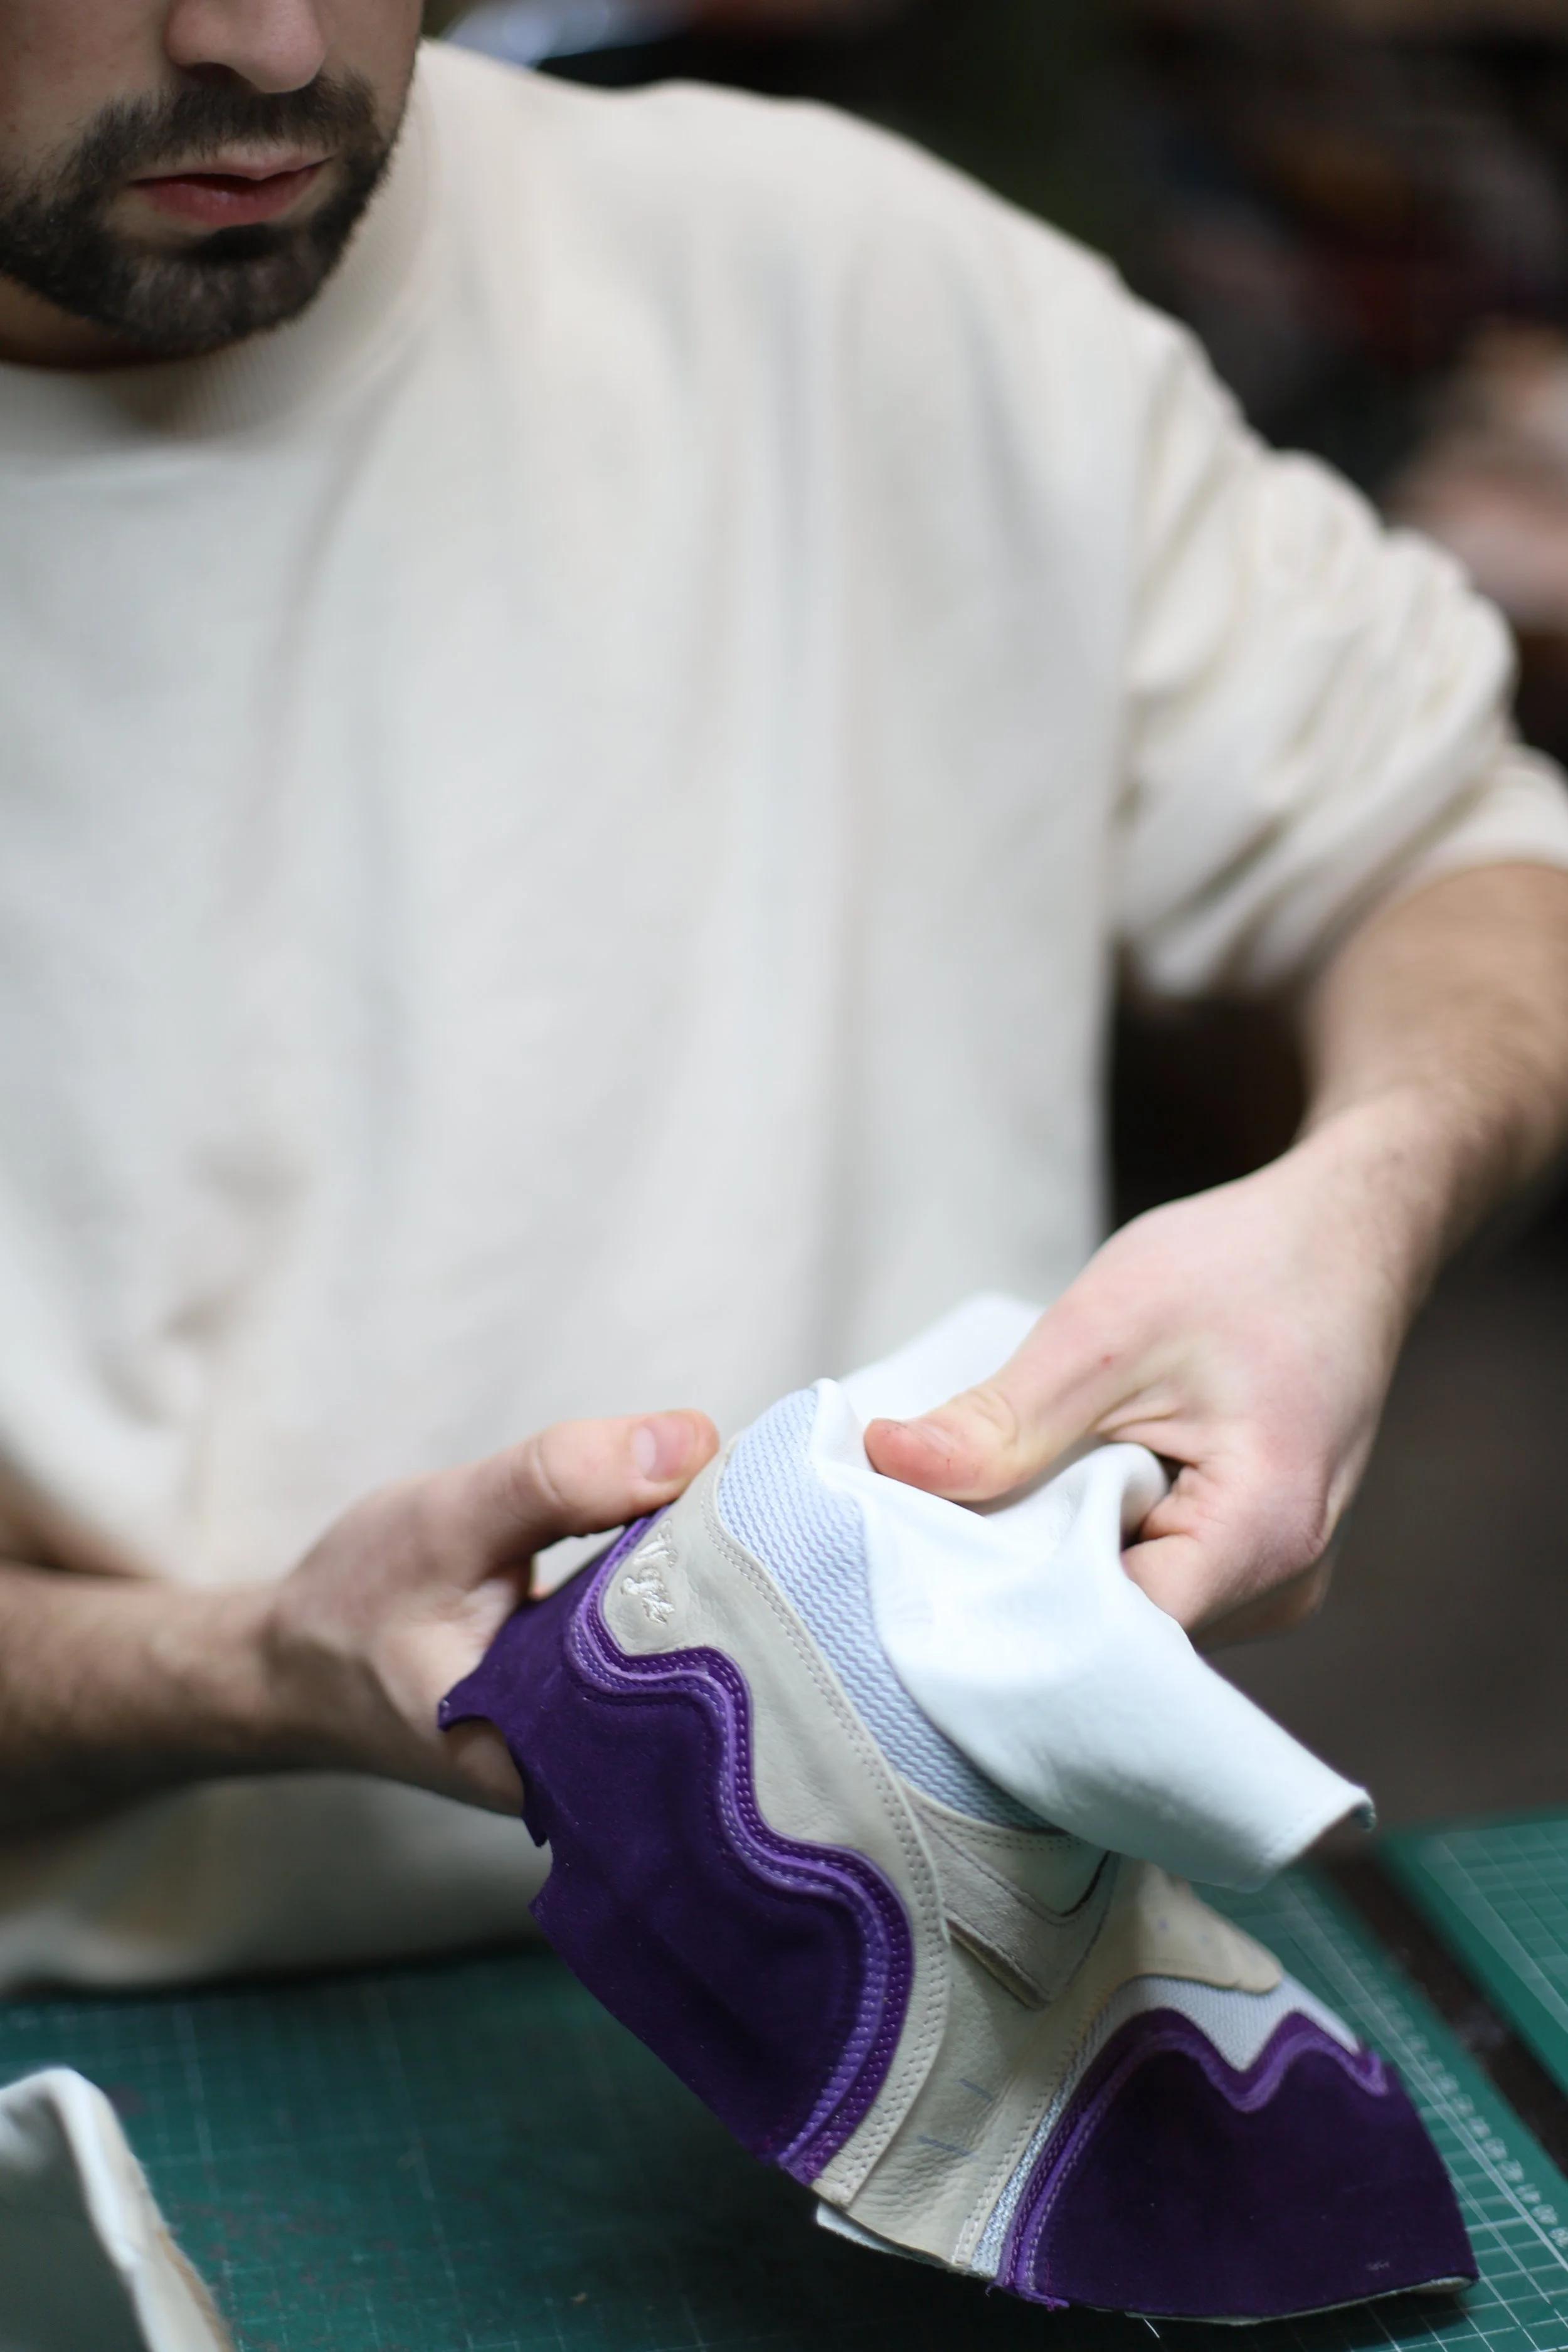
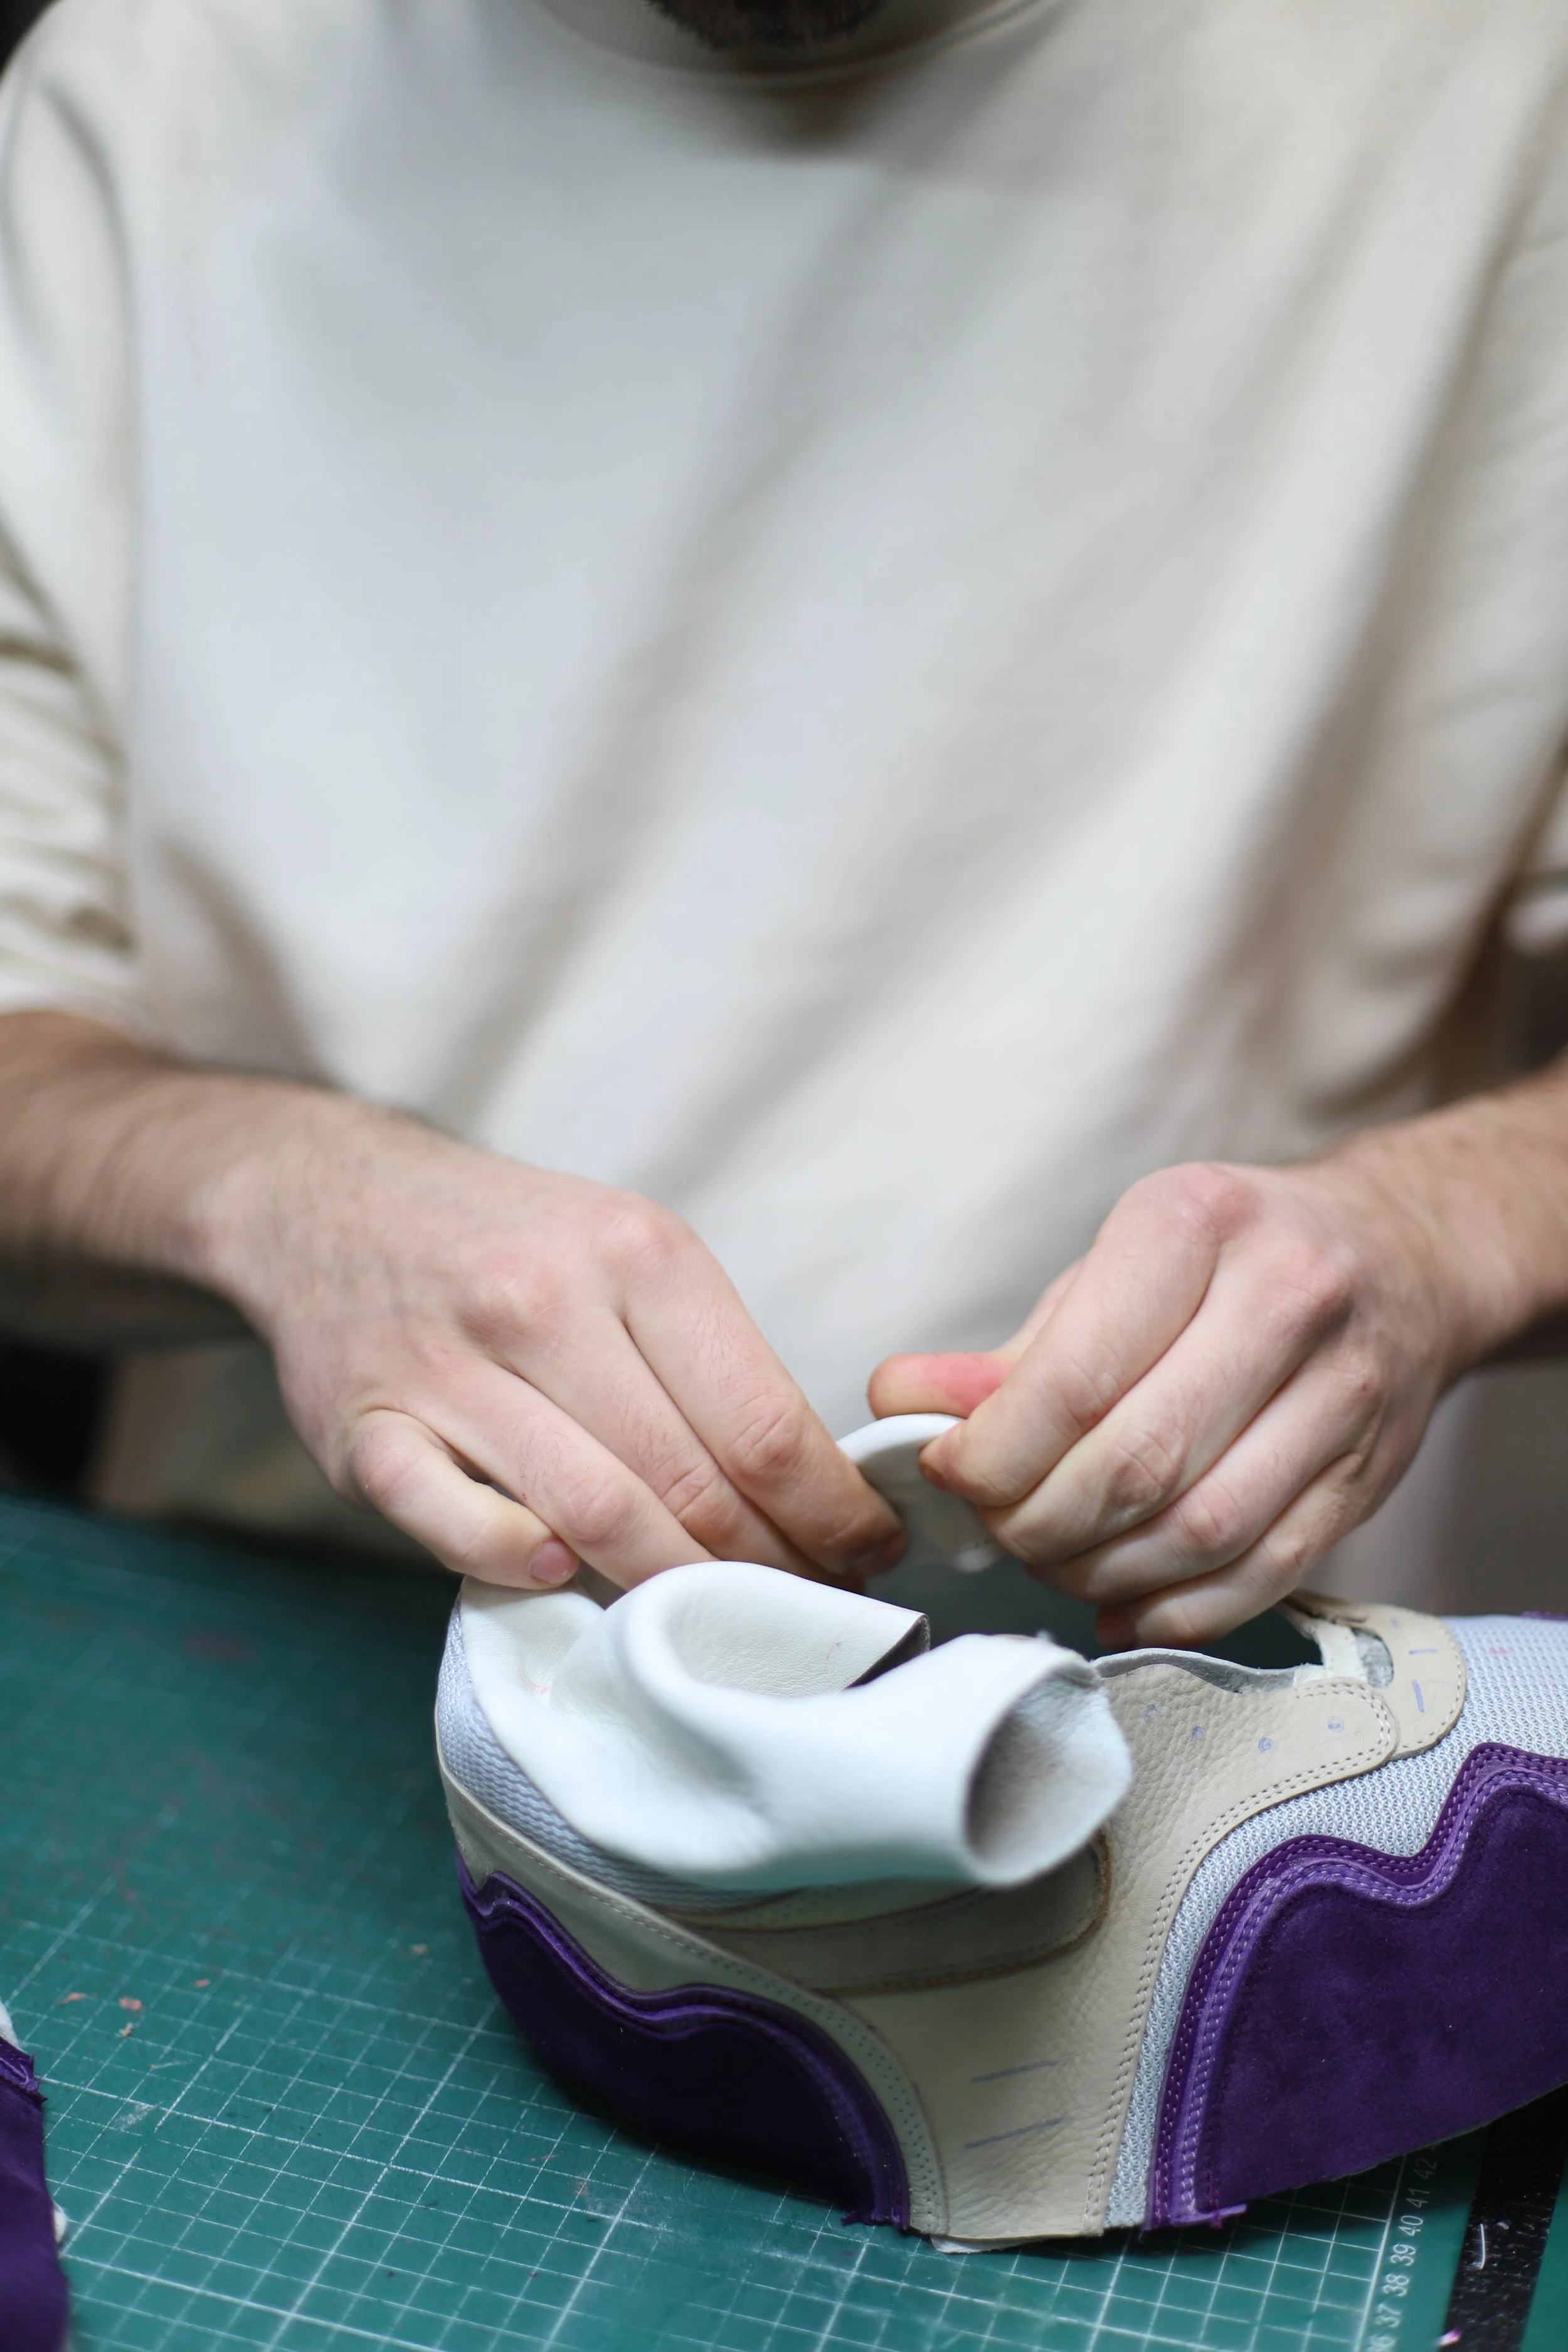
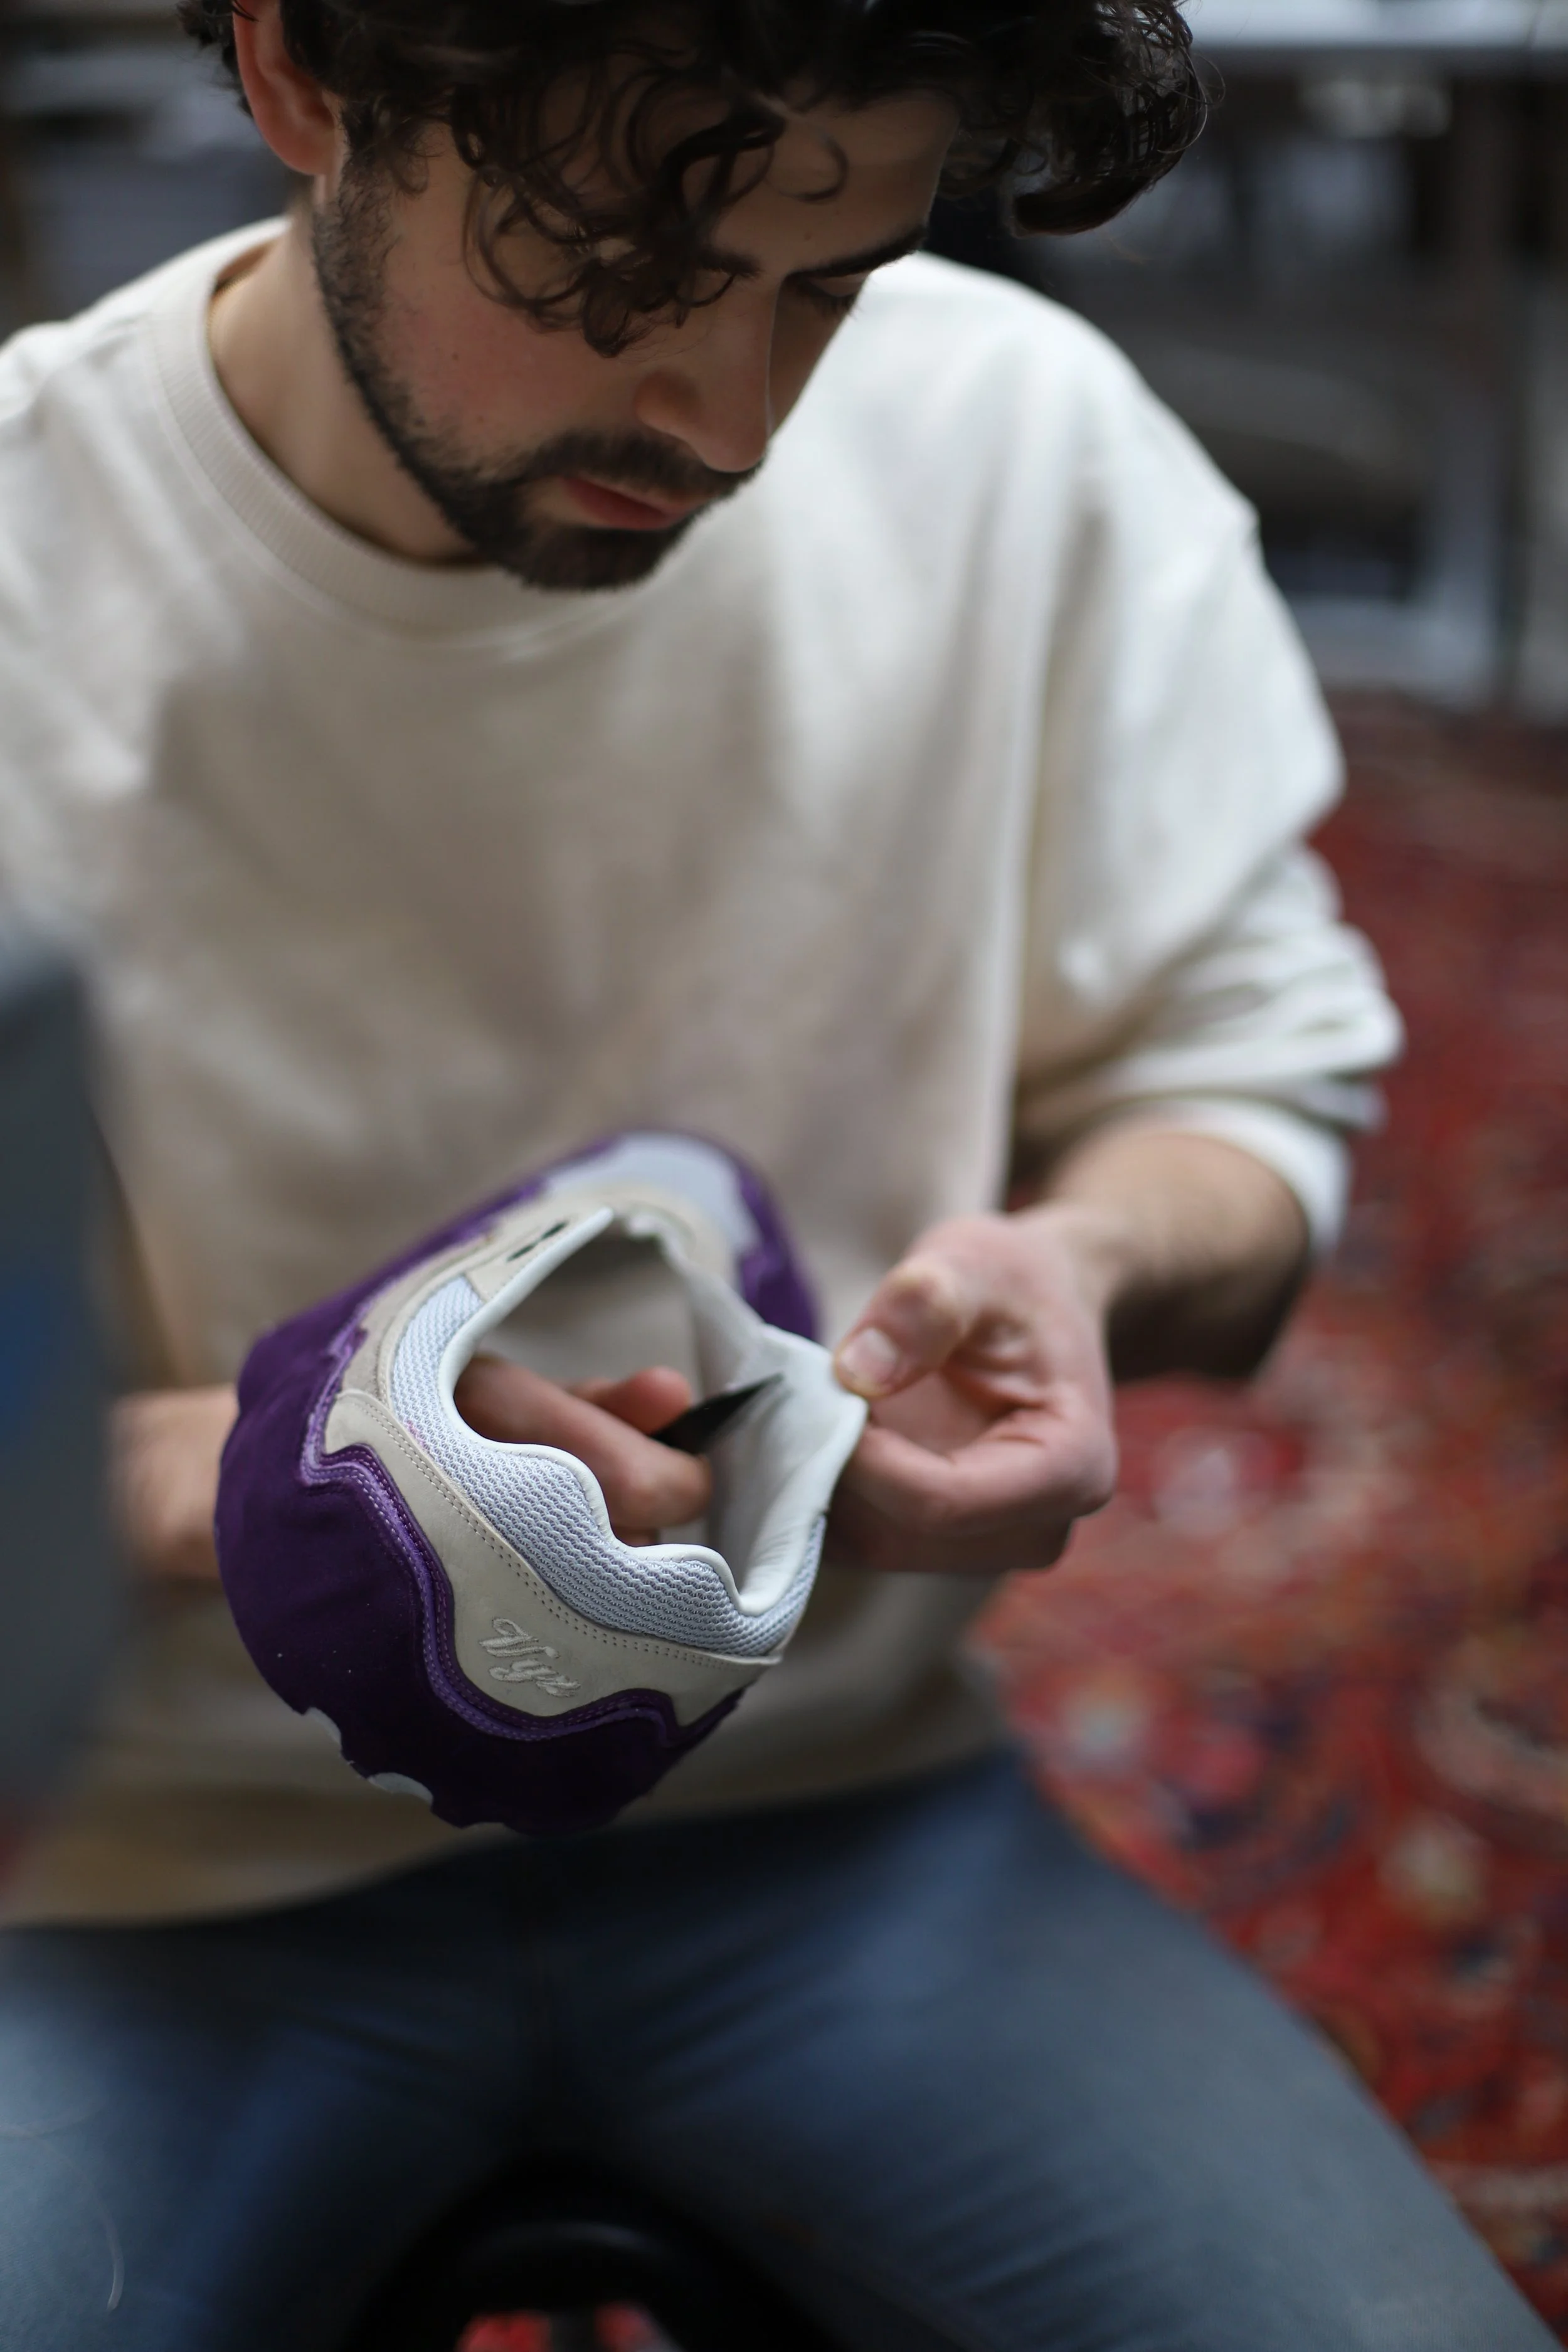
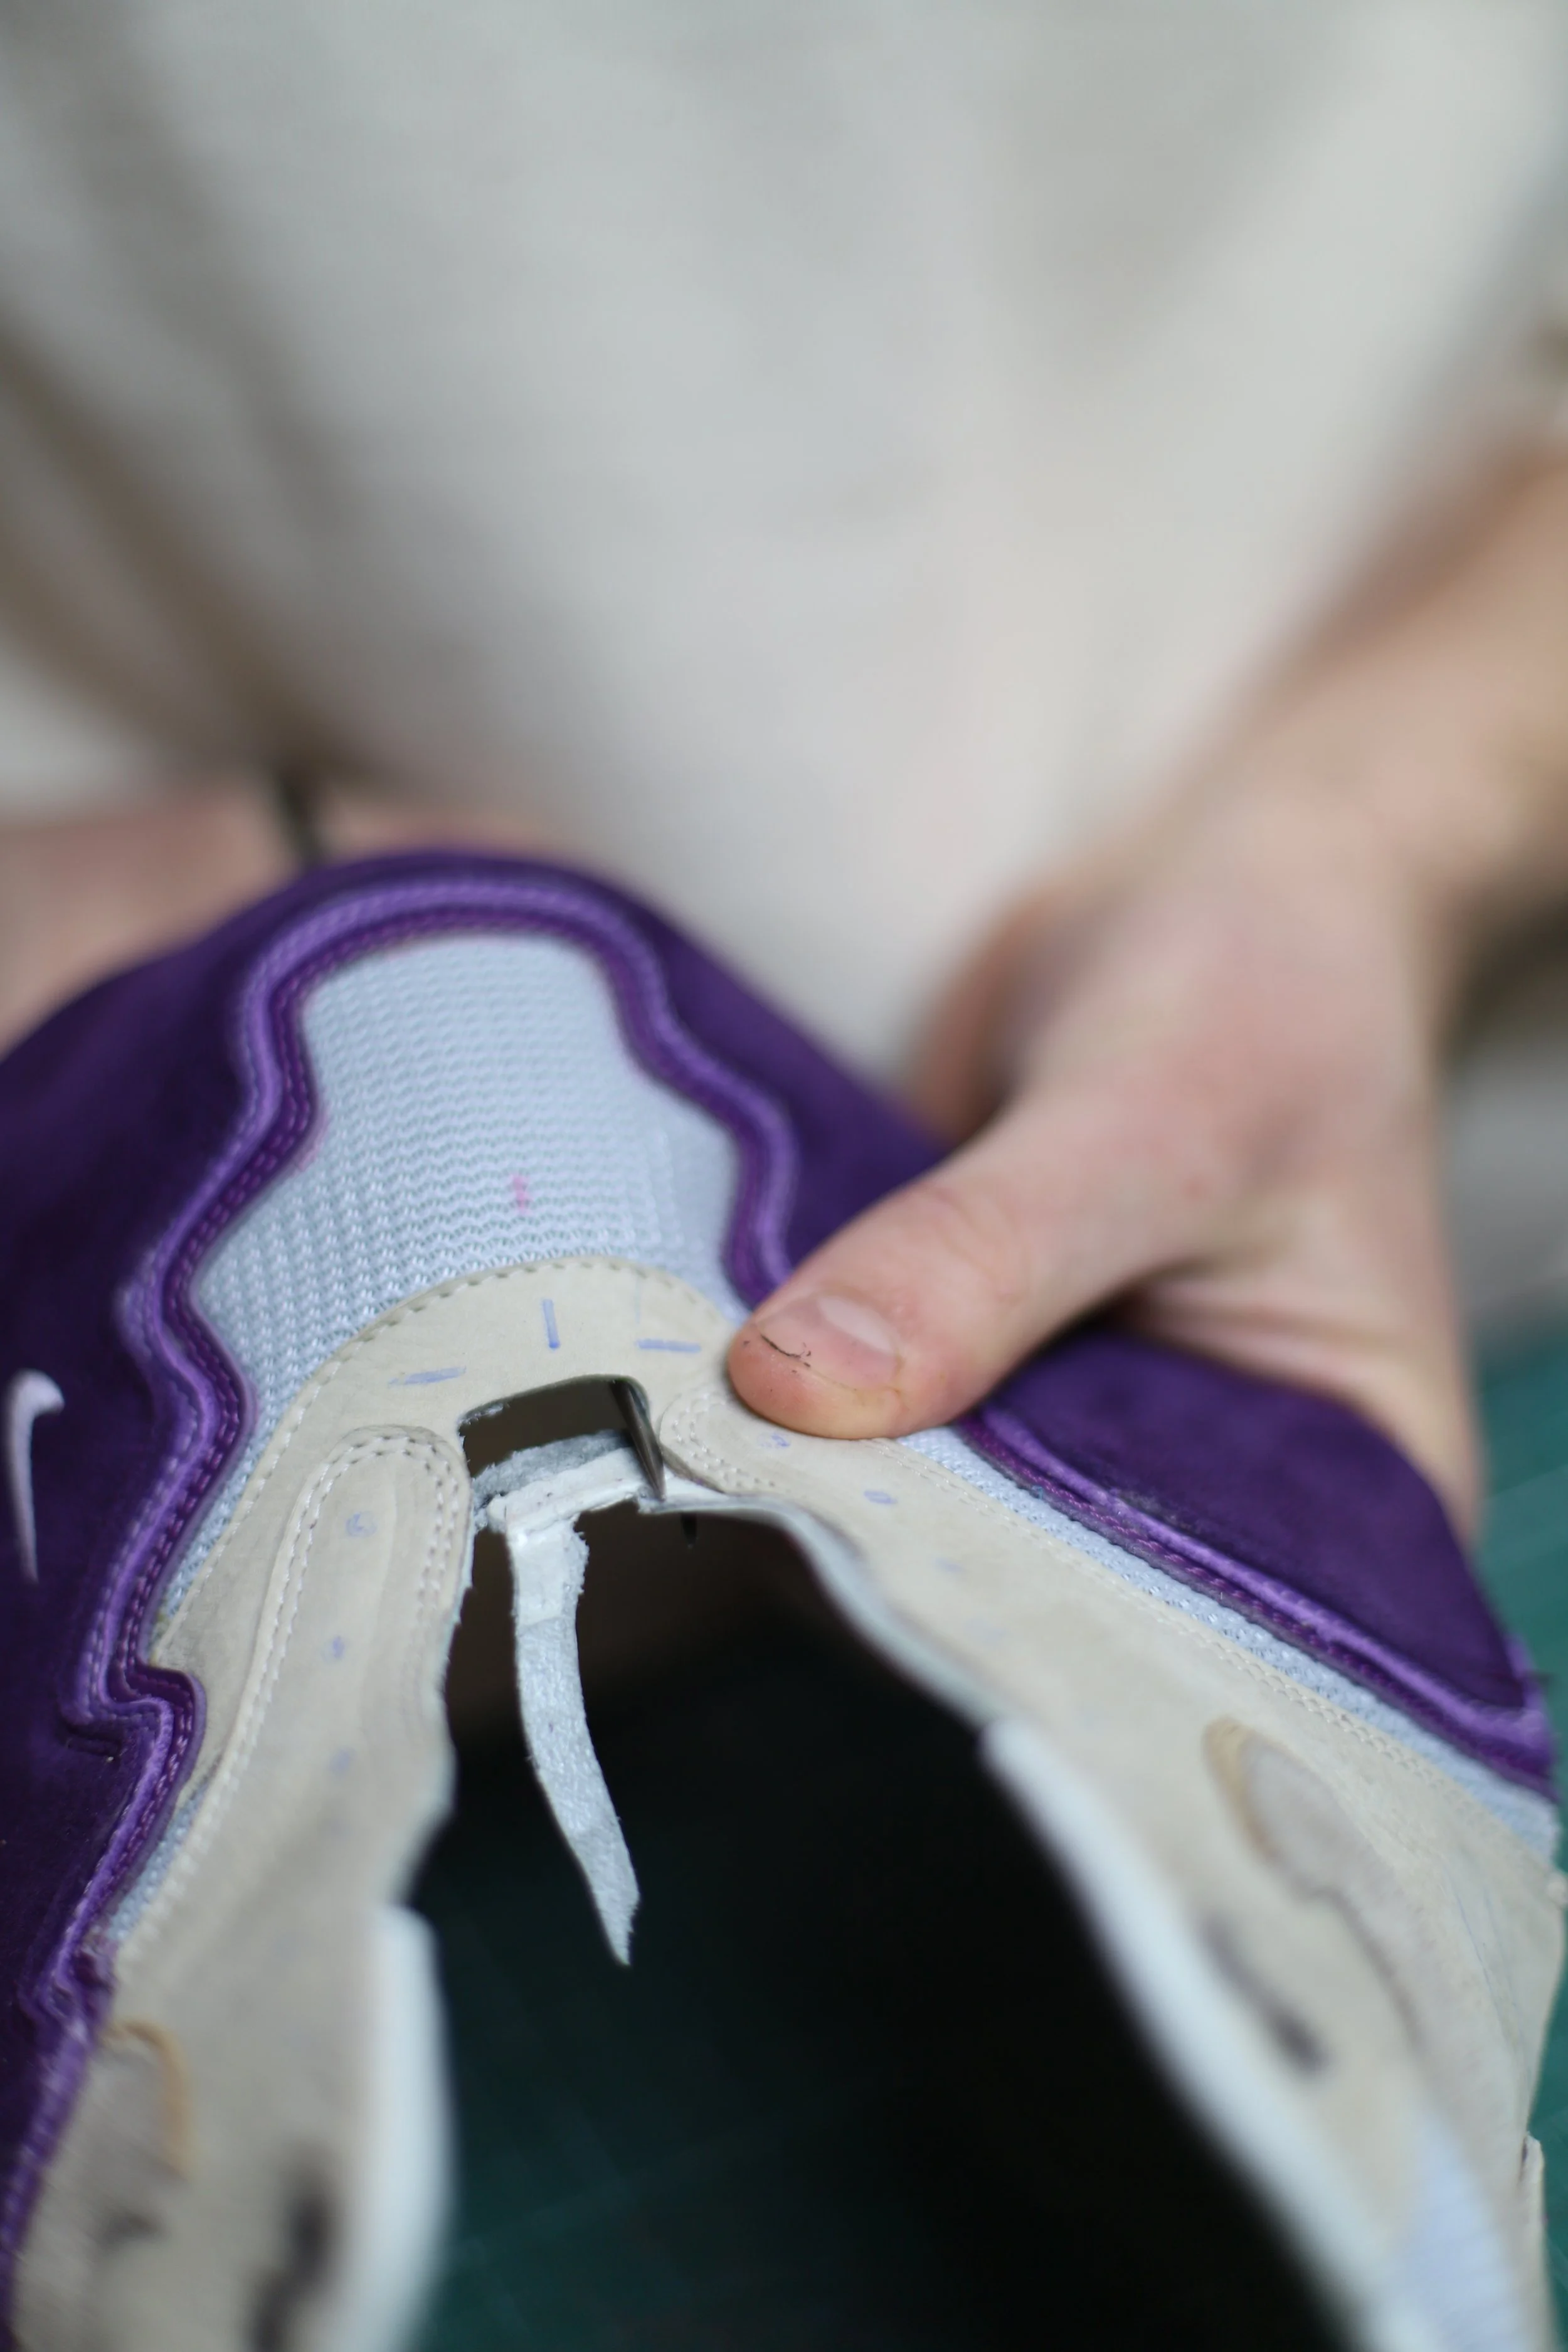
The lining is a very satisfying part of the process. The lining brings the shoes more into life. In the pictures below you can see it for yourself.
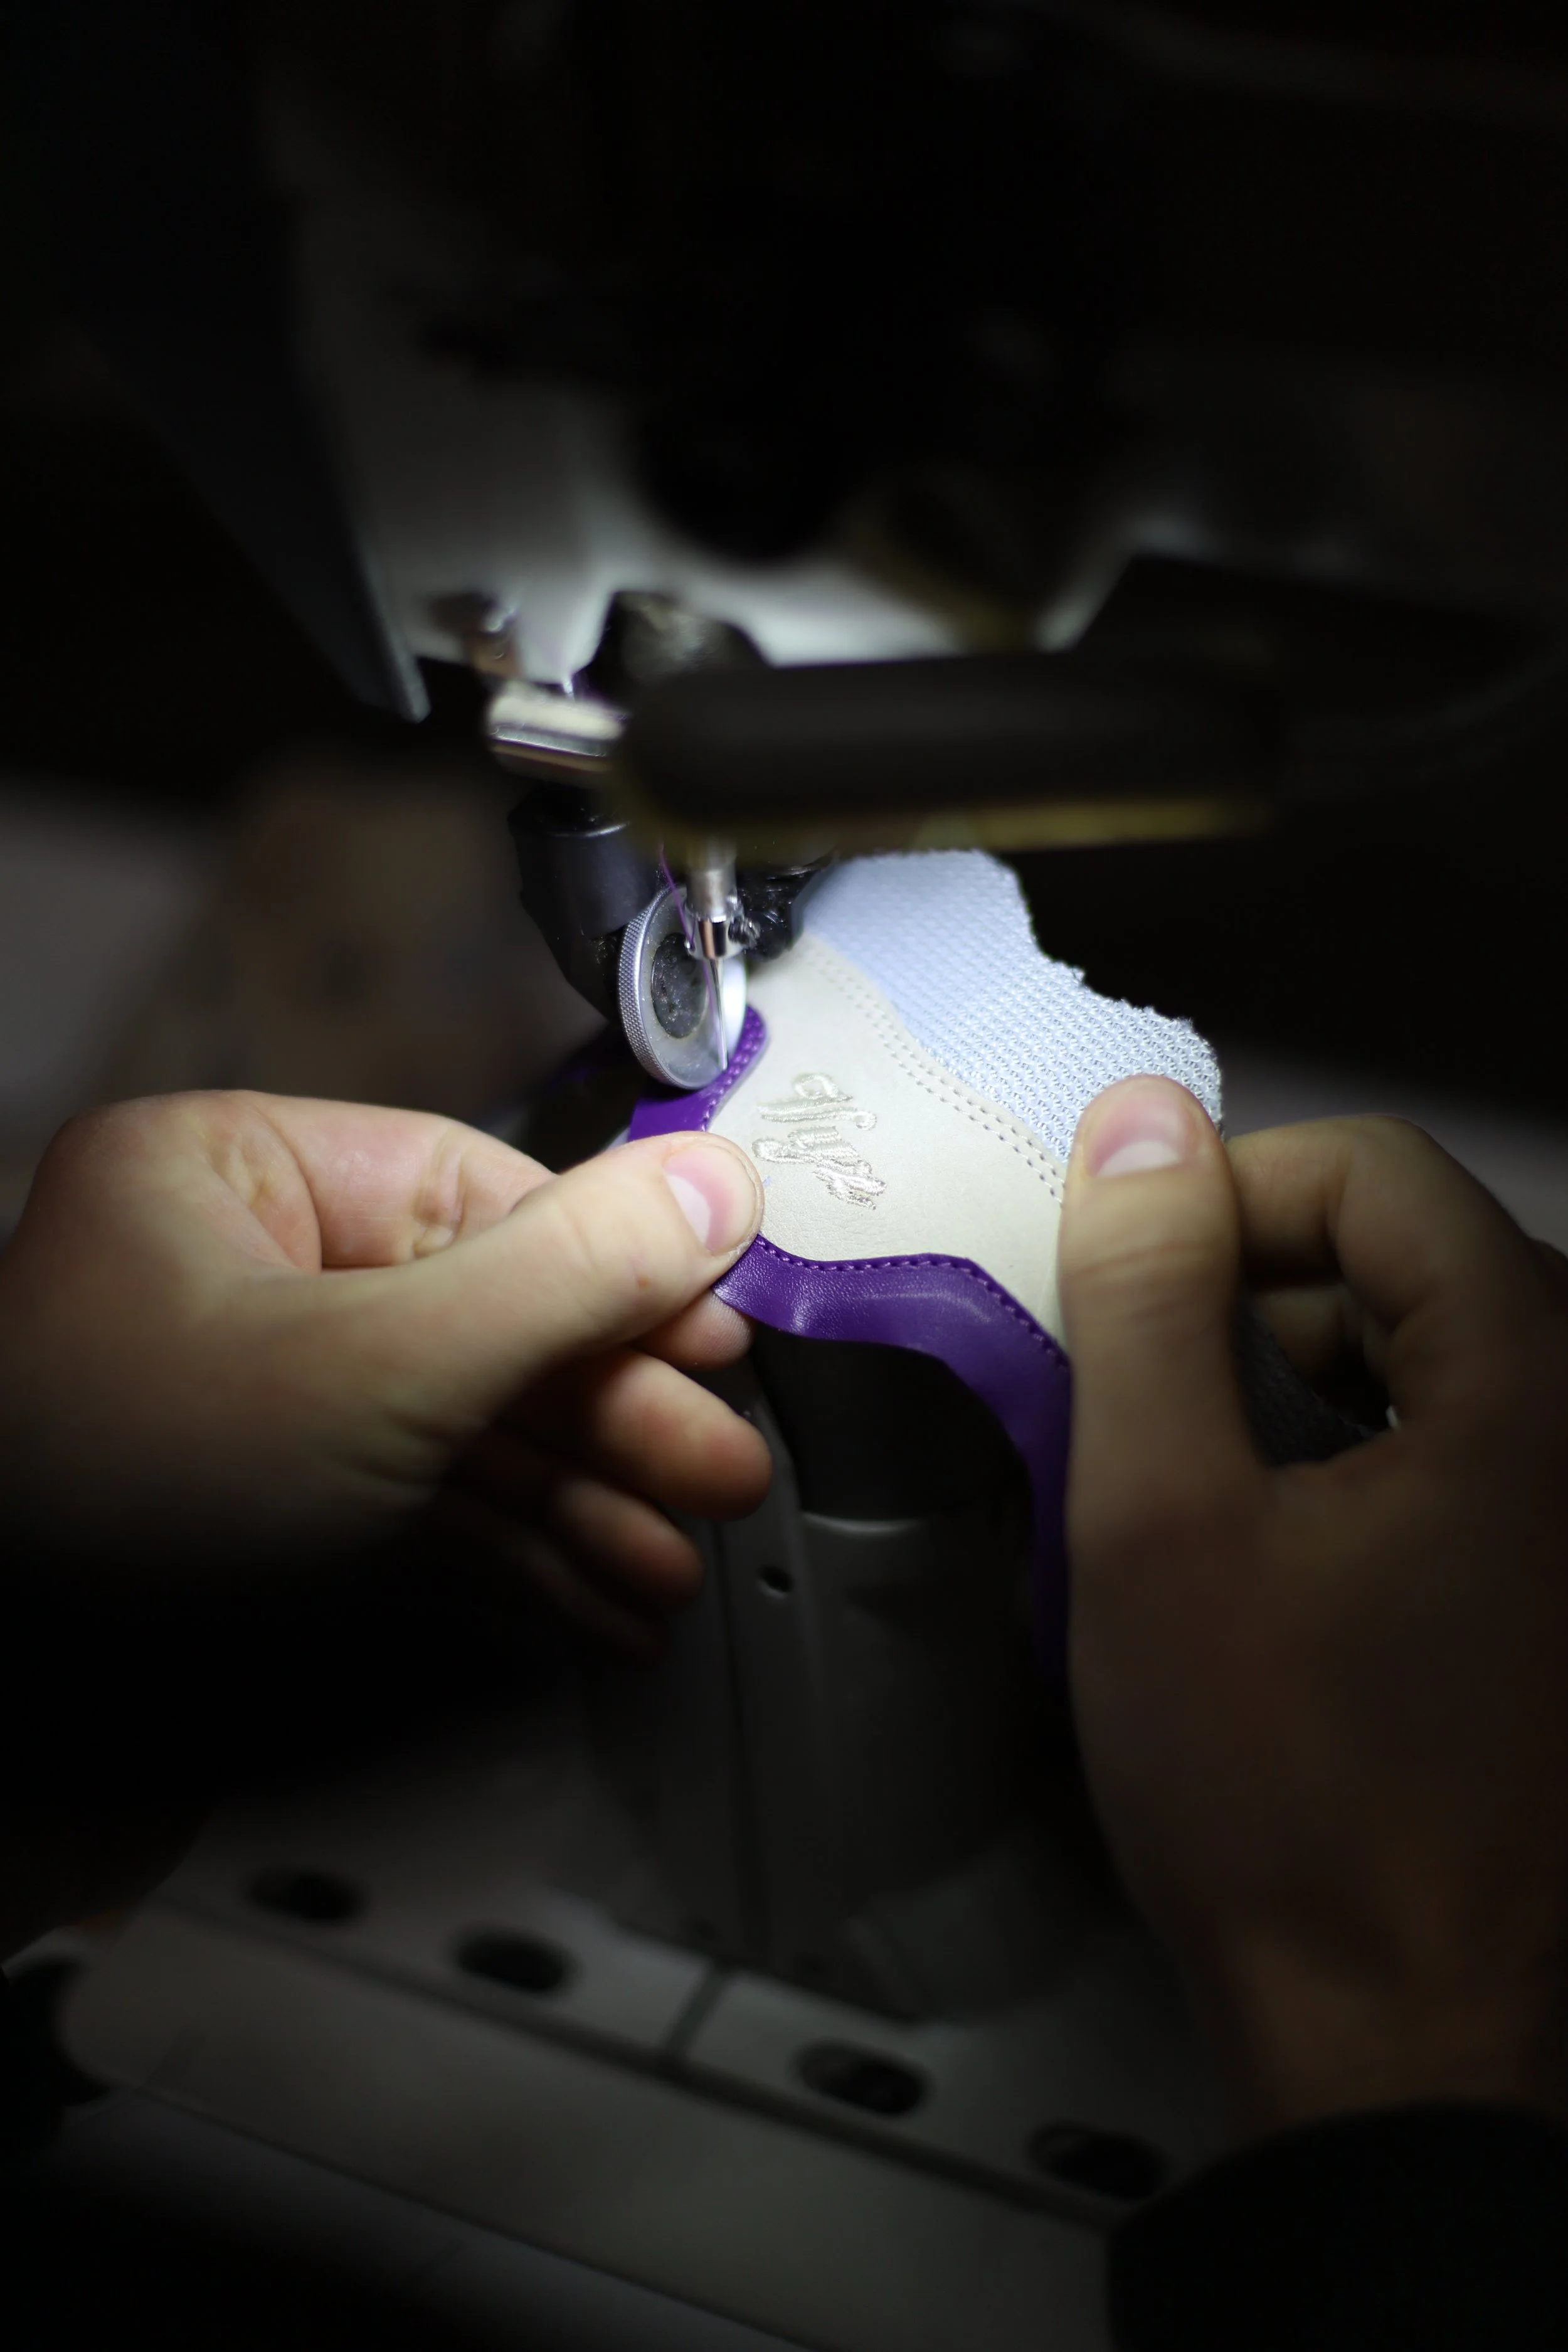
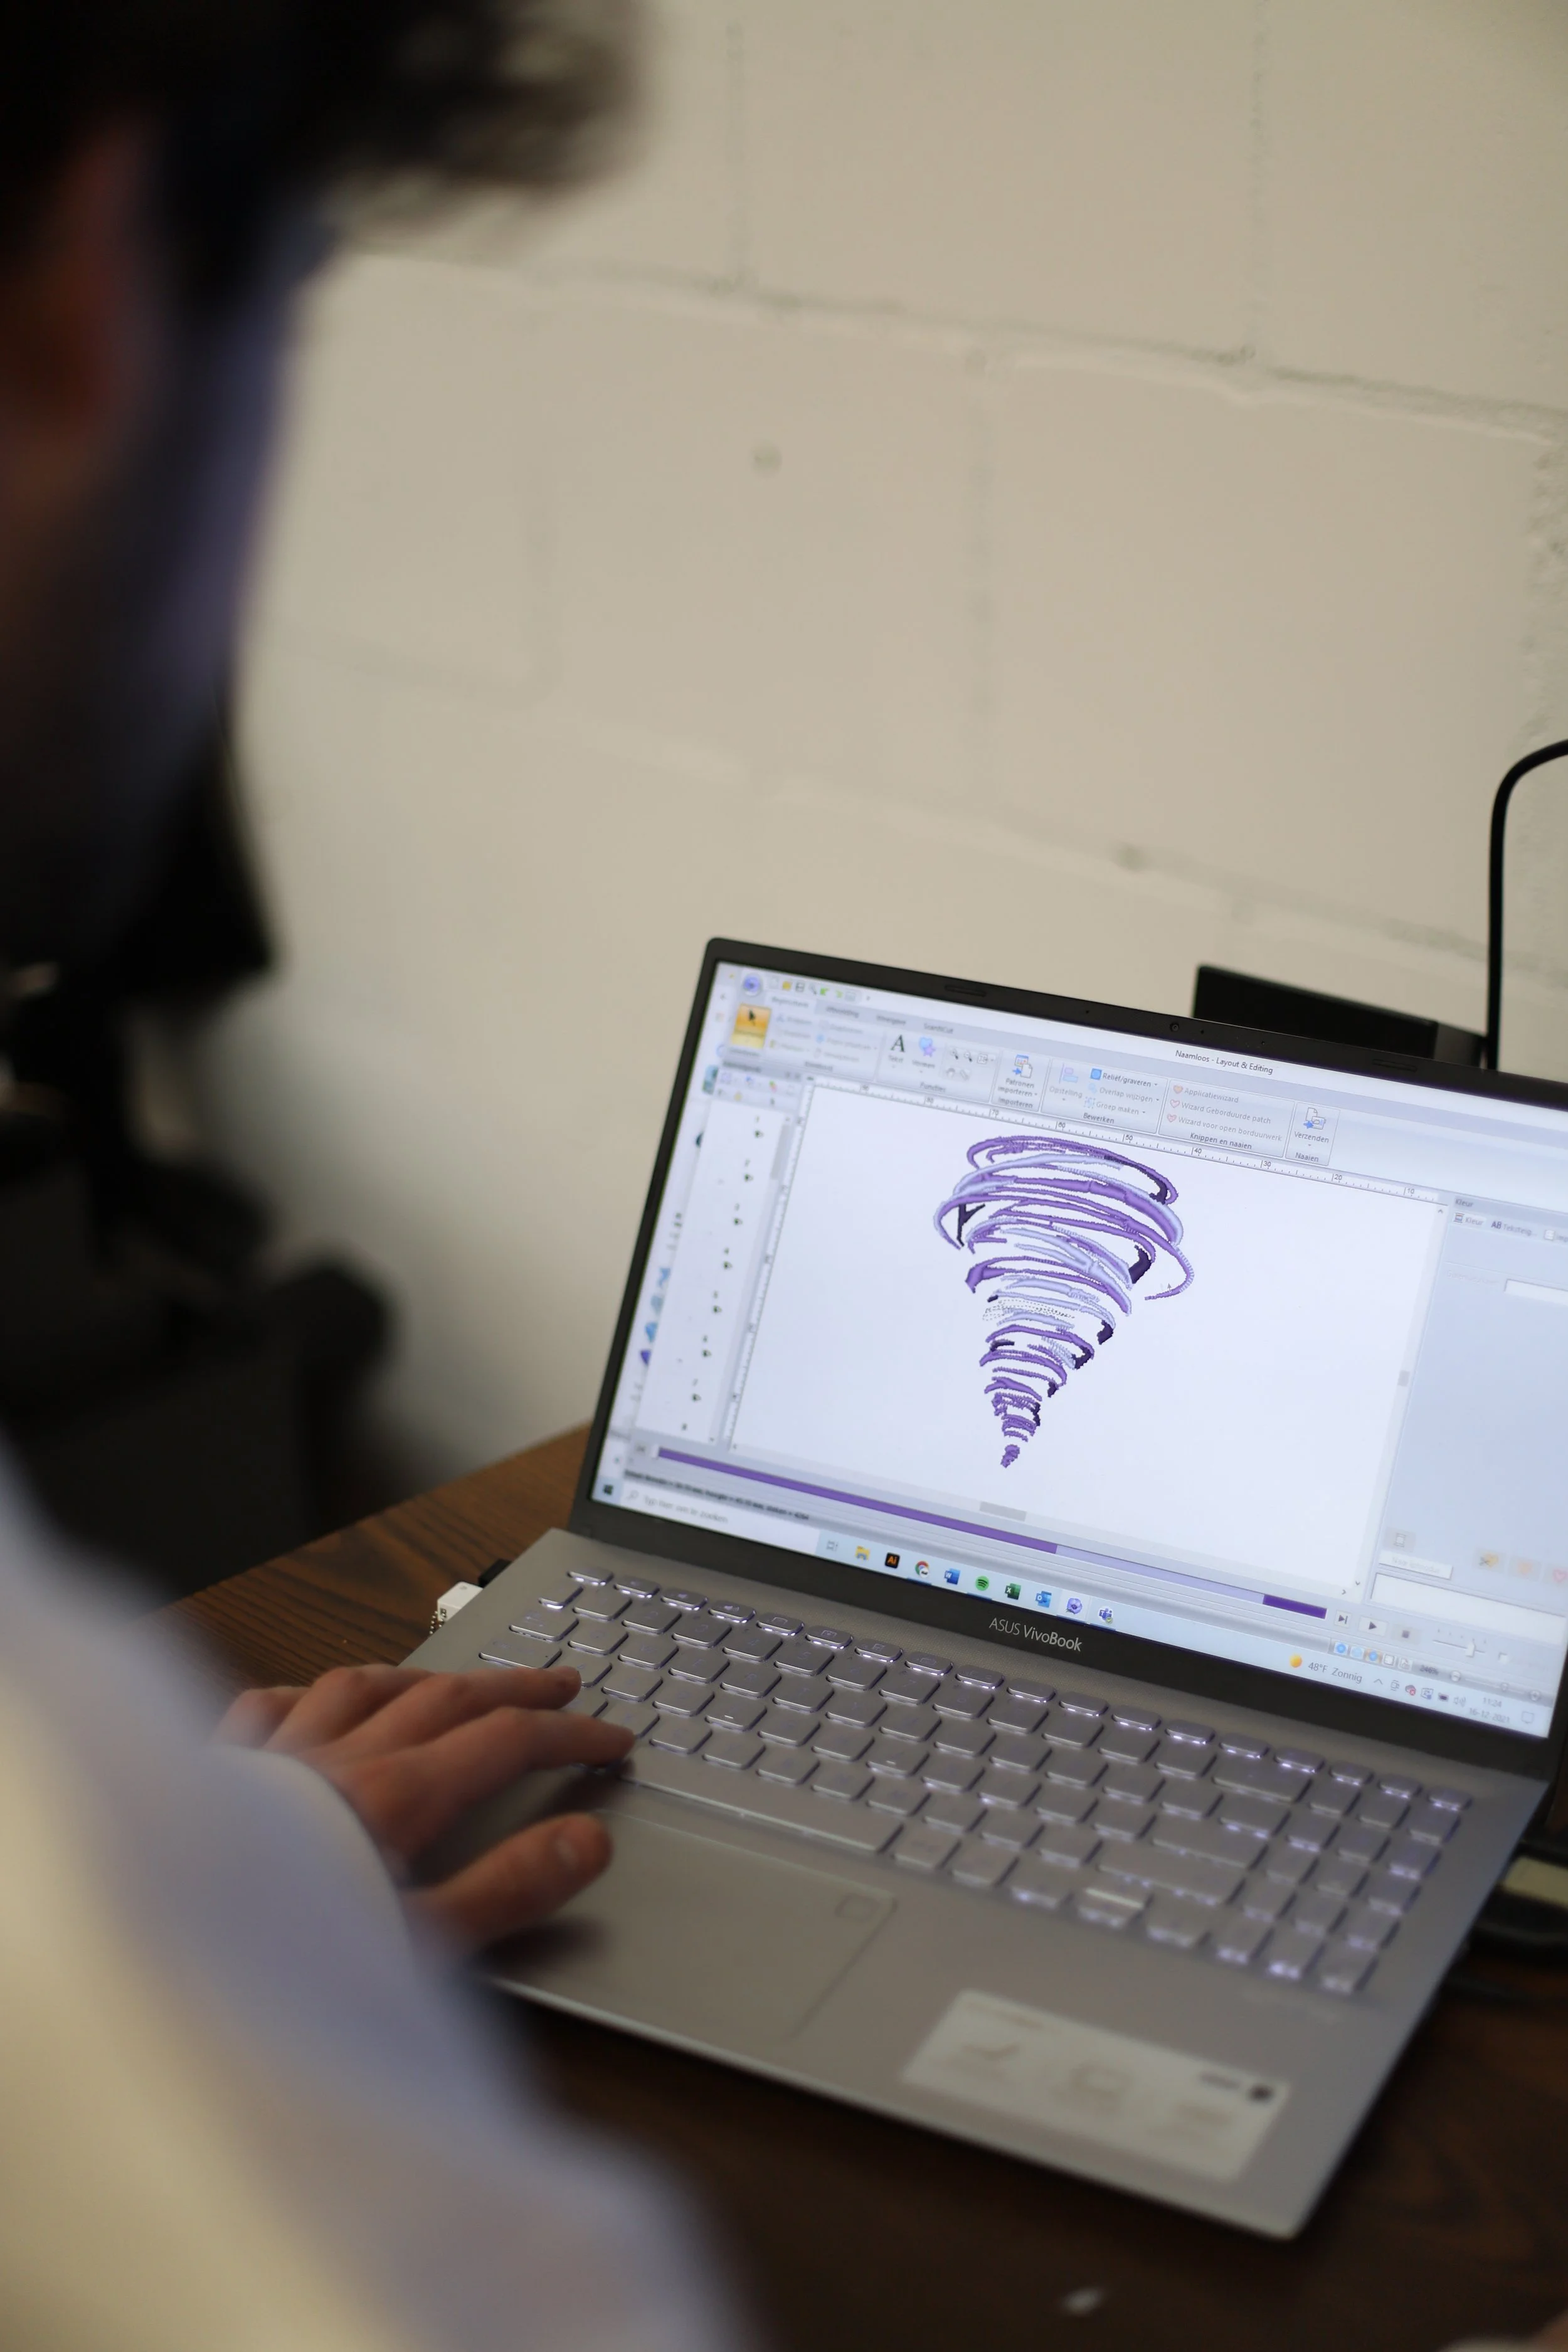
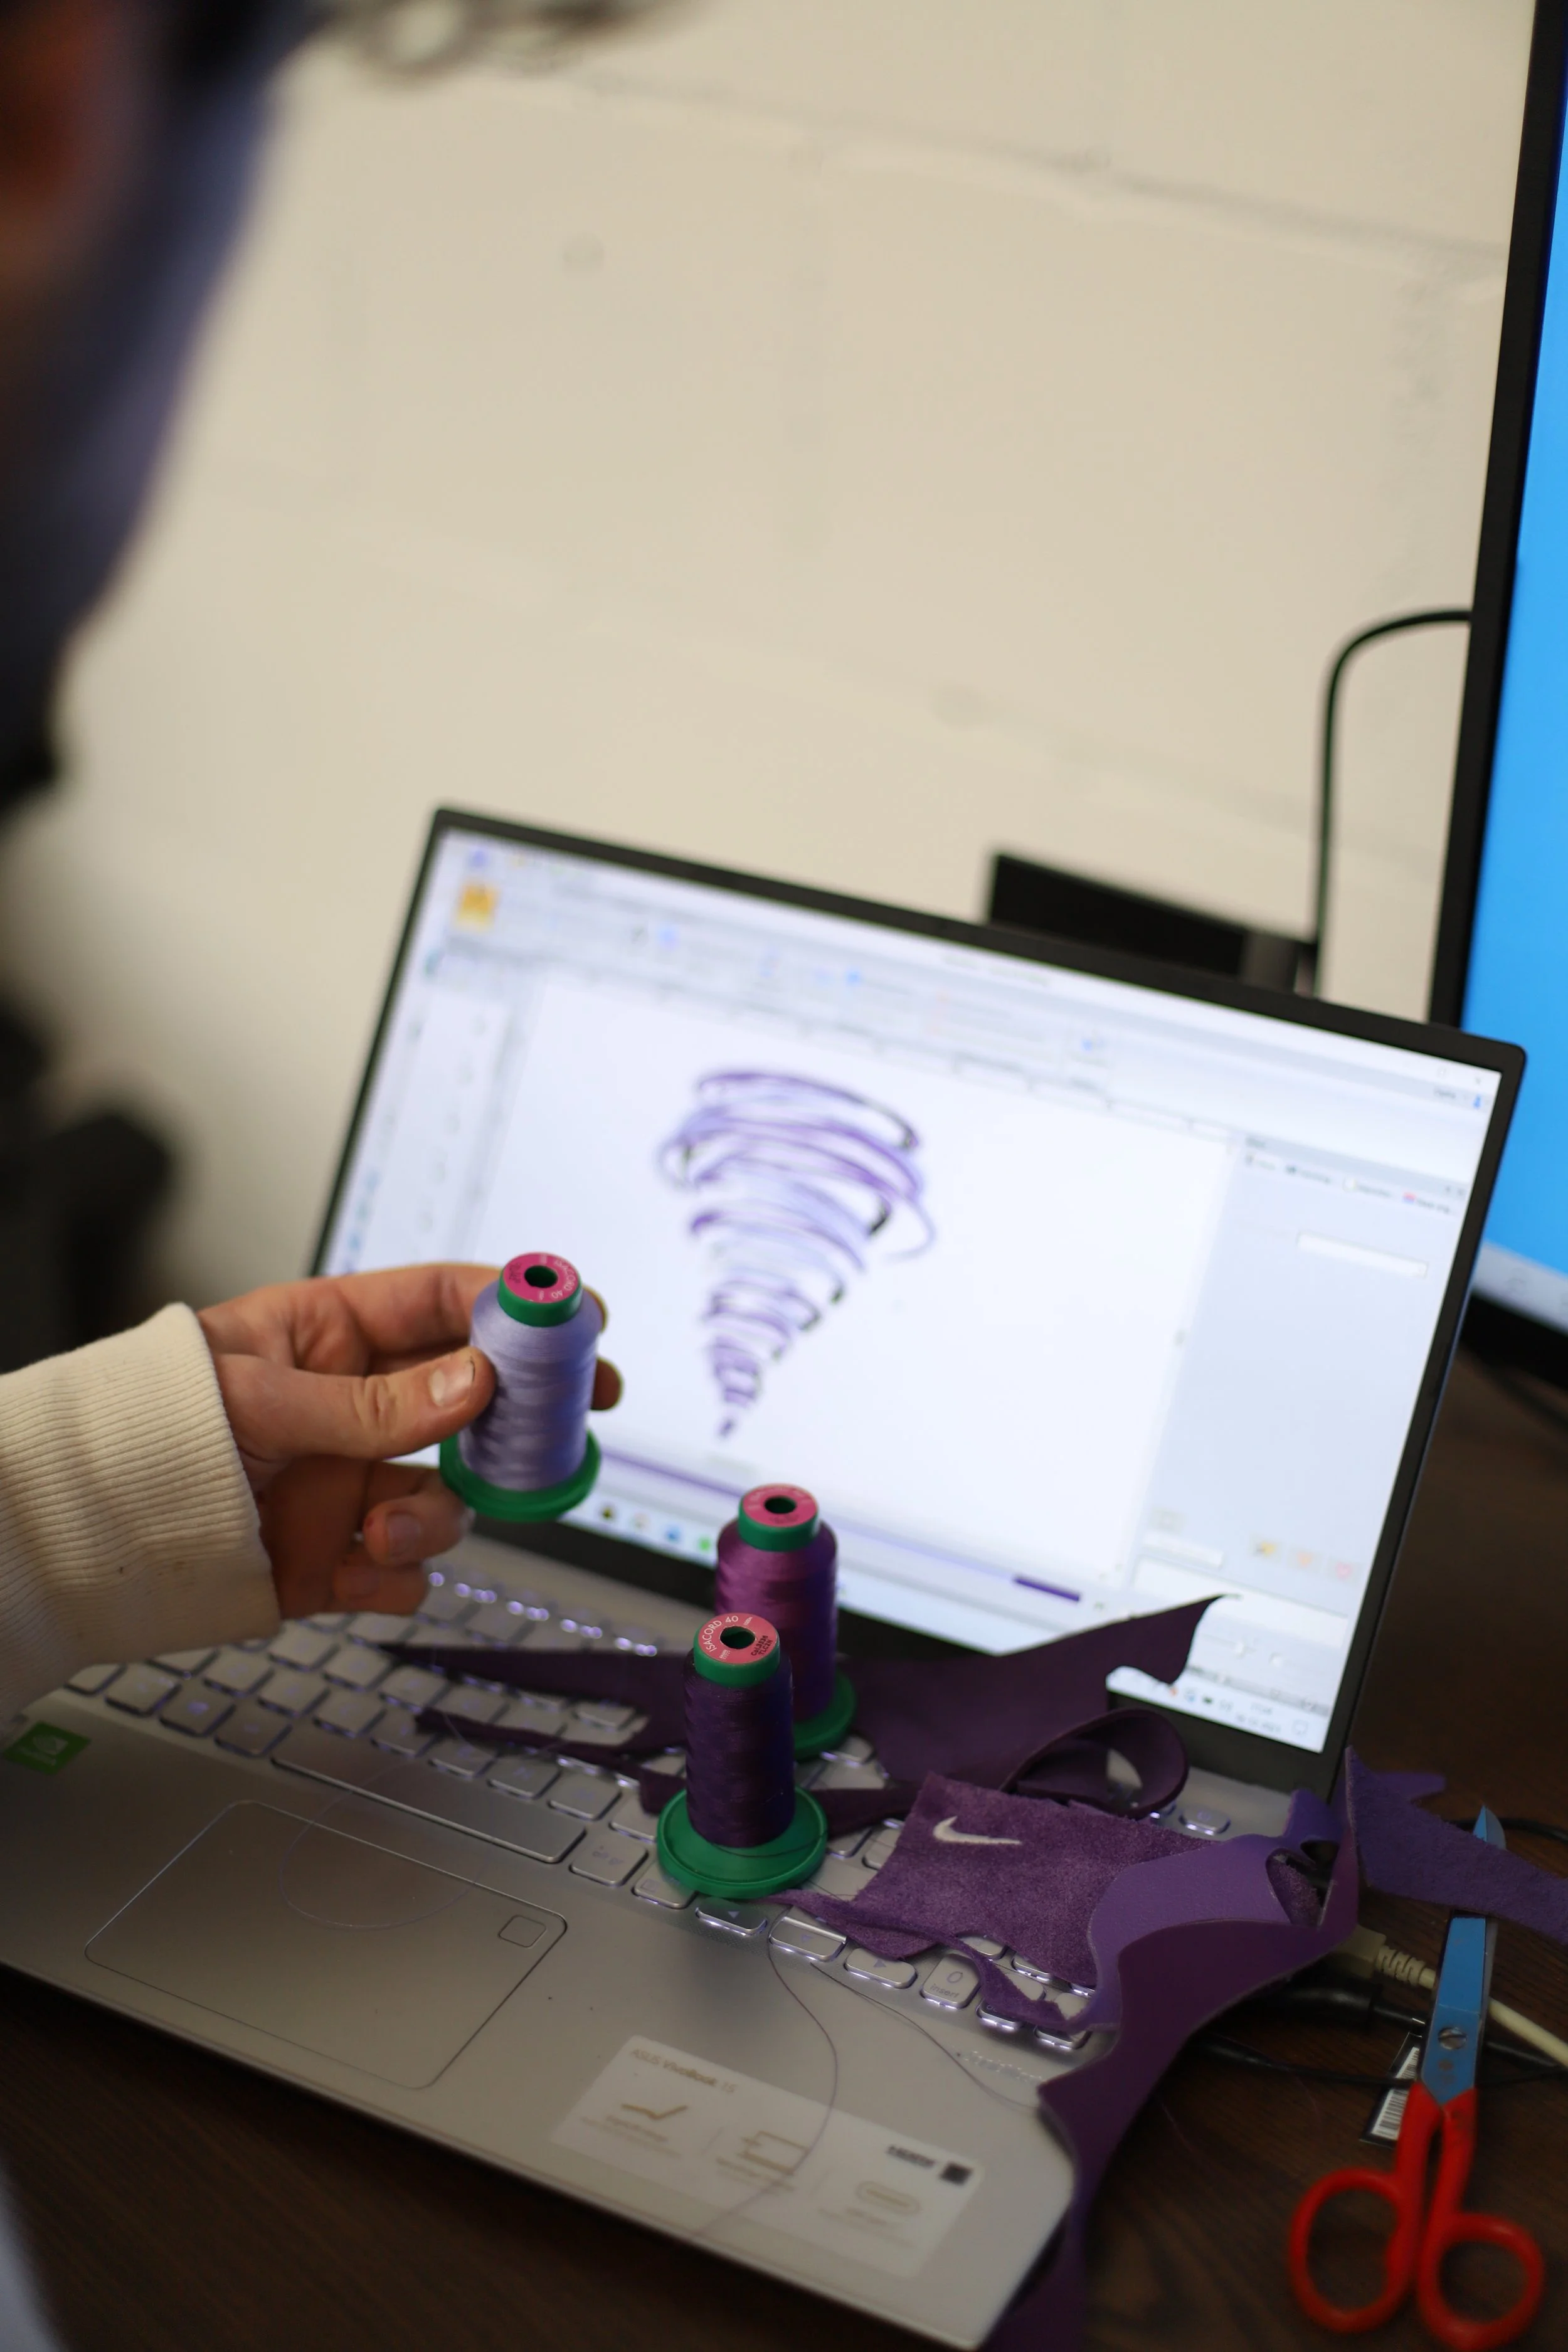
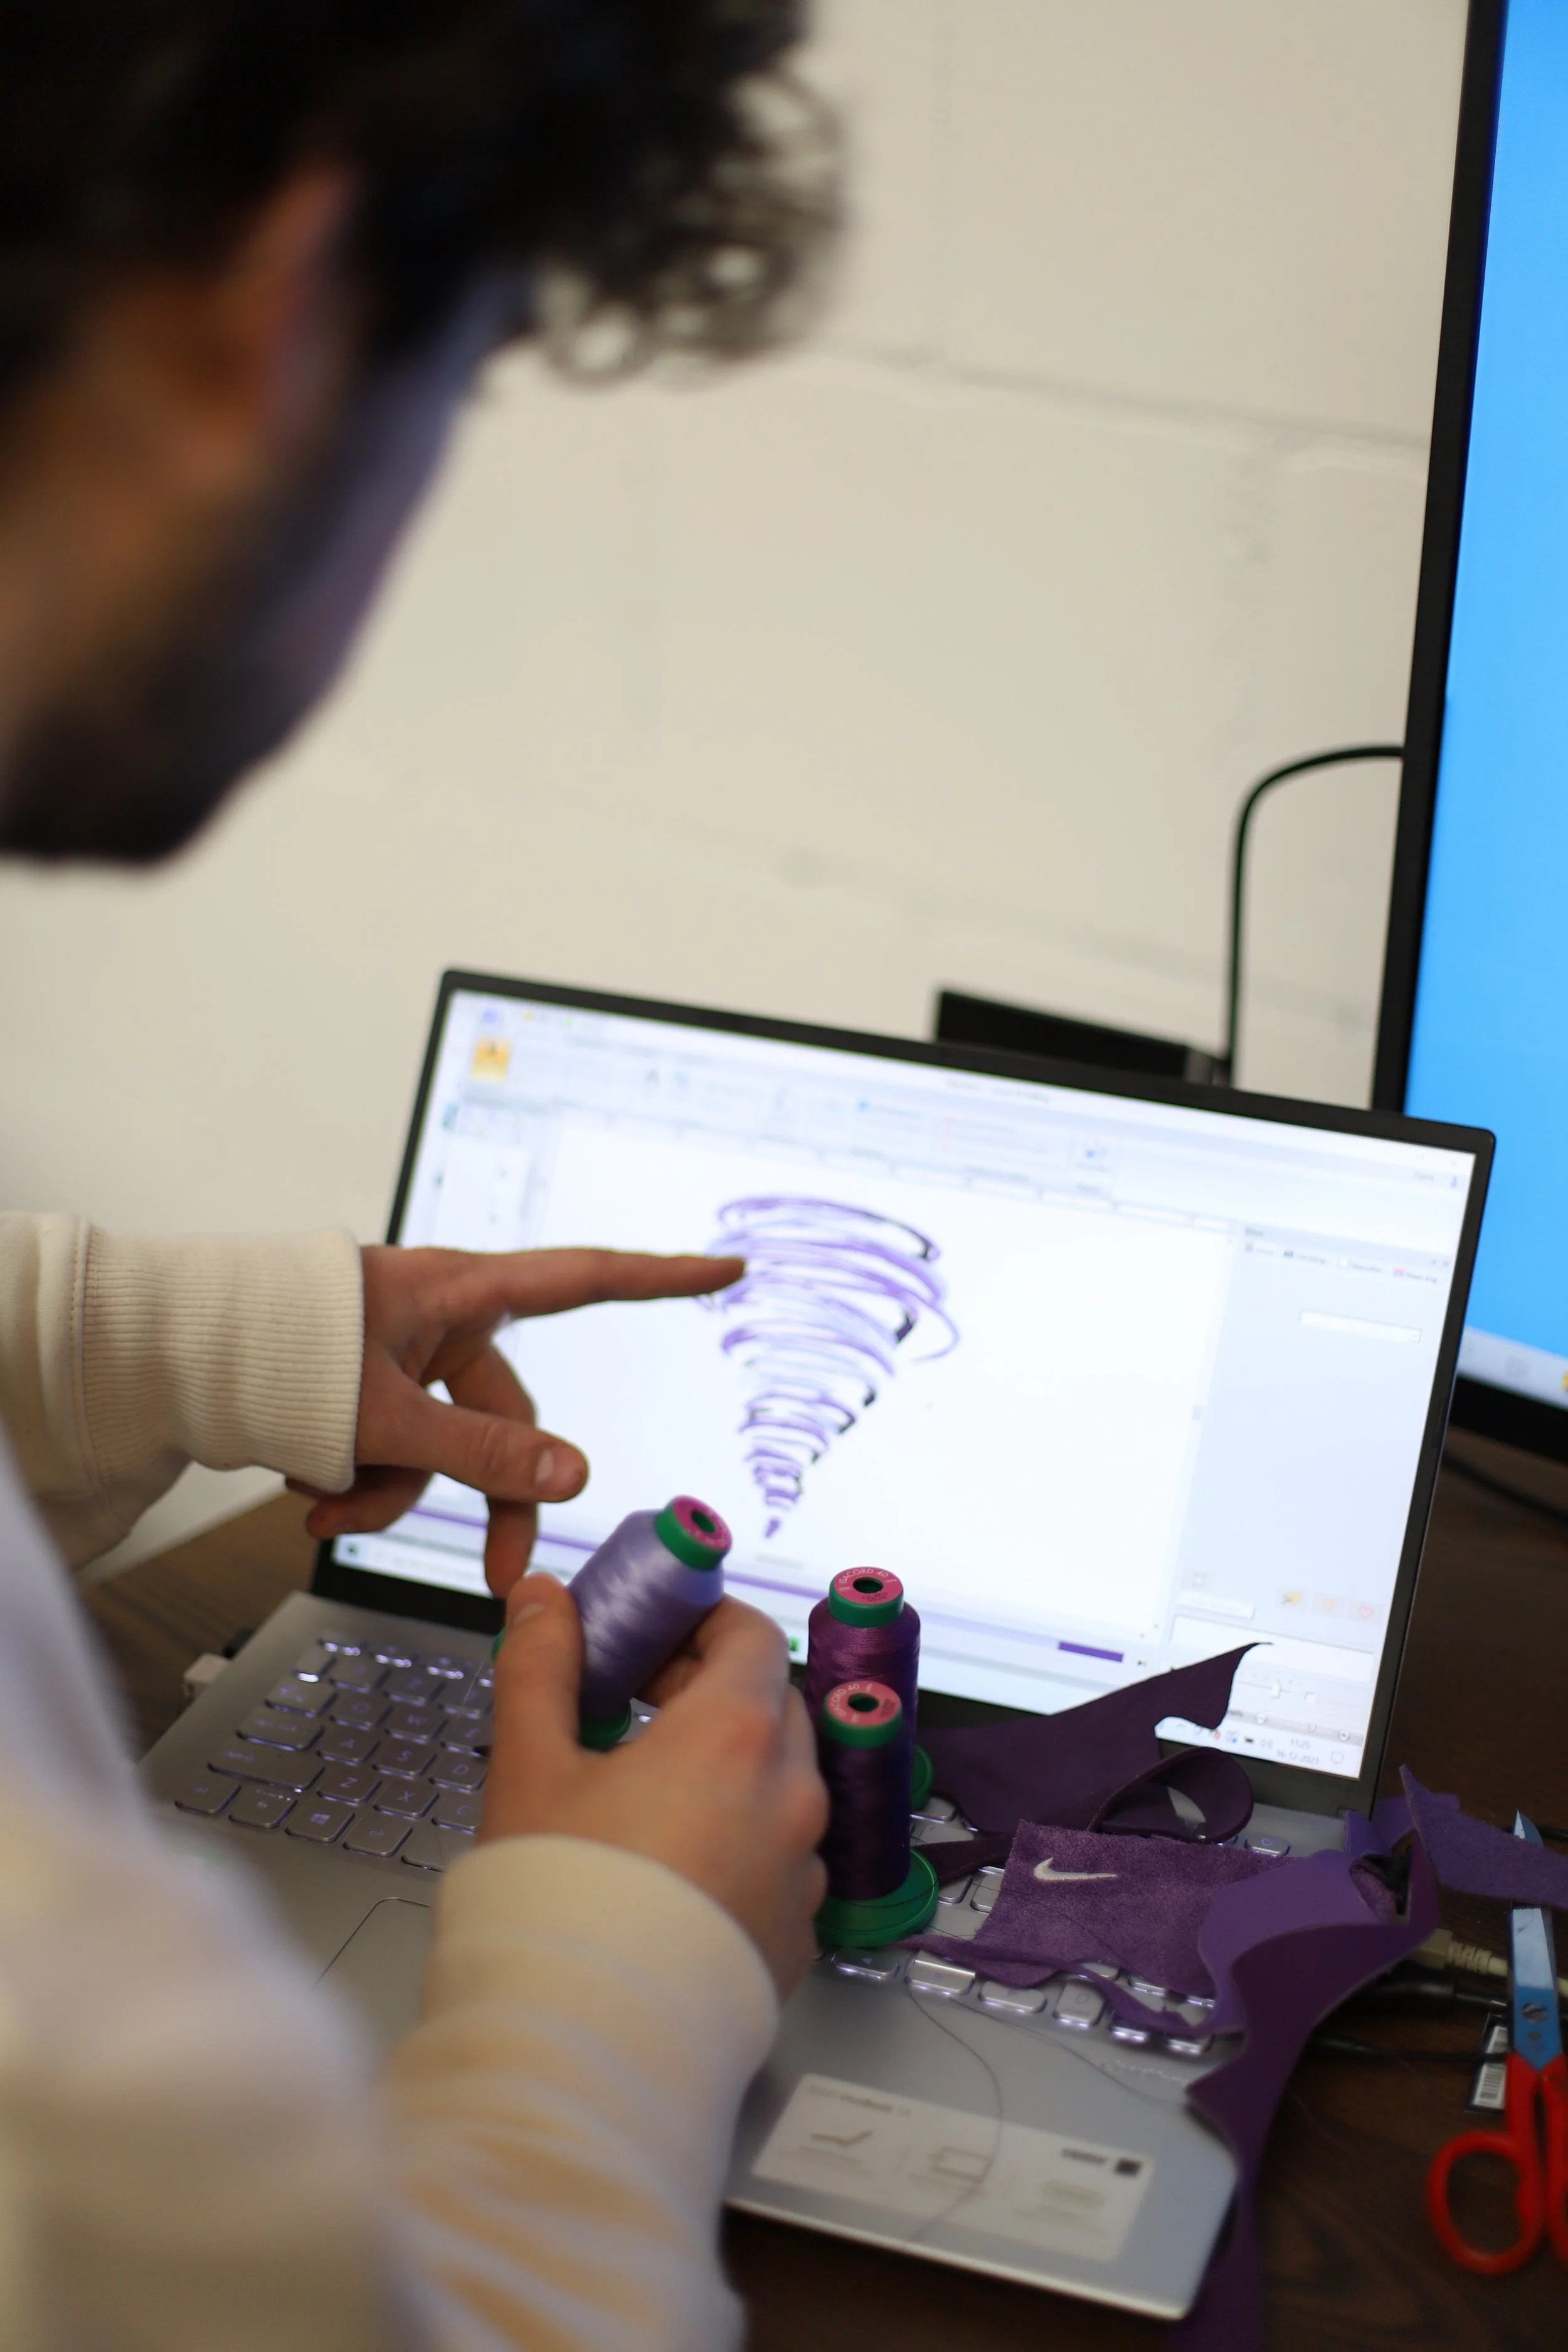
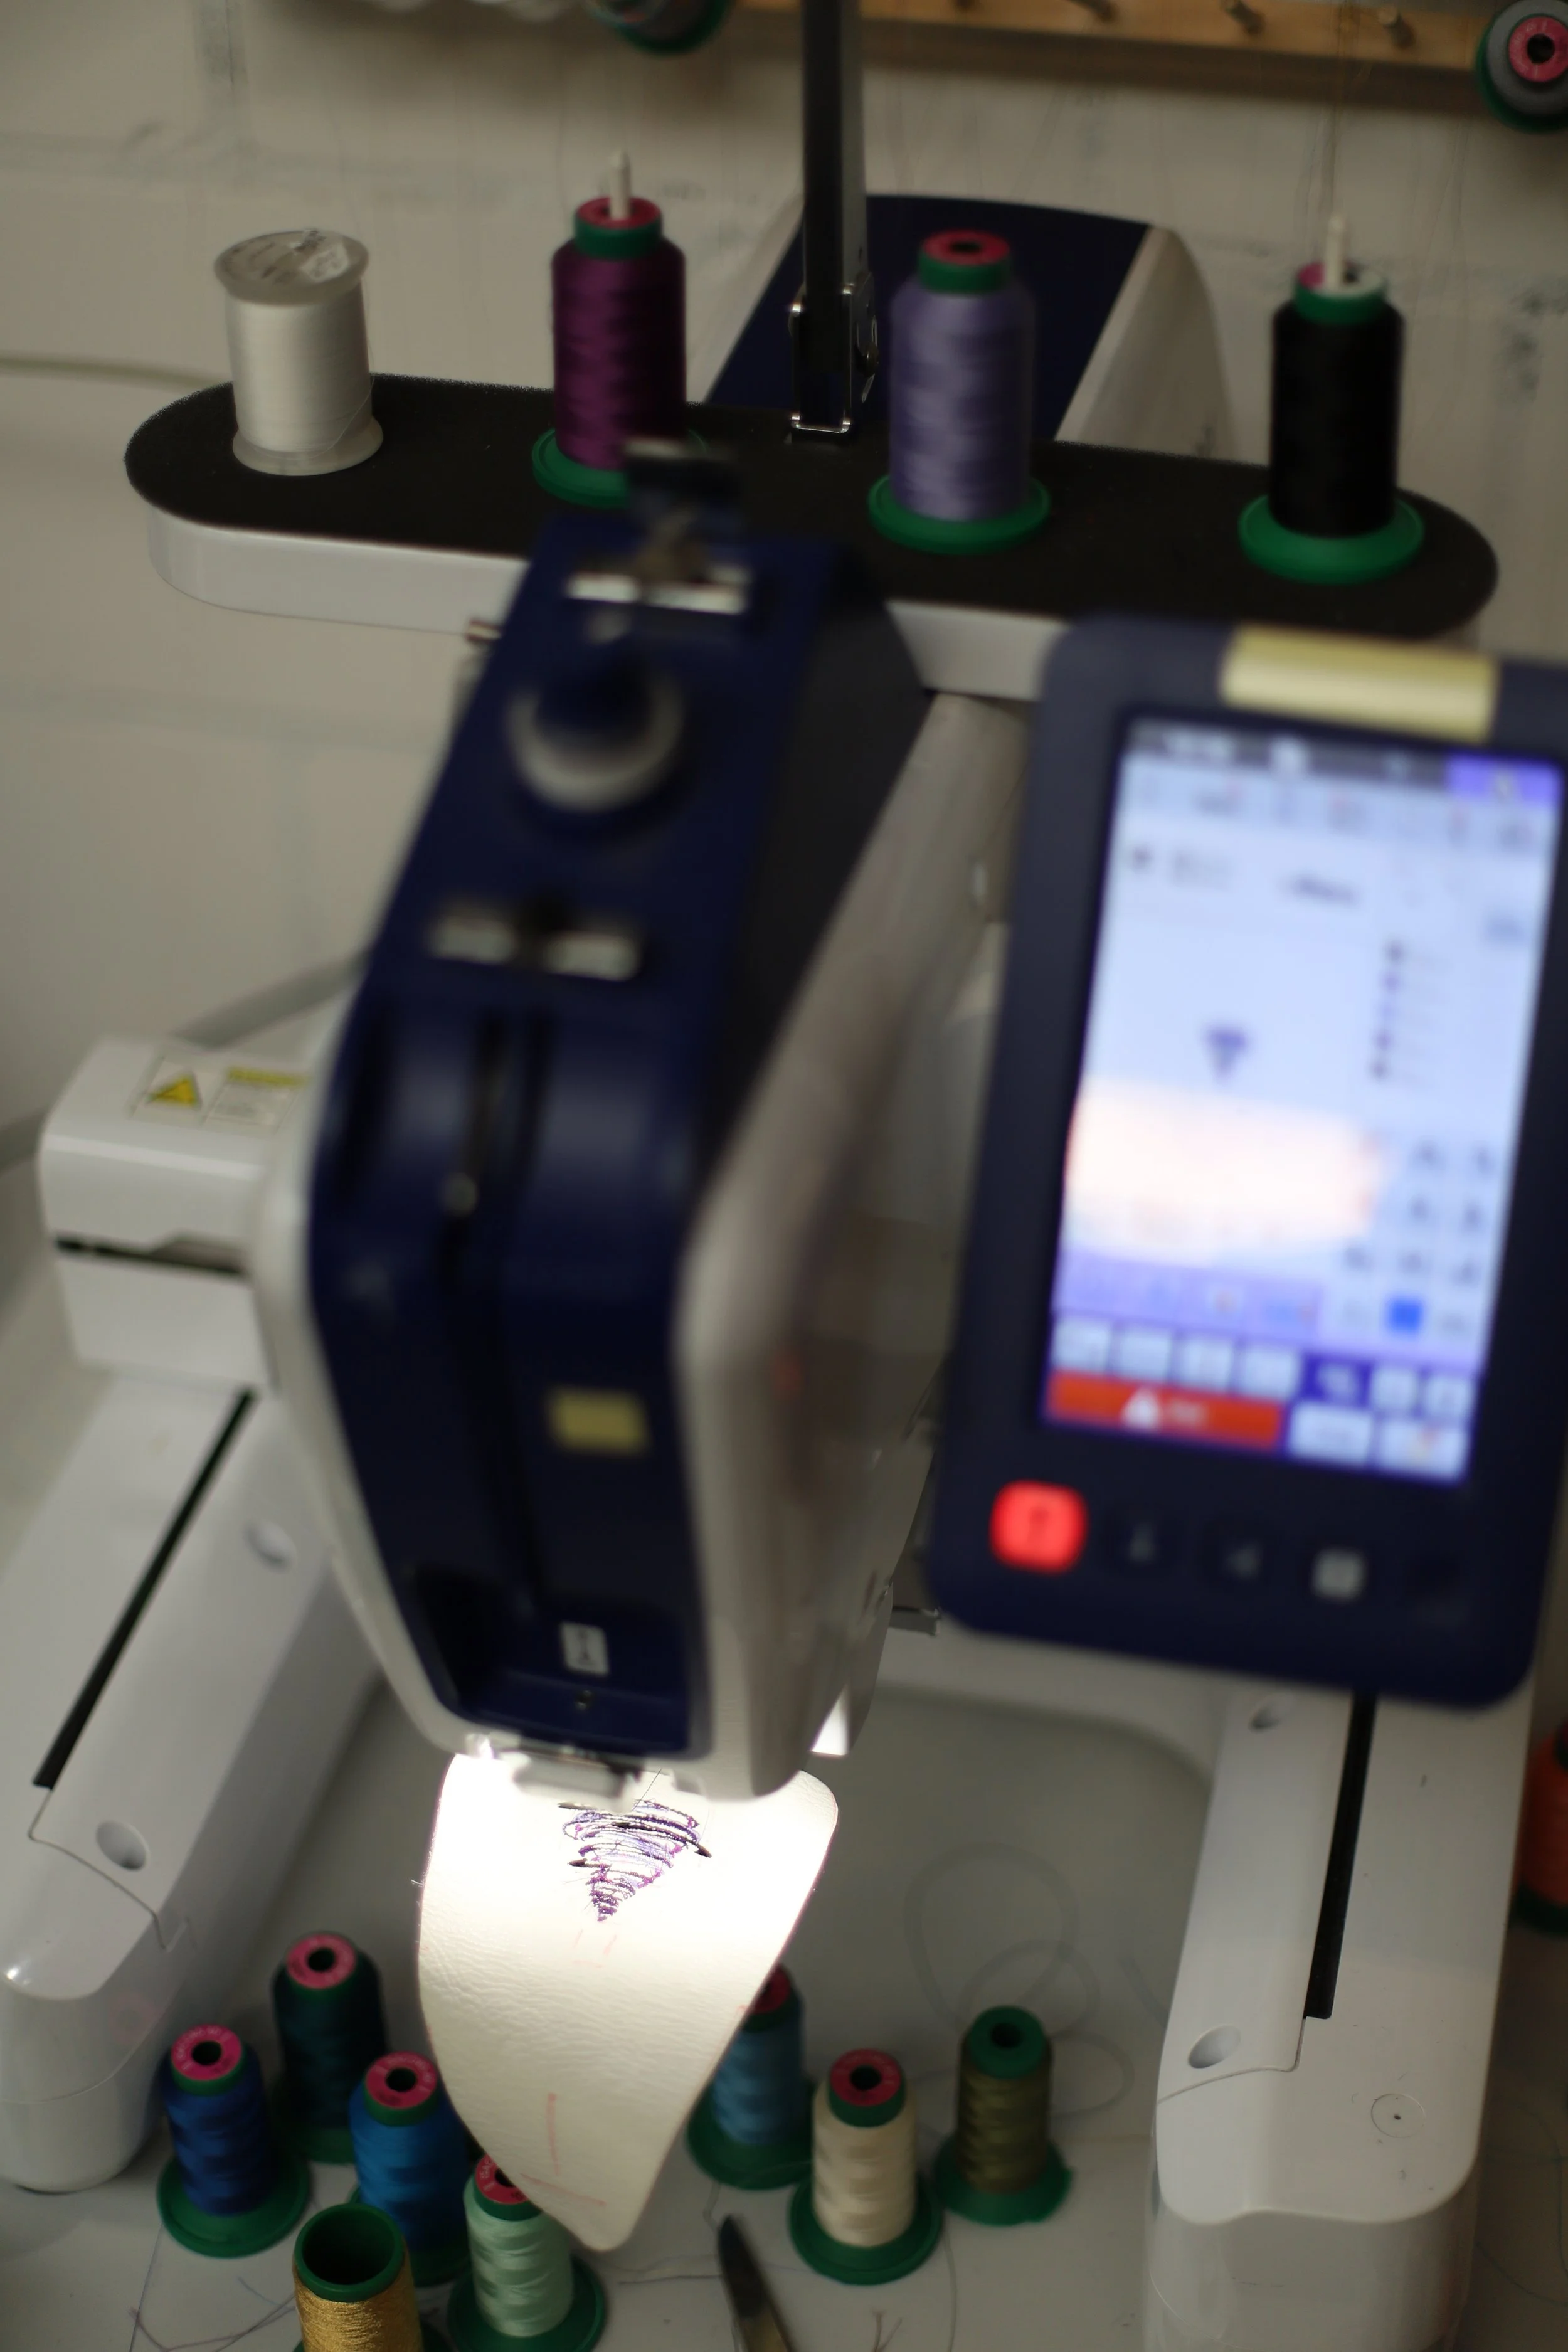
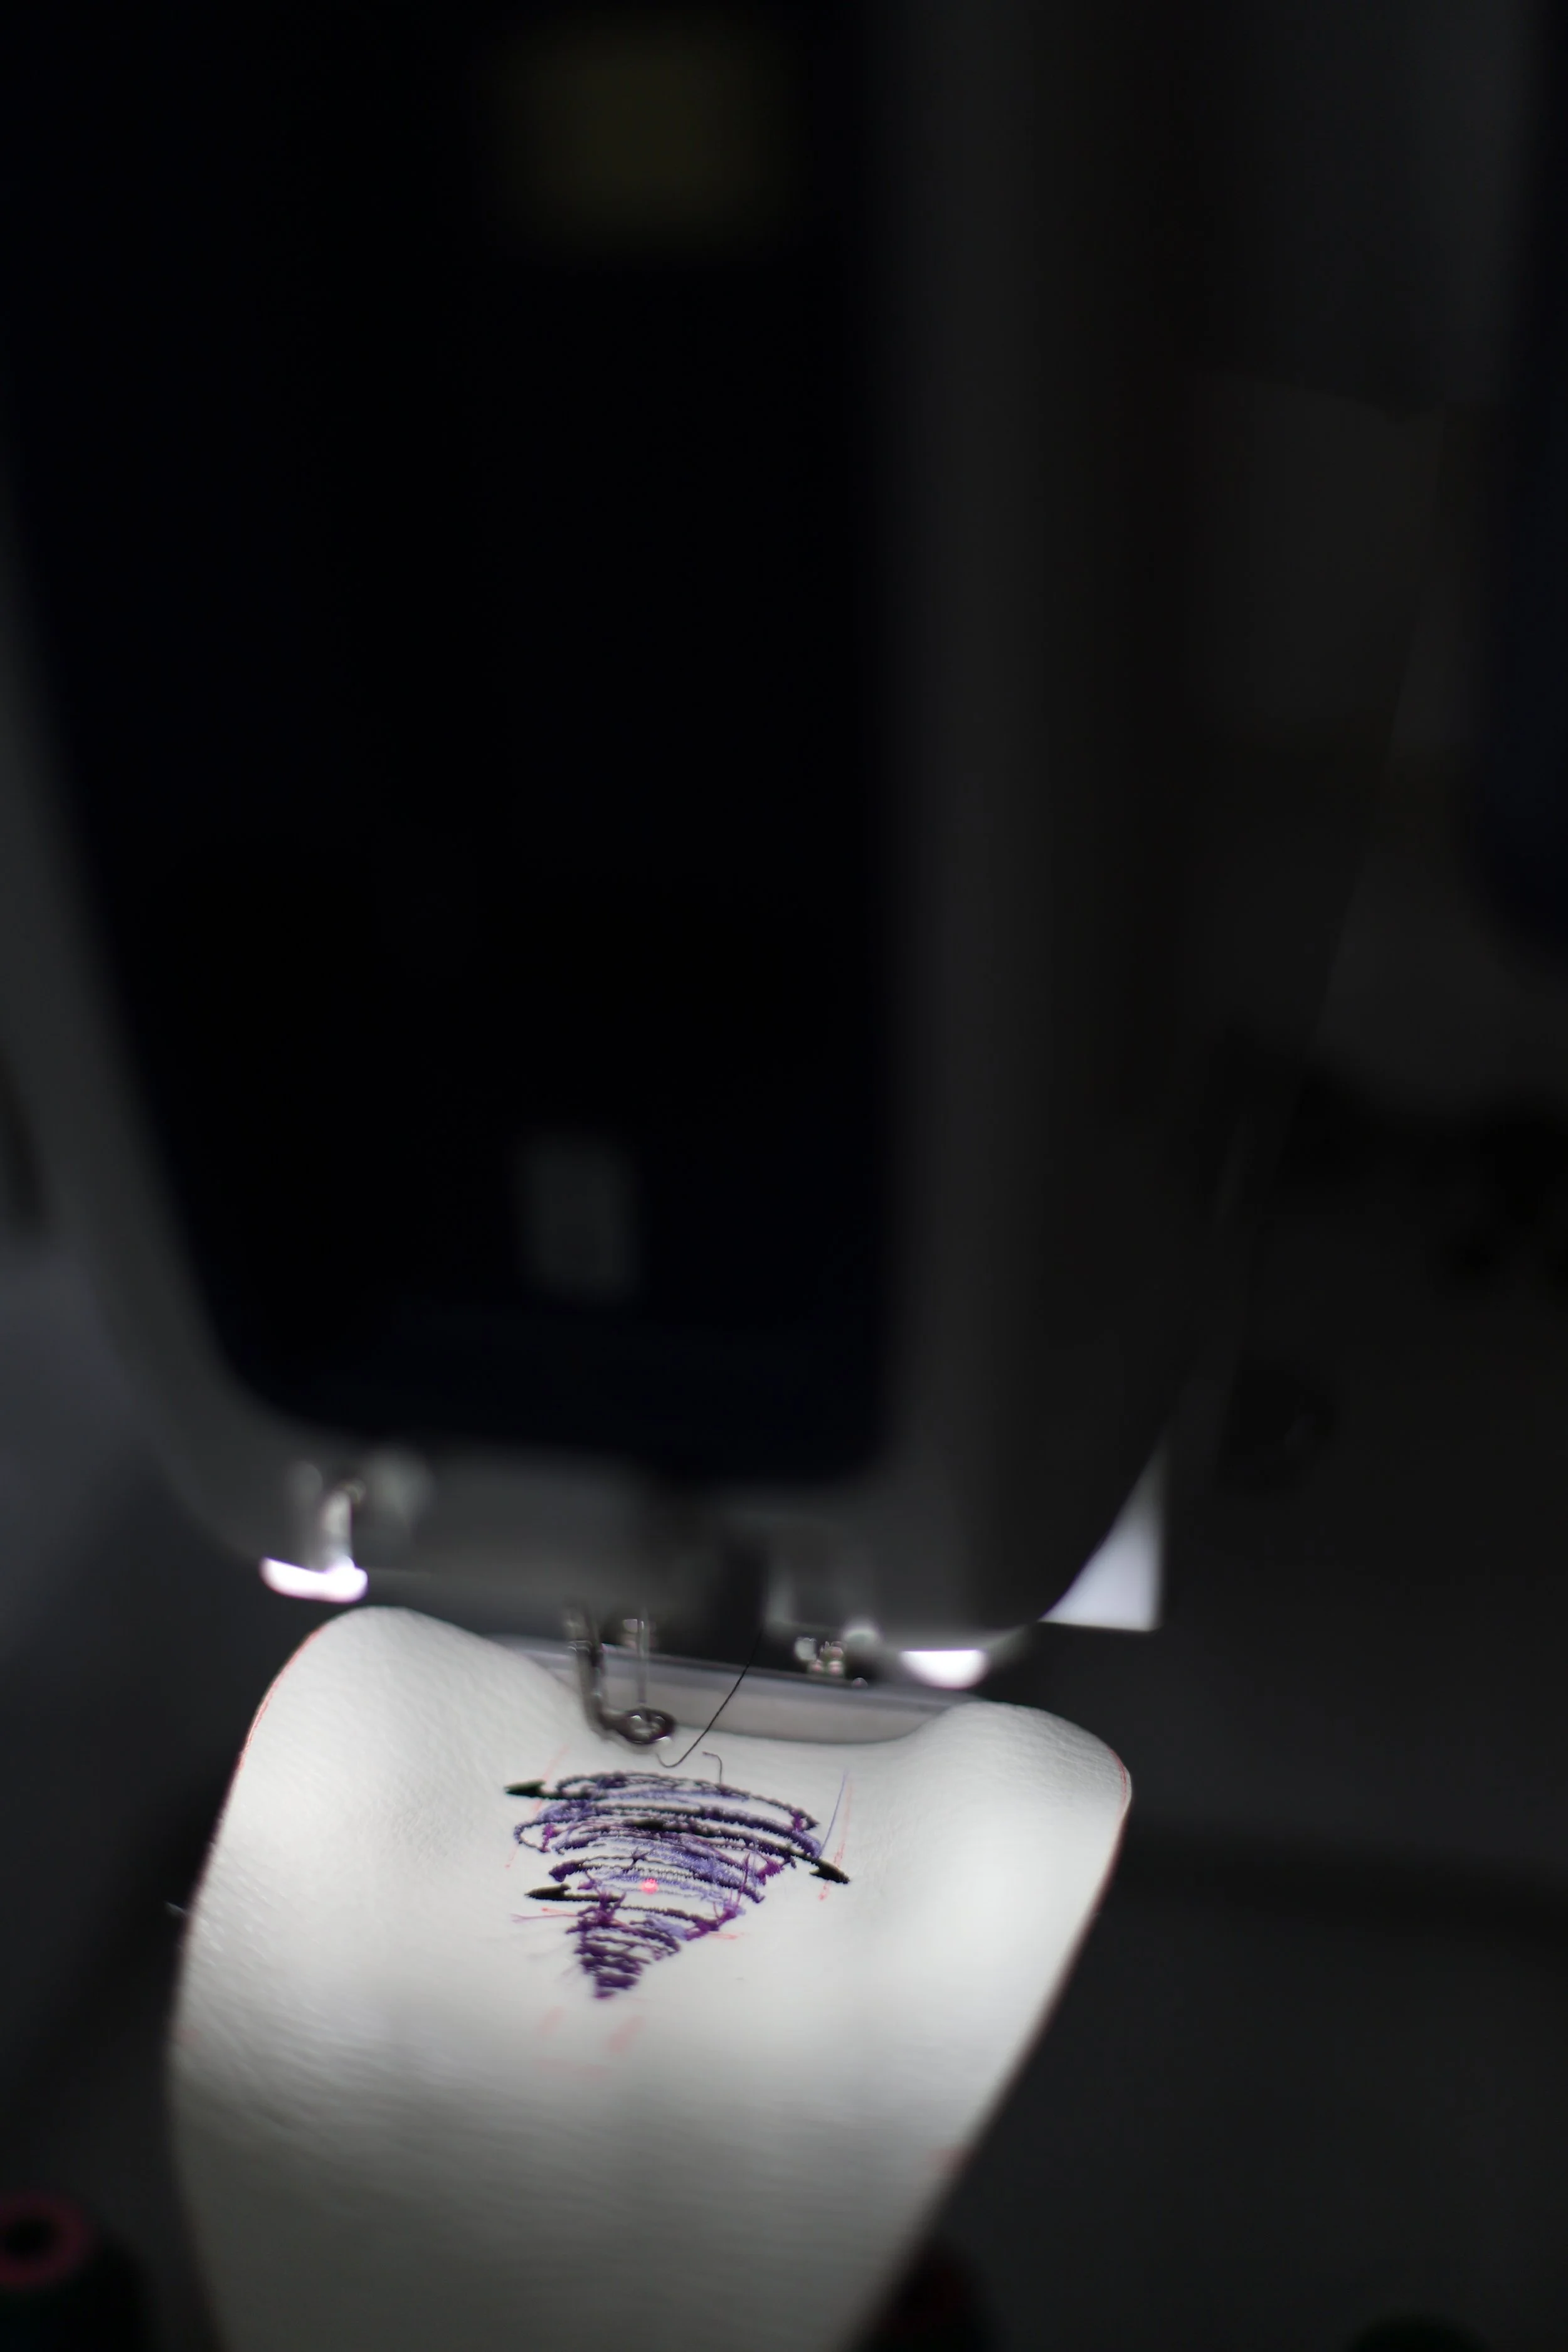
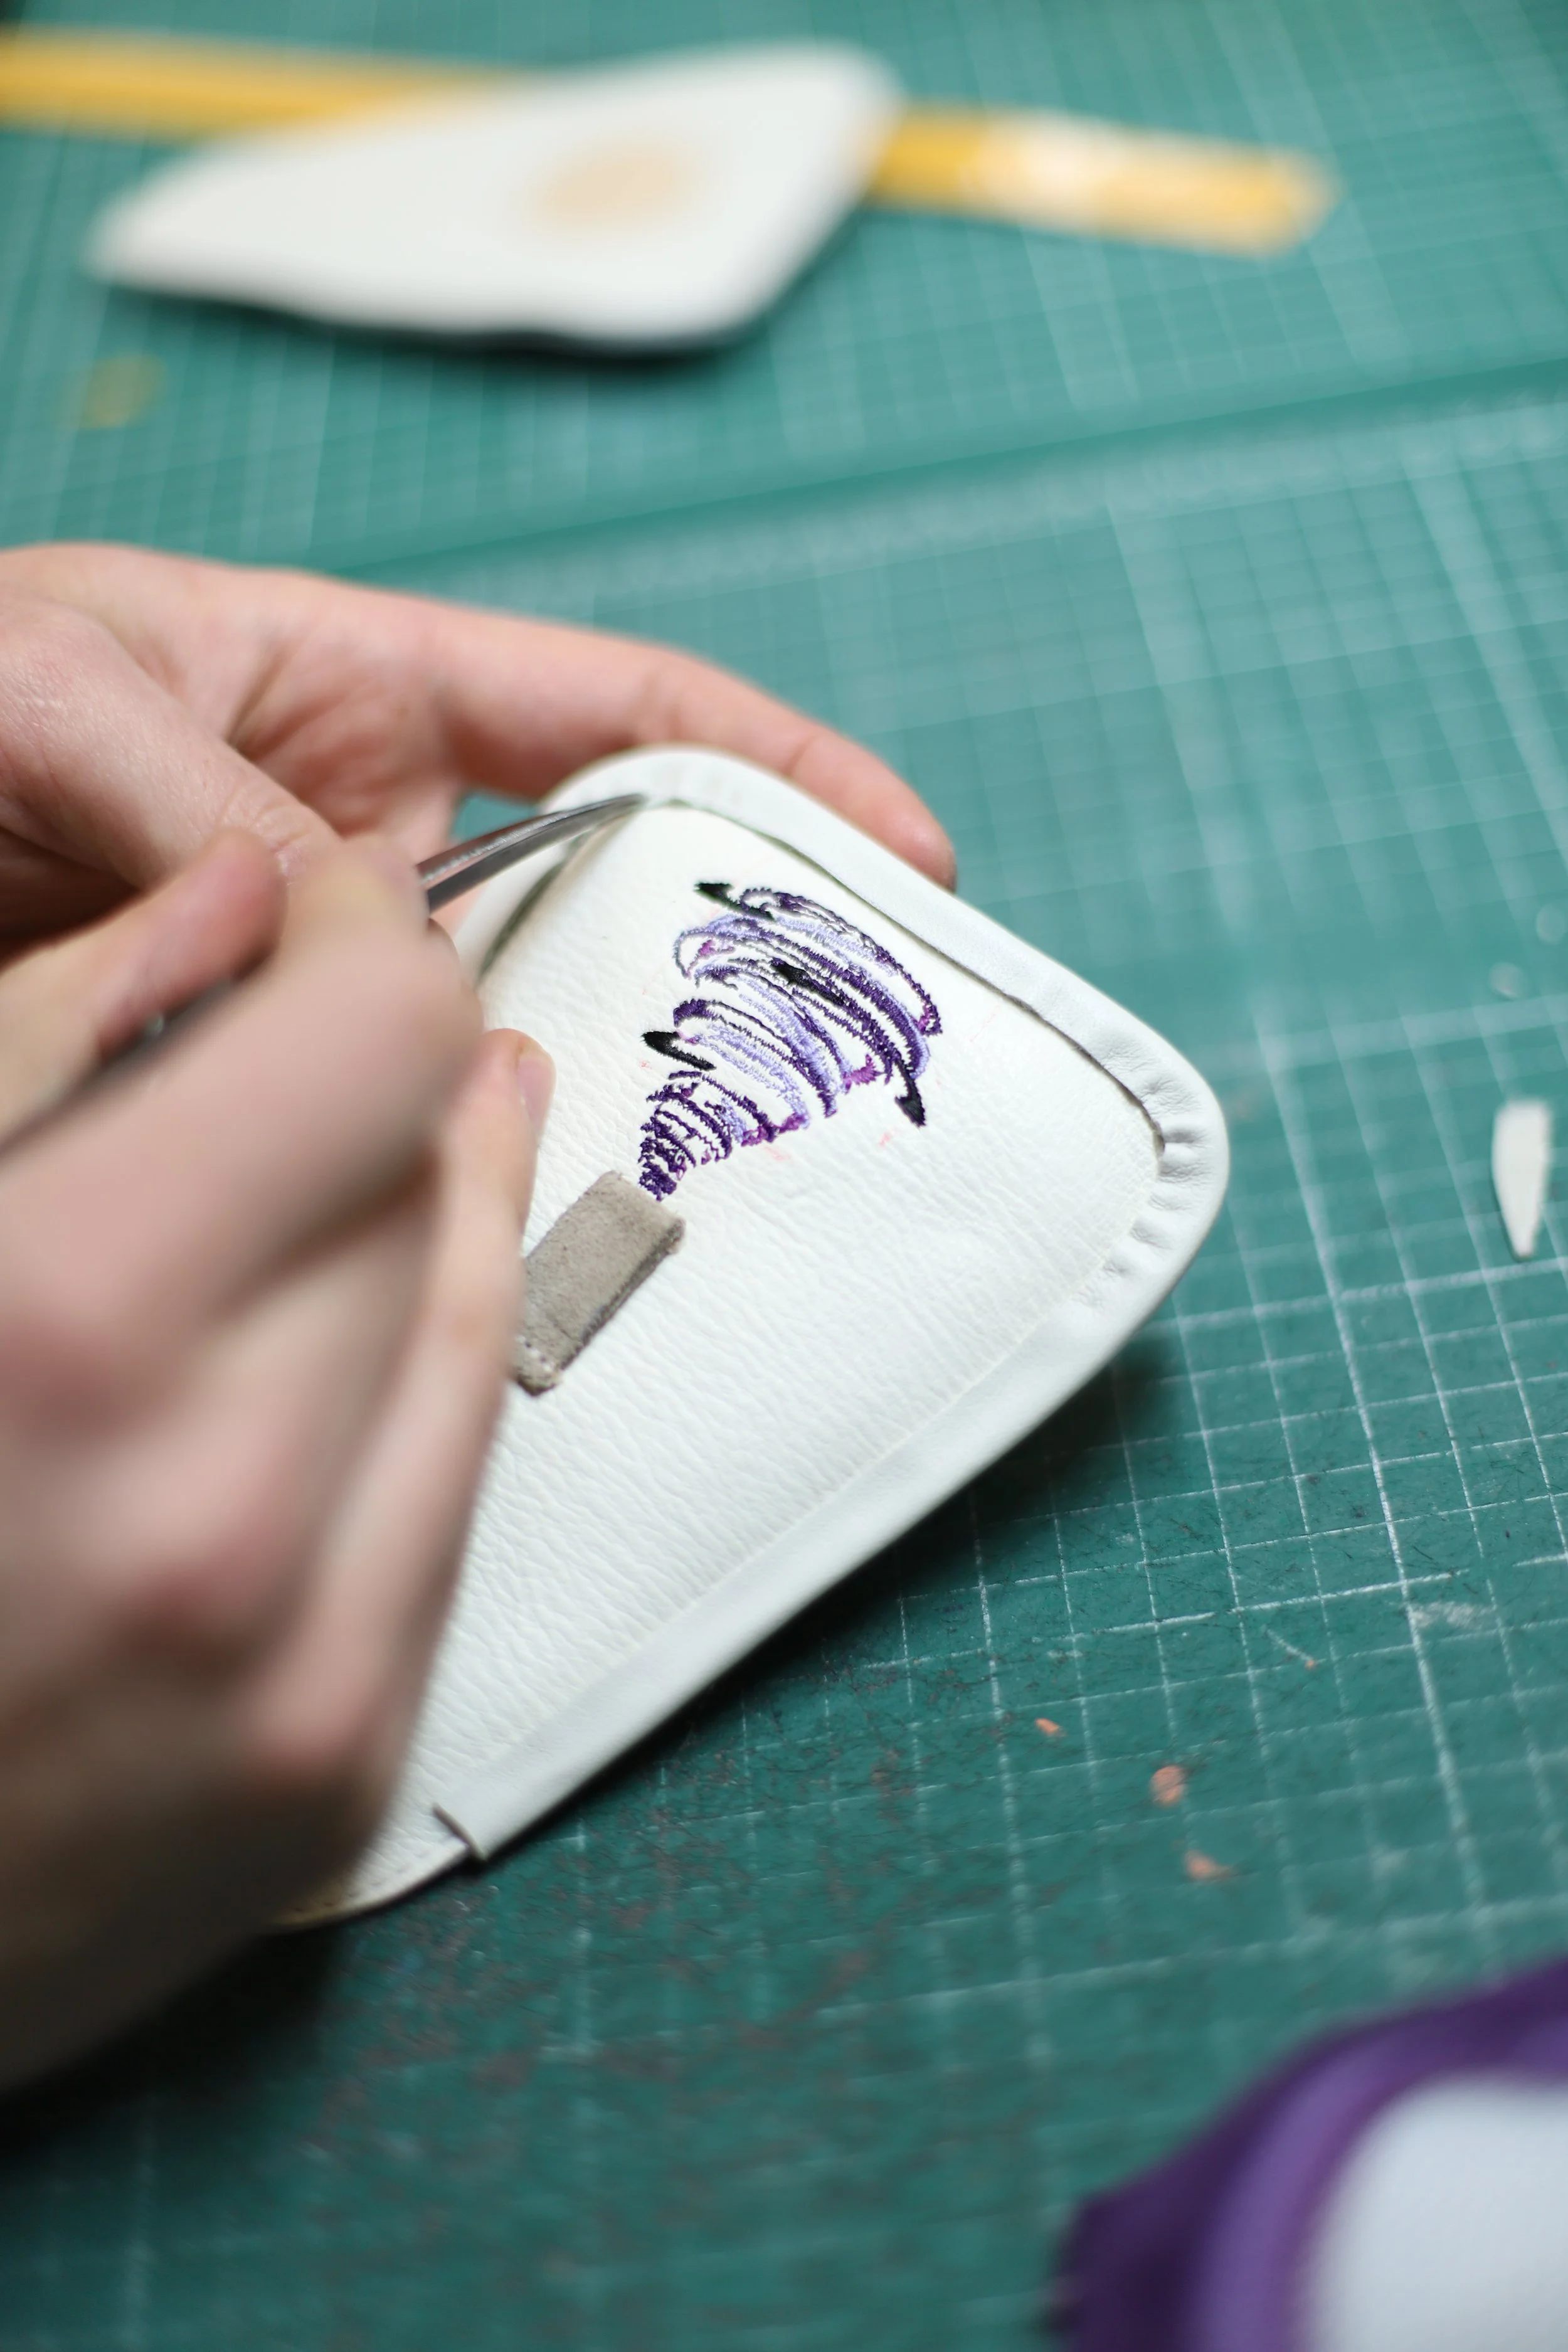
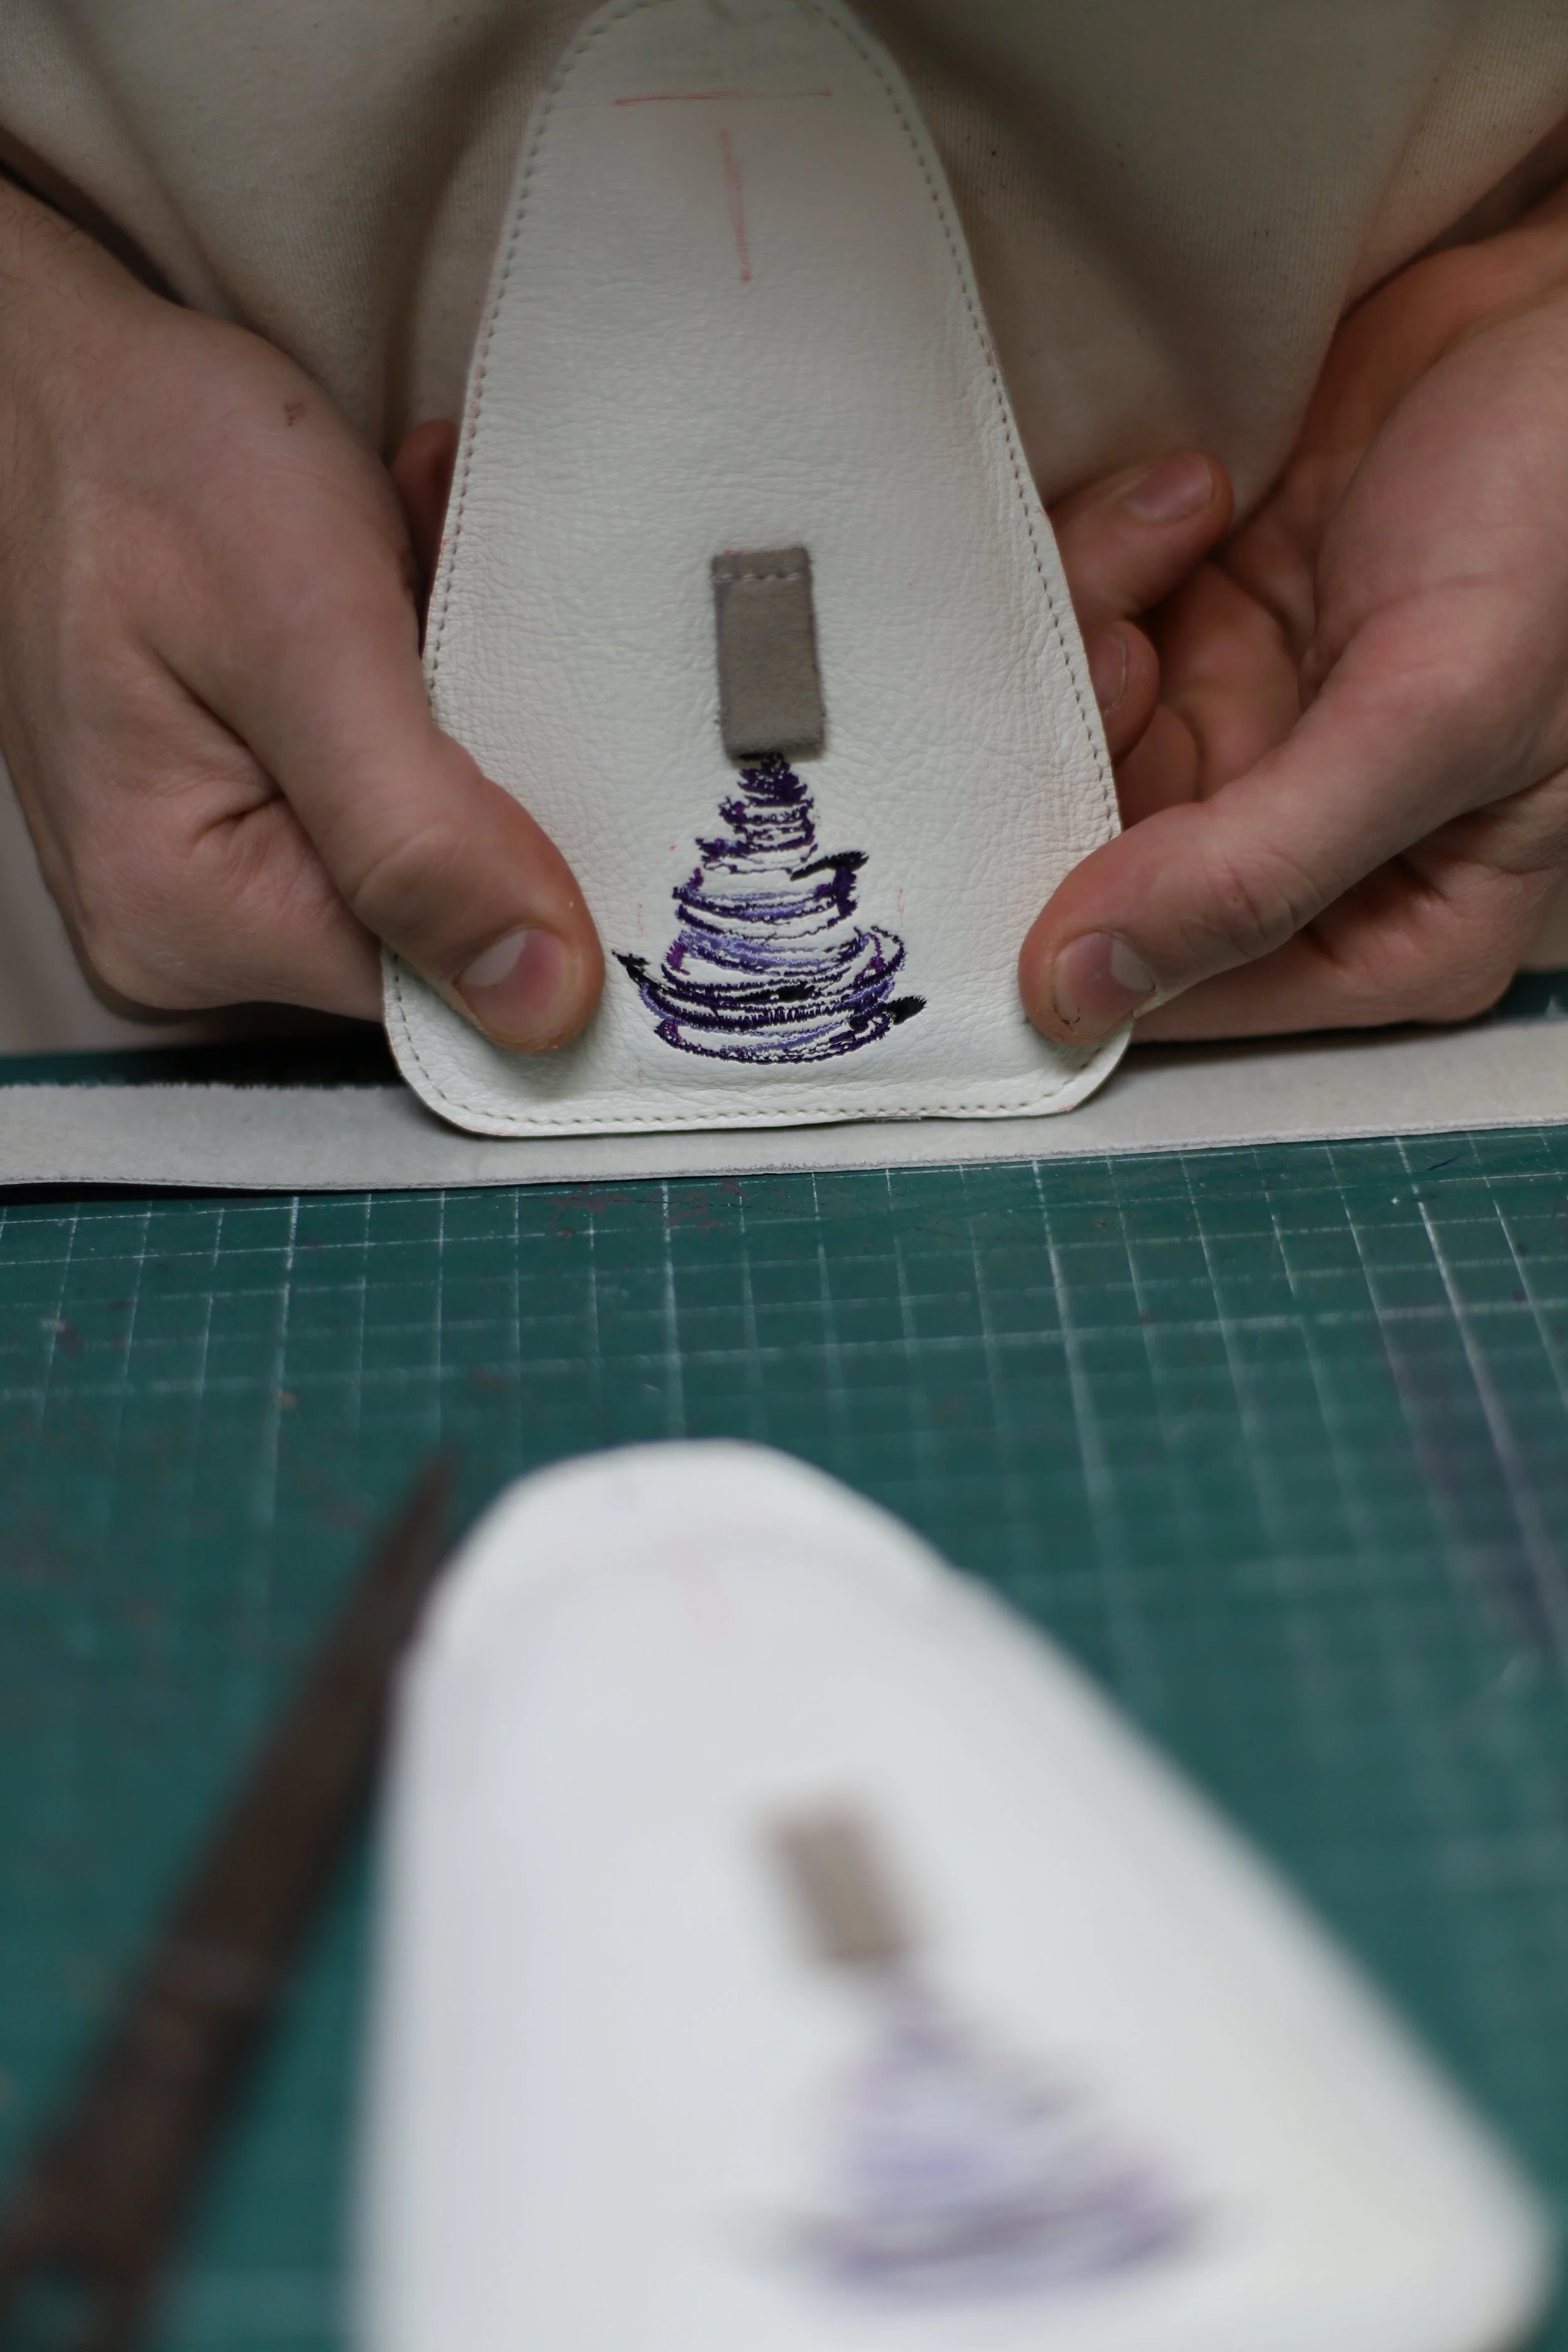
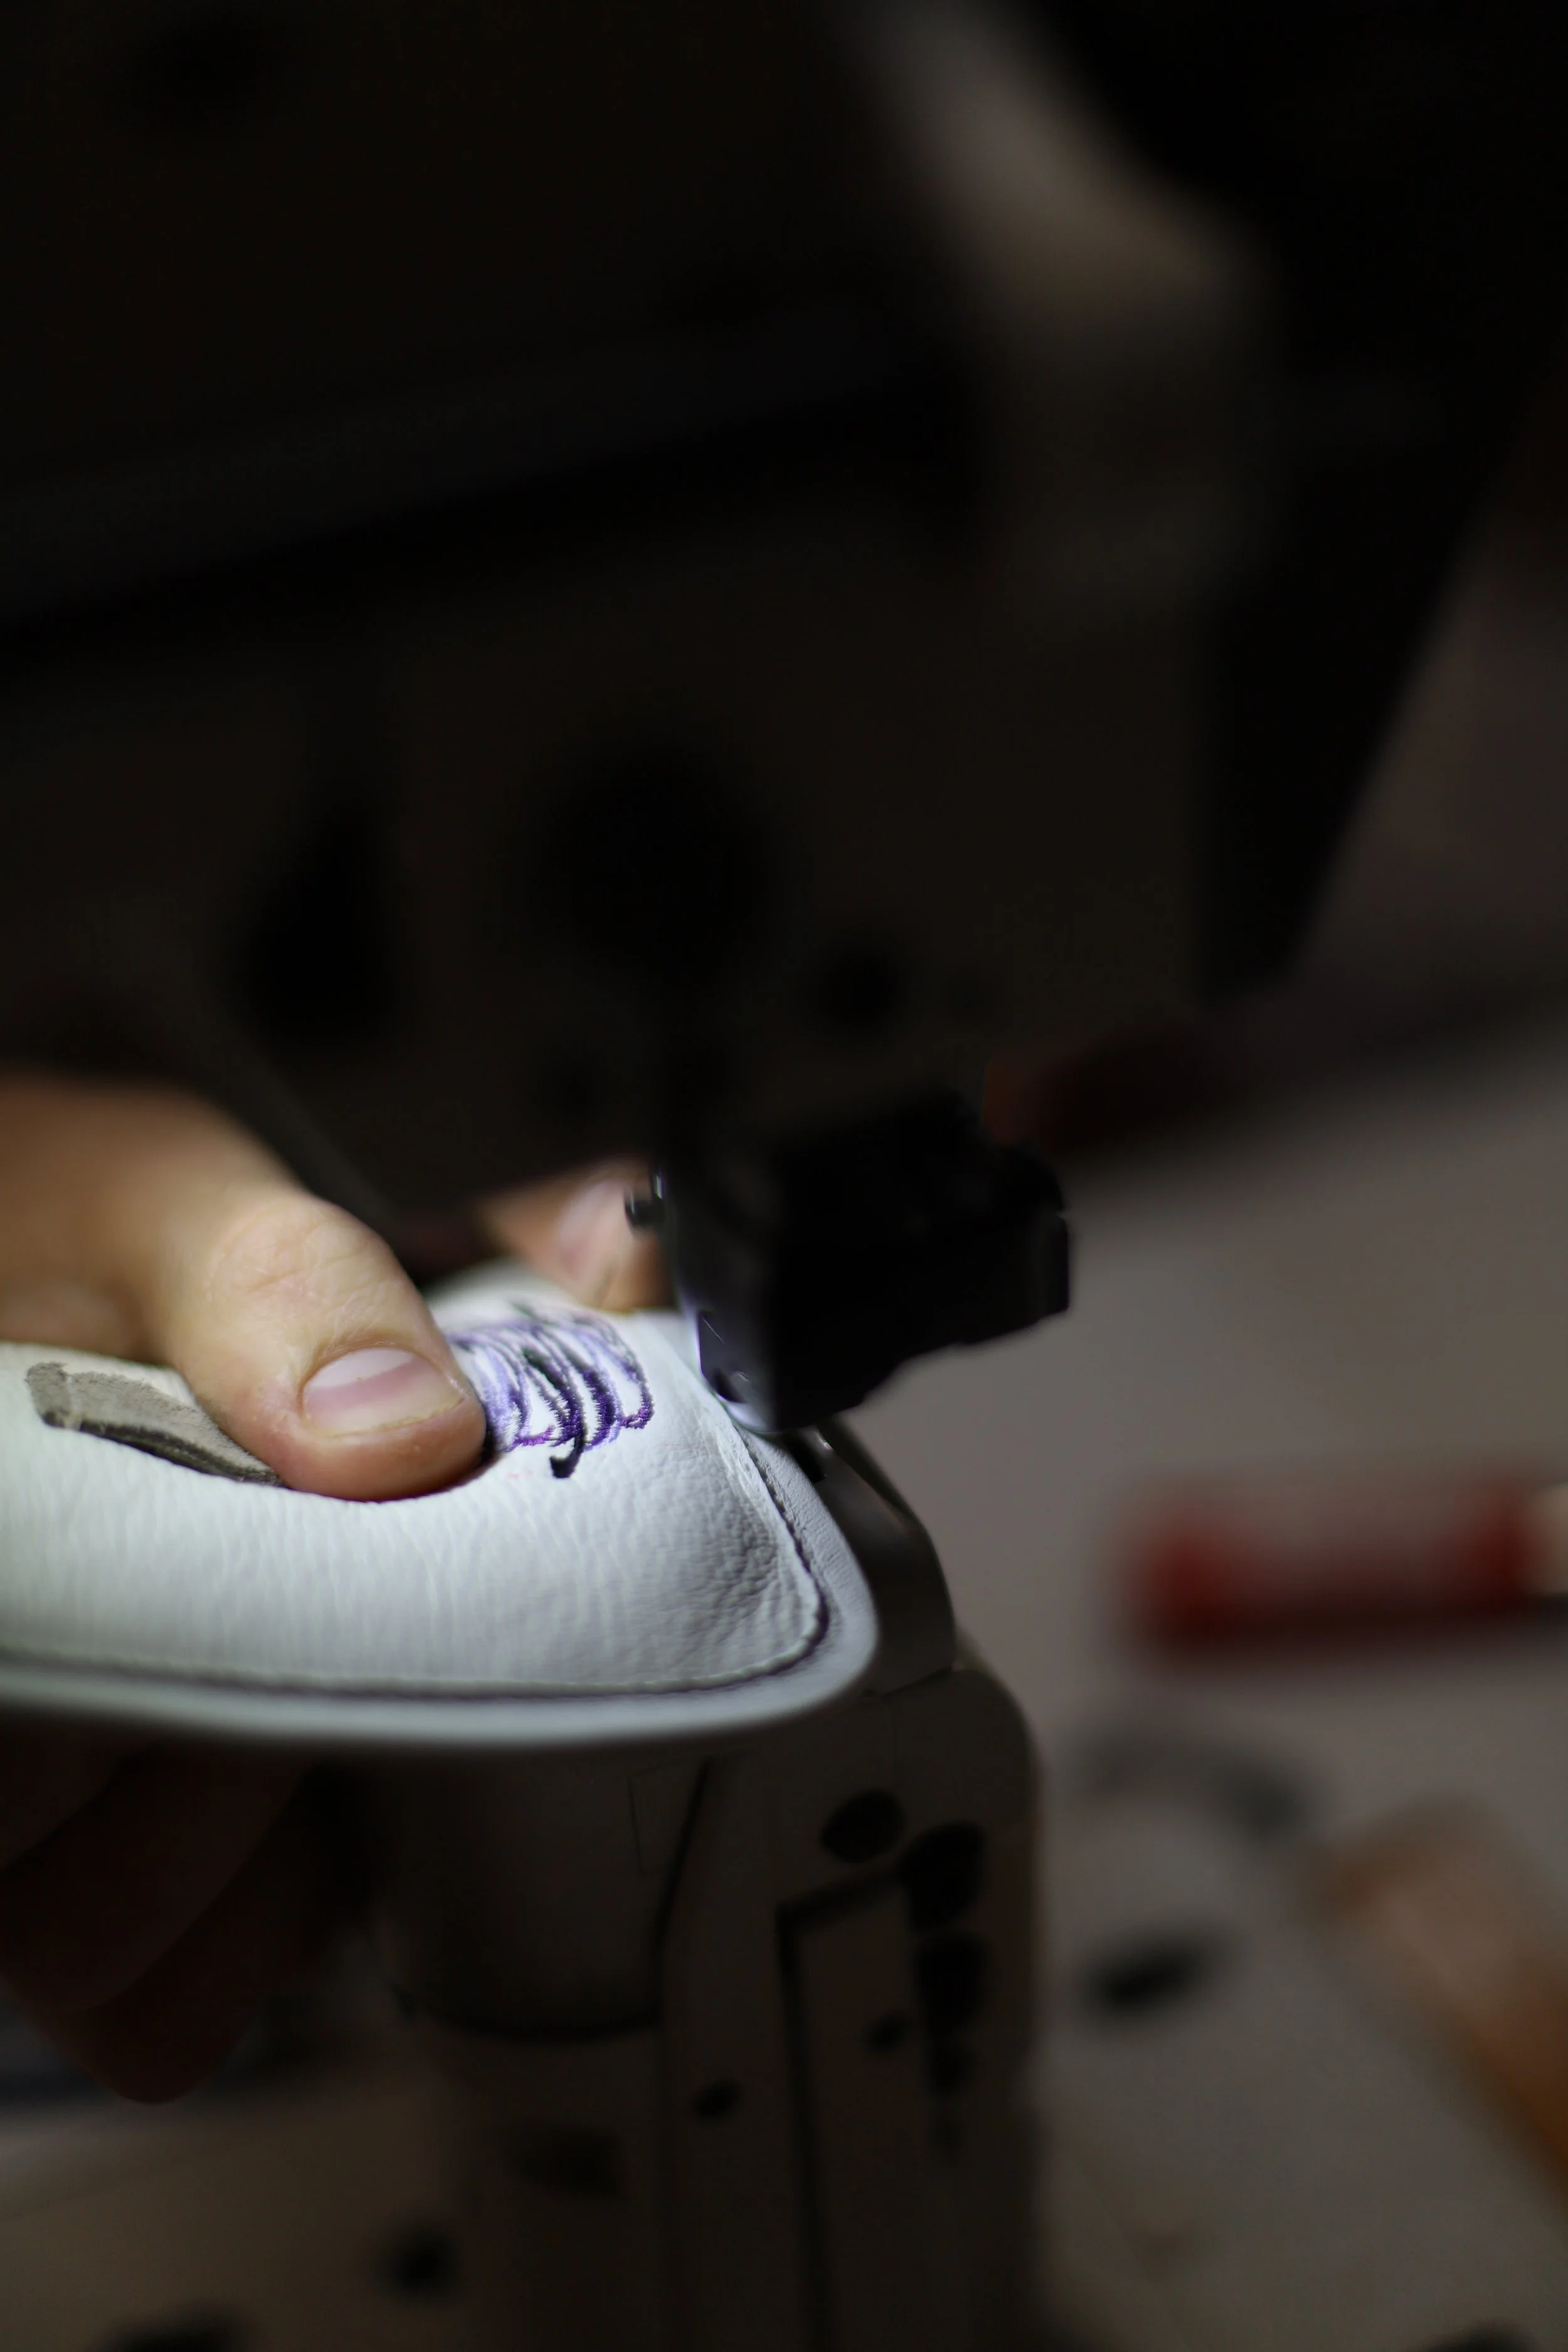
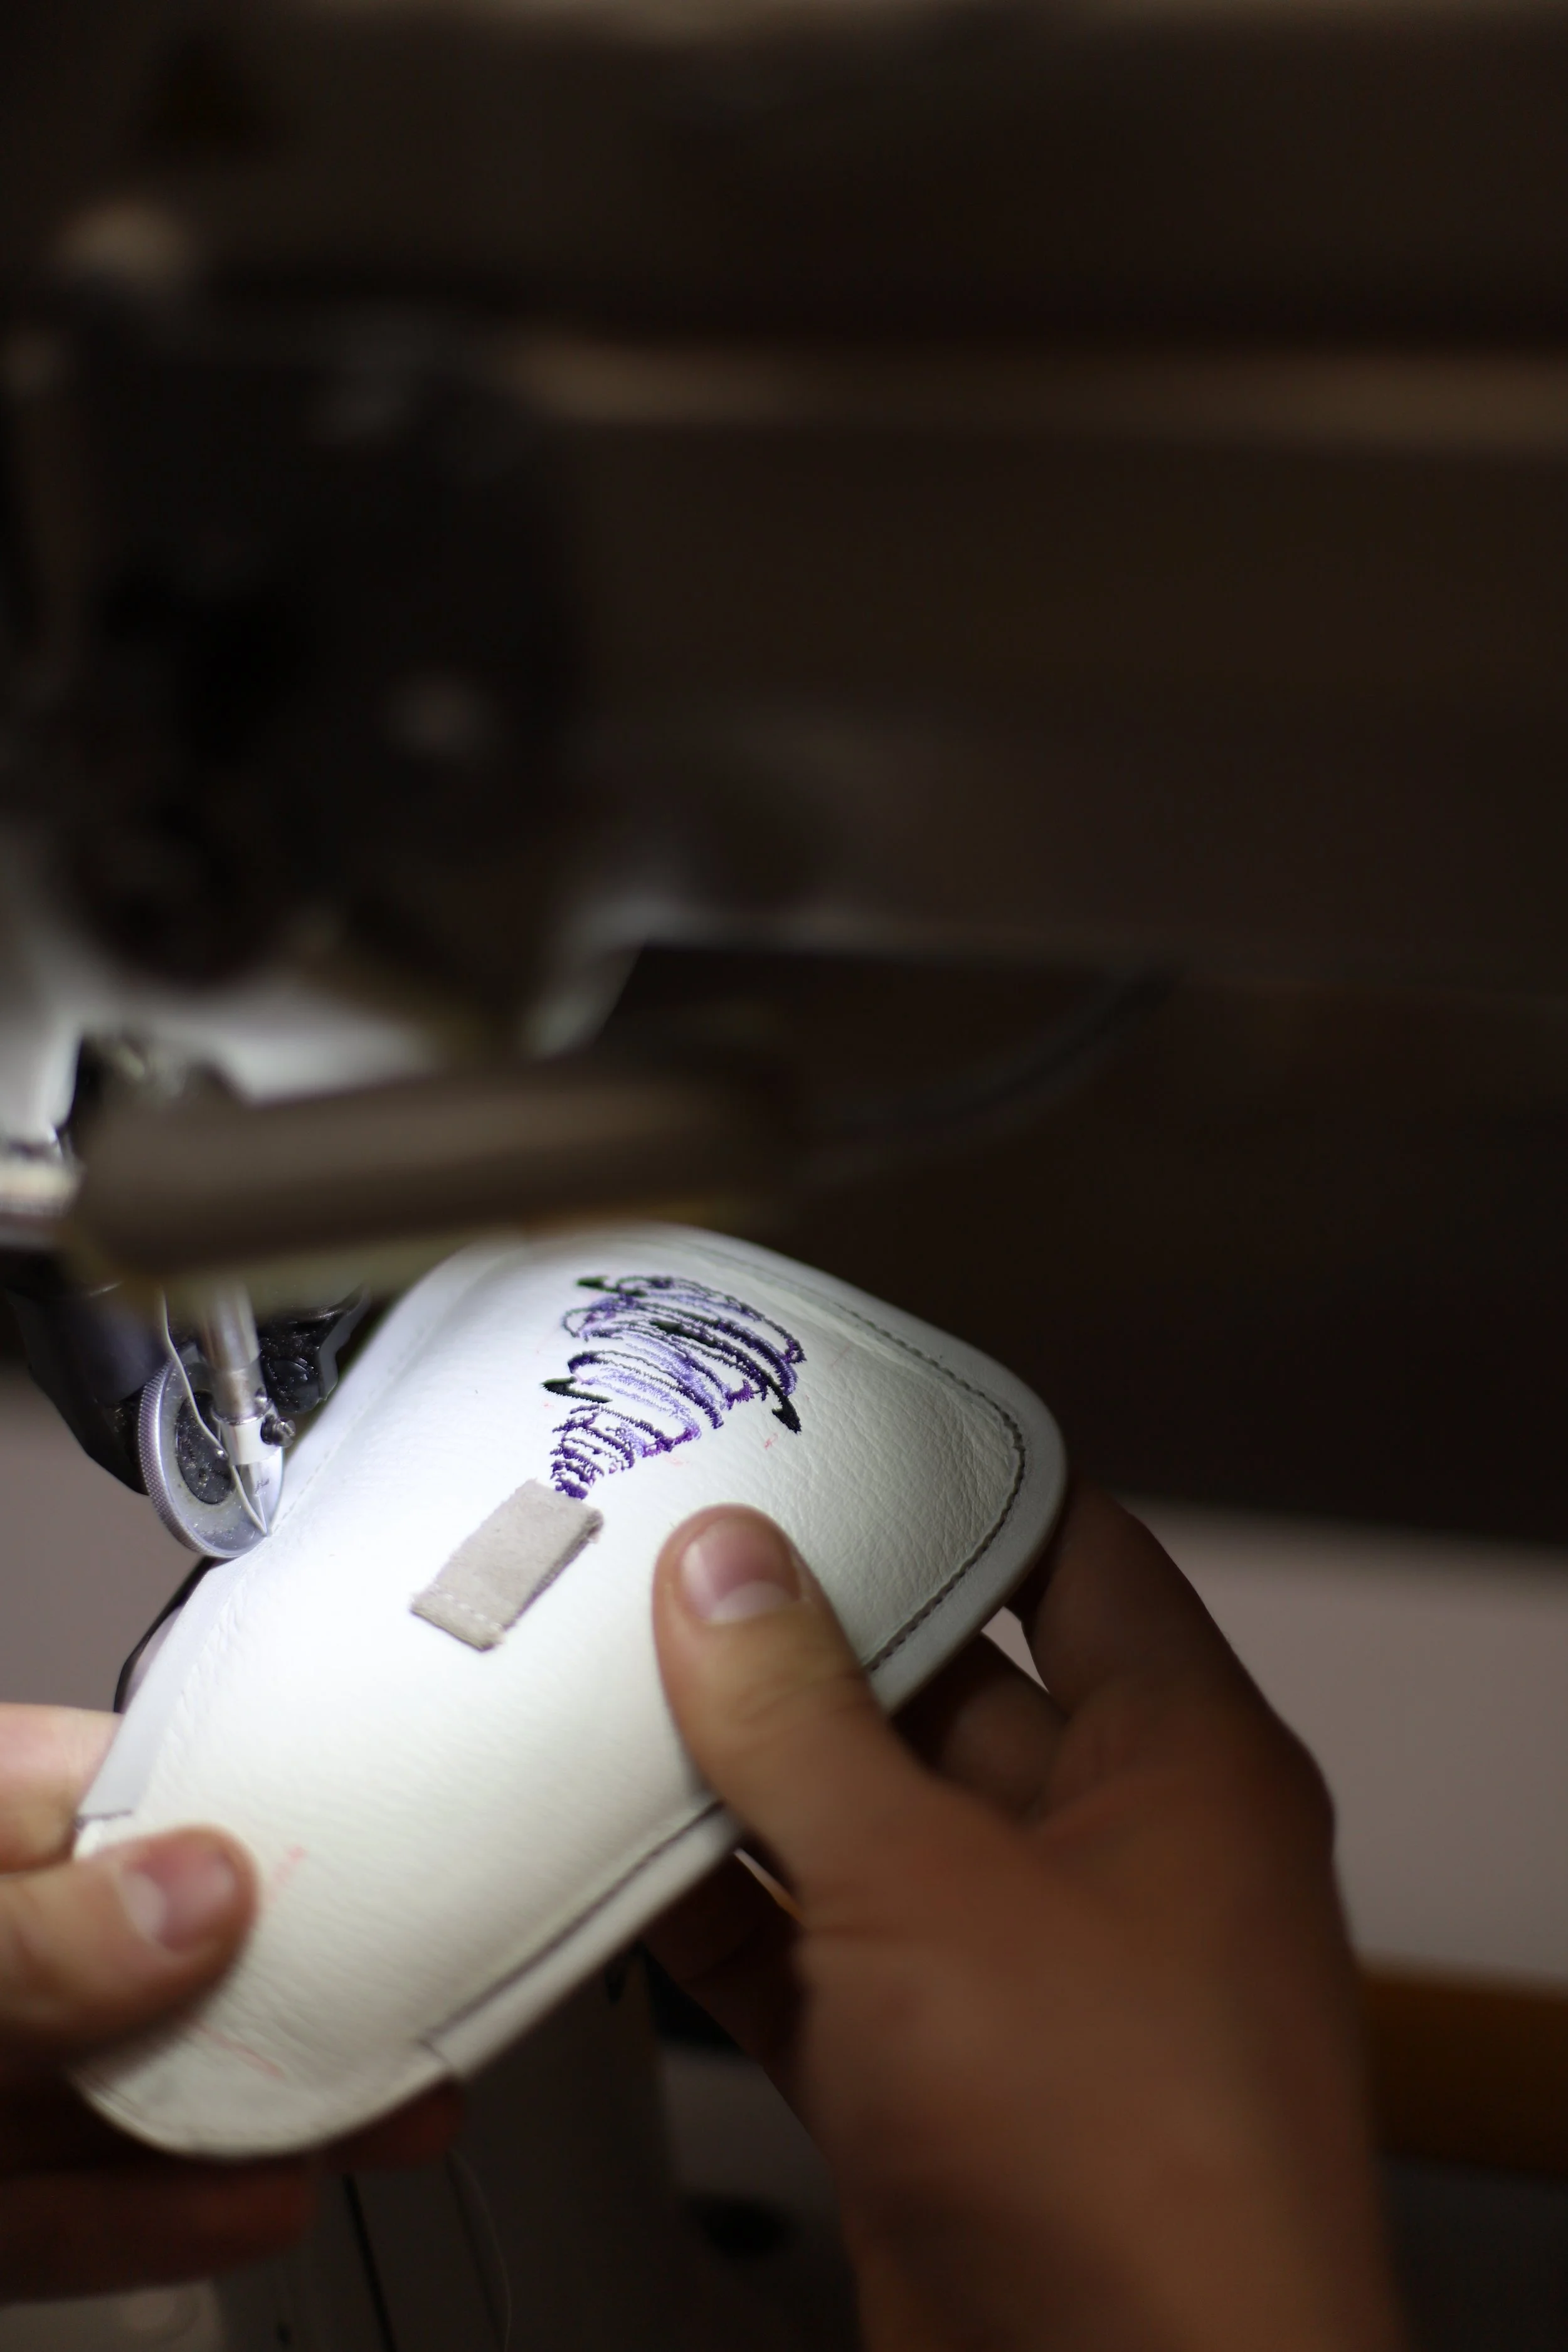
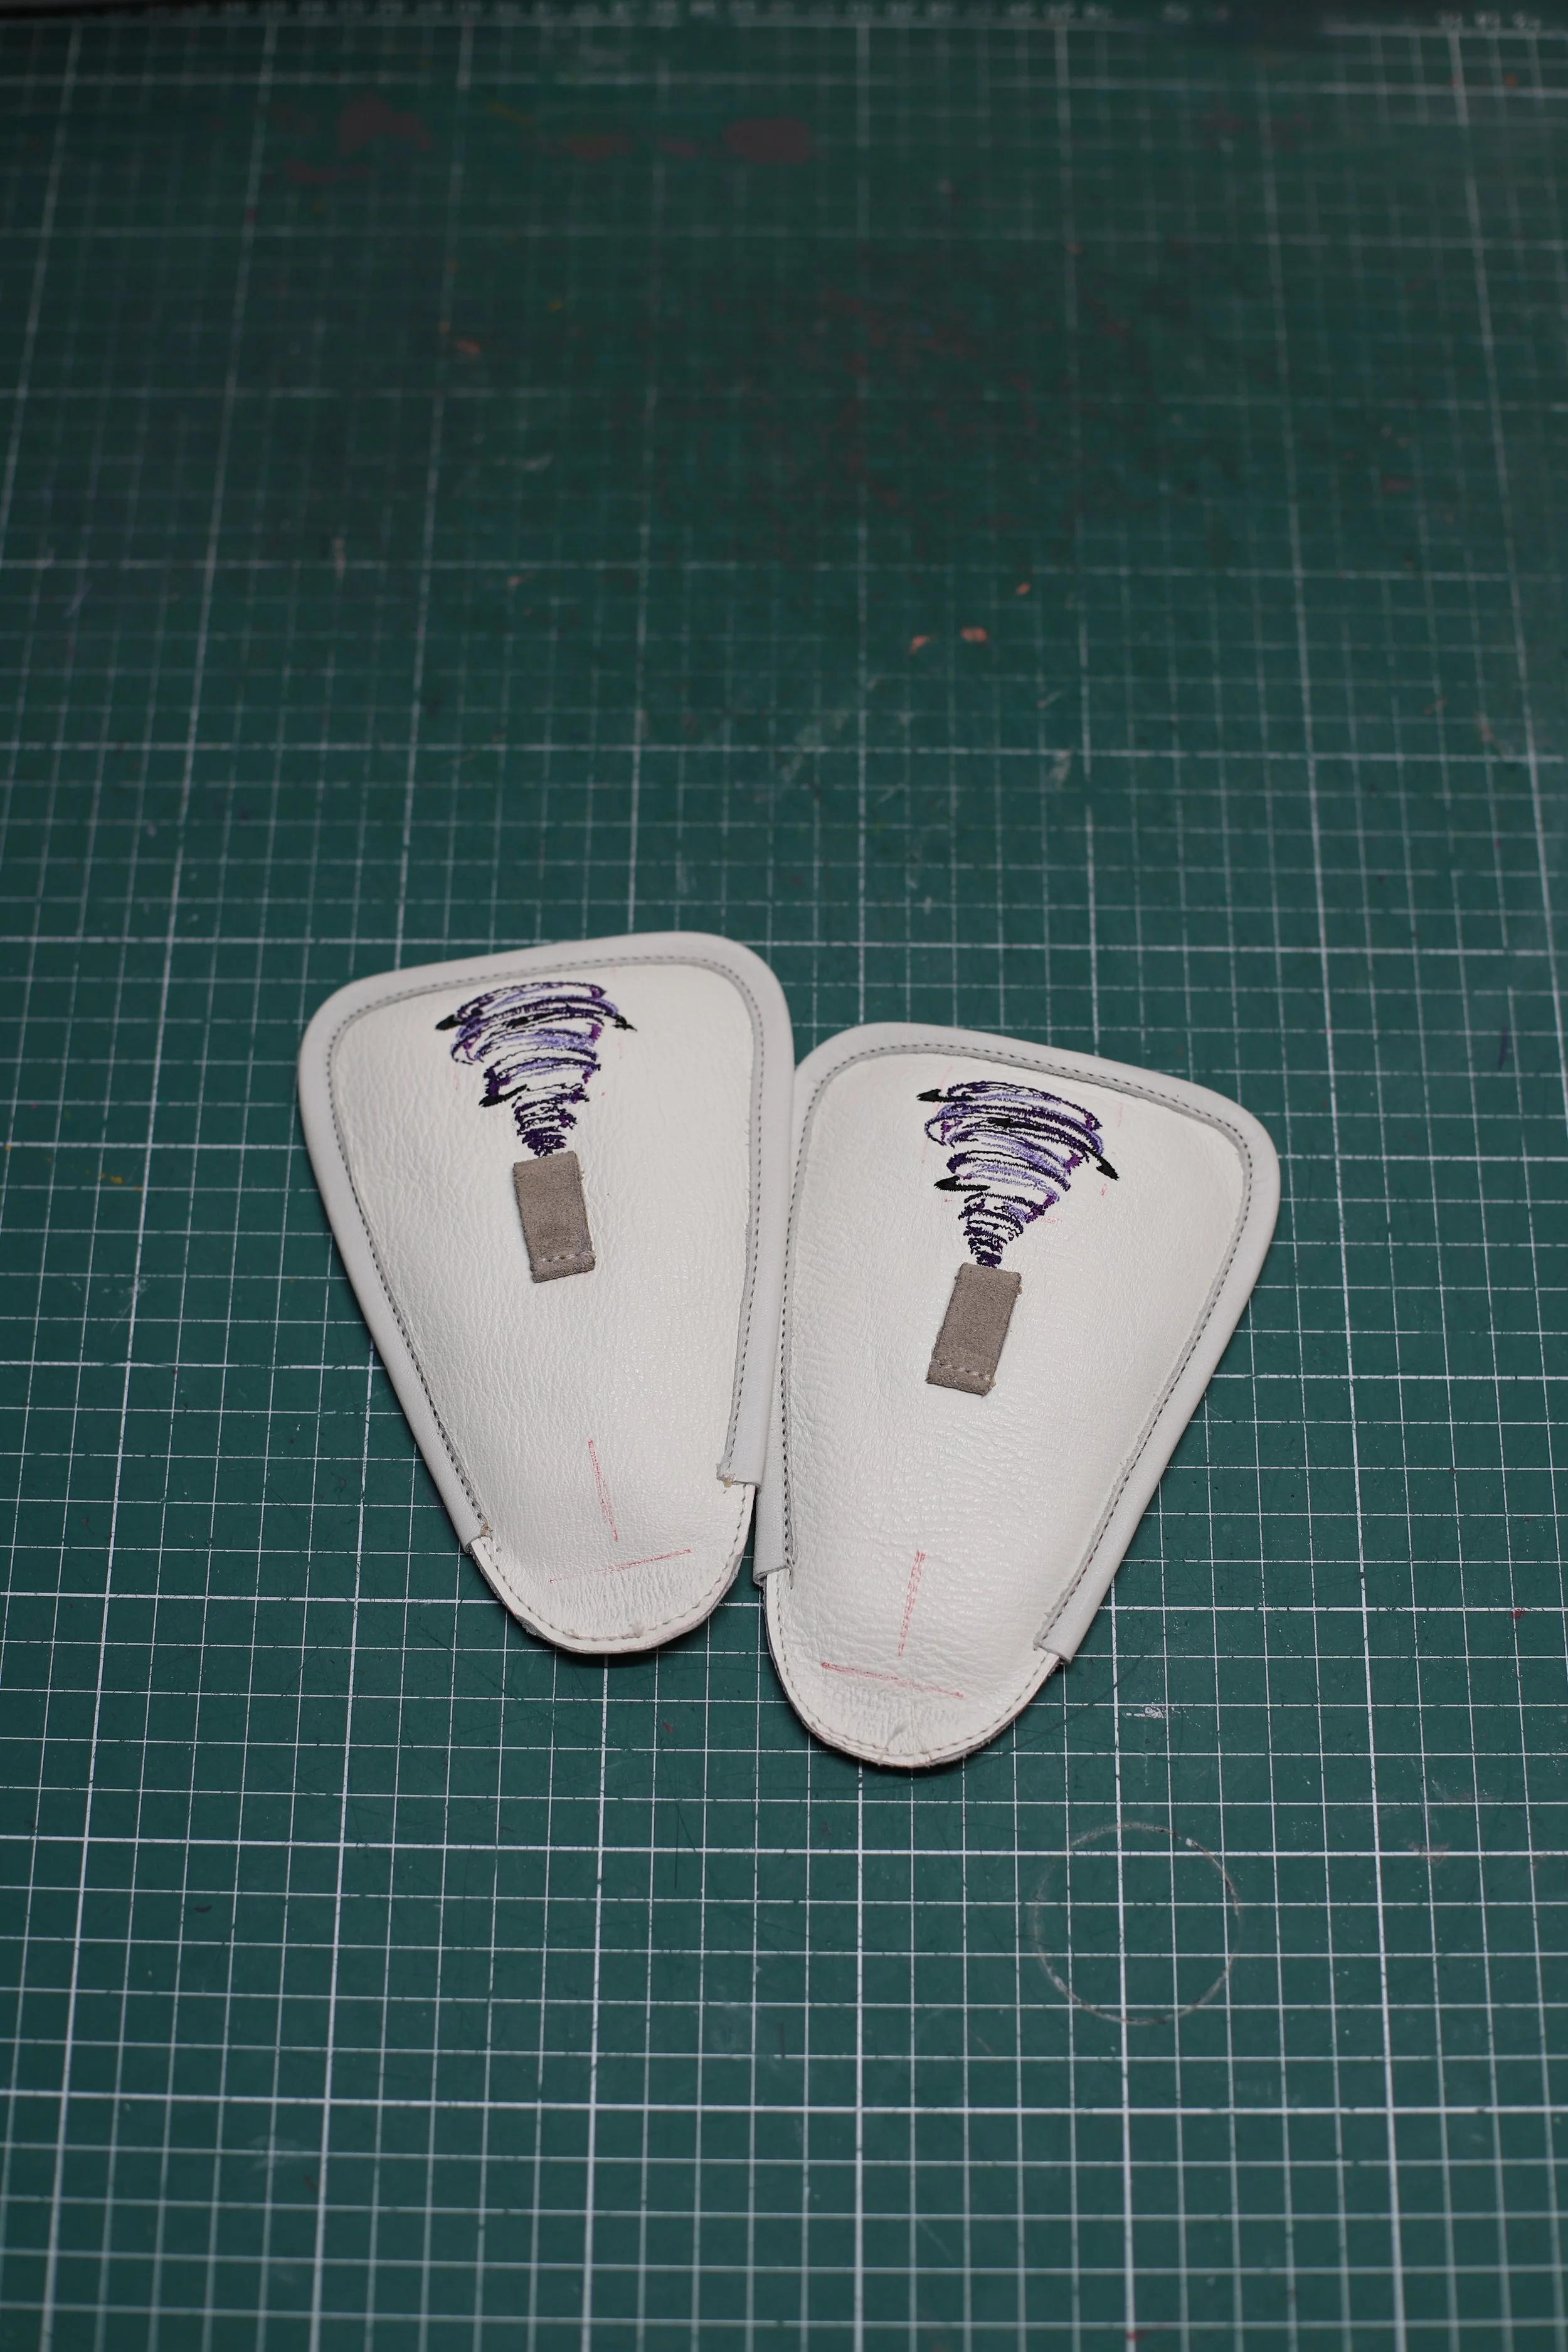
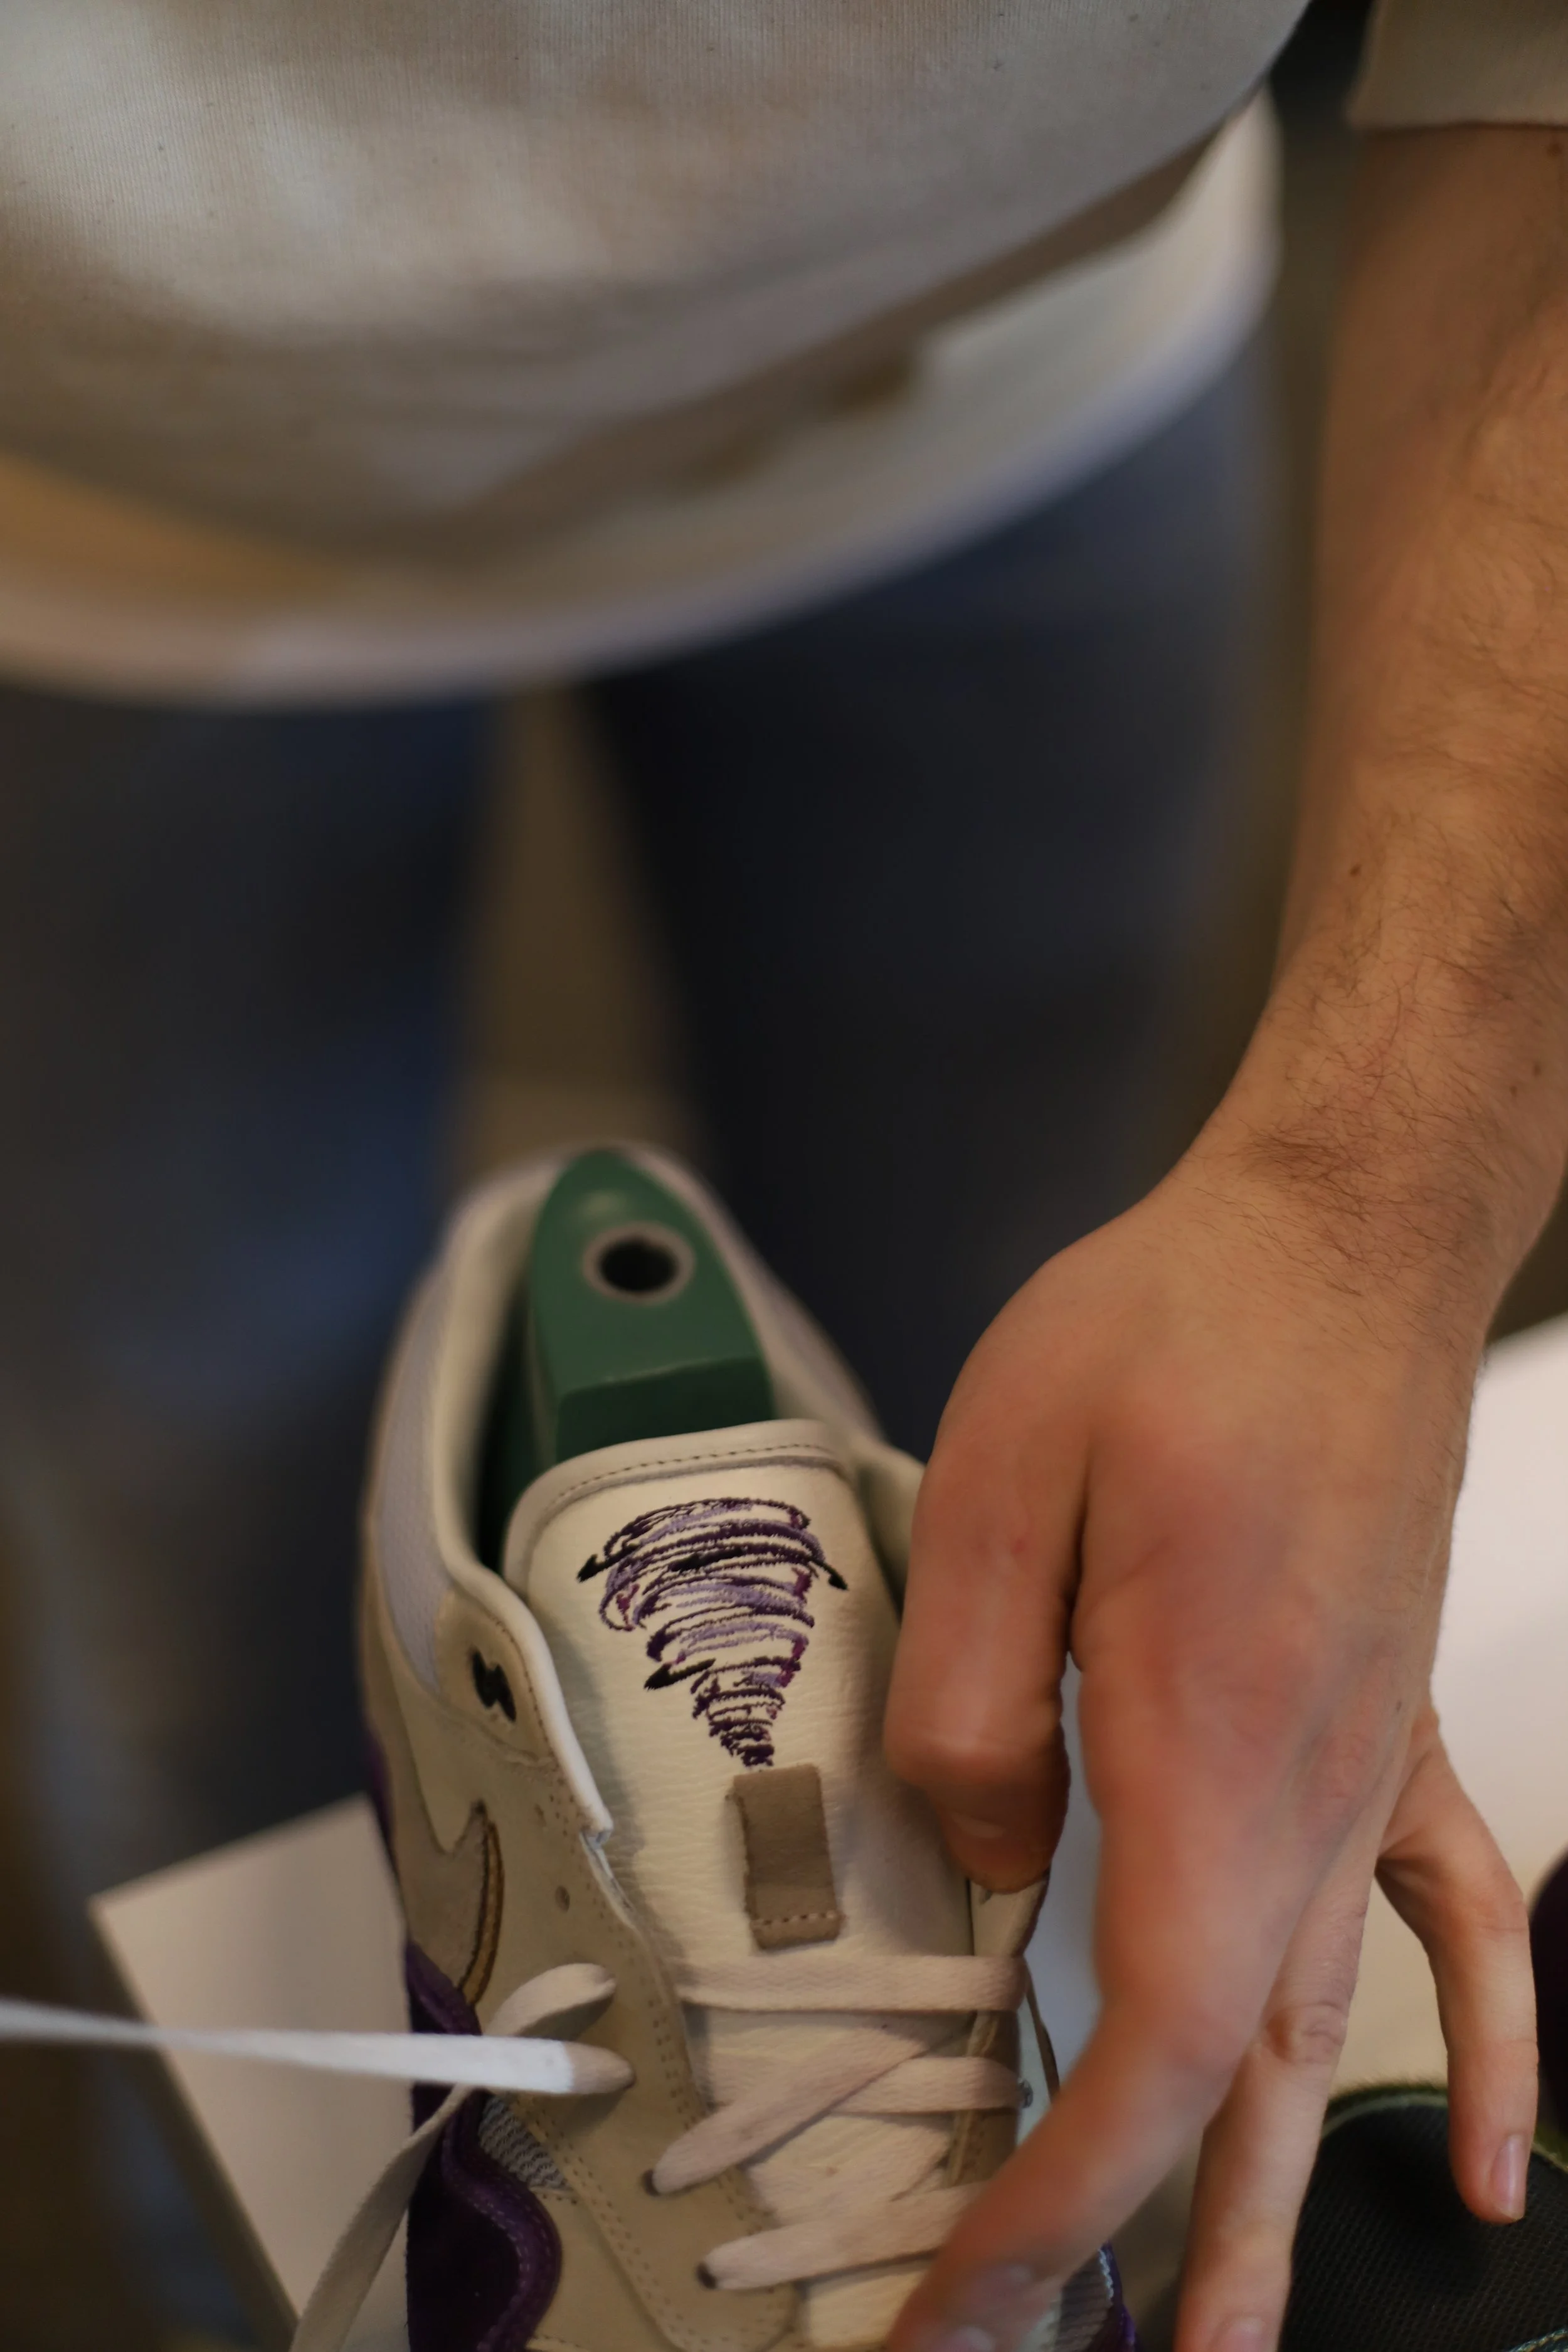
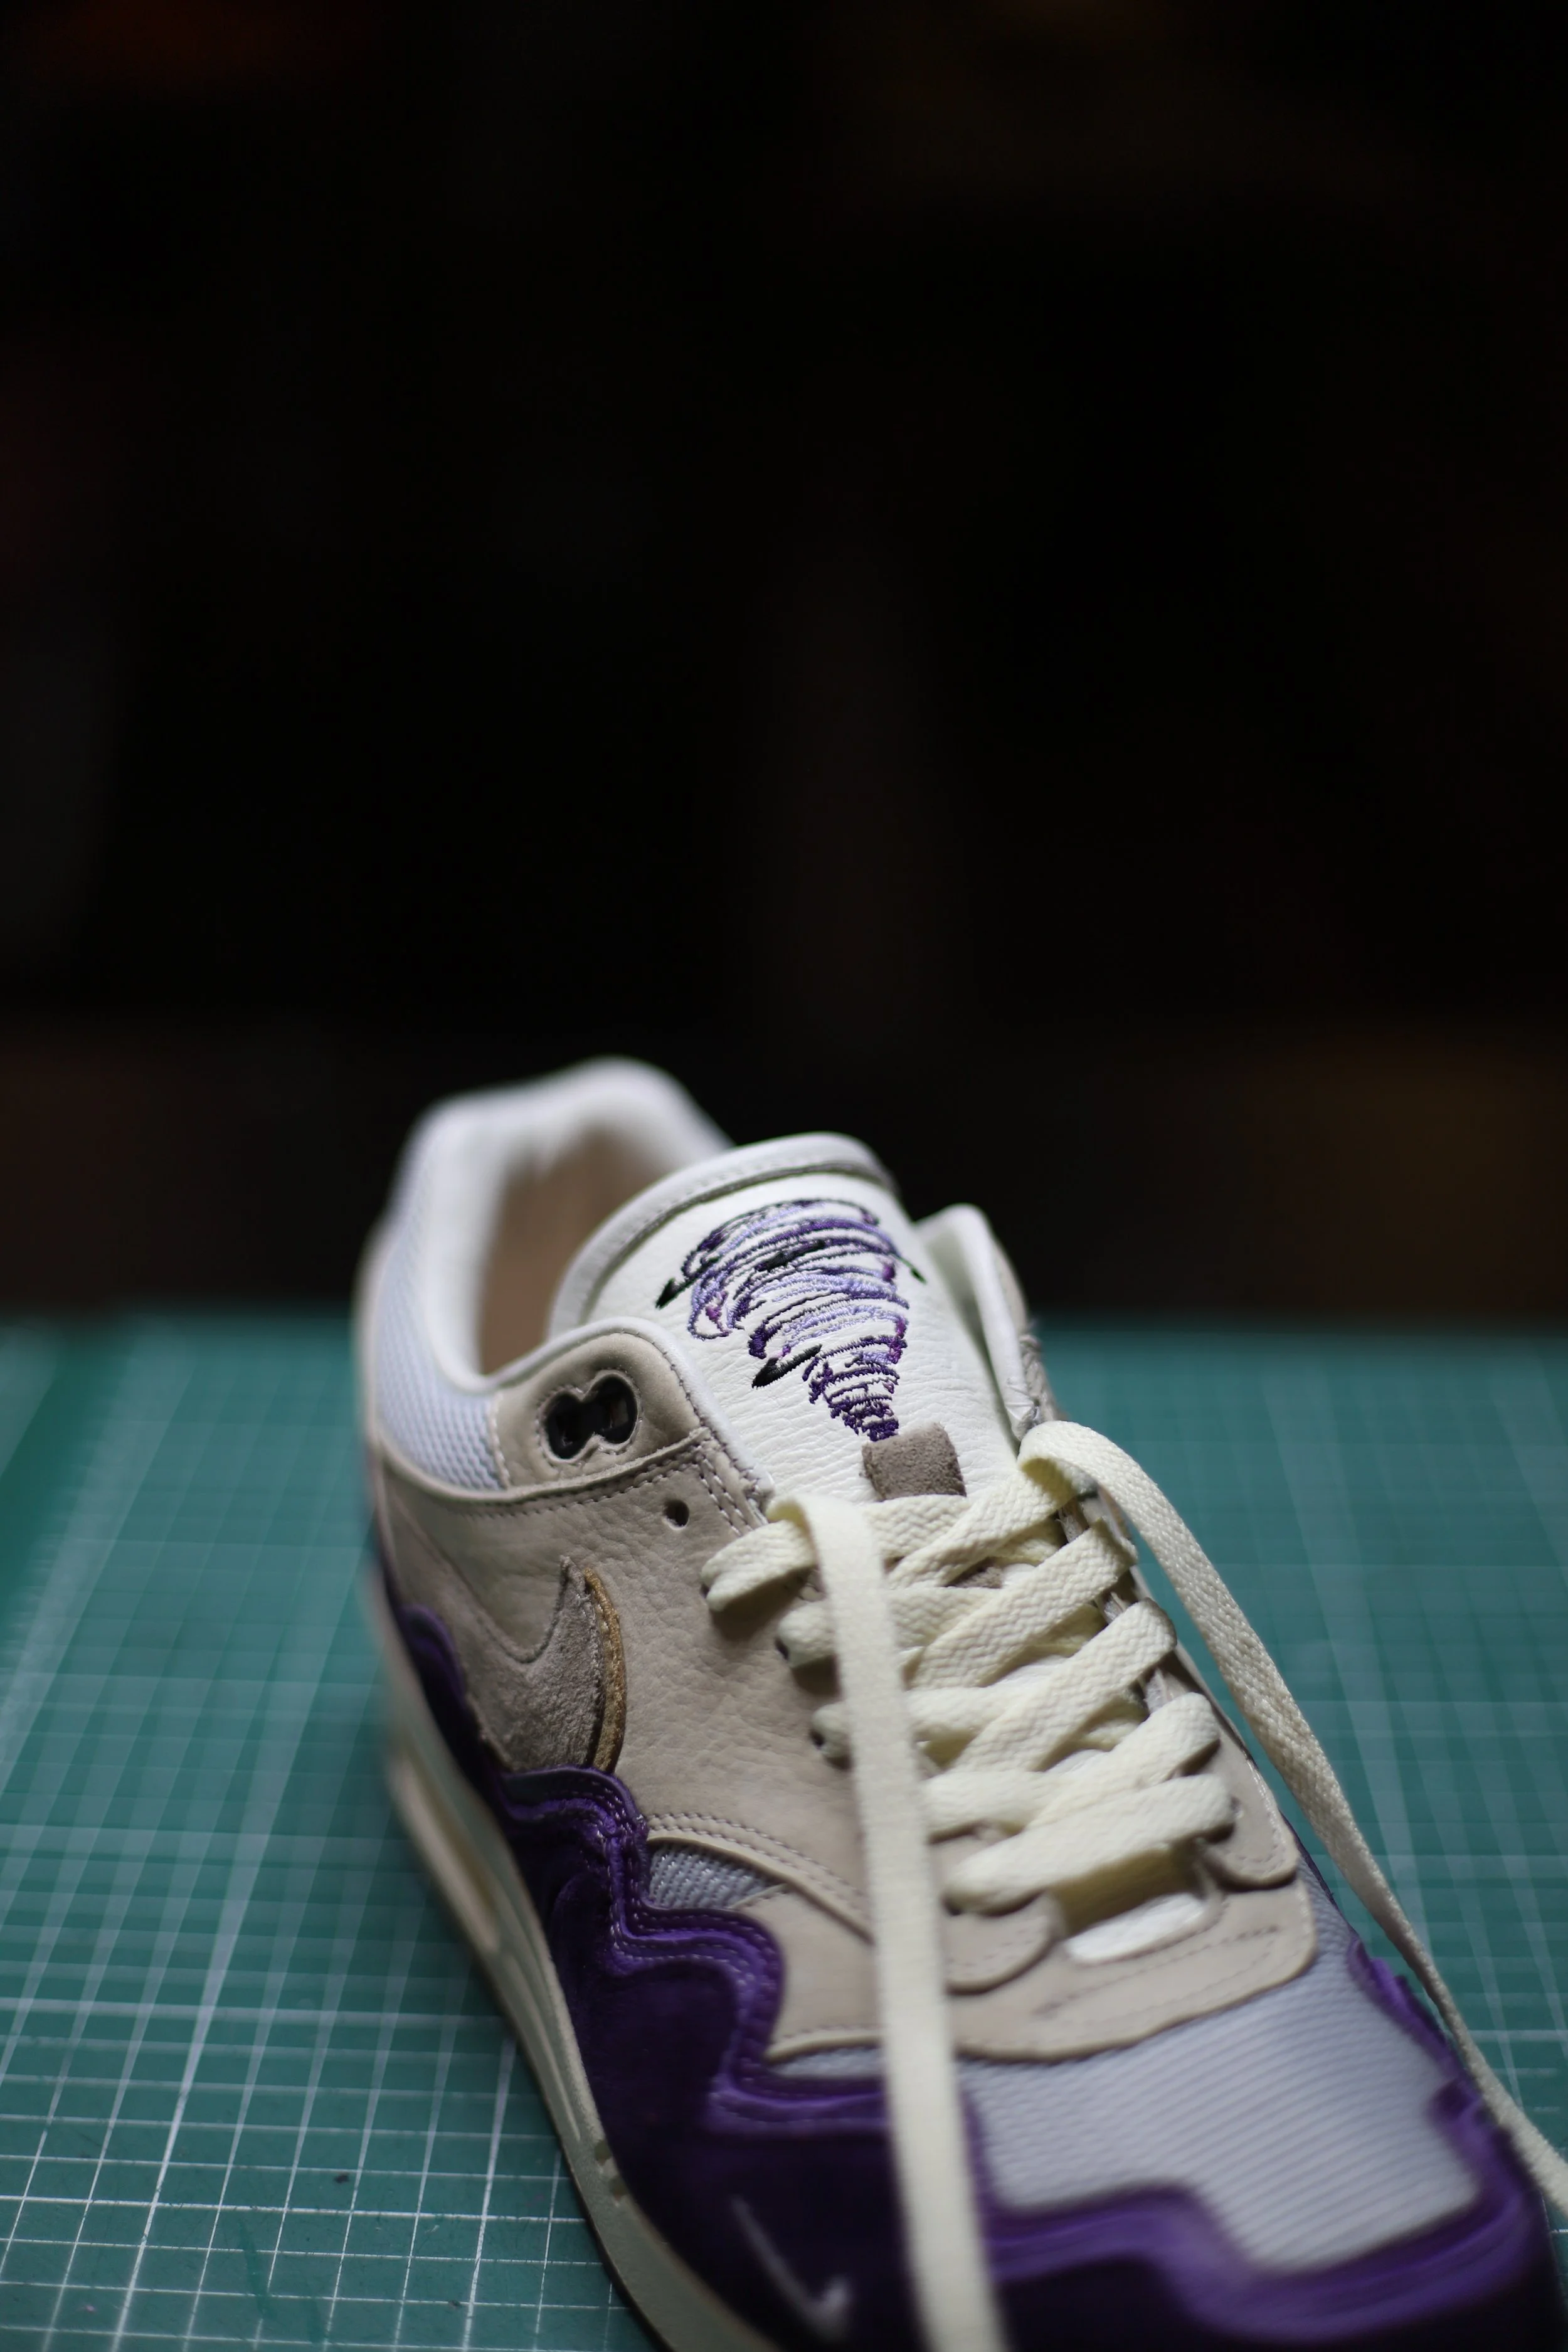
The outside of the shoe is almost finished. The only thing we need to do now is the tongue. For the tongue, we designed a matching embroidery to match the theme: storm. In the pictures below you can see how this embroidery comes to life.
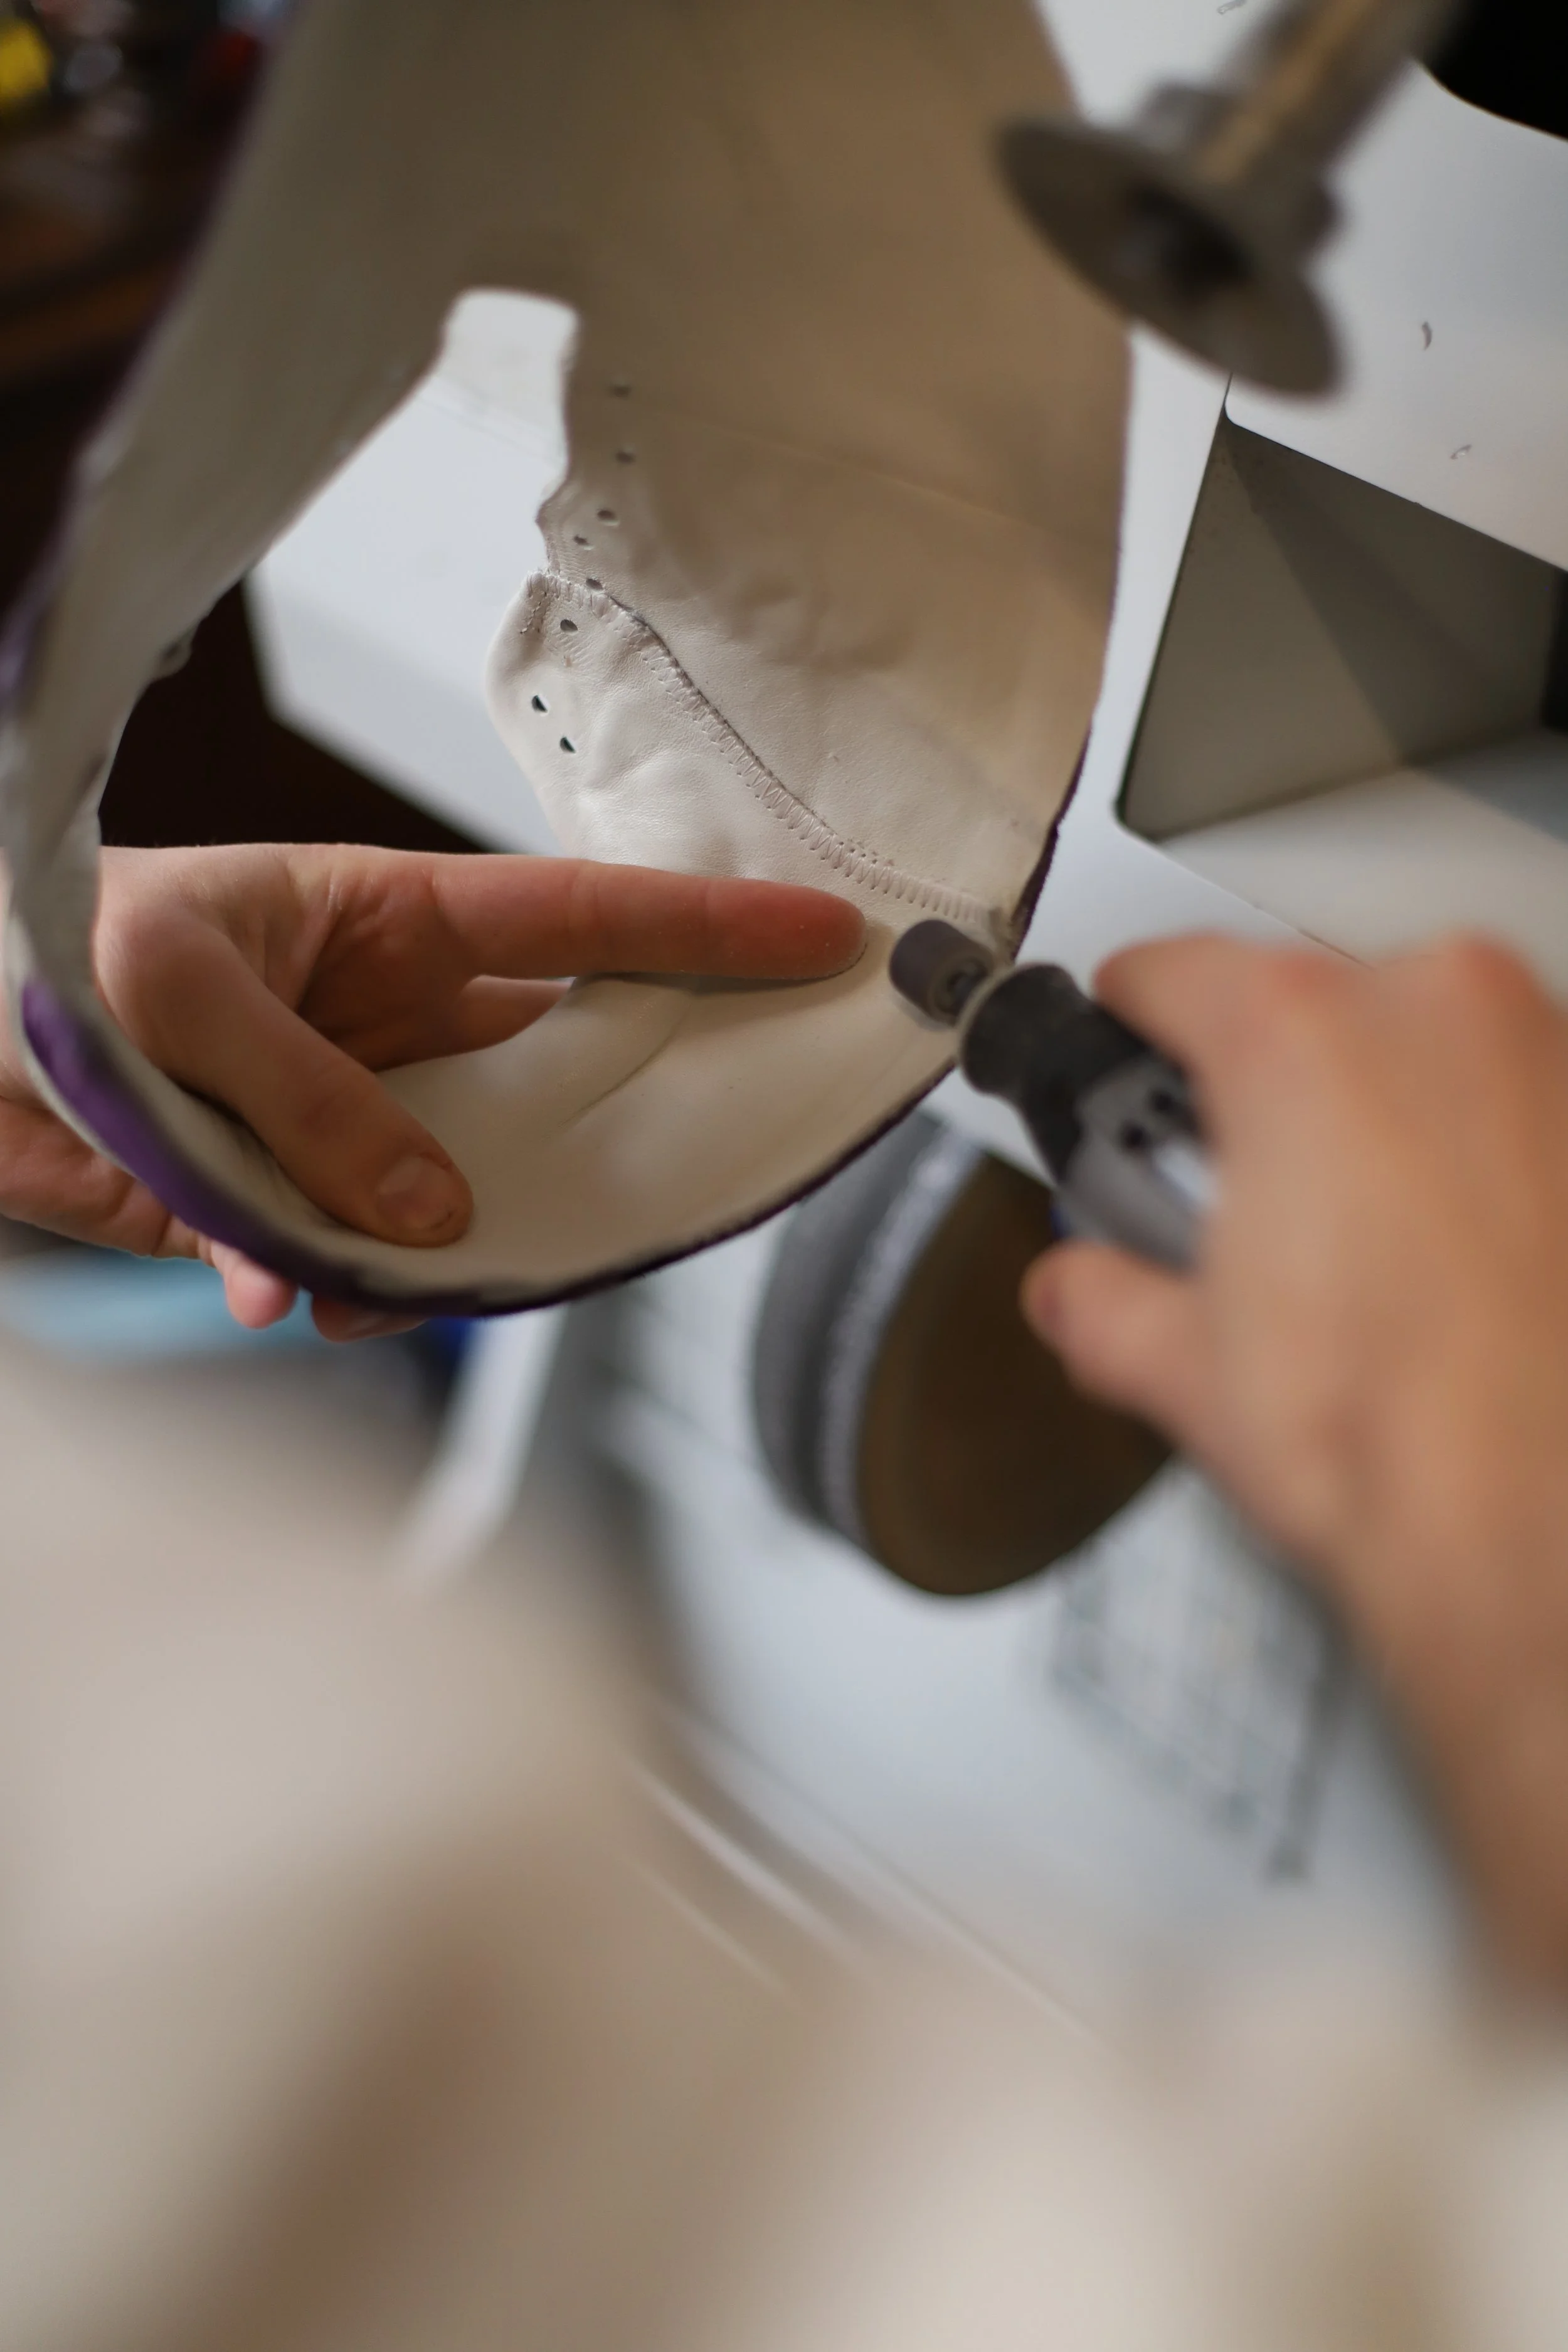
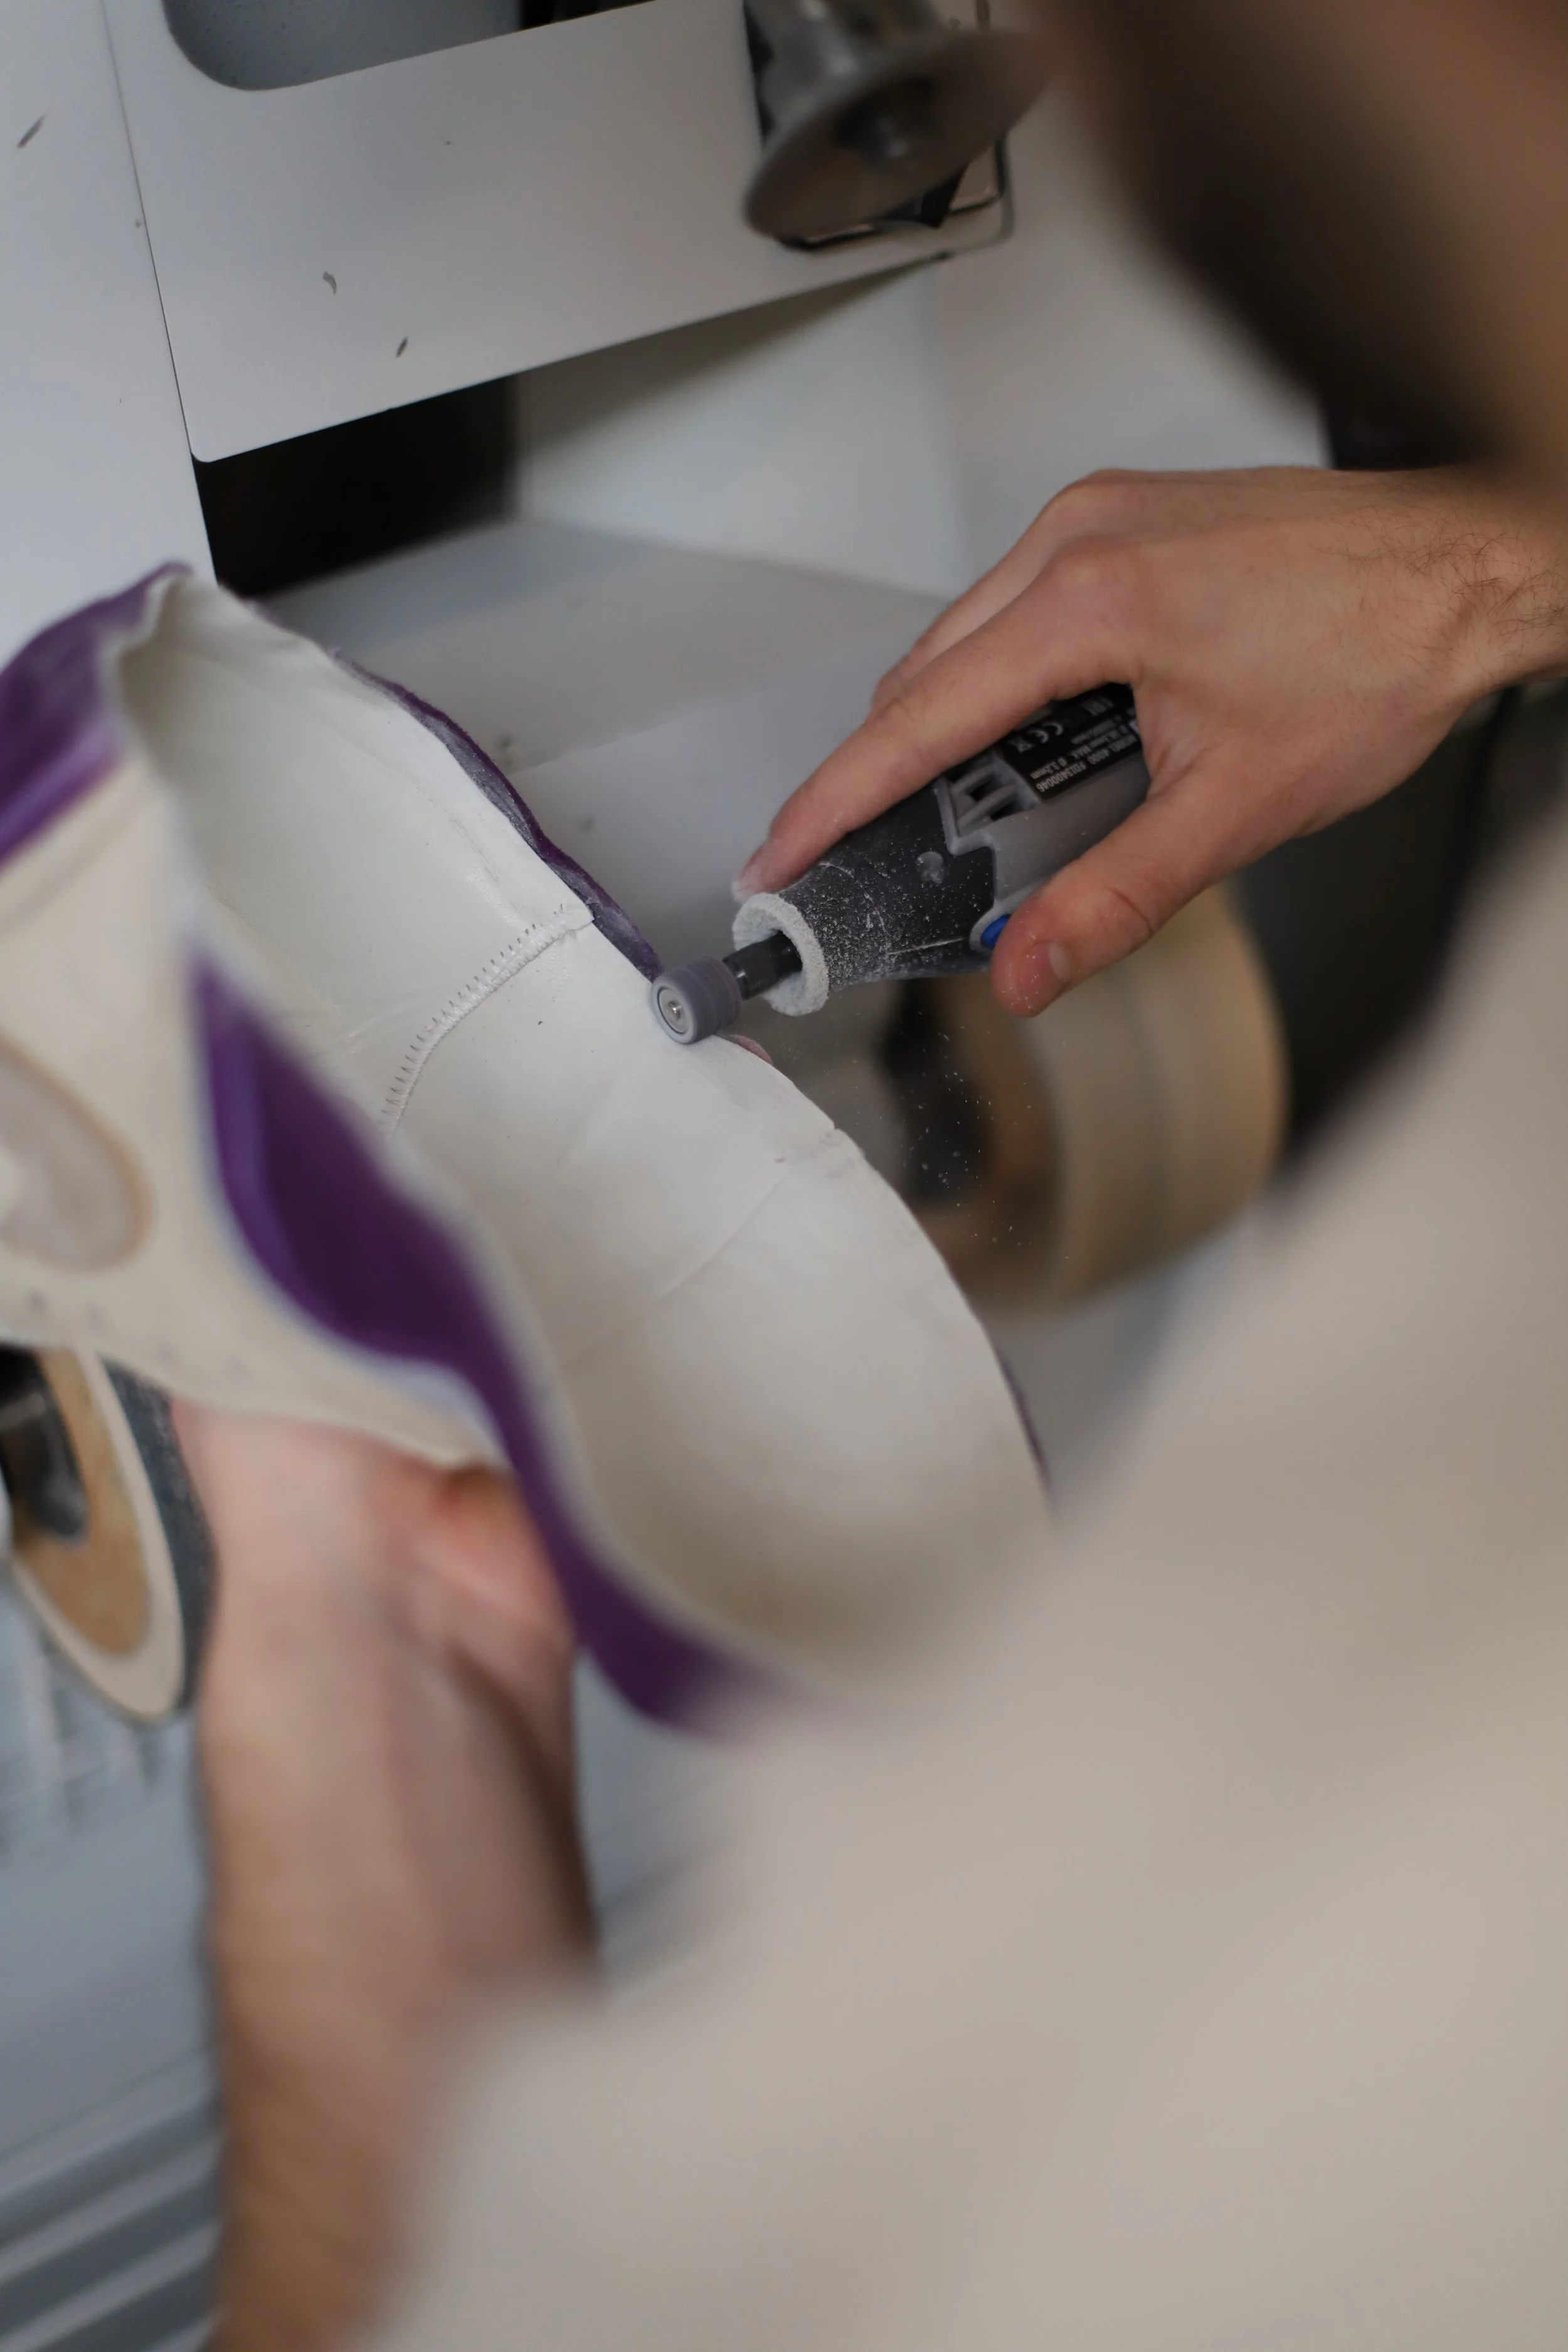
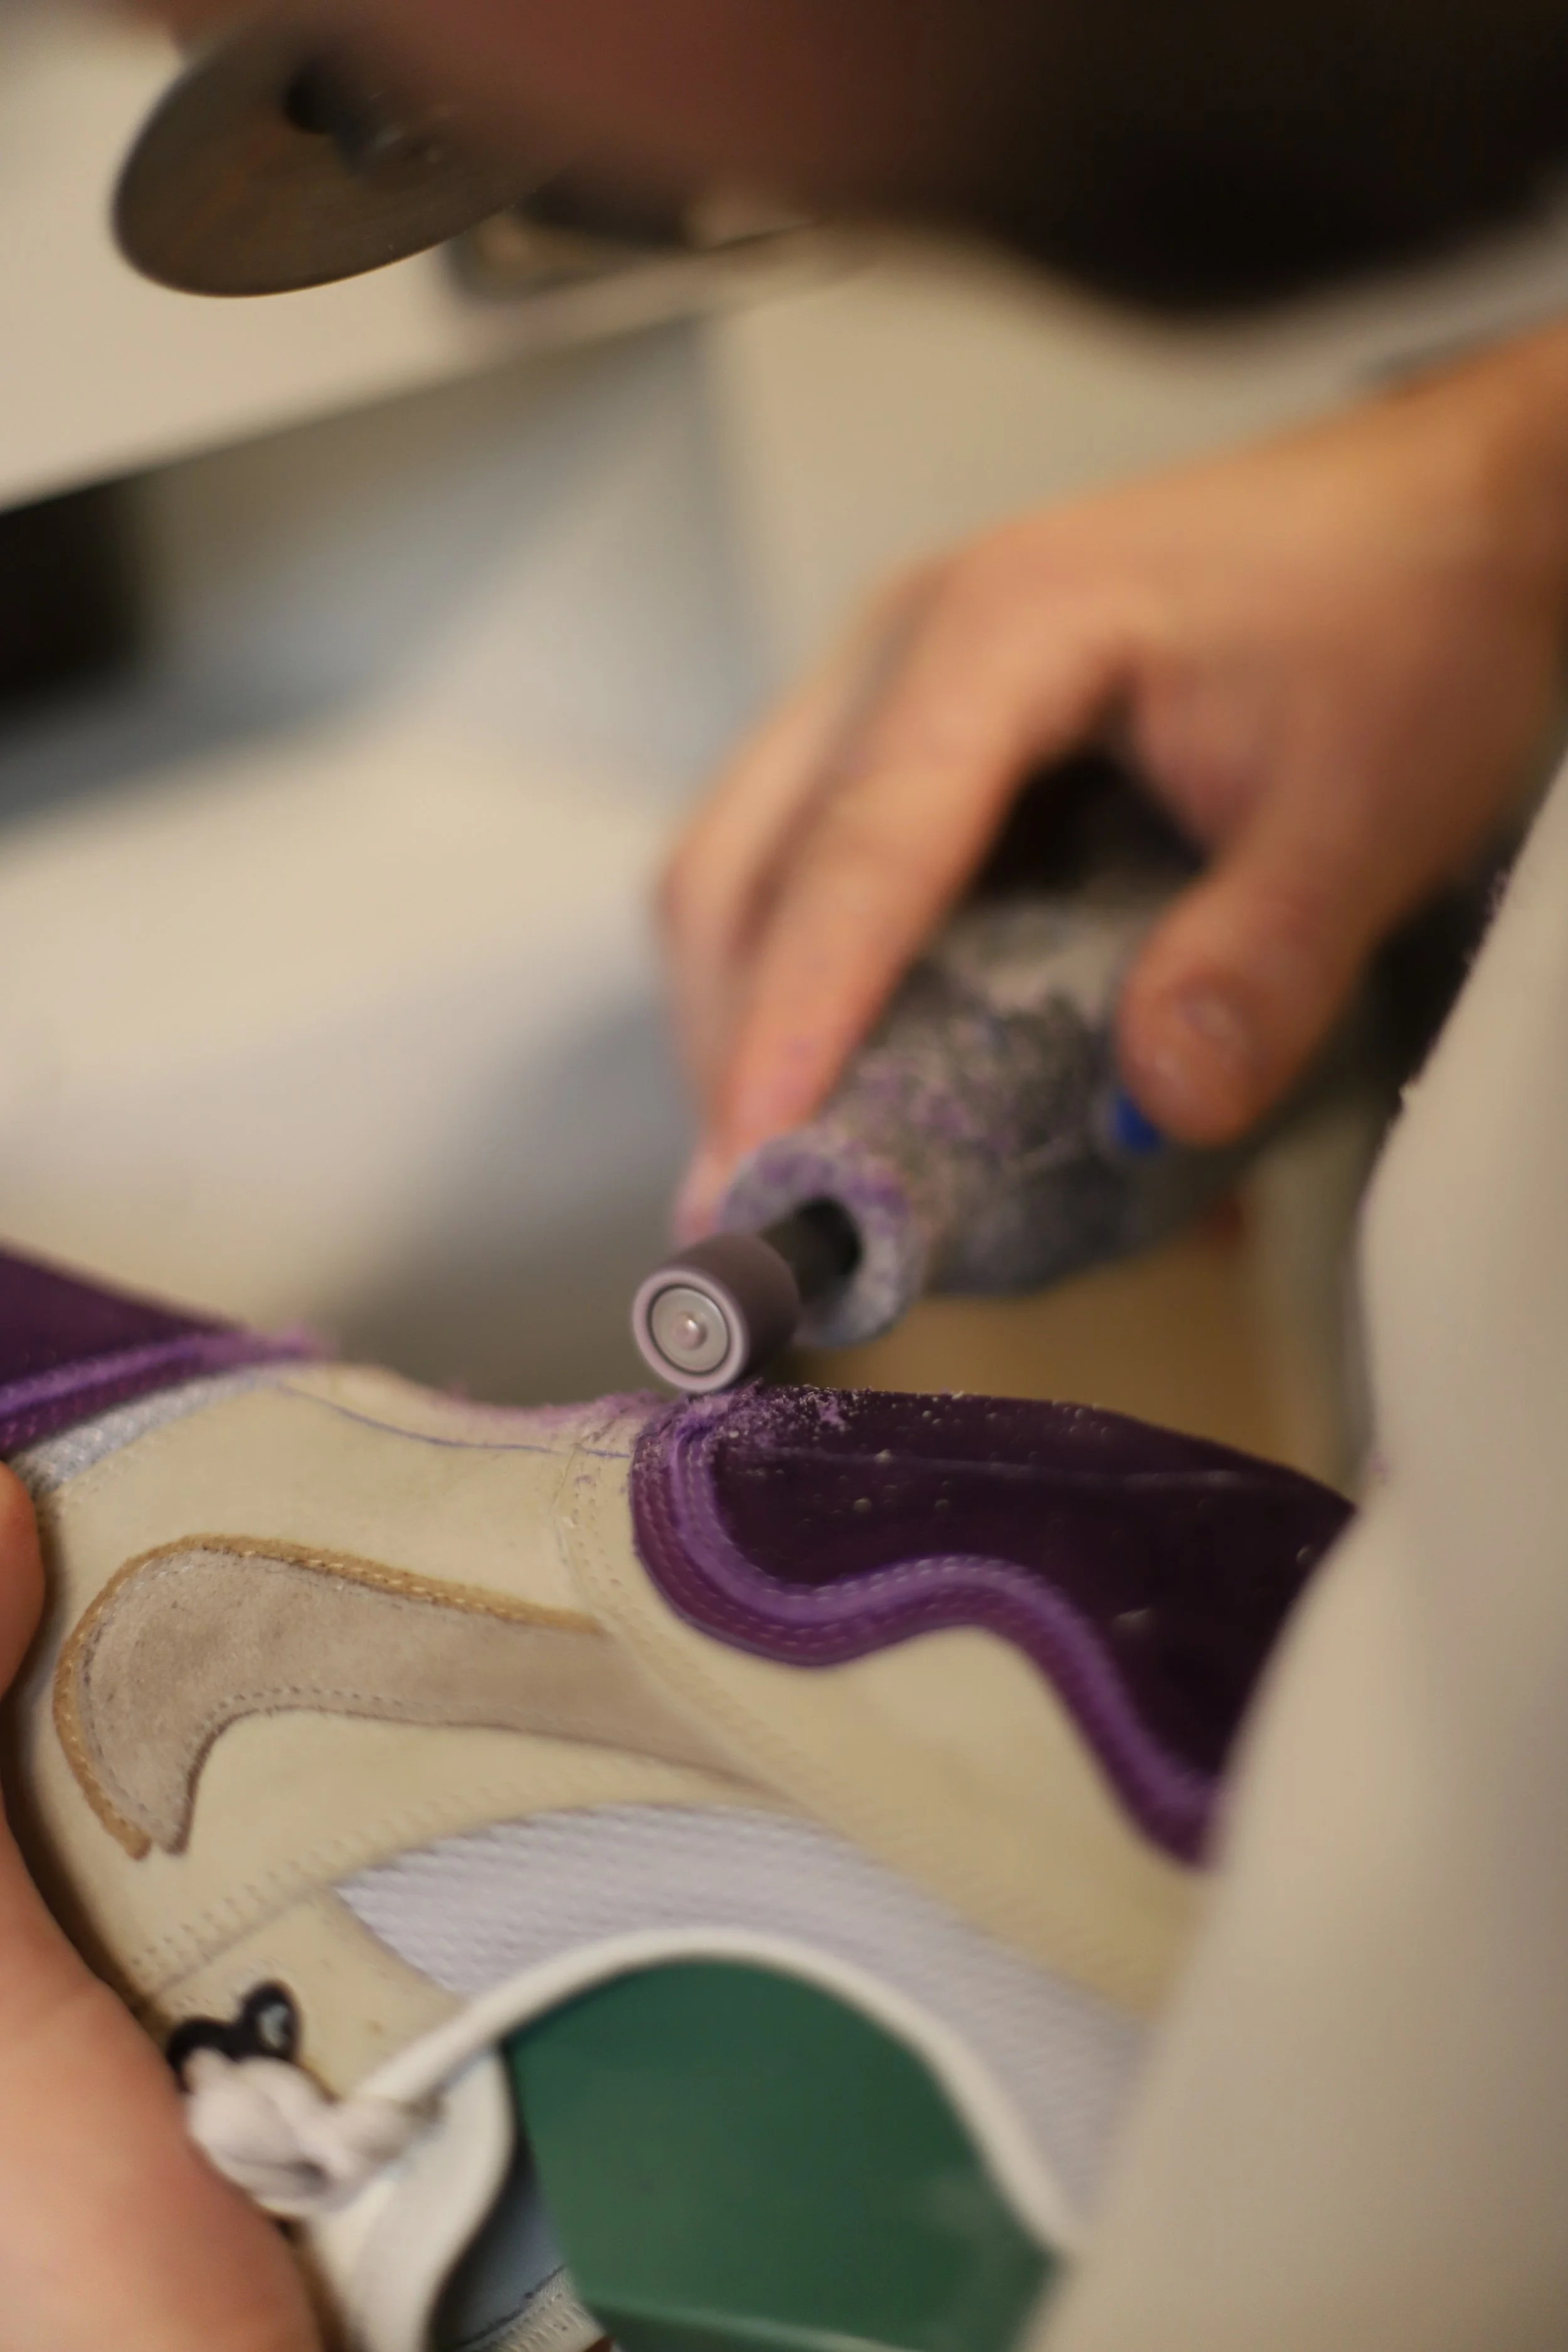
Before we put the shoe on the shoe lasts, we make sure that the lining is sanded down. This allows the liner to adhere better to the adhesive. After sanding, we stitch everything together with a simple stitching line.
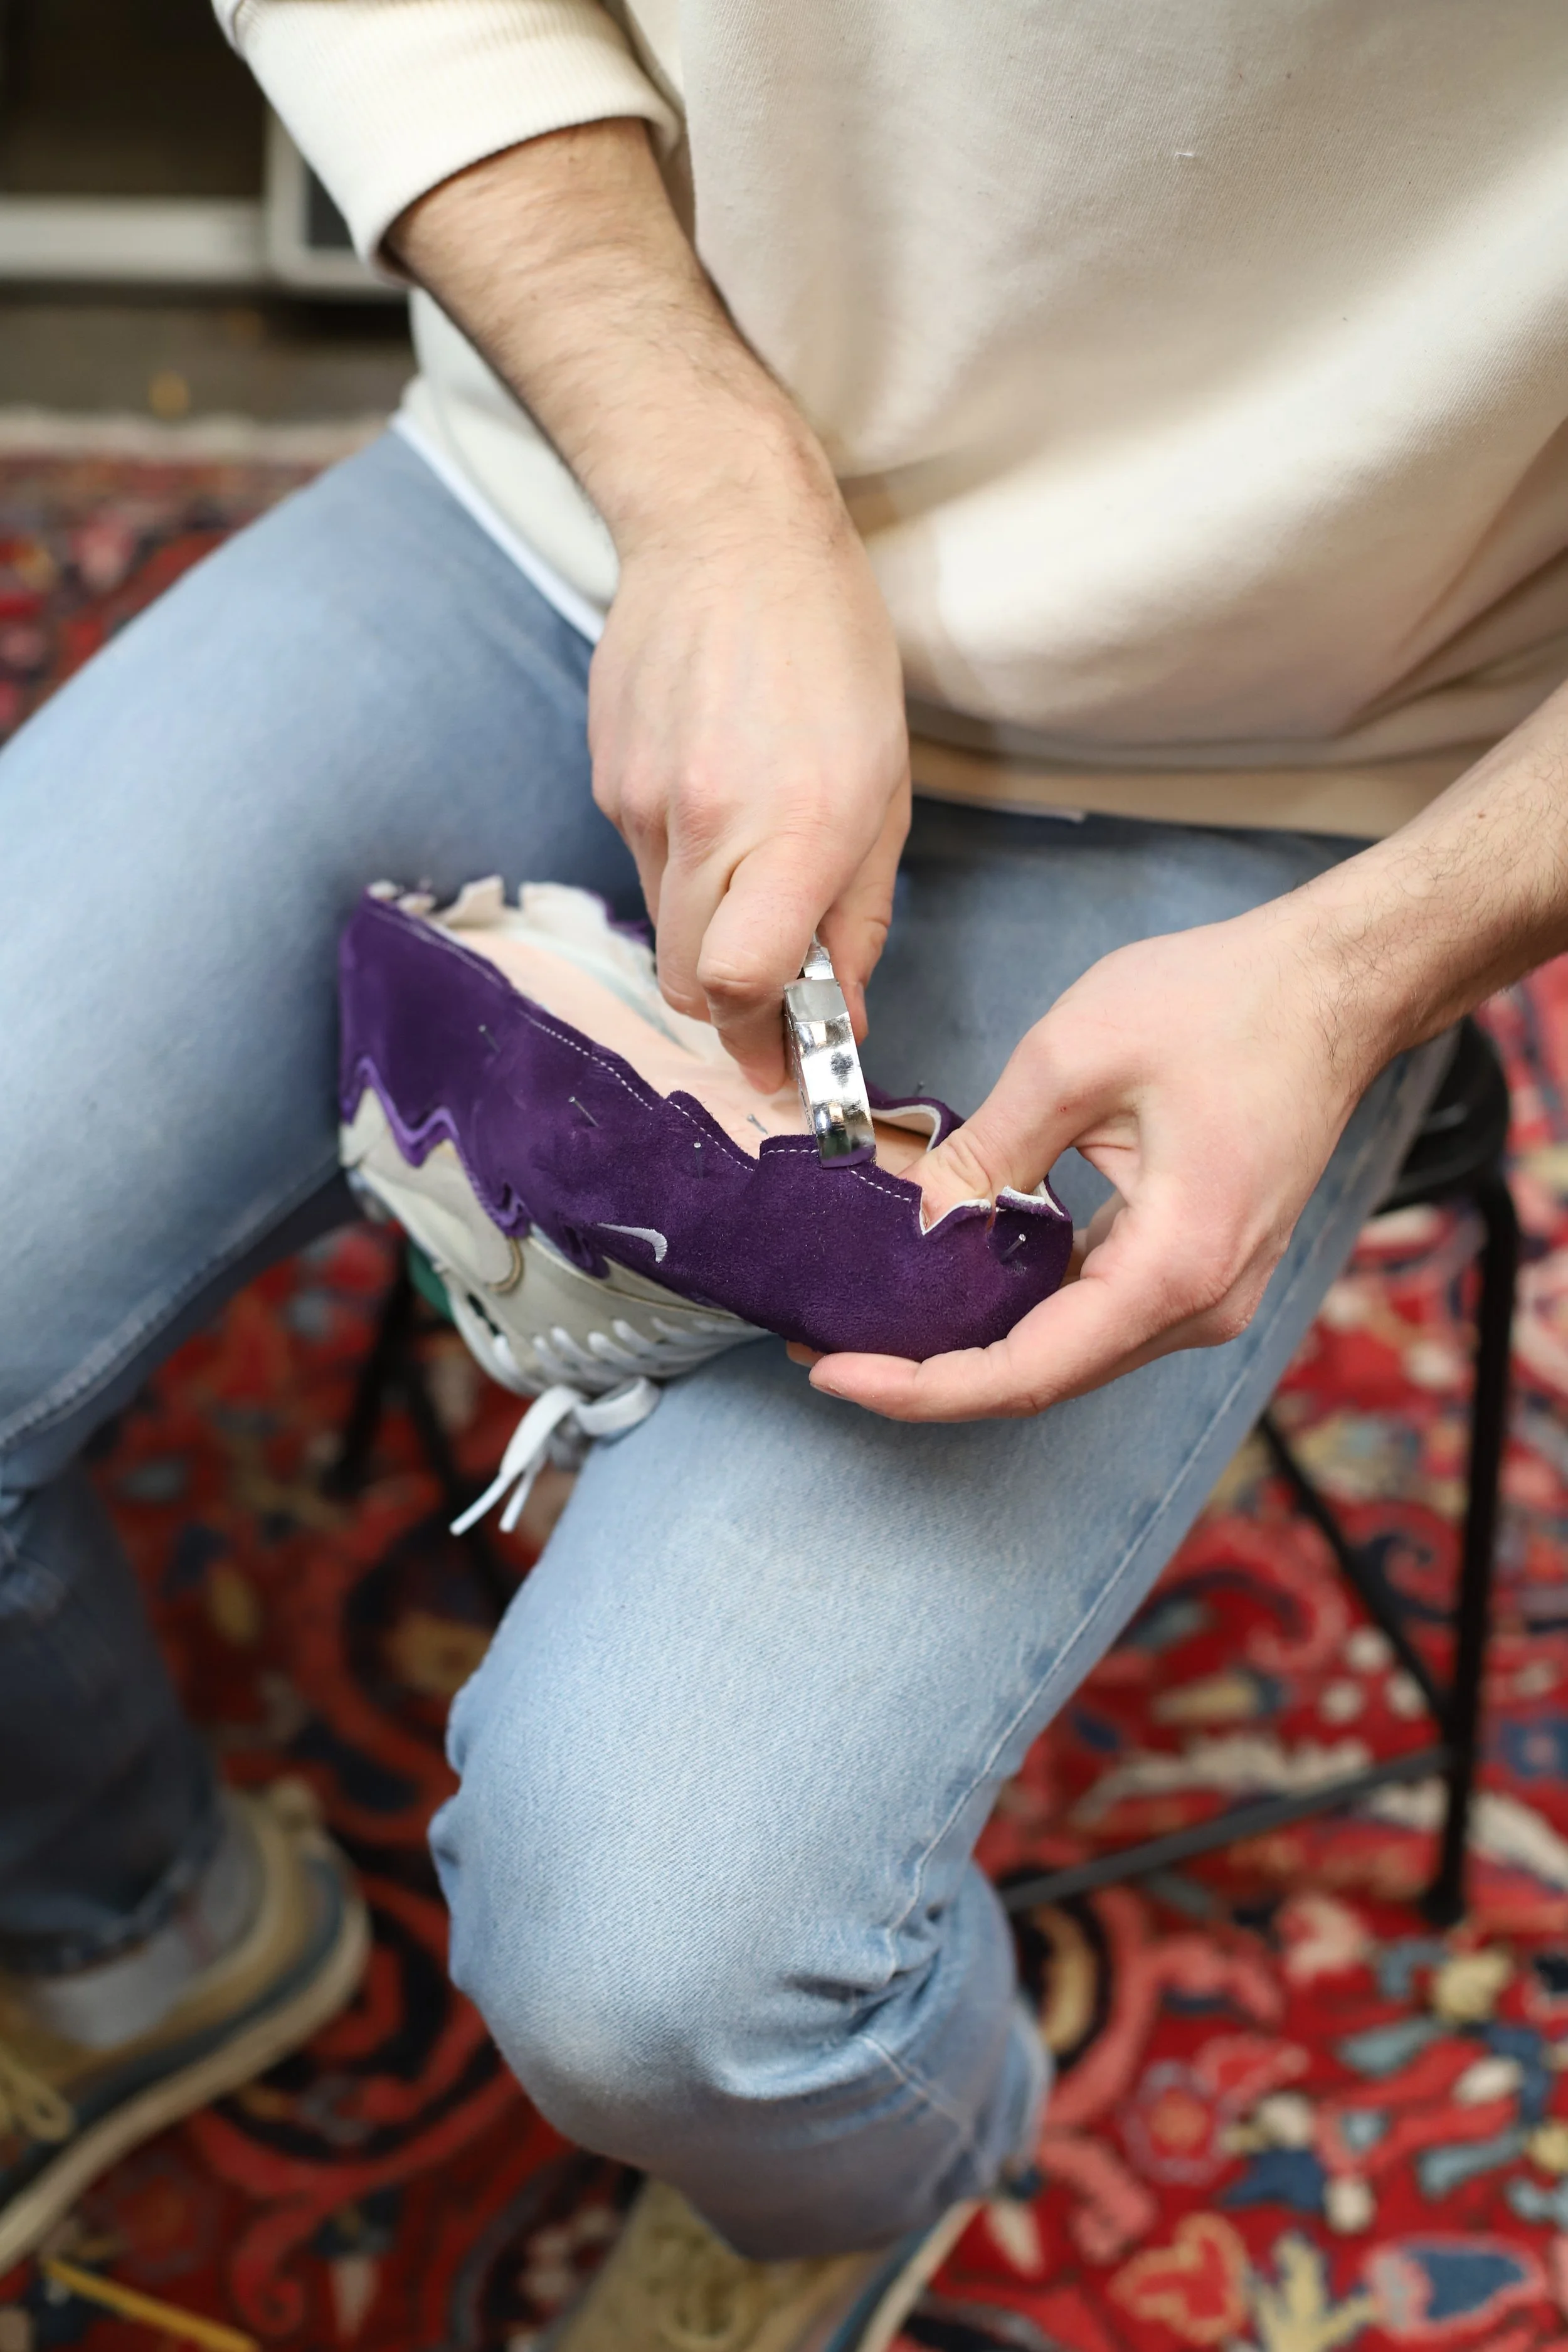
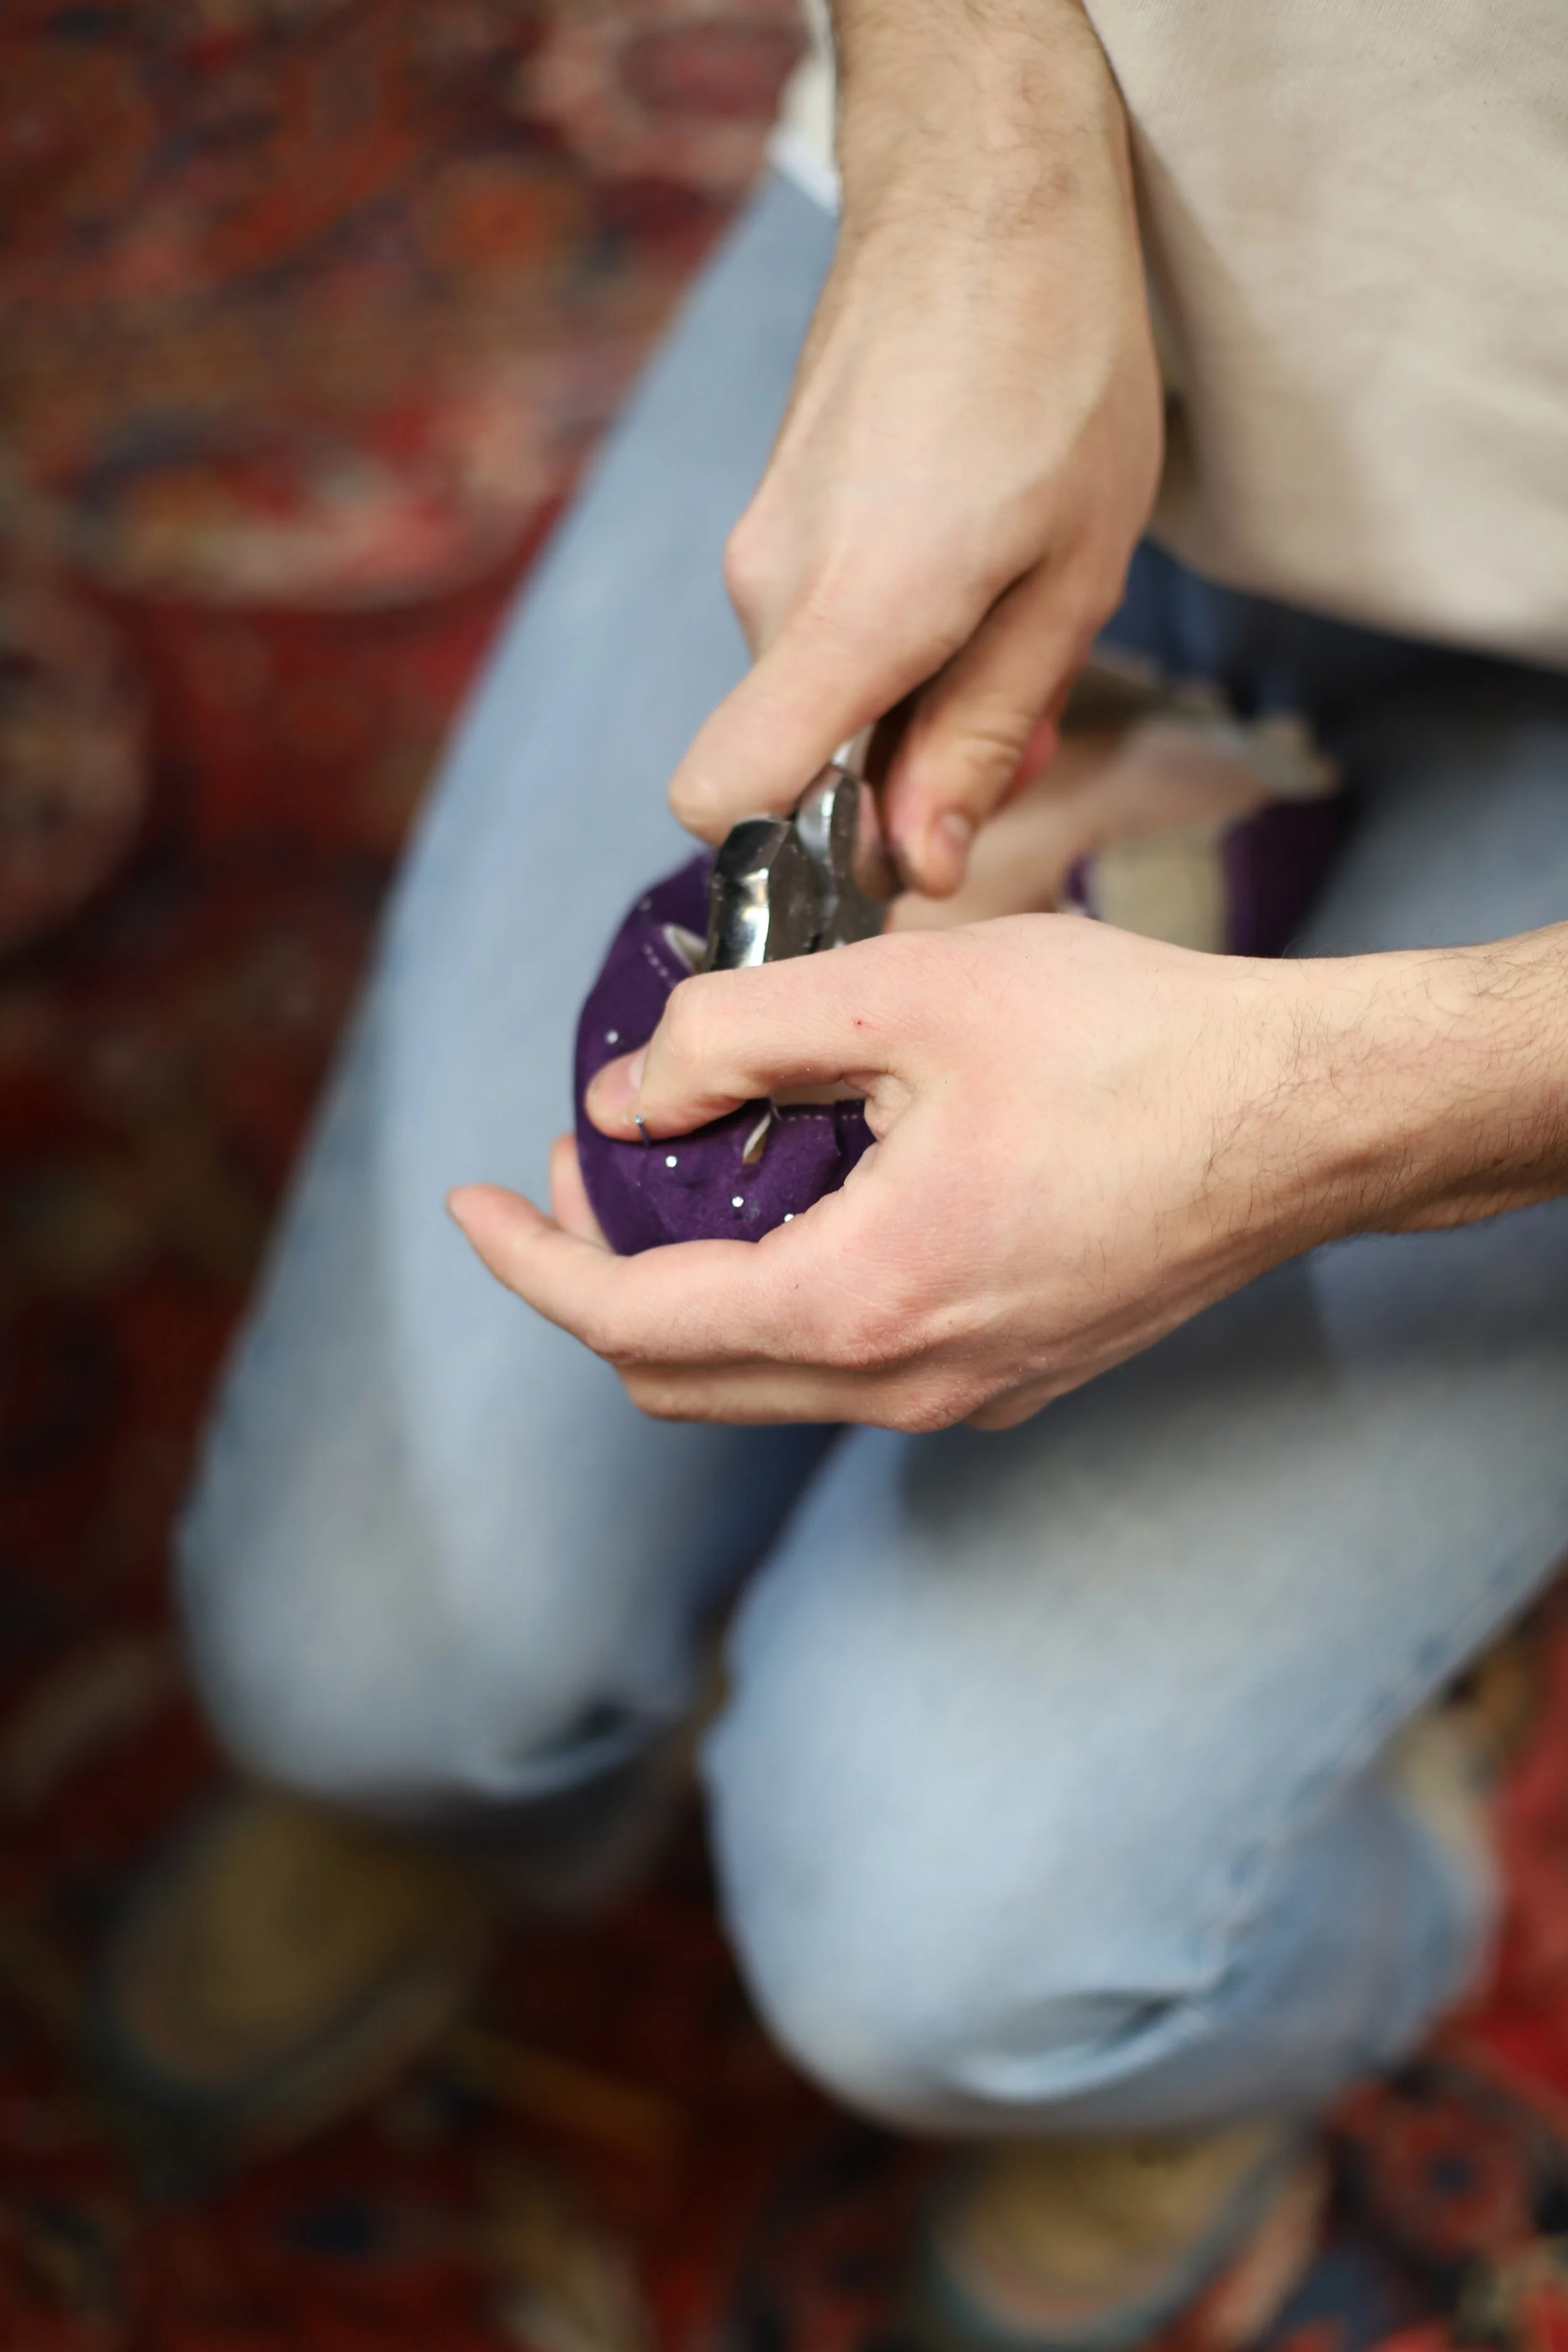
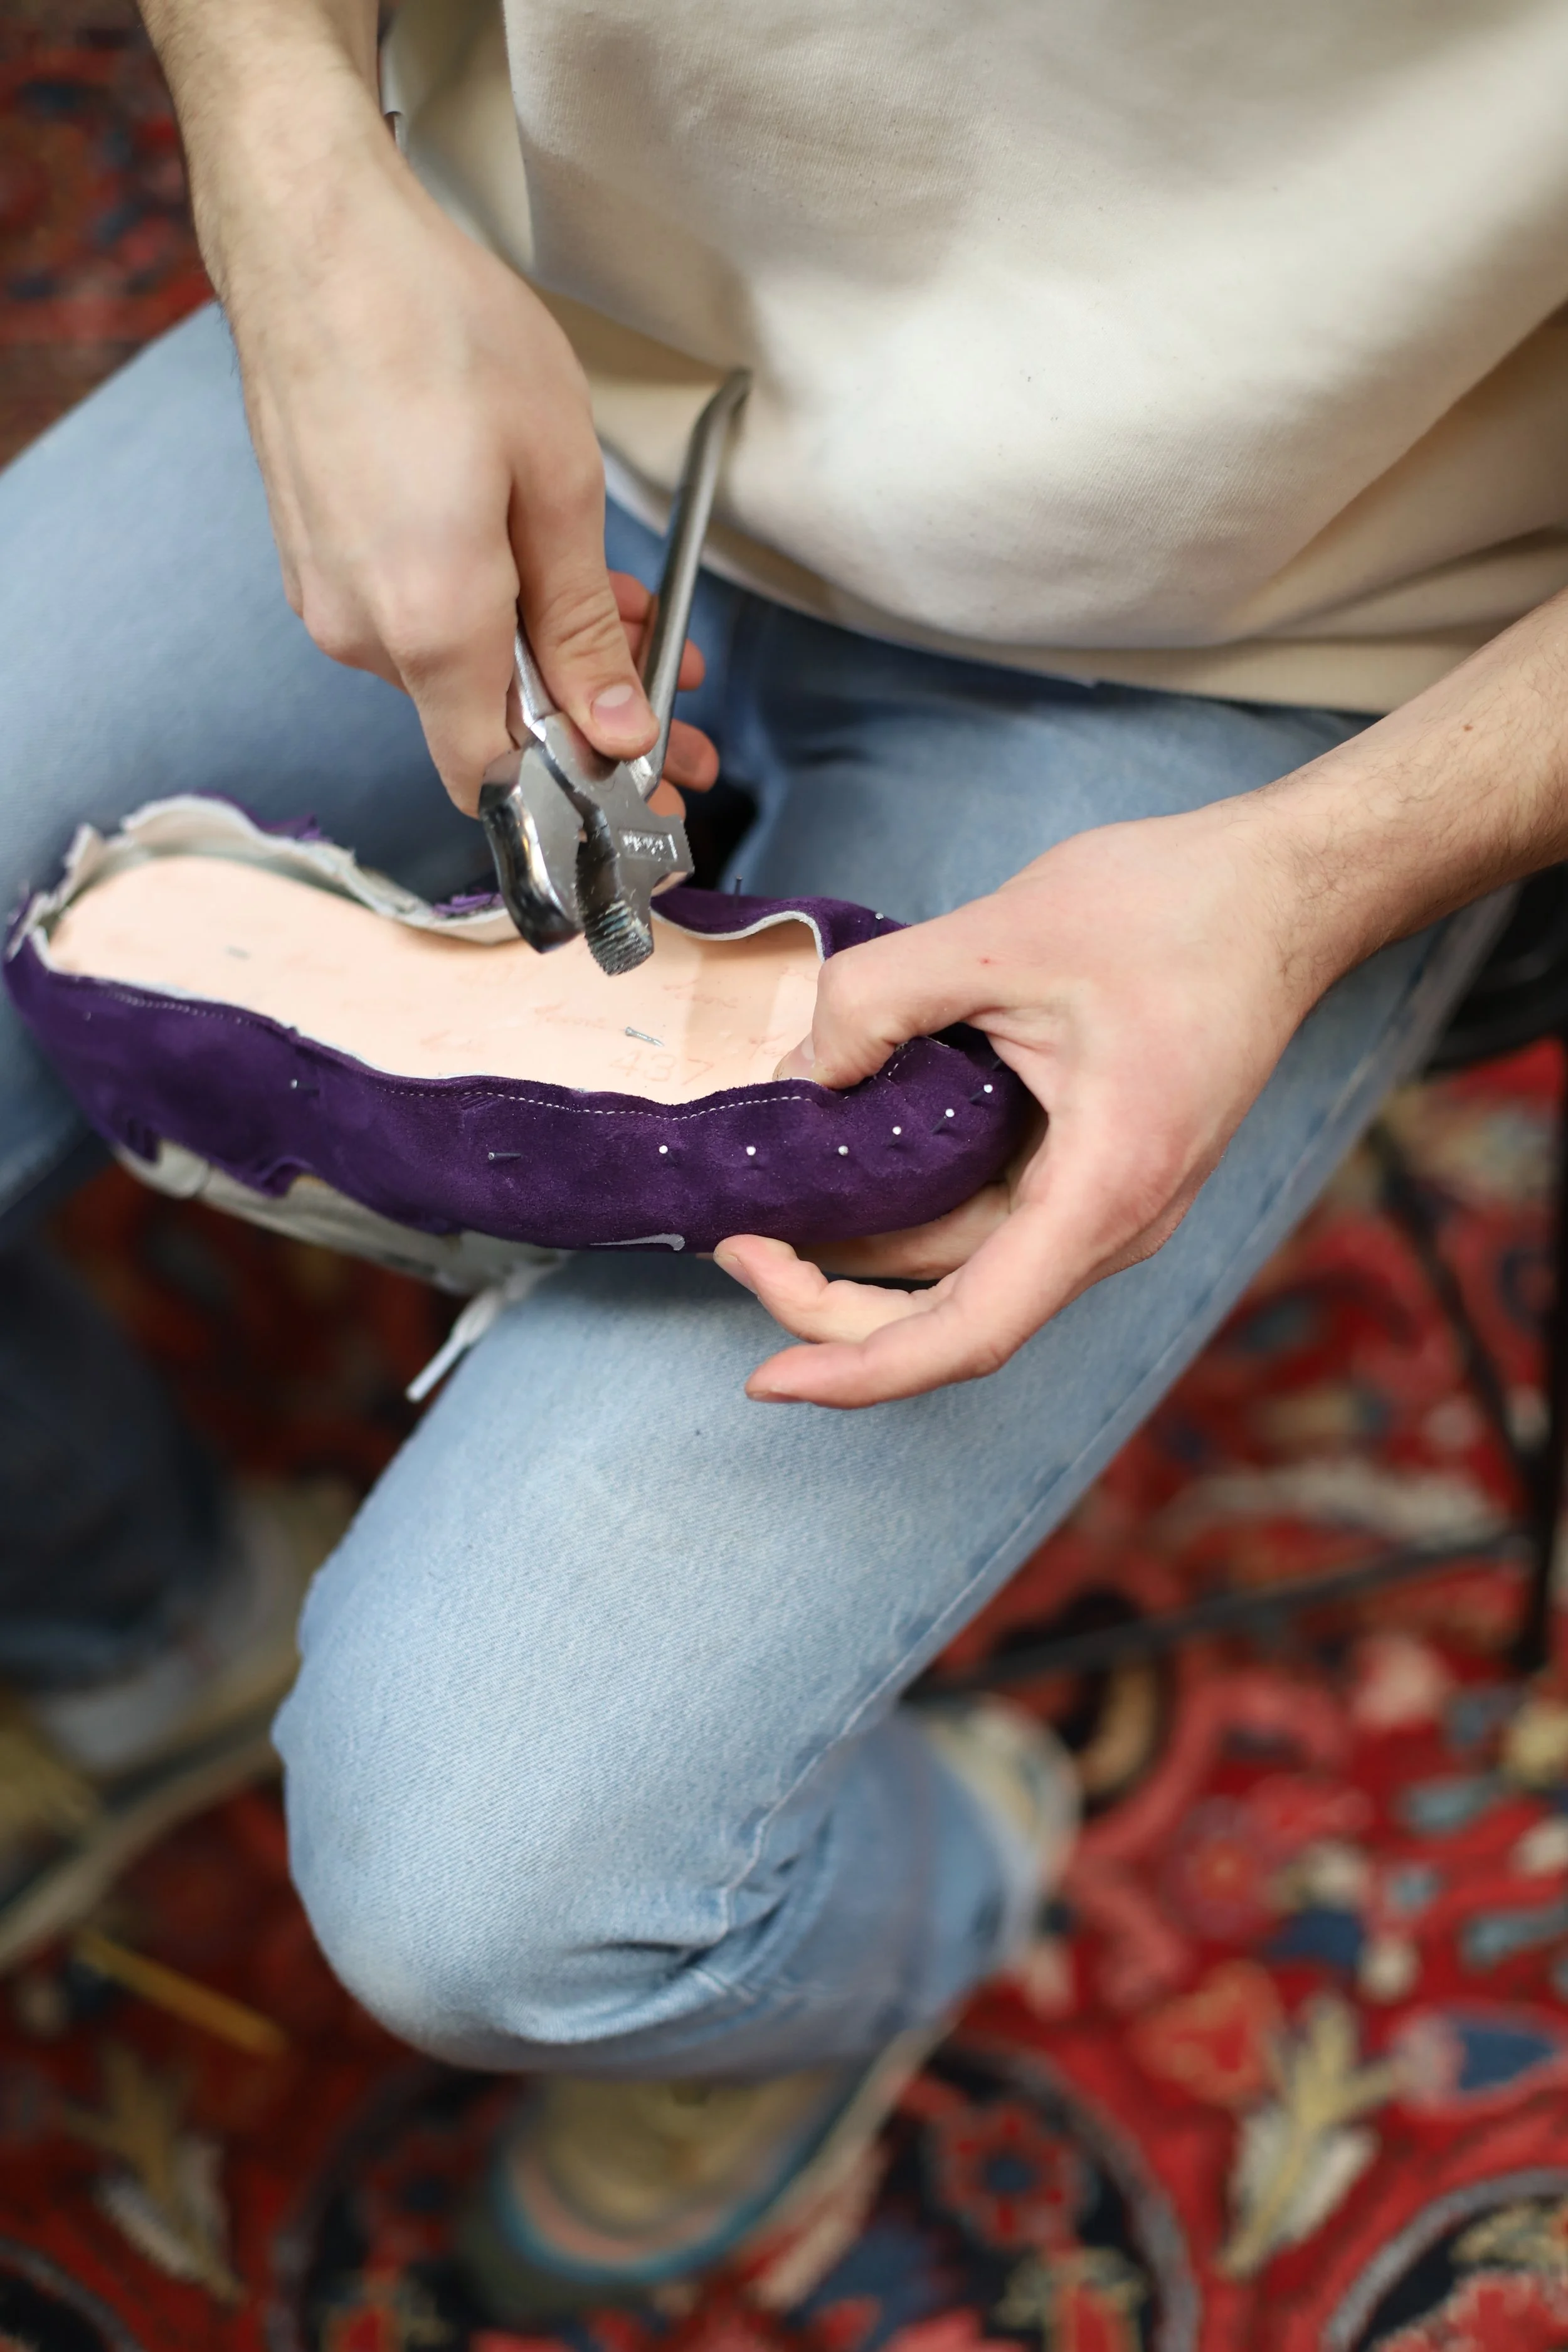
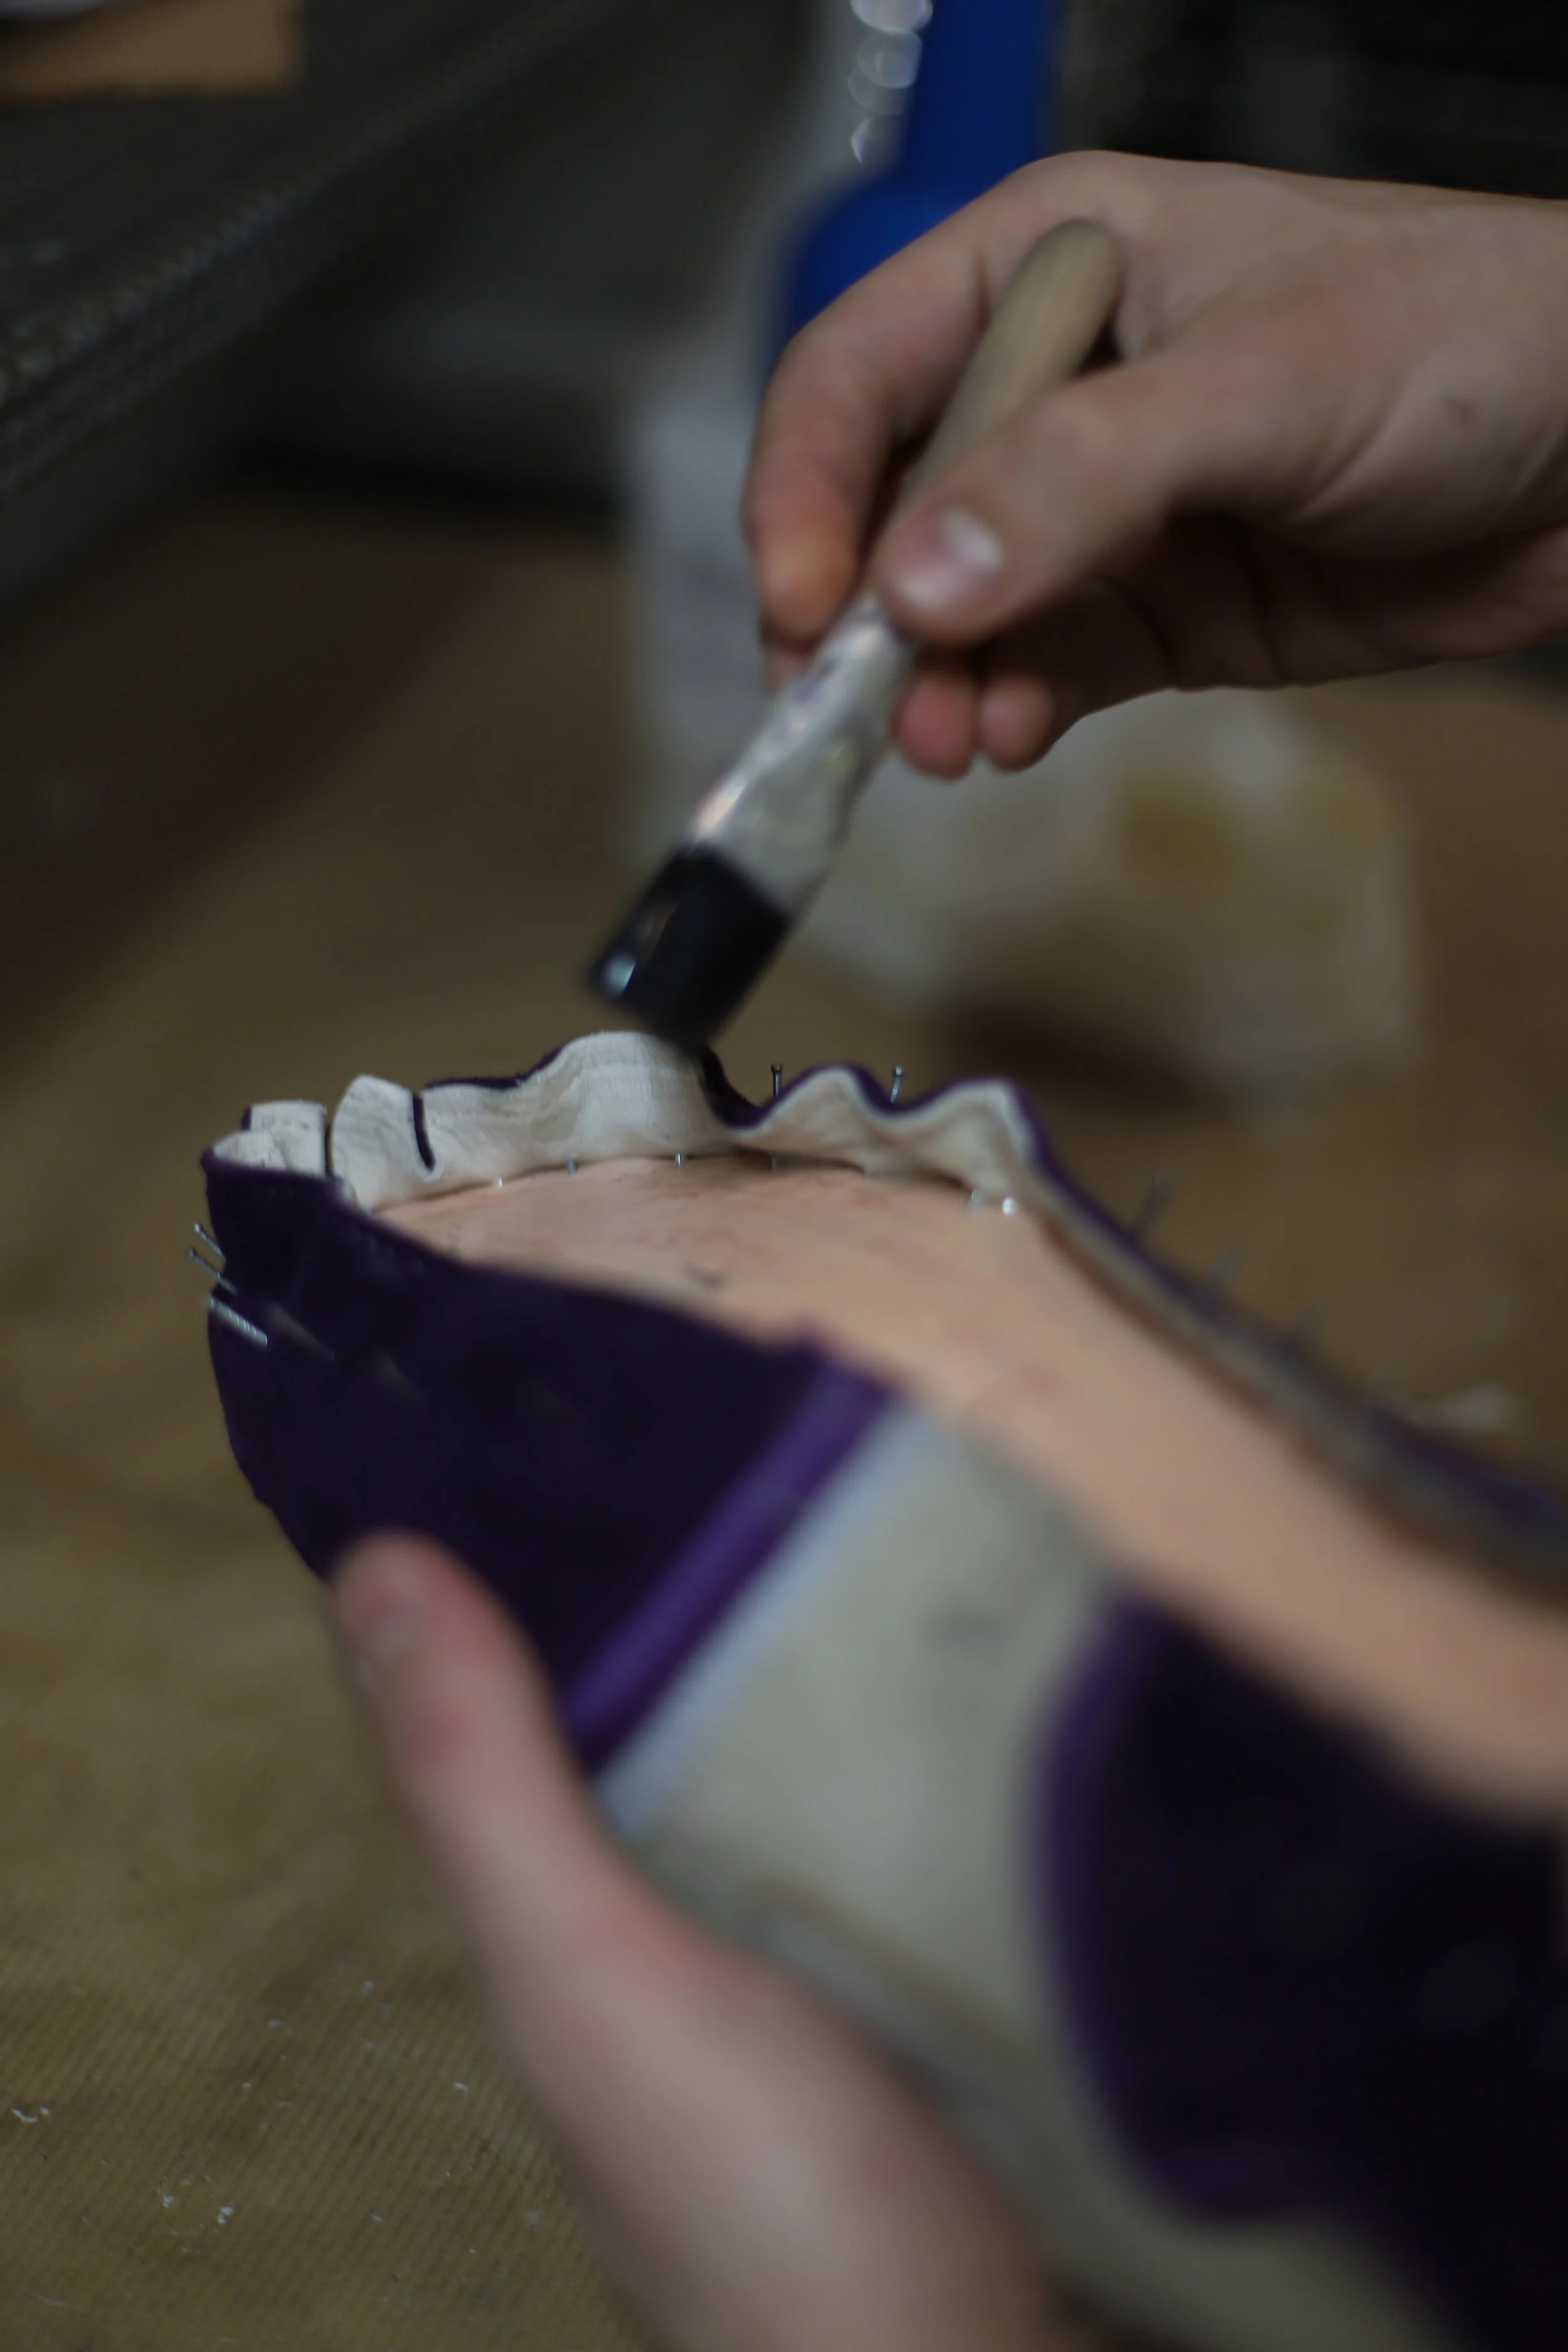
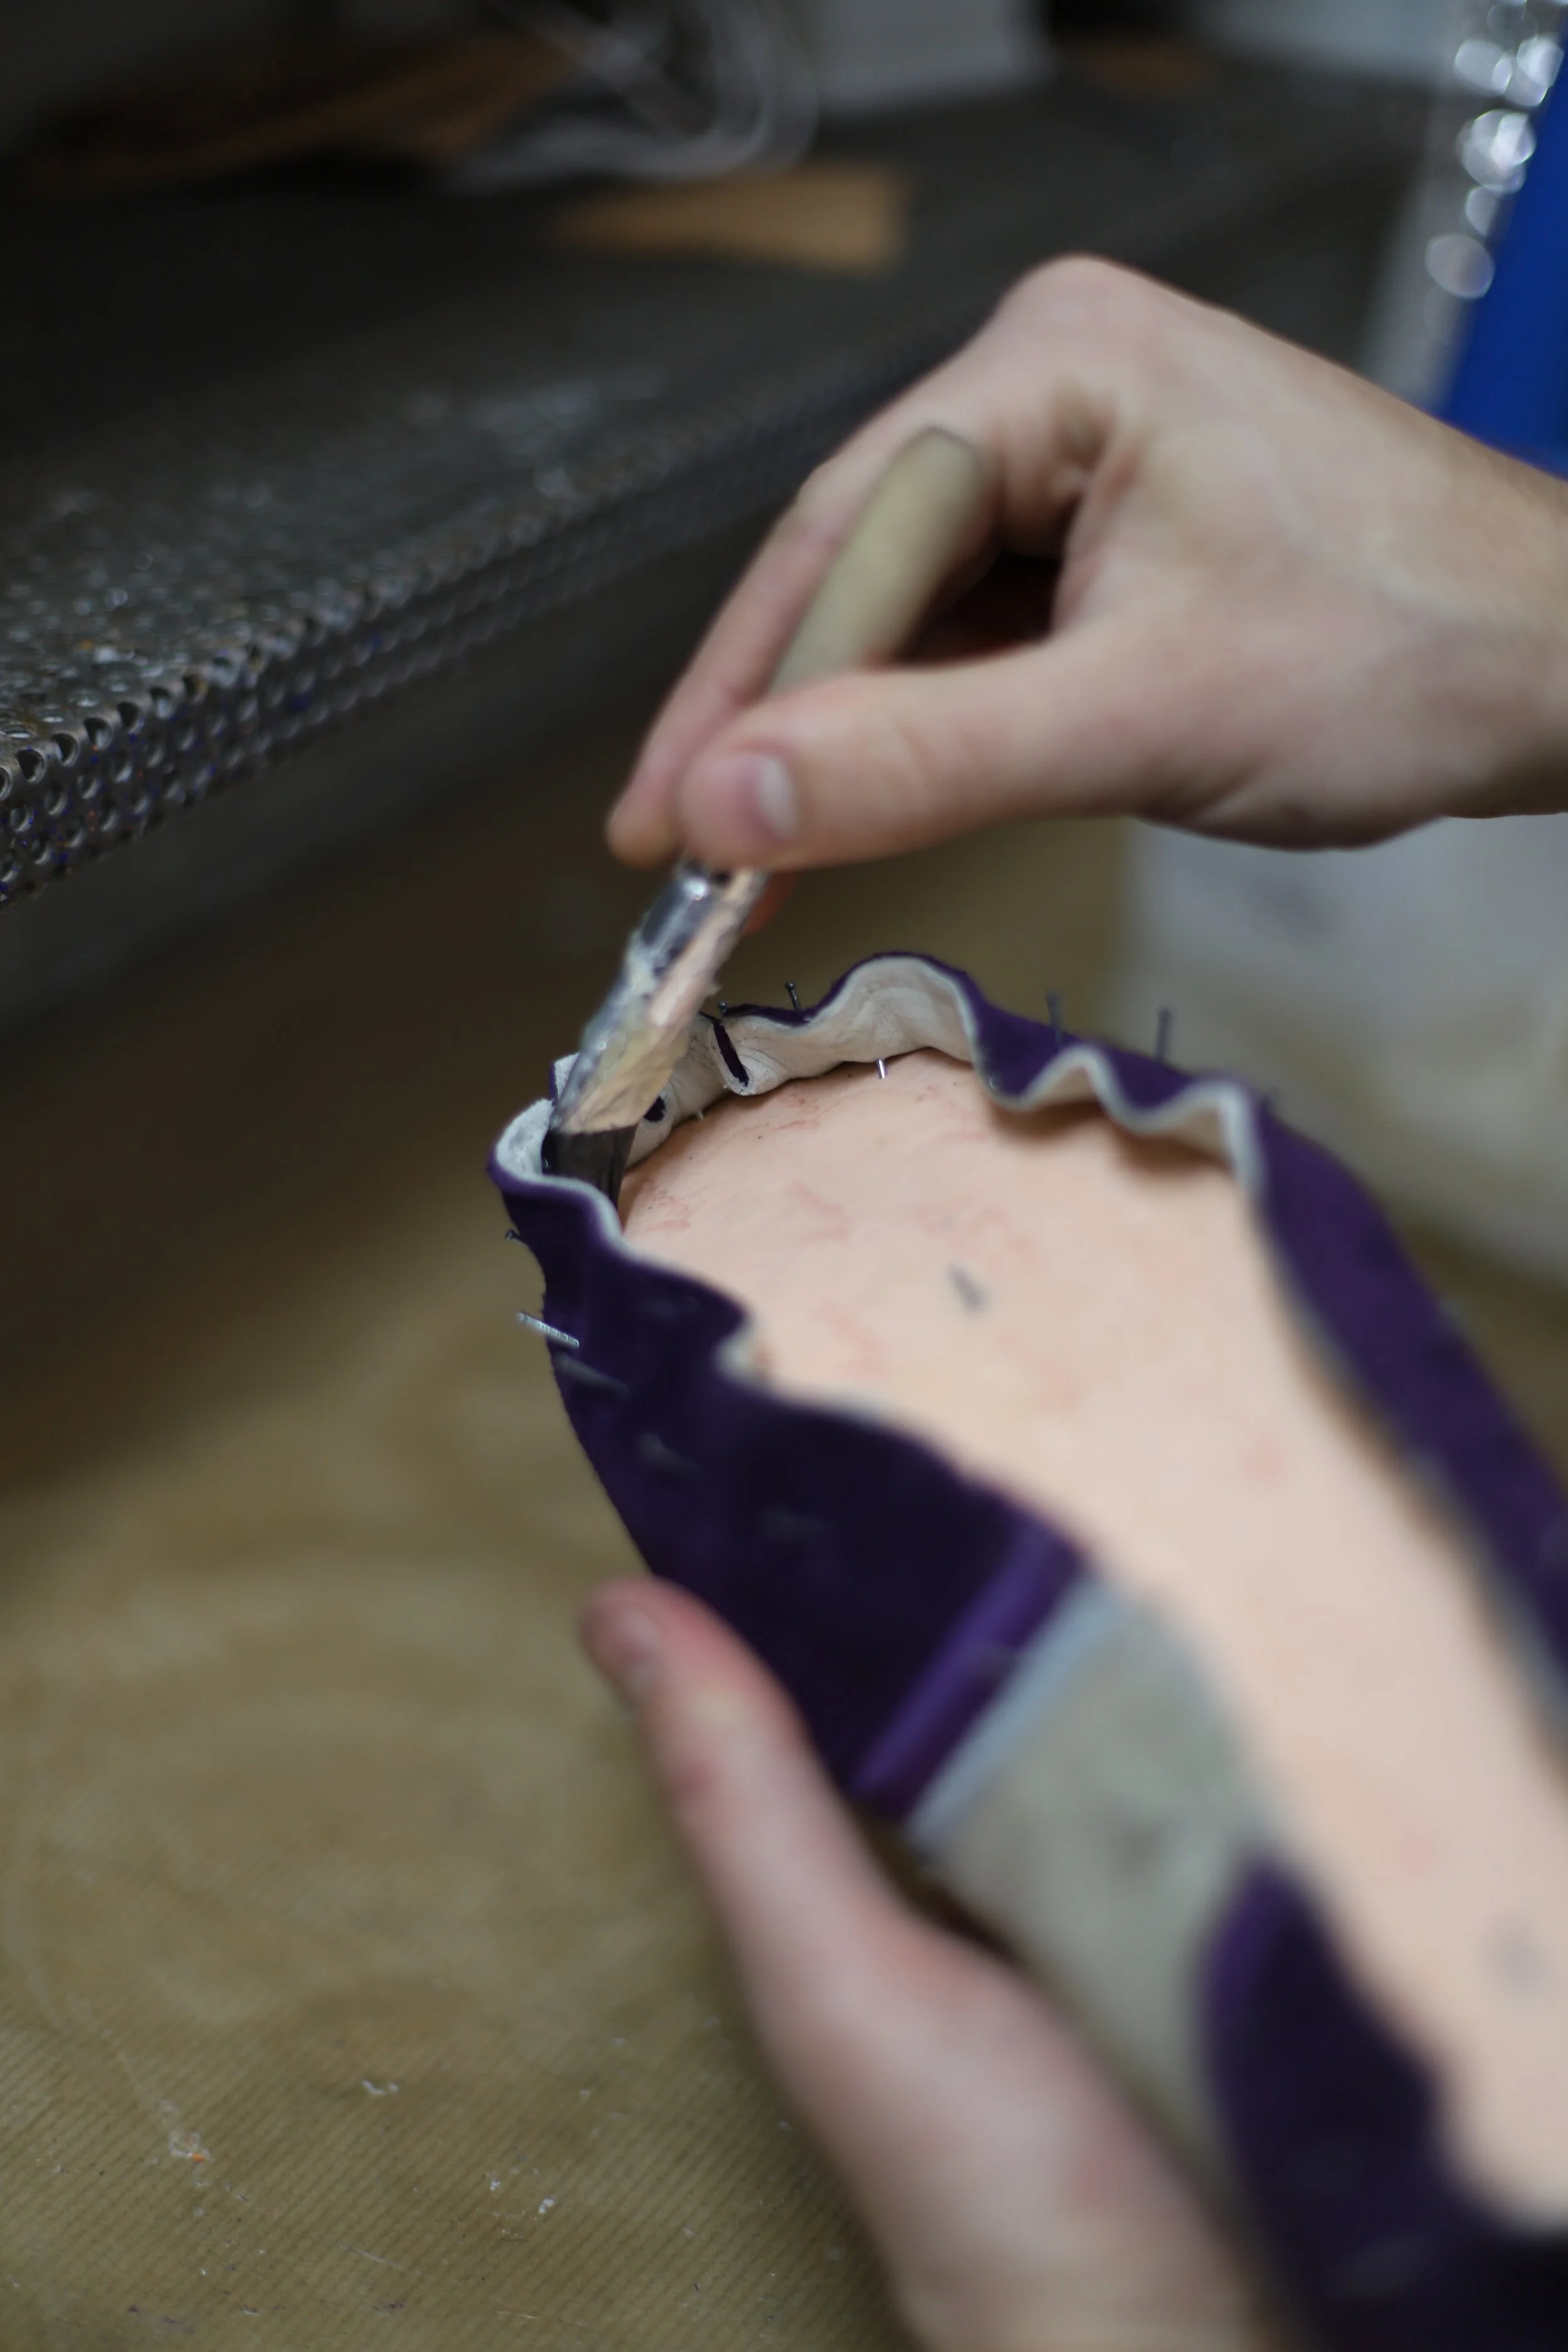
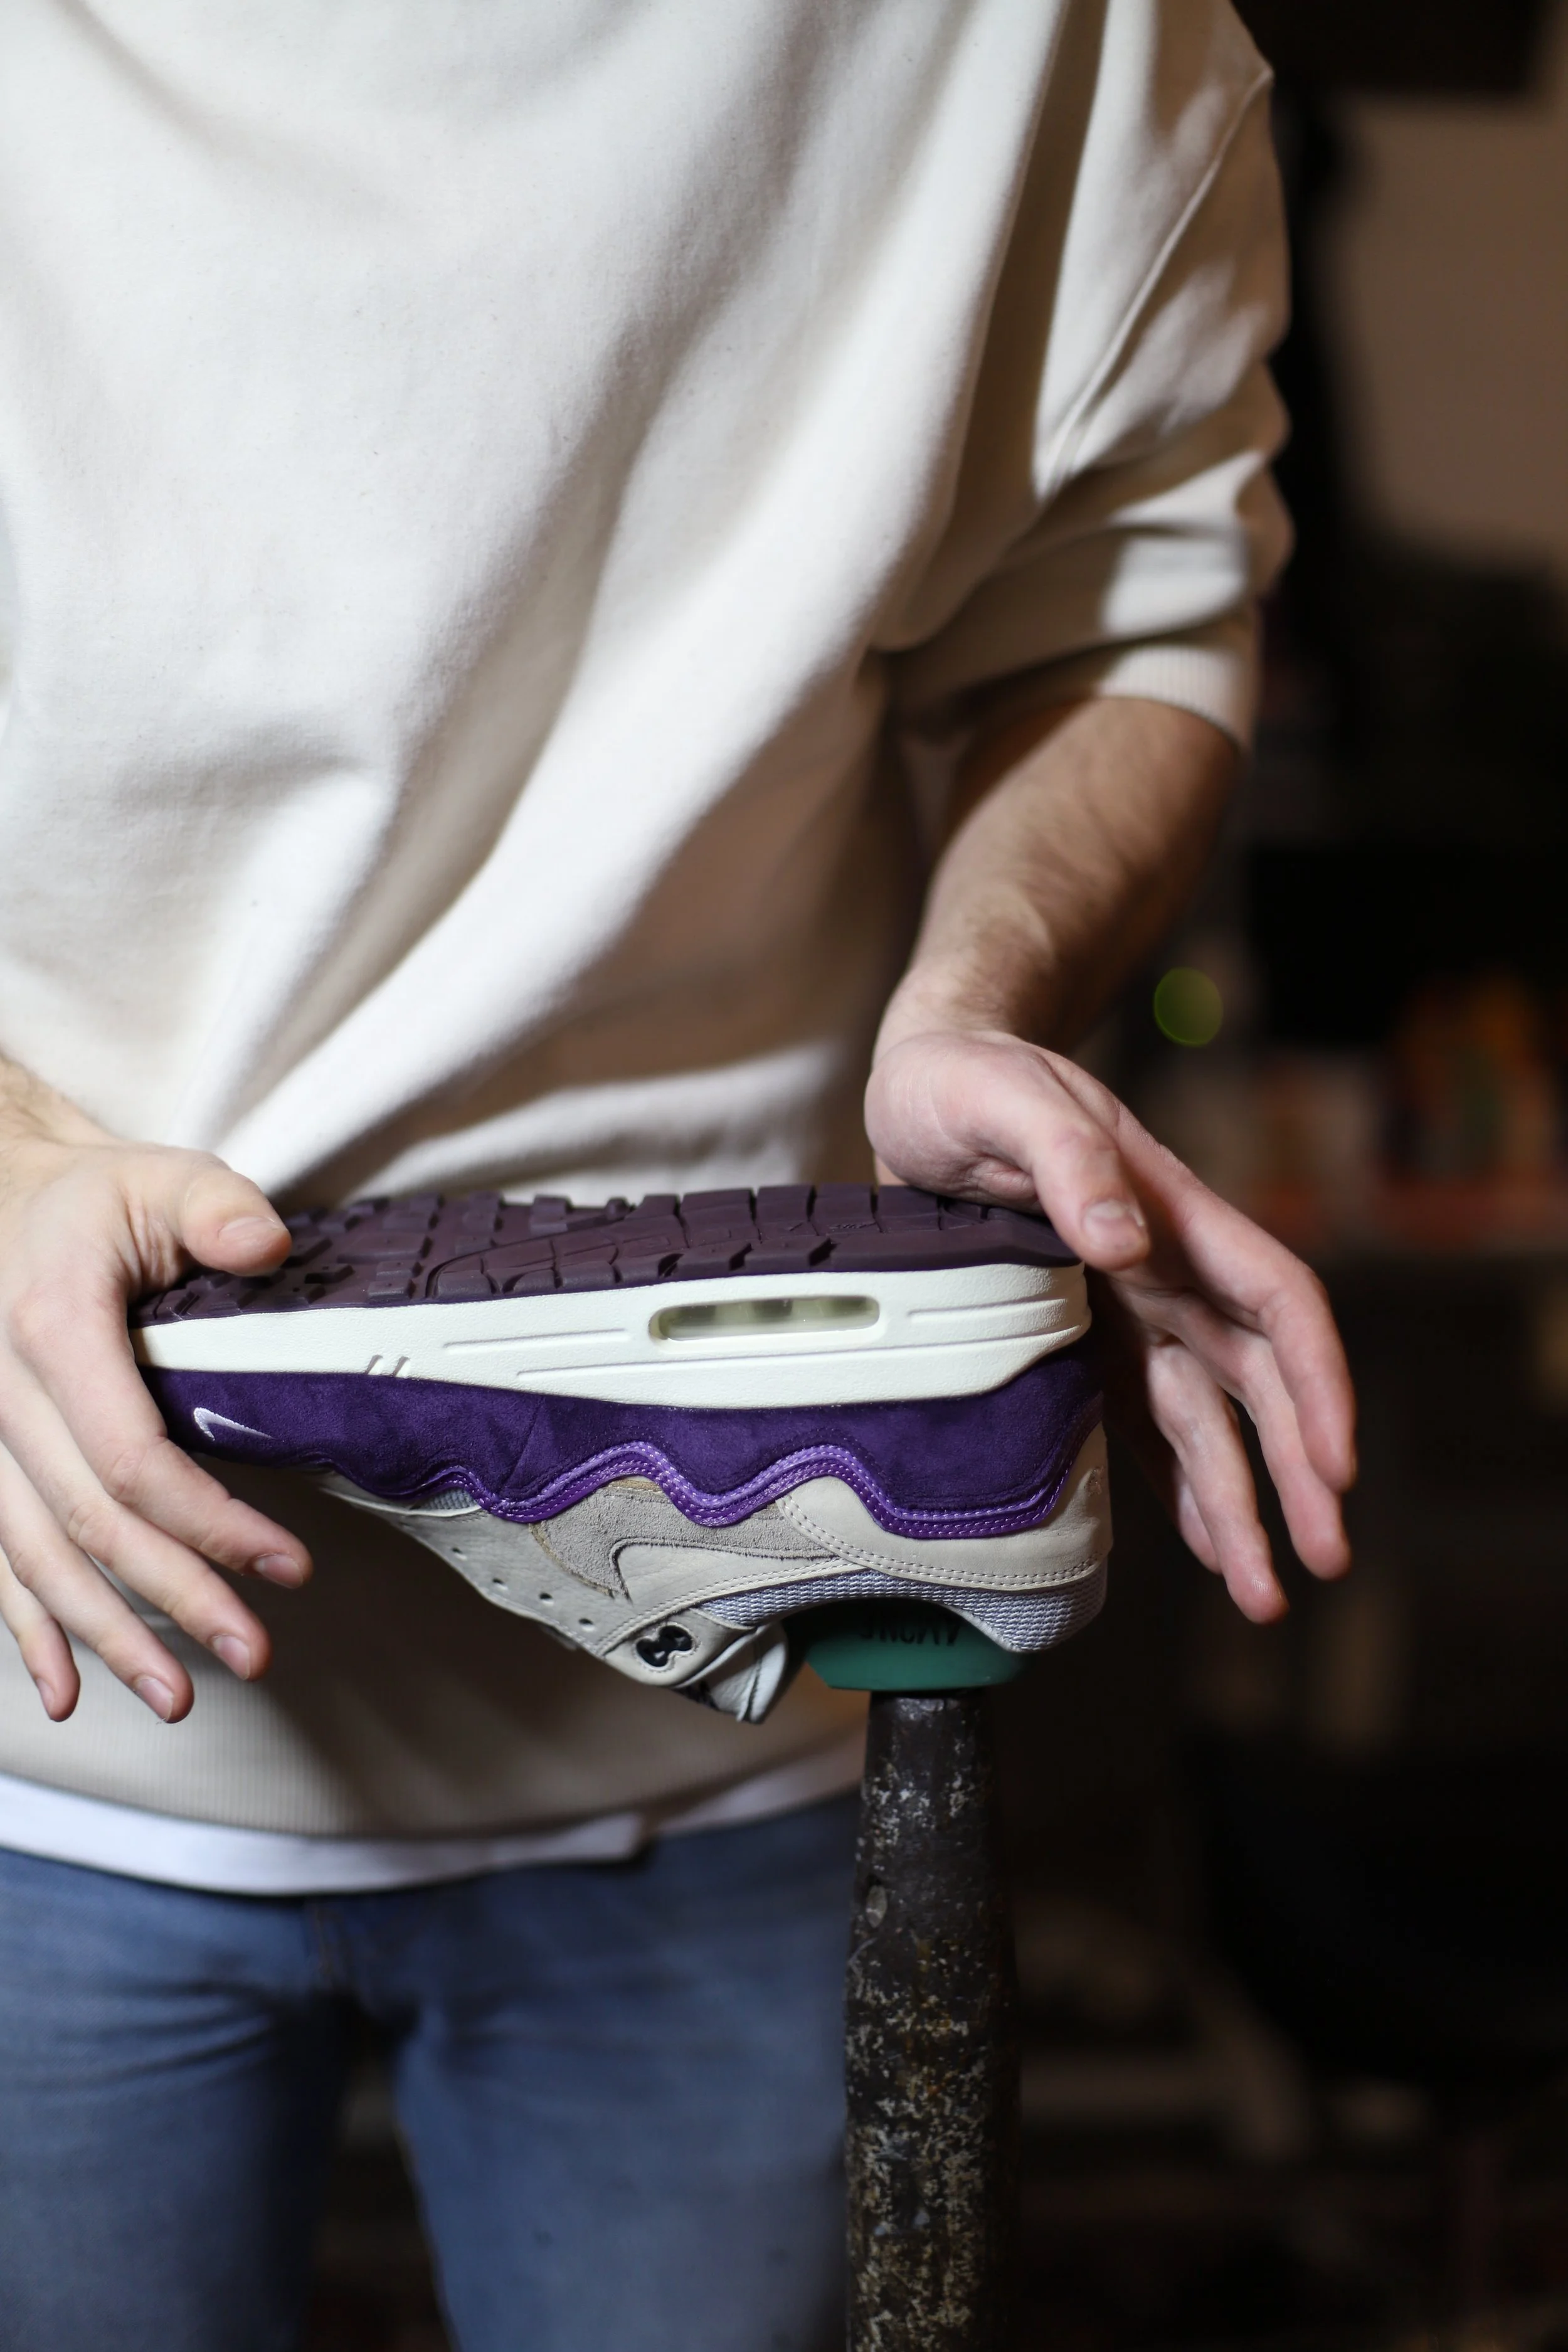
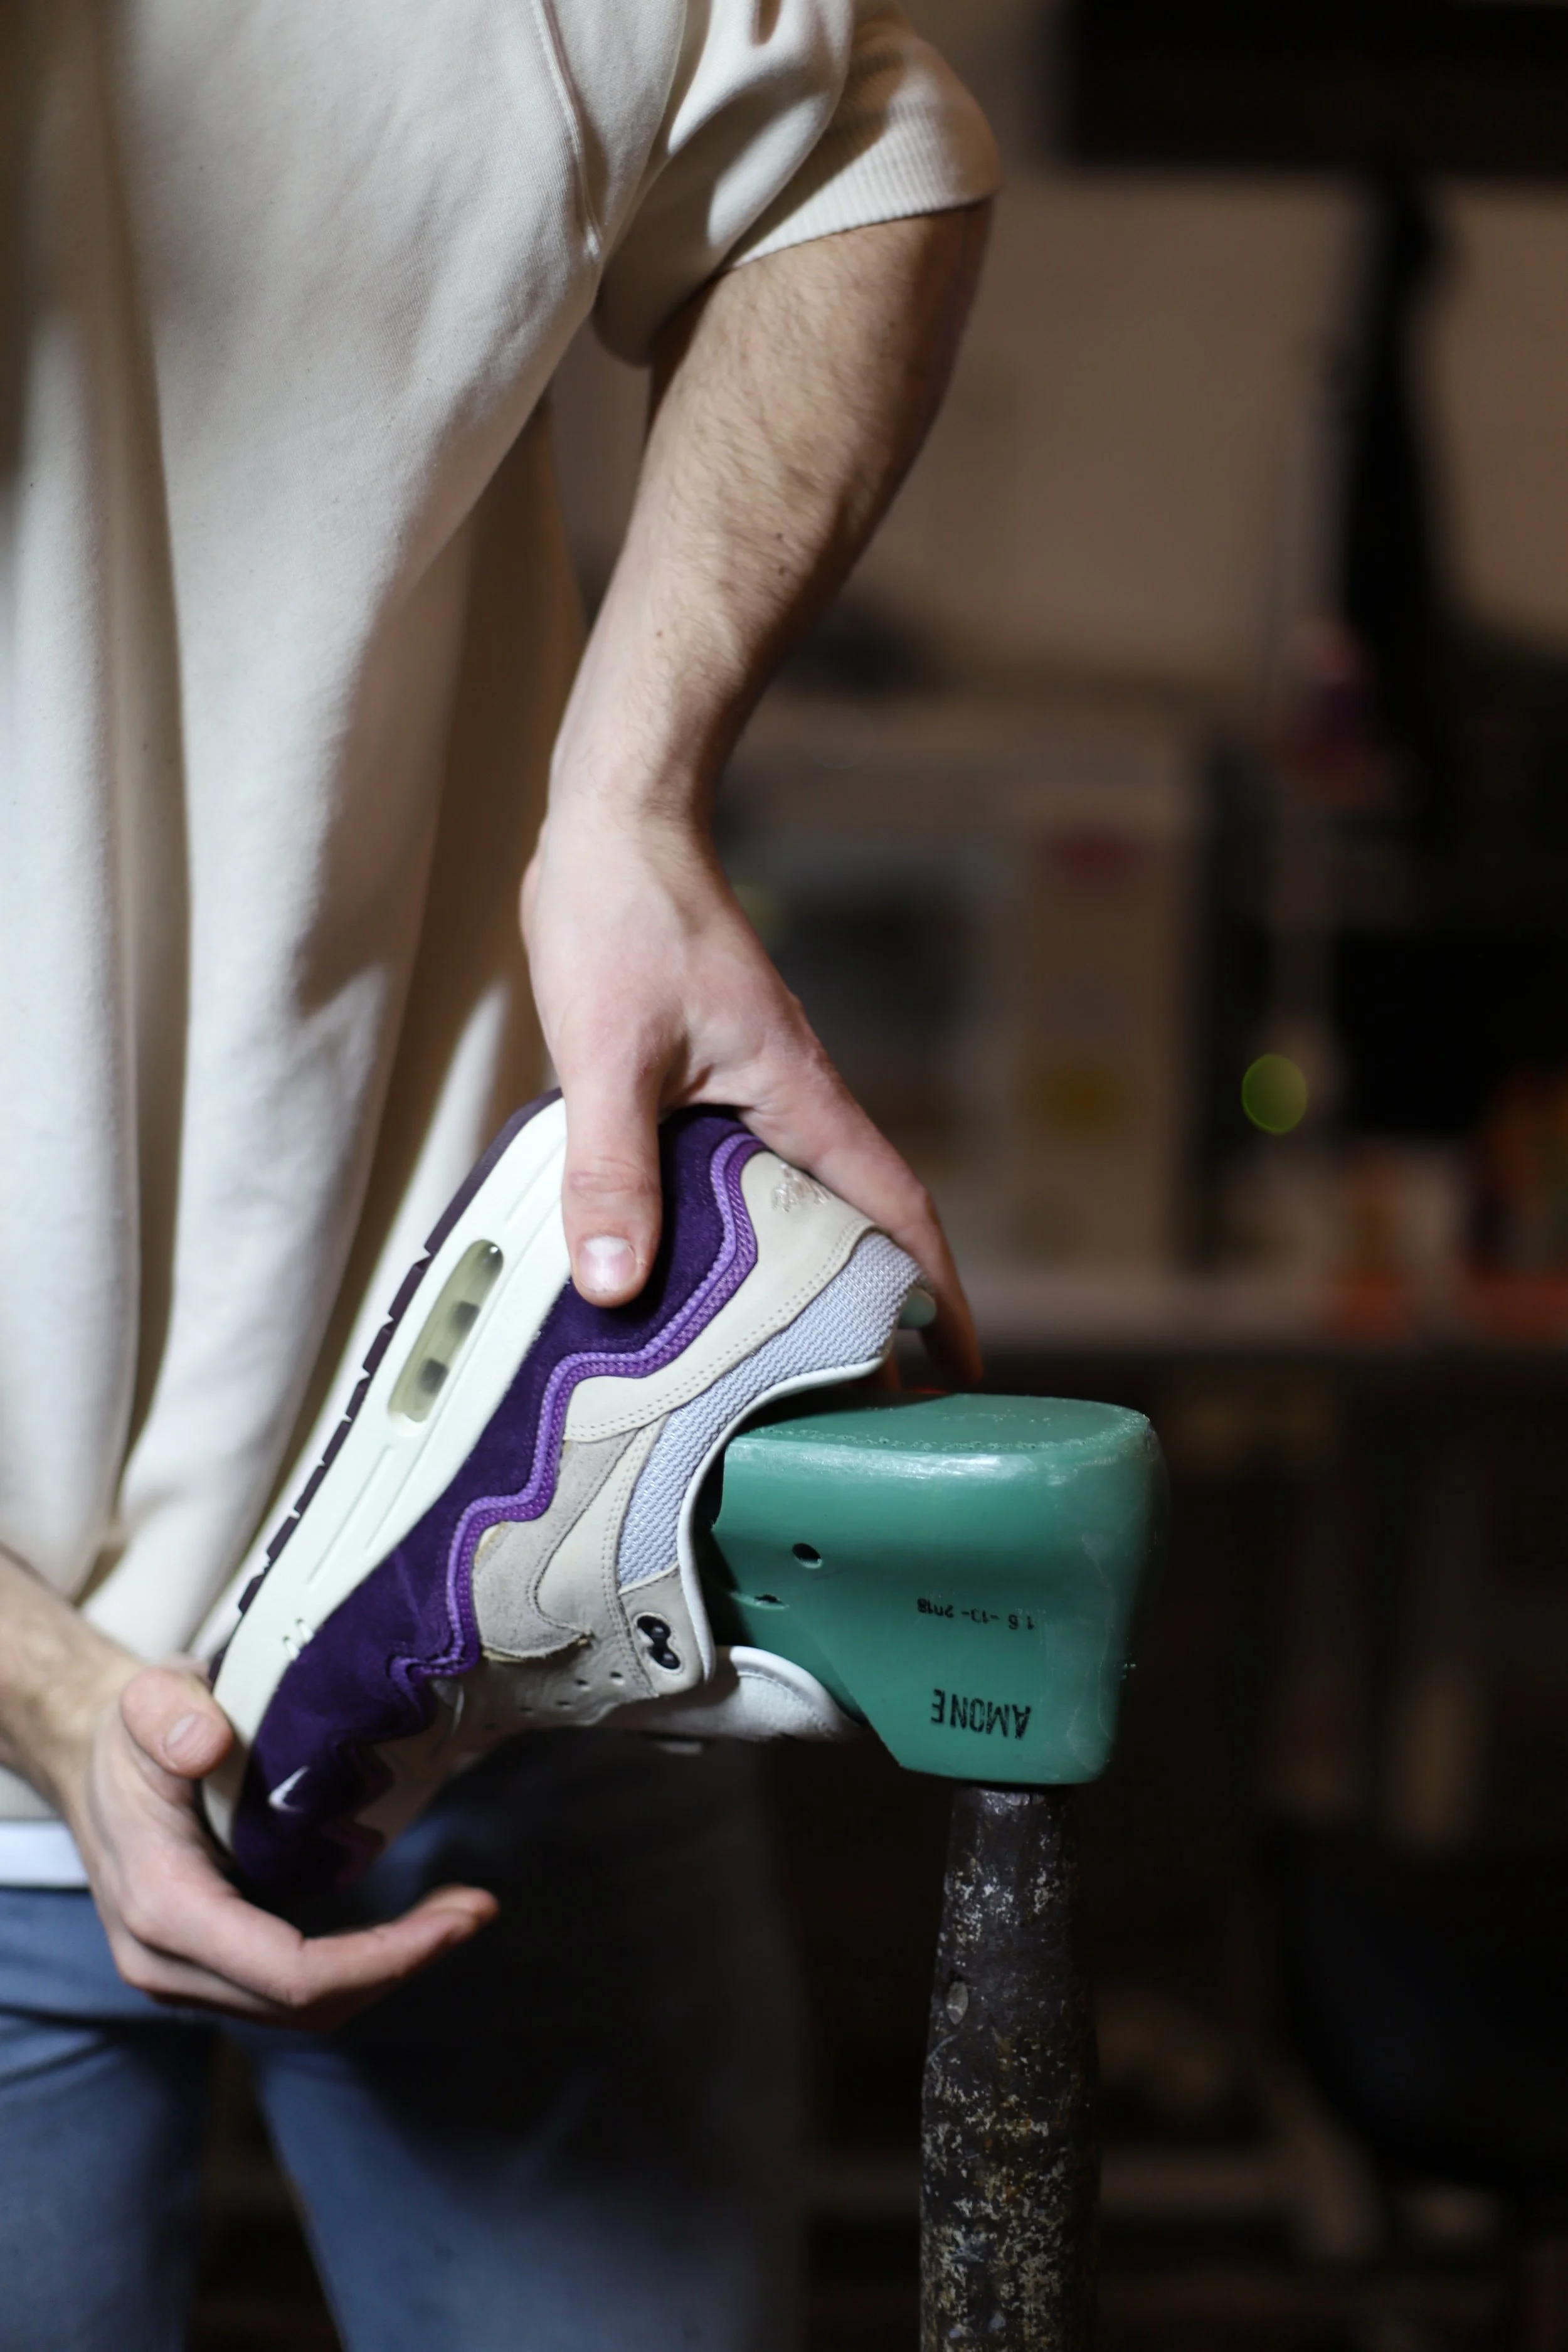
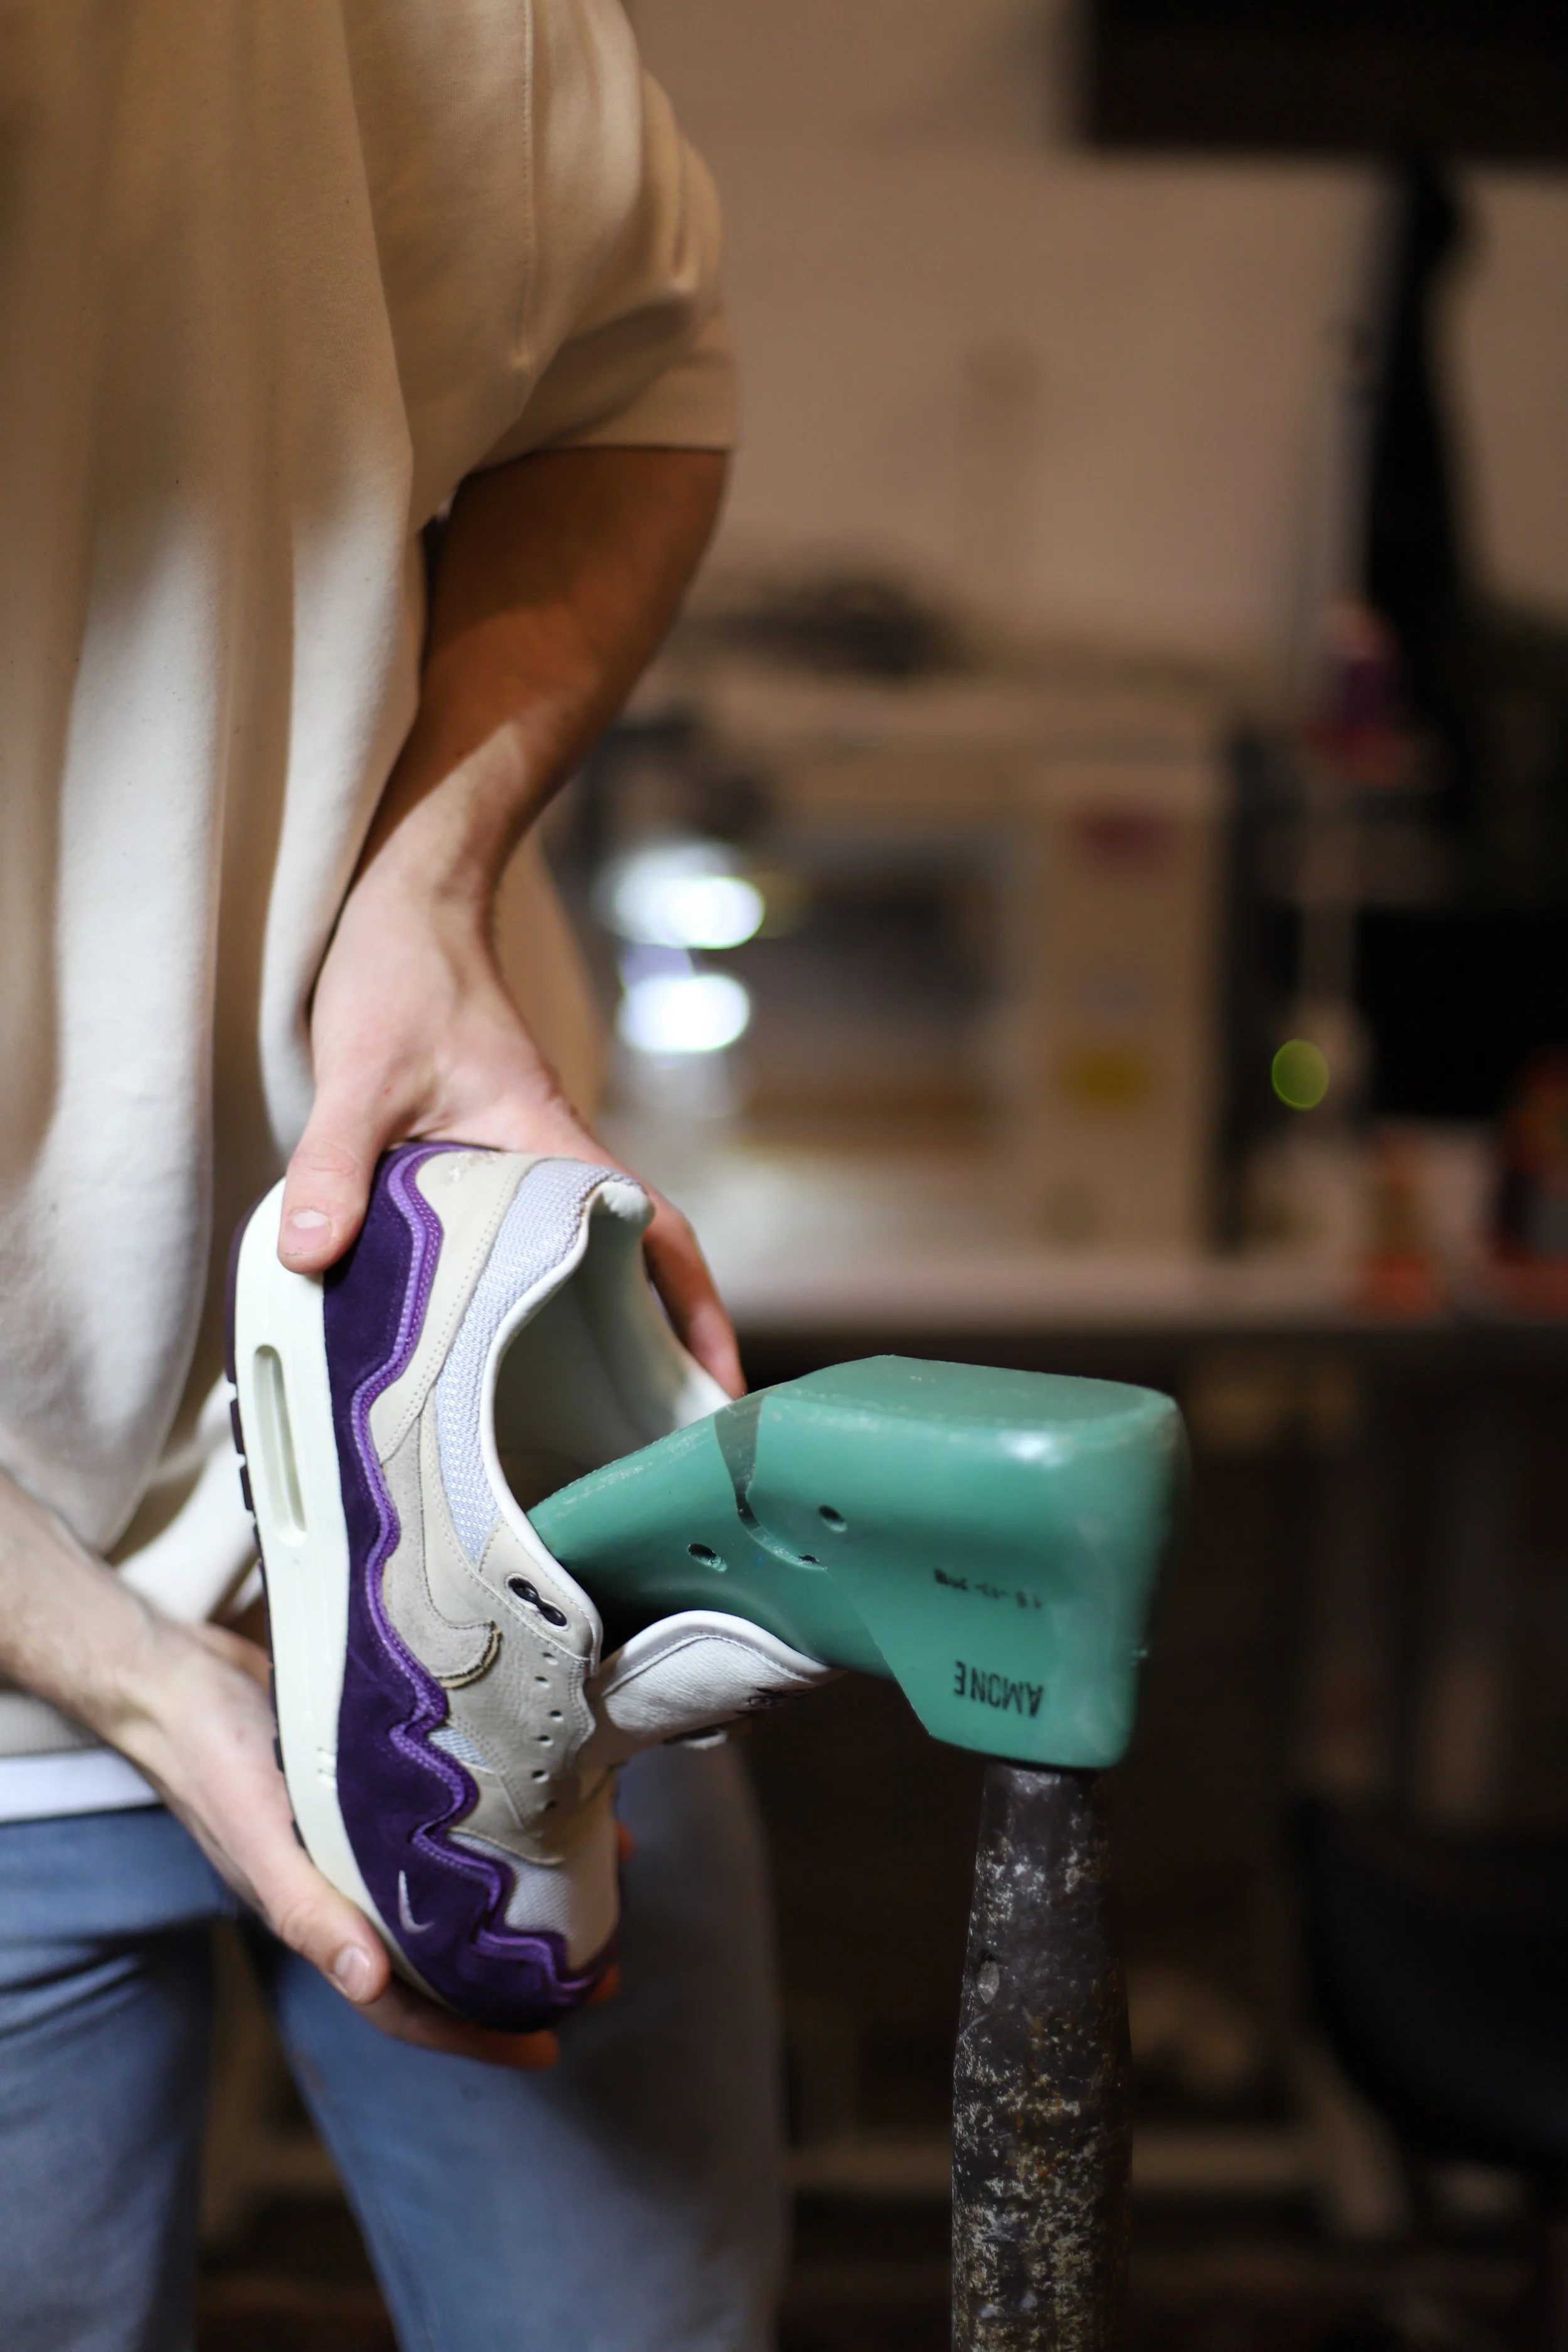
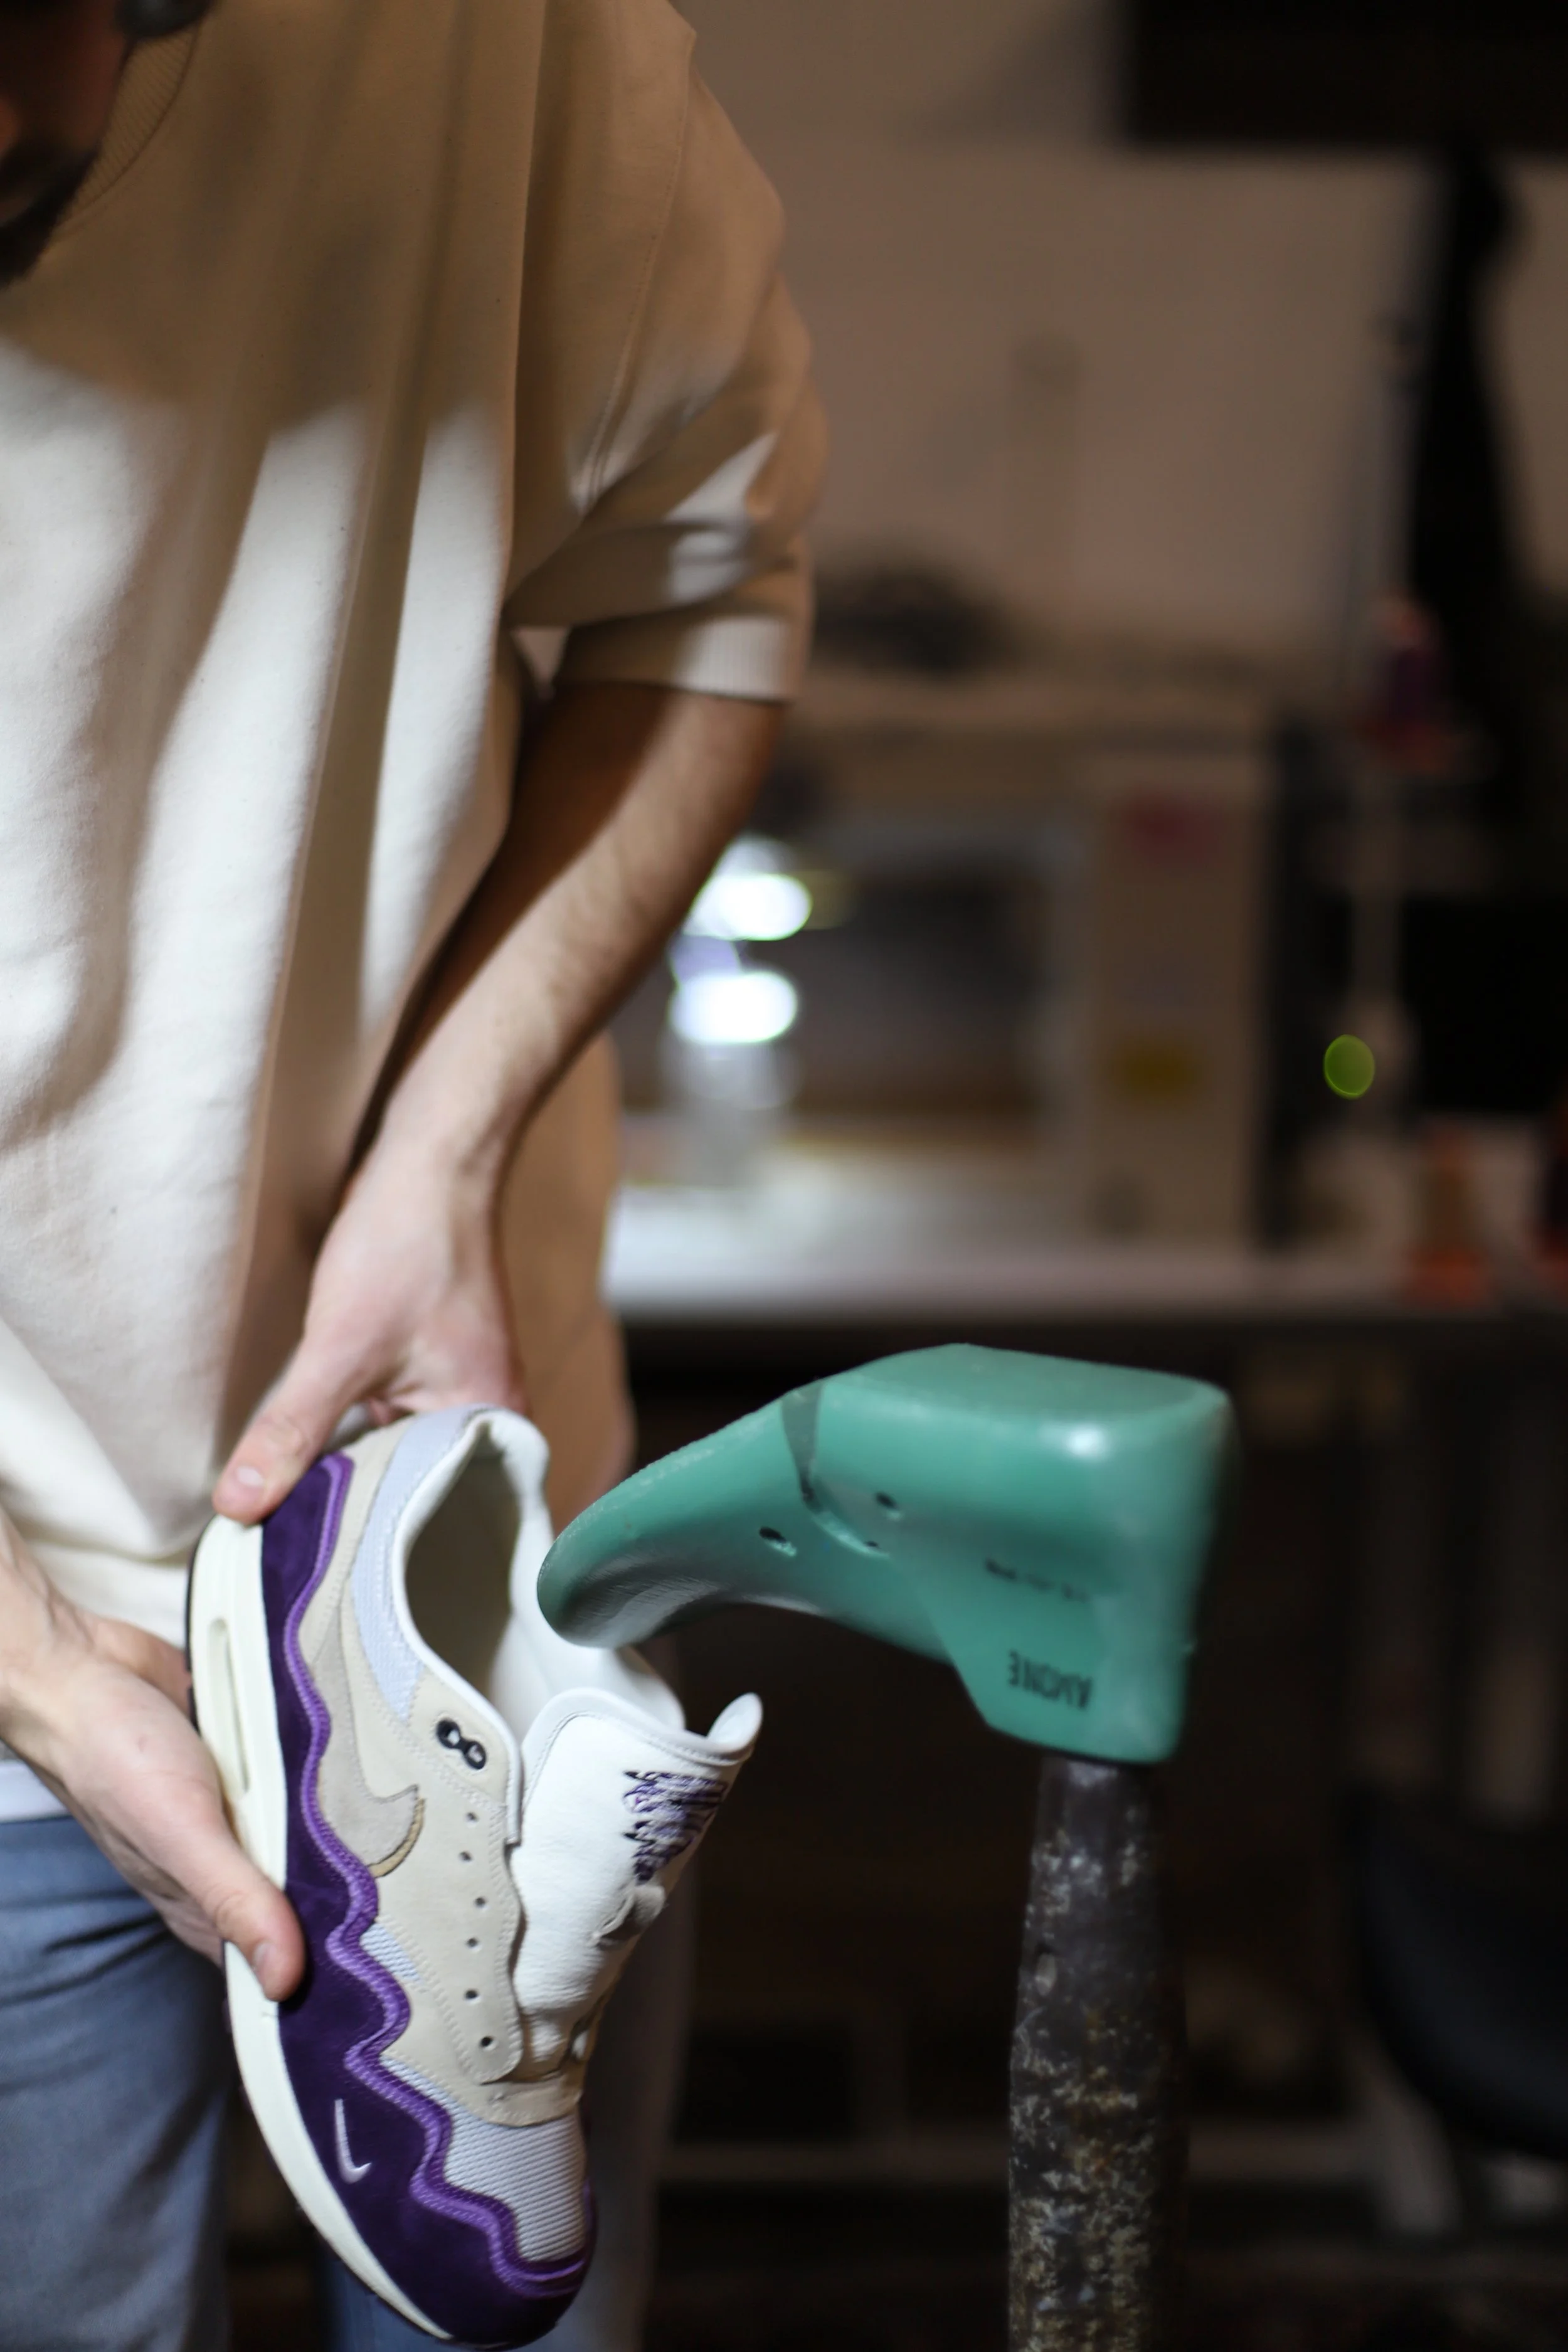
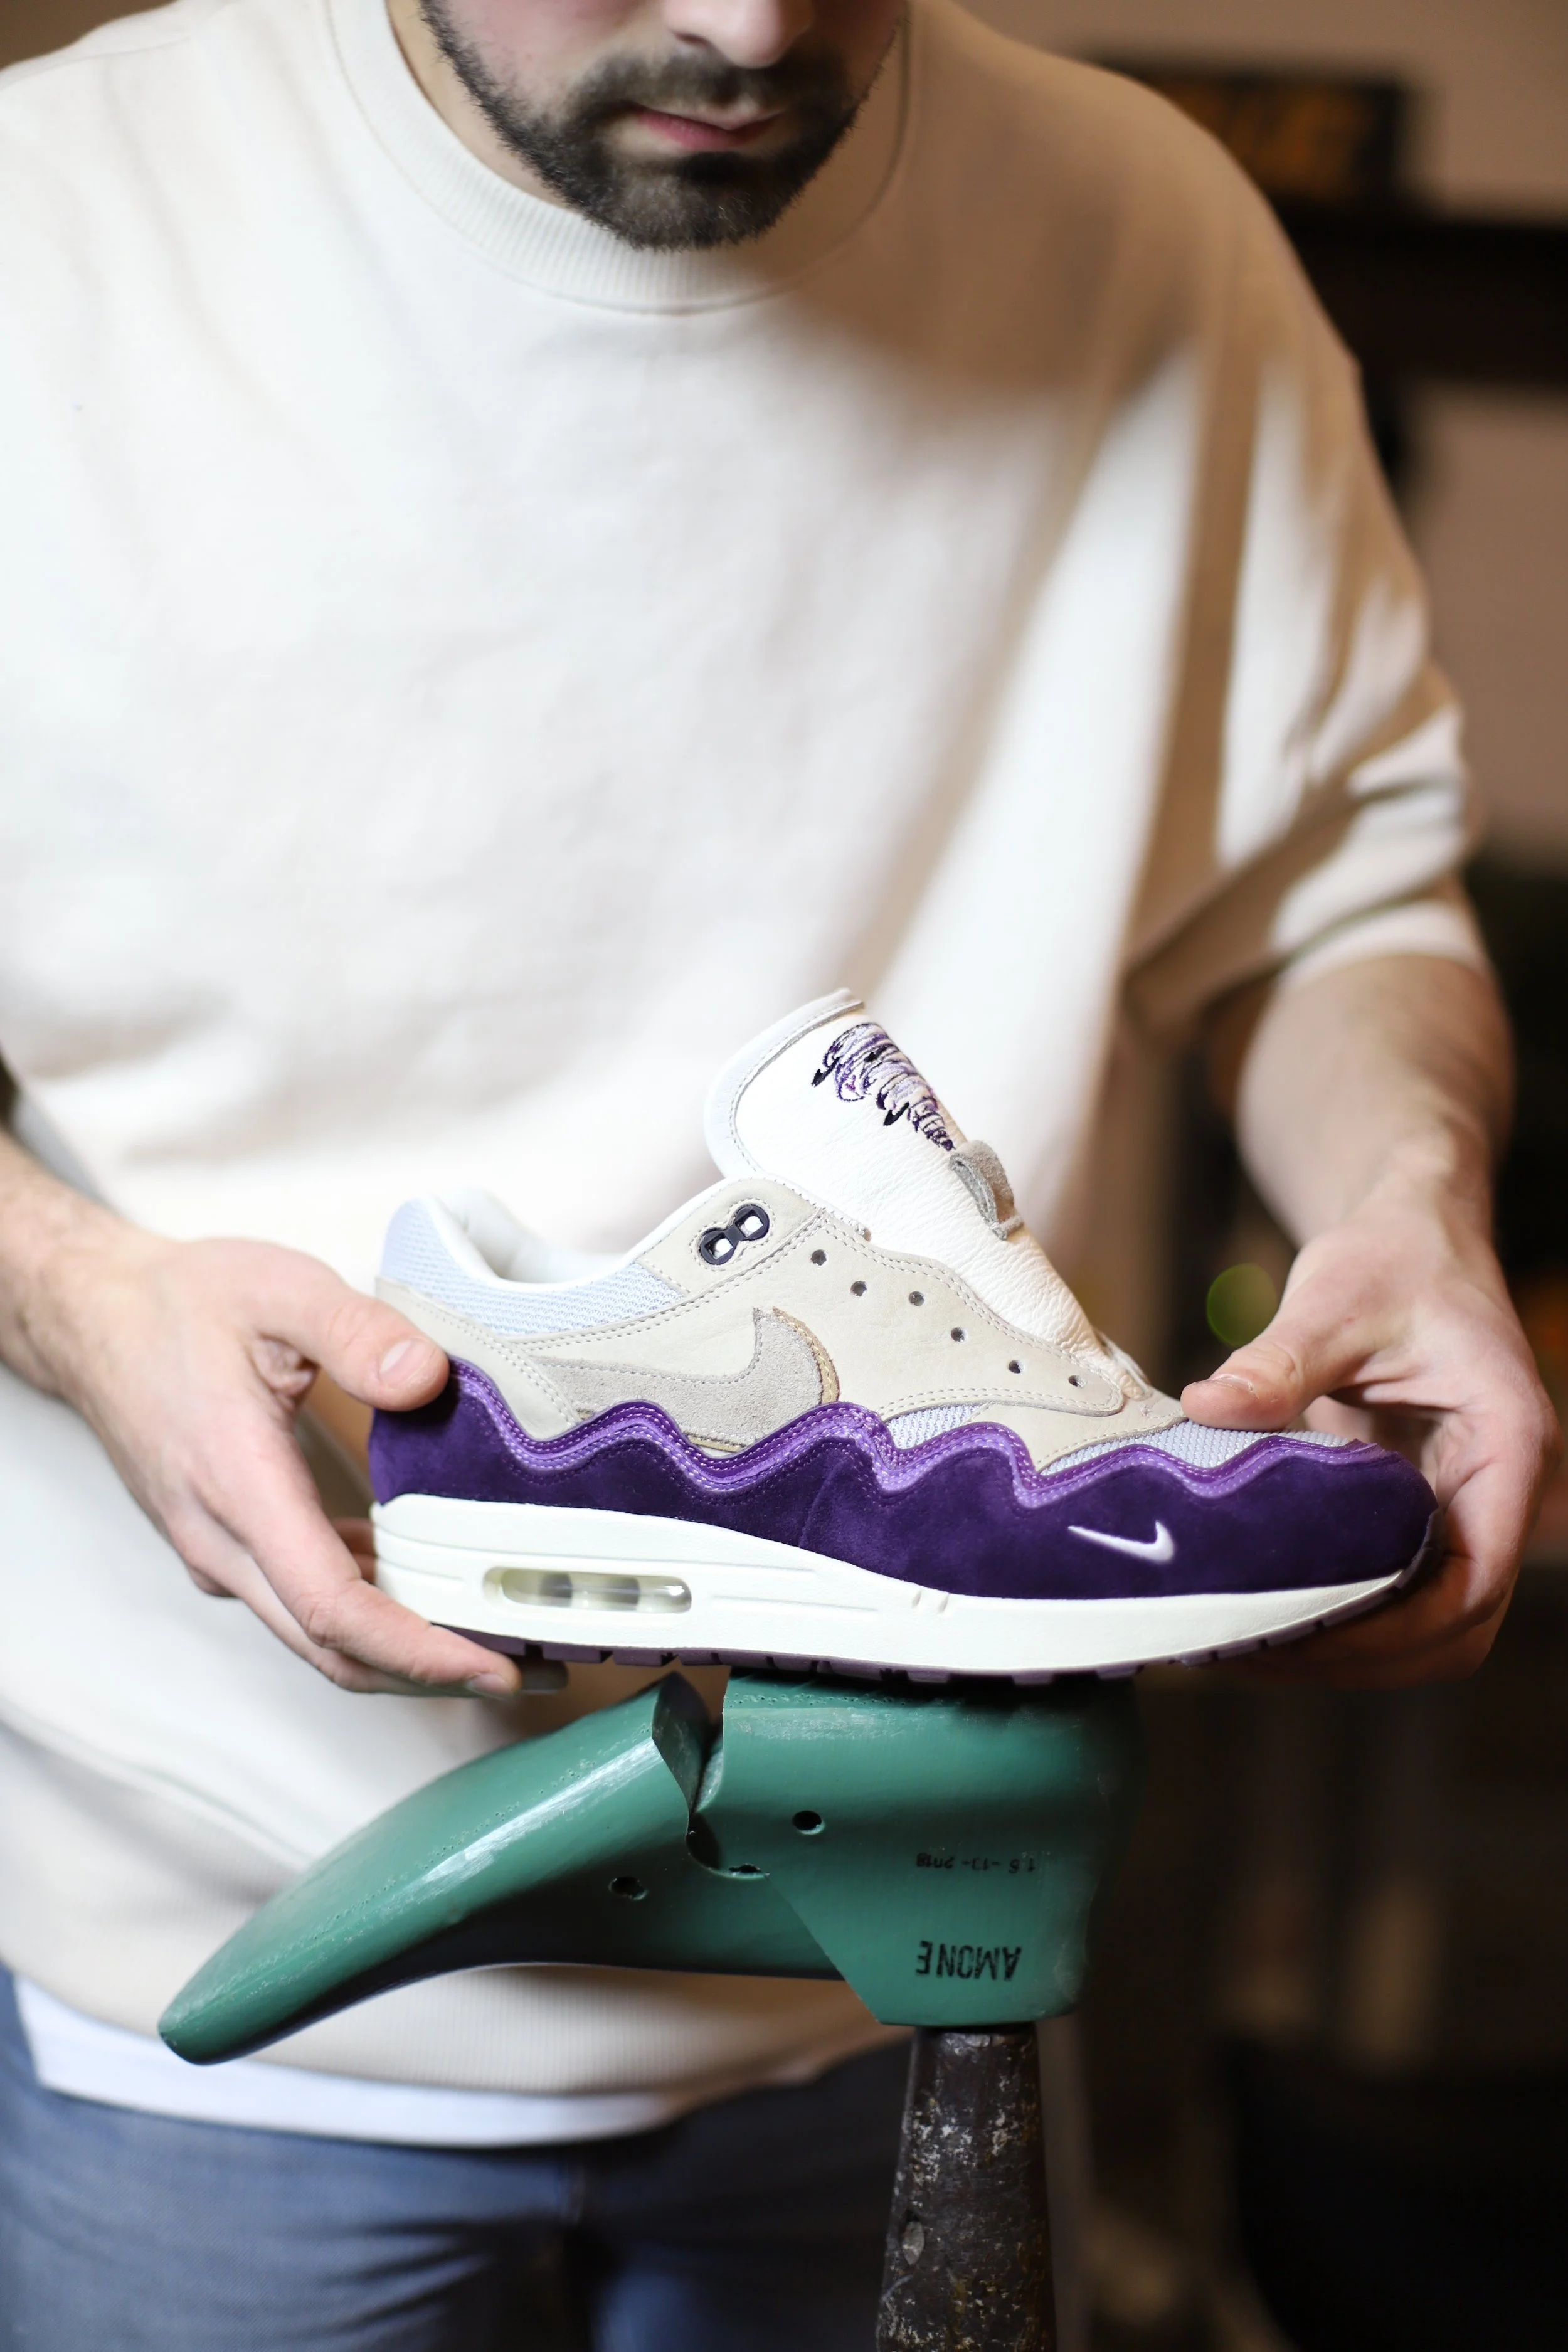
When we put the shoe on the shoe lasts, it really comes to life. We use nails or staples to attach the shoe to the shoe last. Nails are used for the Purple Storms. By pulling the fabric over the shoe last, you can check whether the fabric falls well. If not, it can be adjusted by pulling harder or elsewhere. When the fabric is all right, it's time to glue it together. Because we sanded the liner before, gluing is now a lot easier.
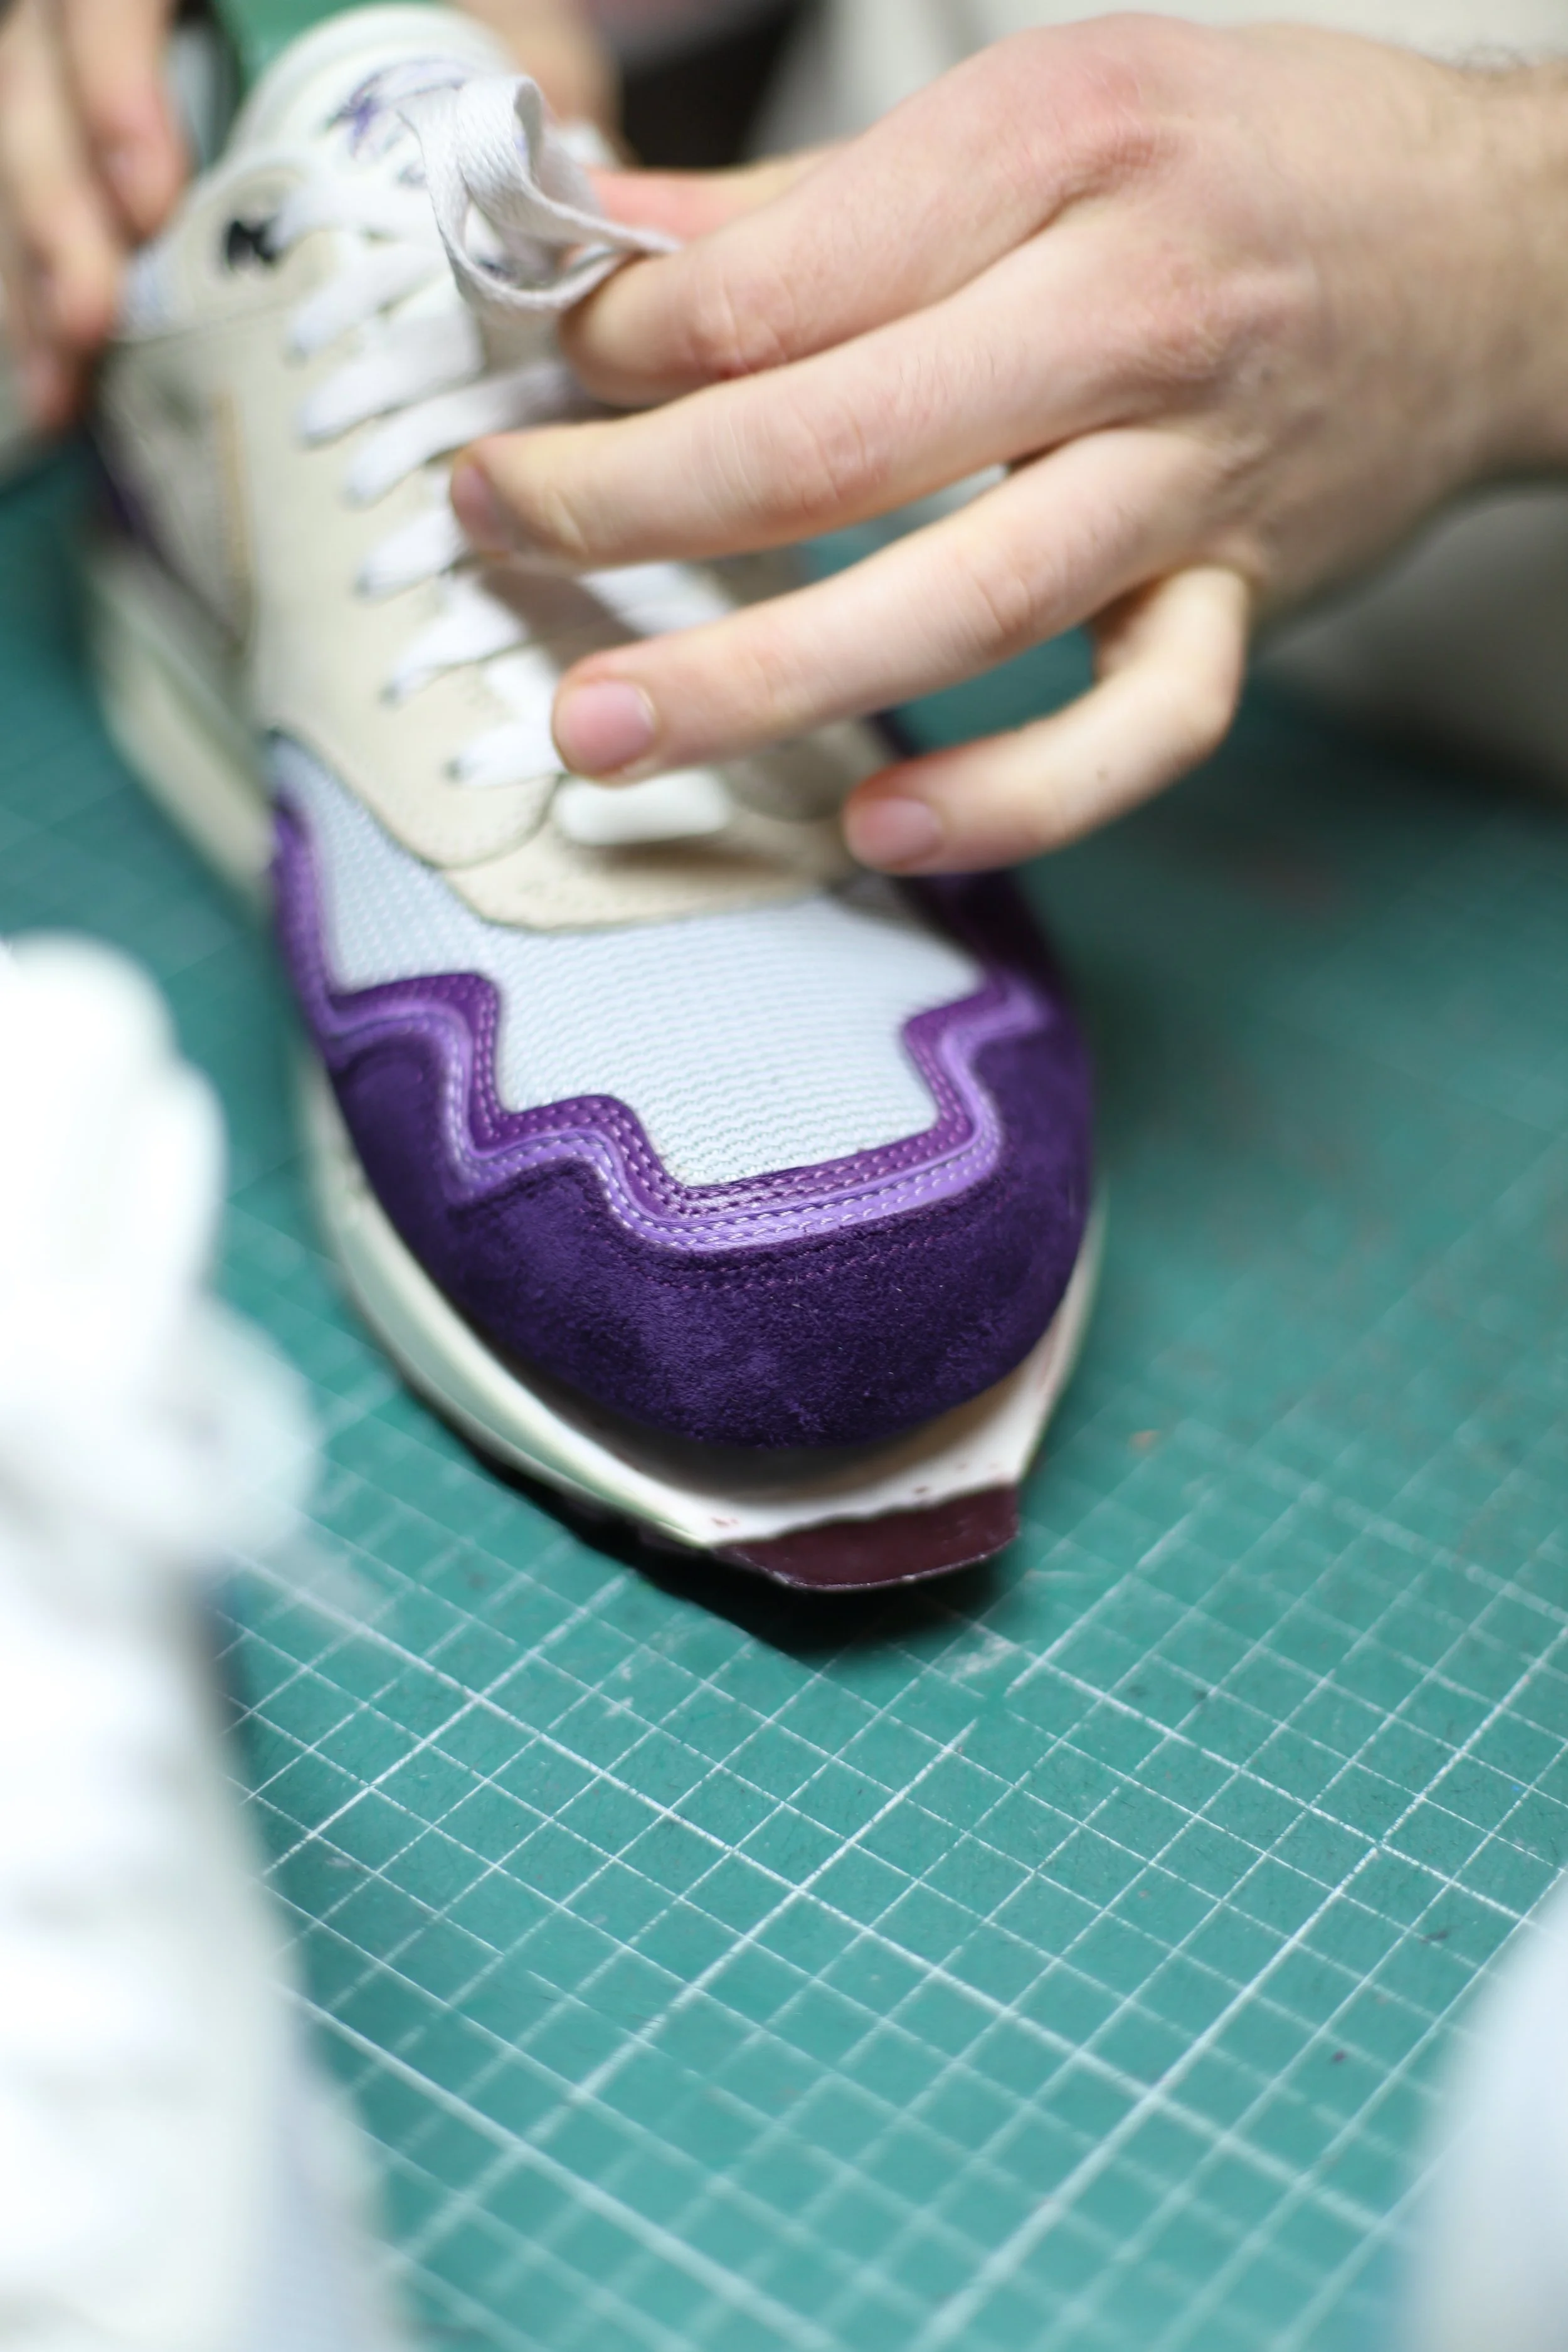
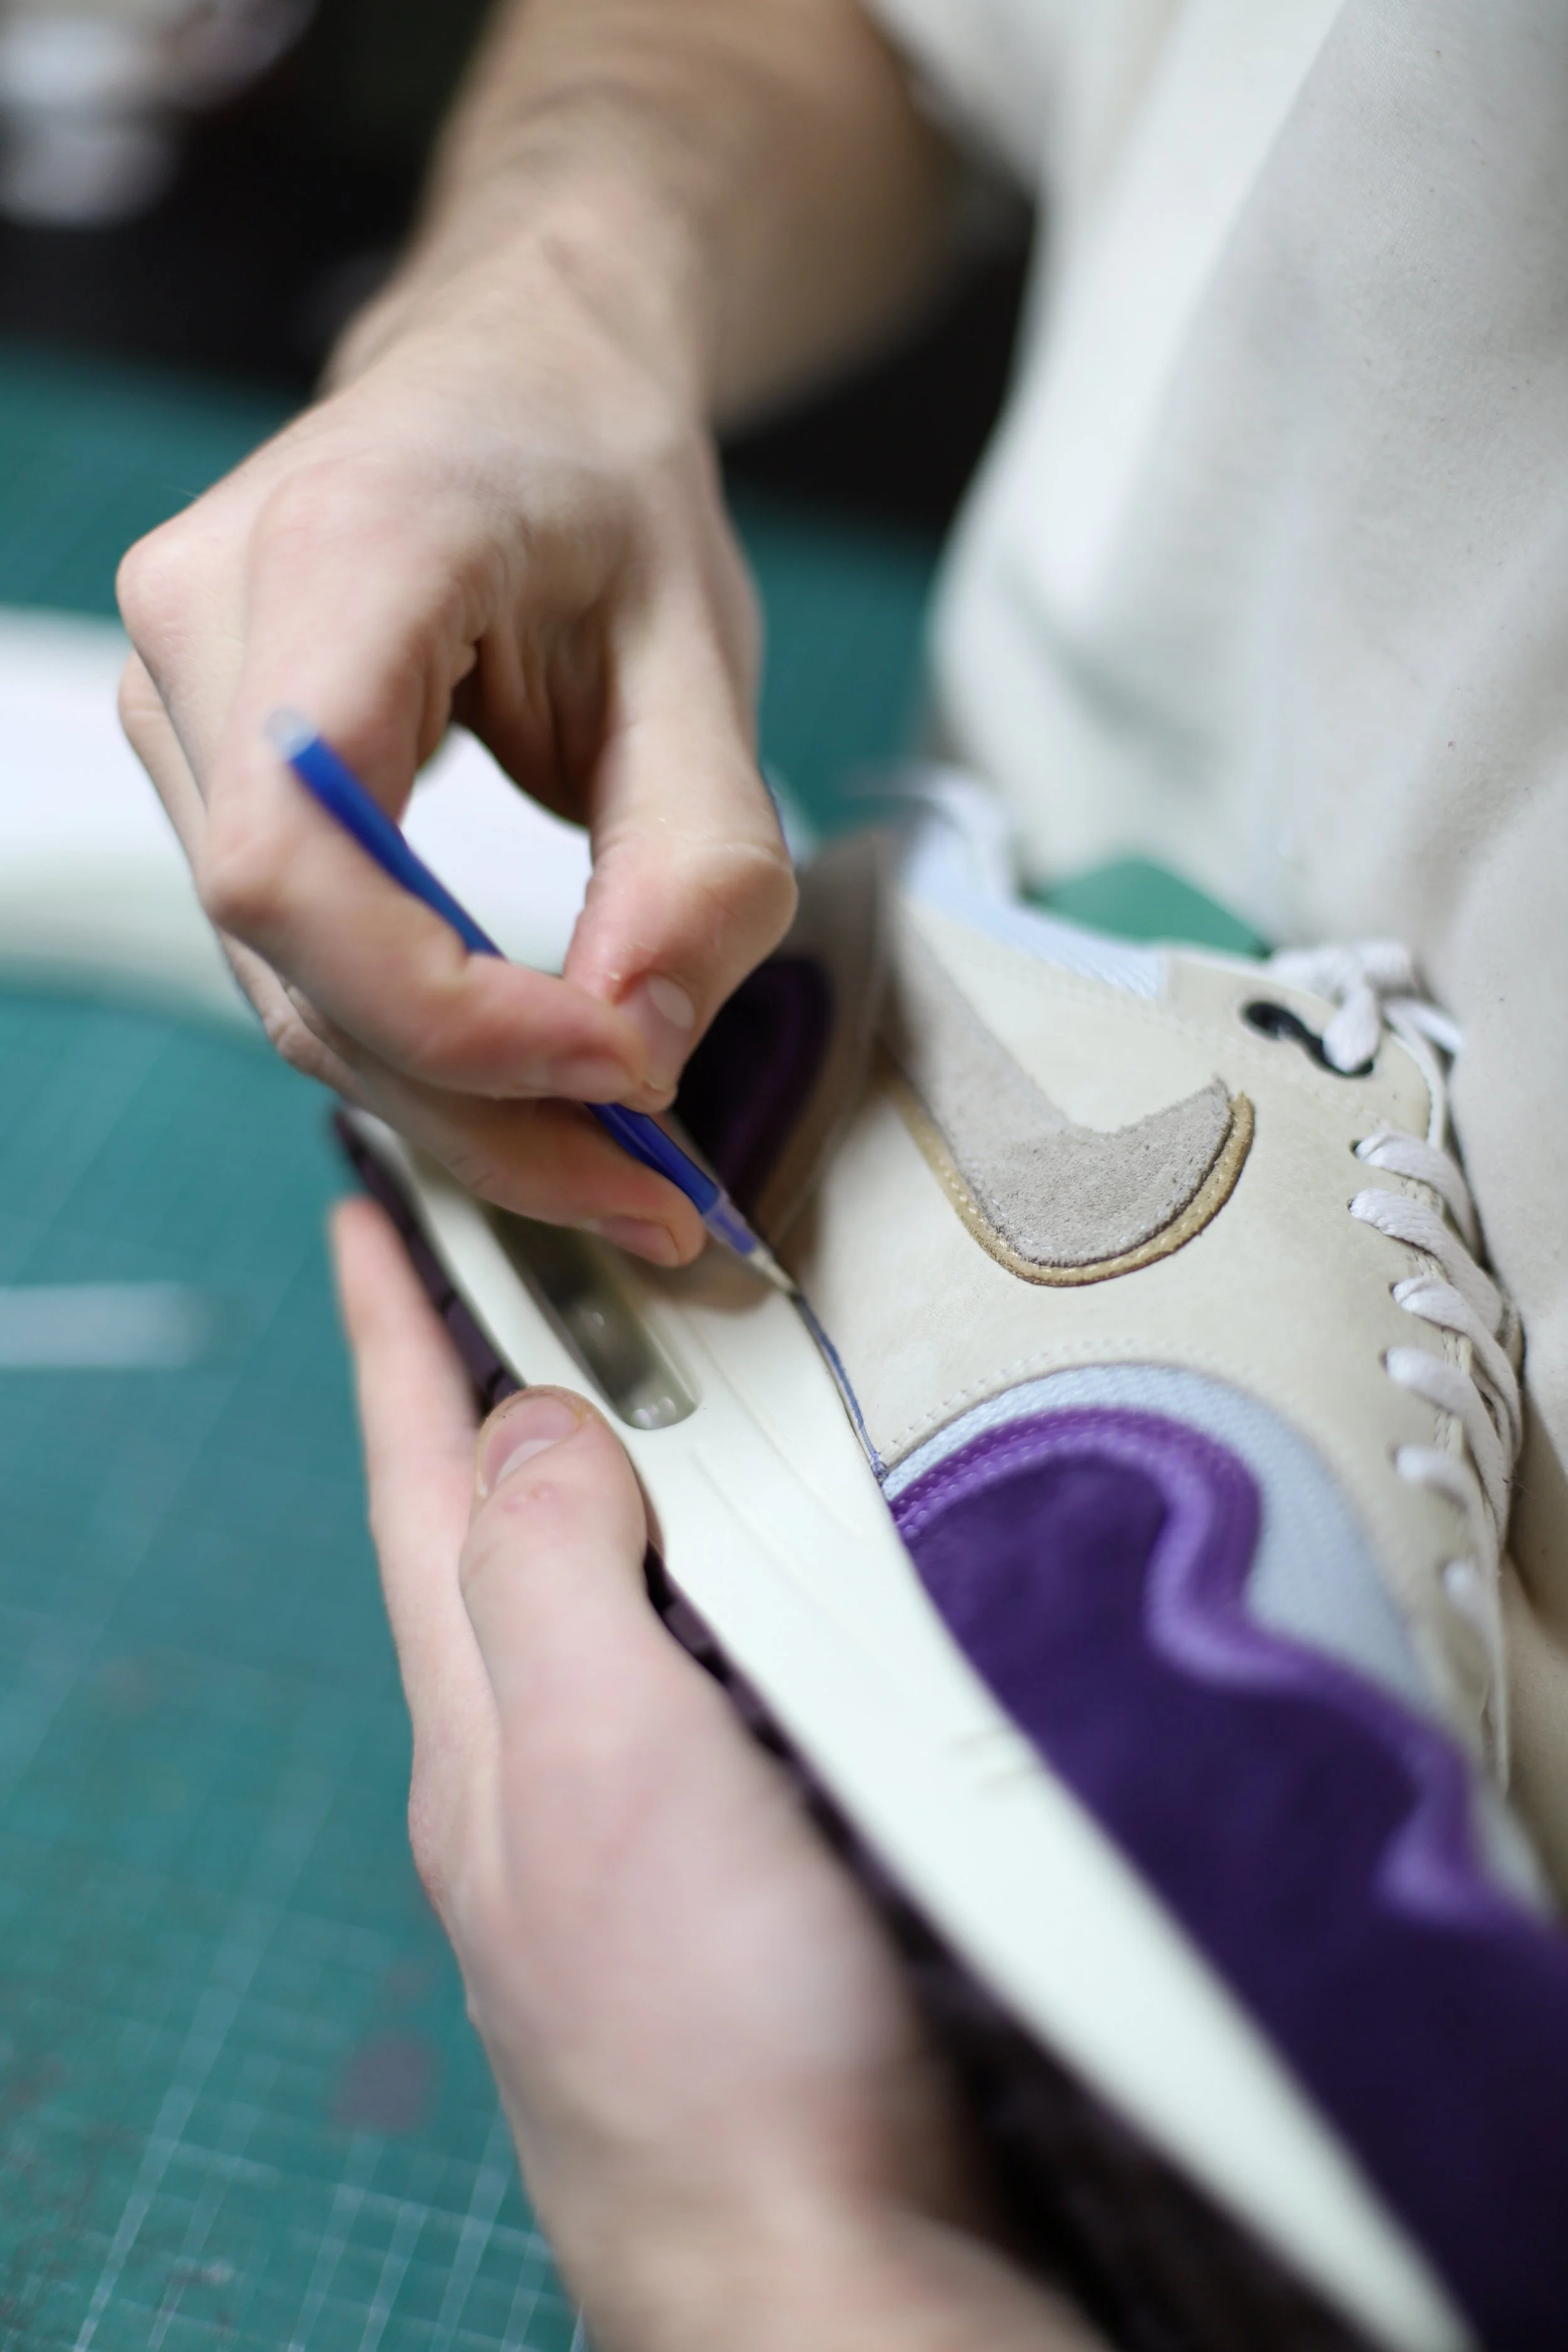
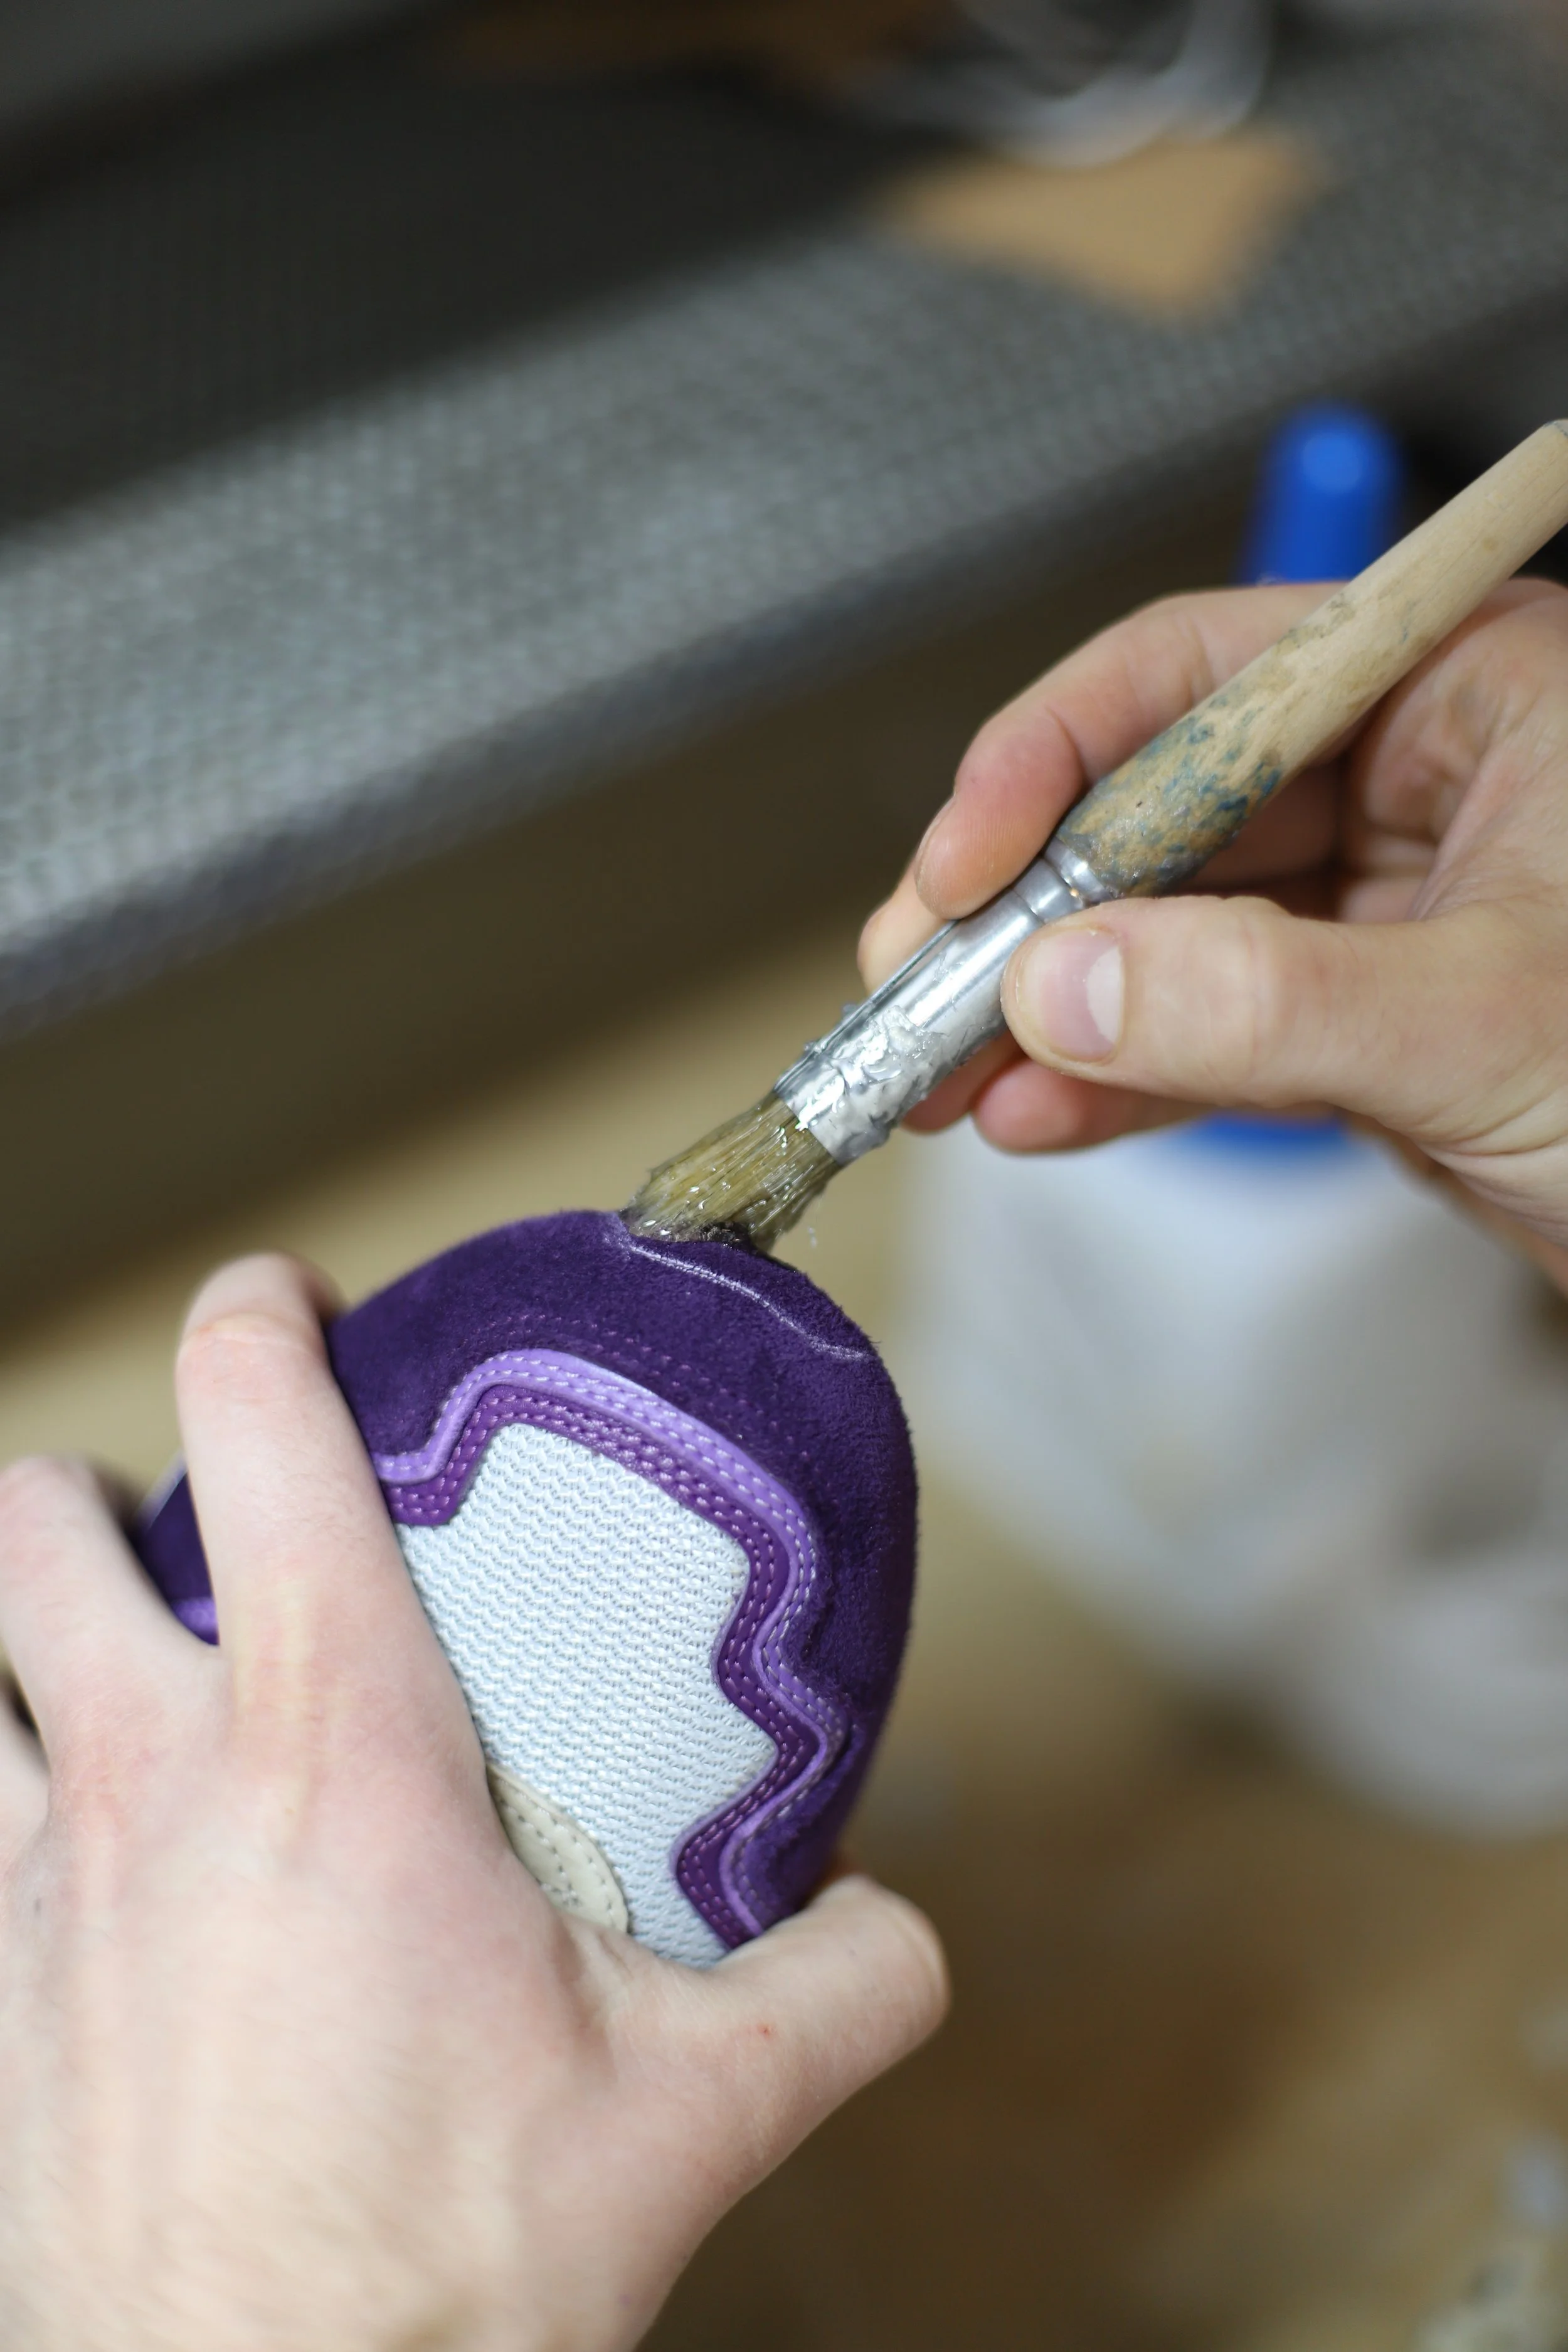
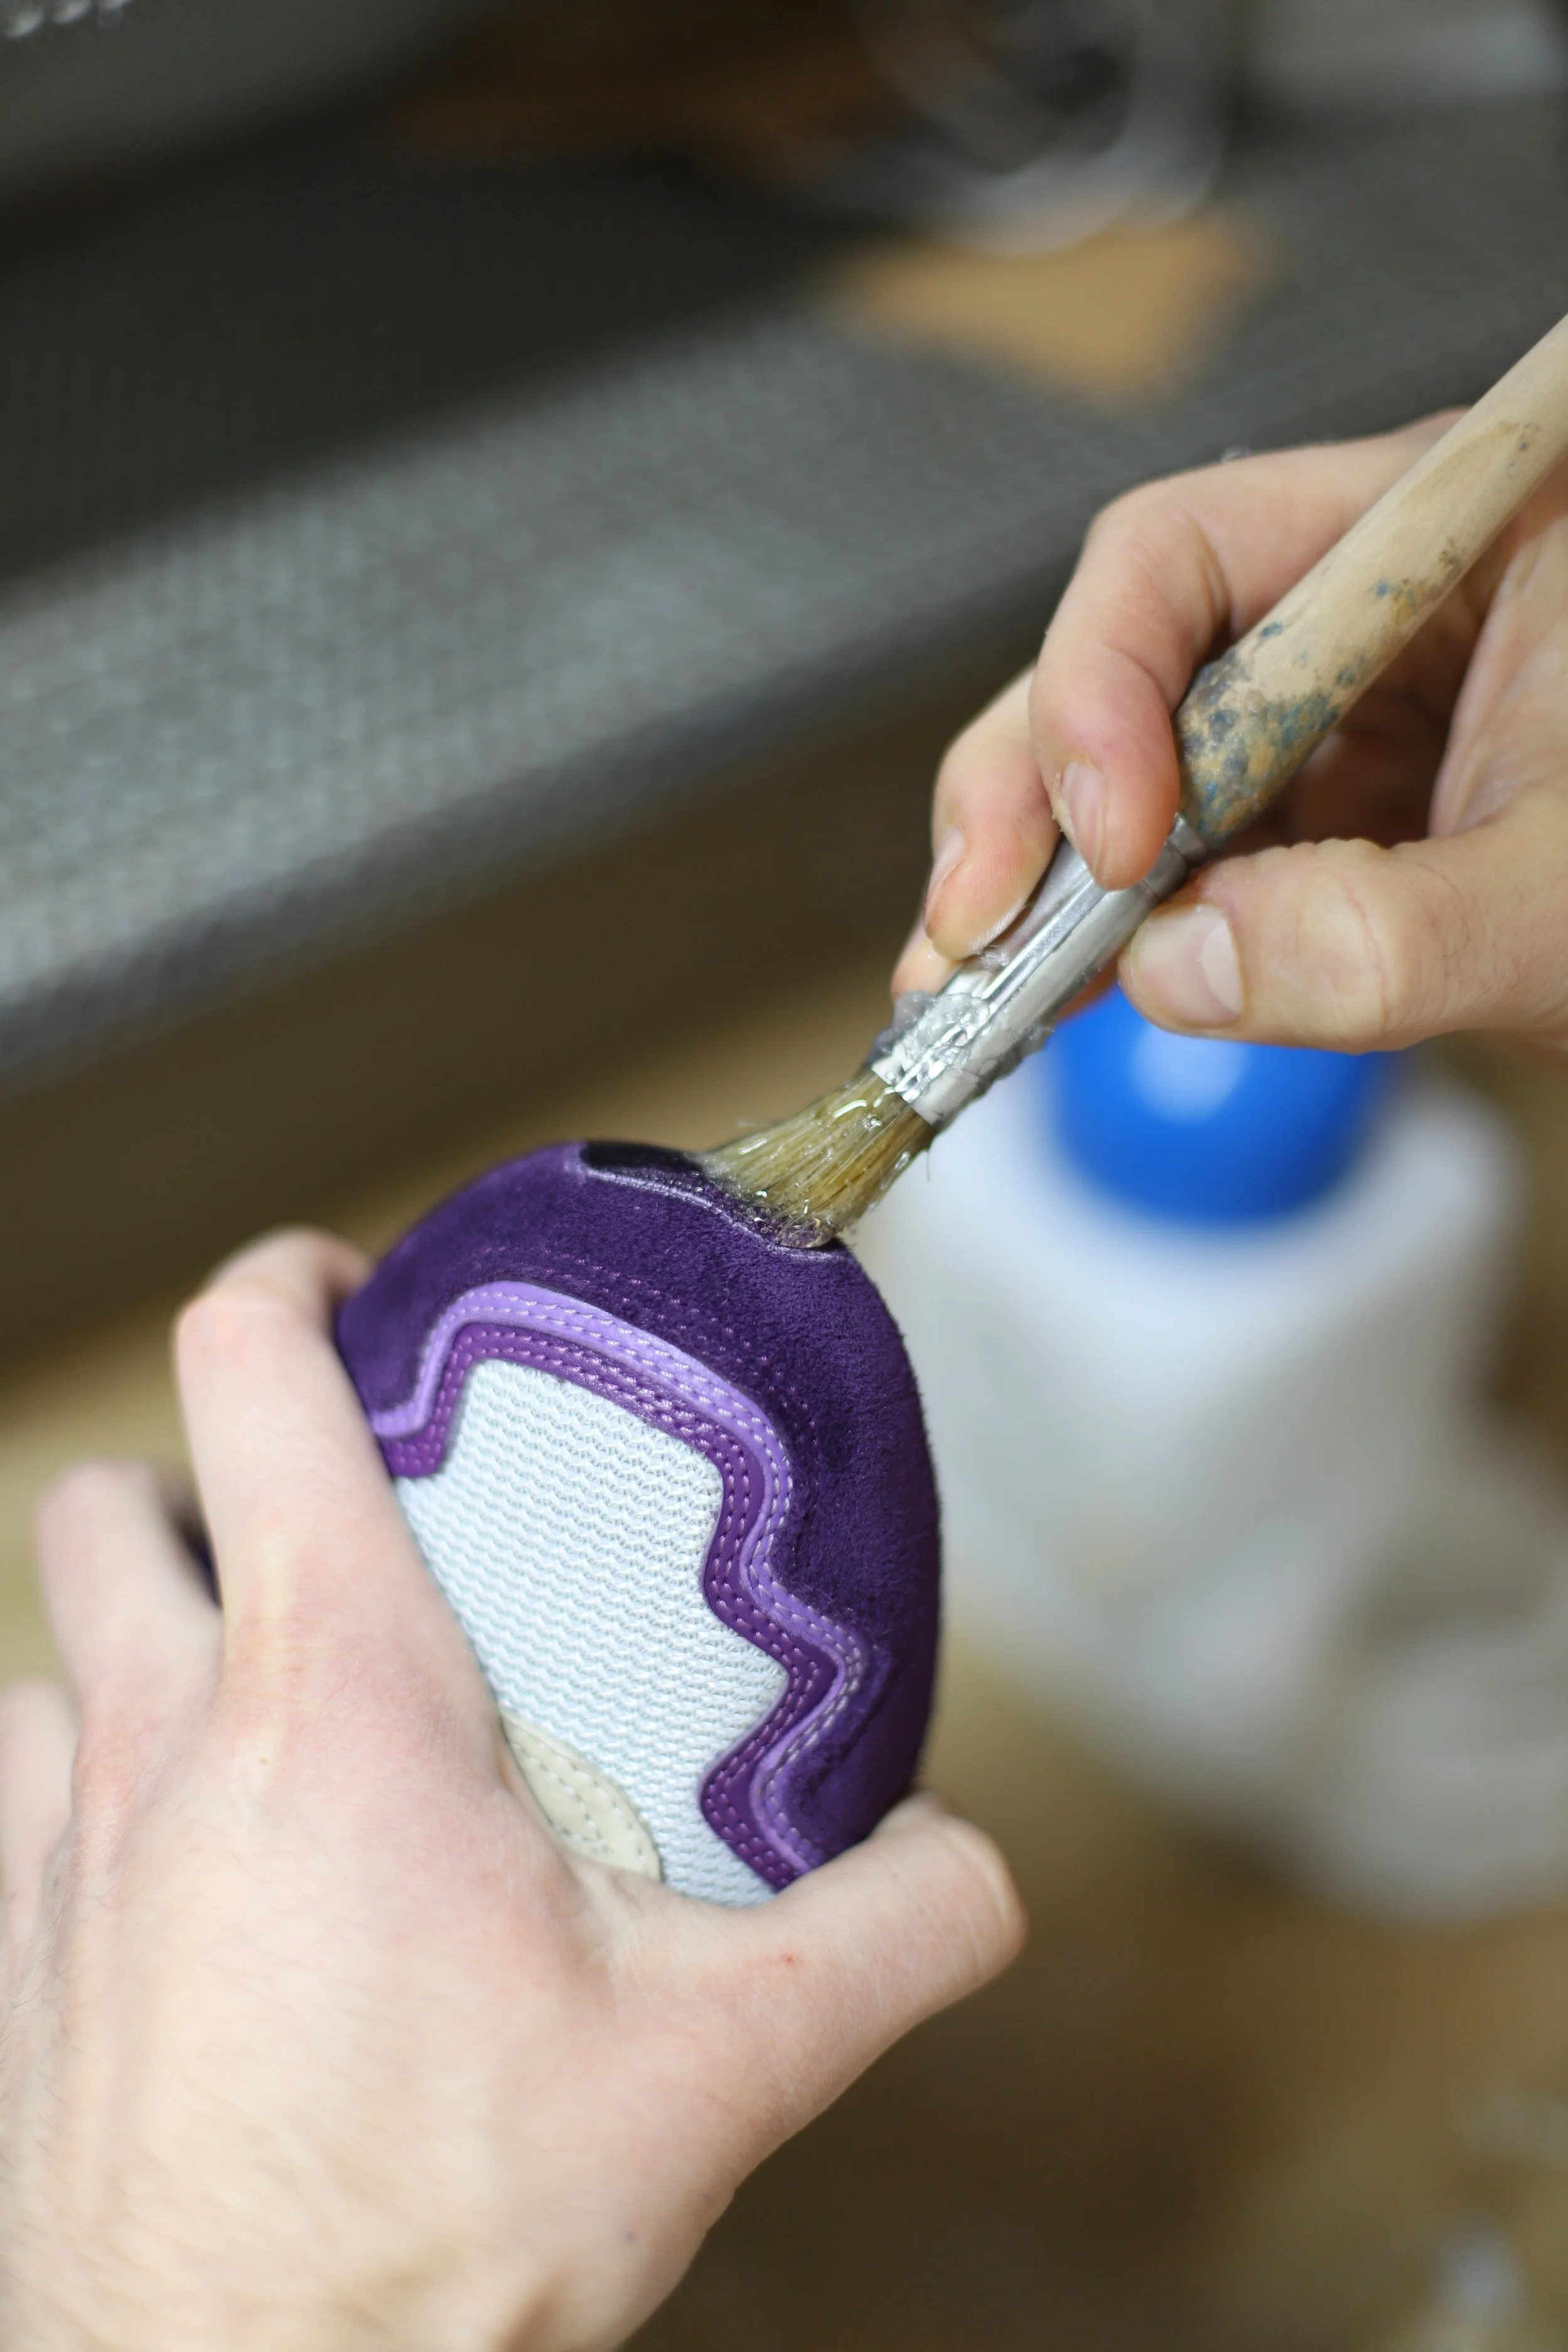
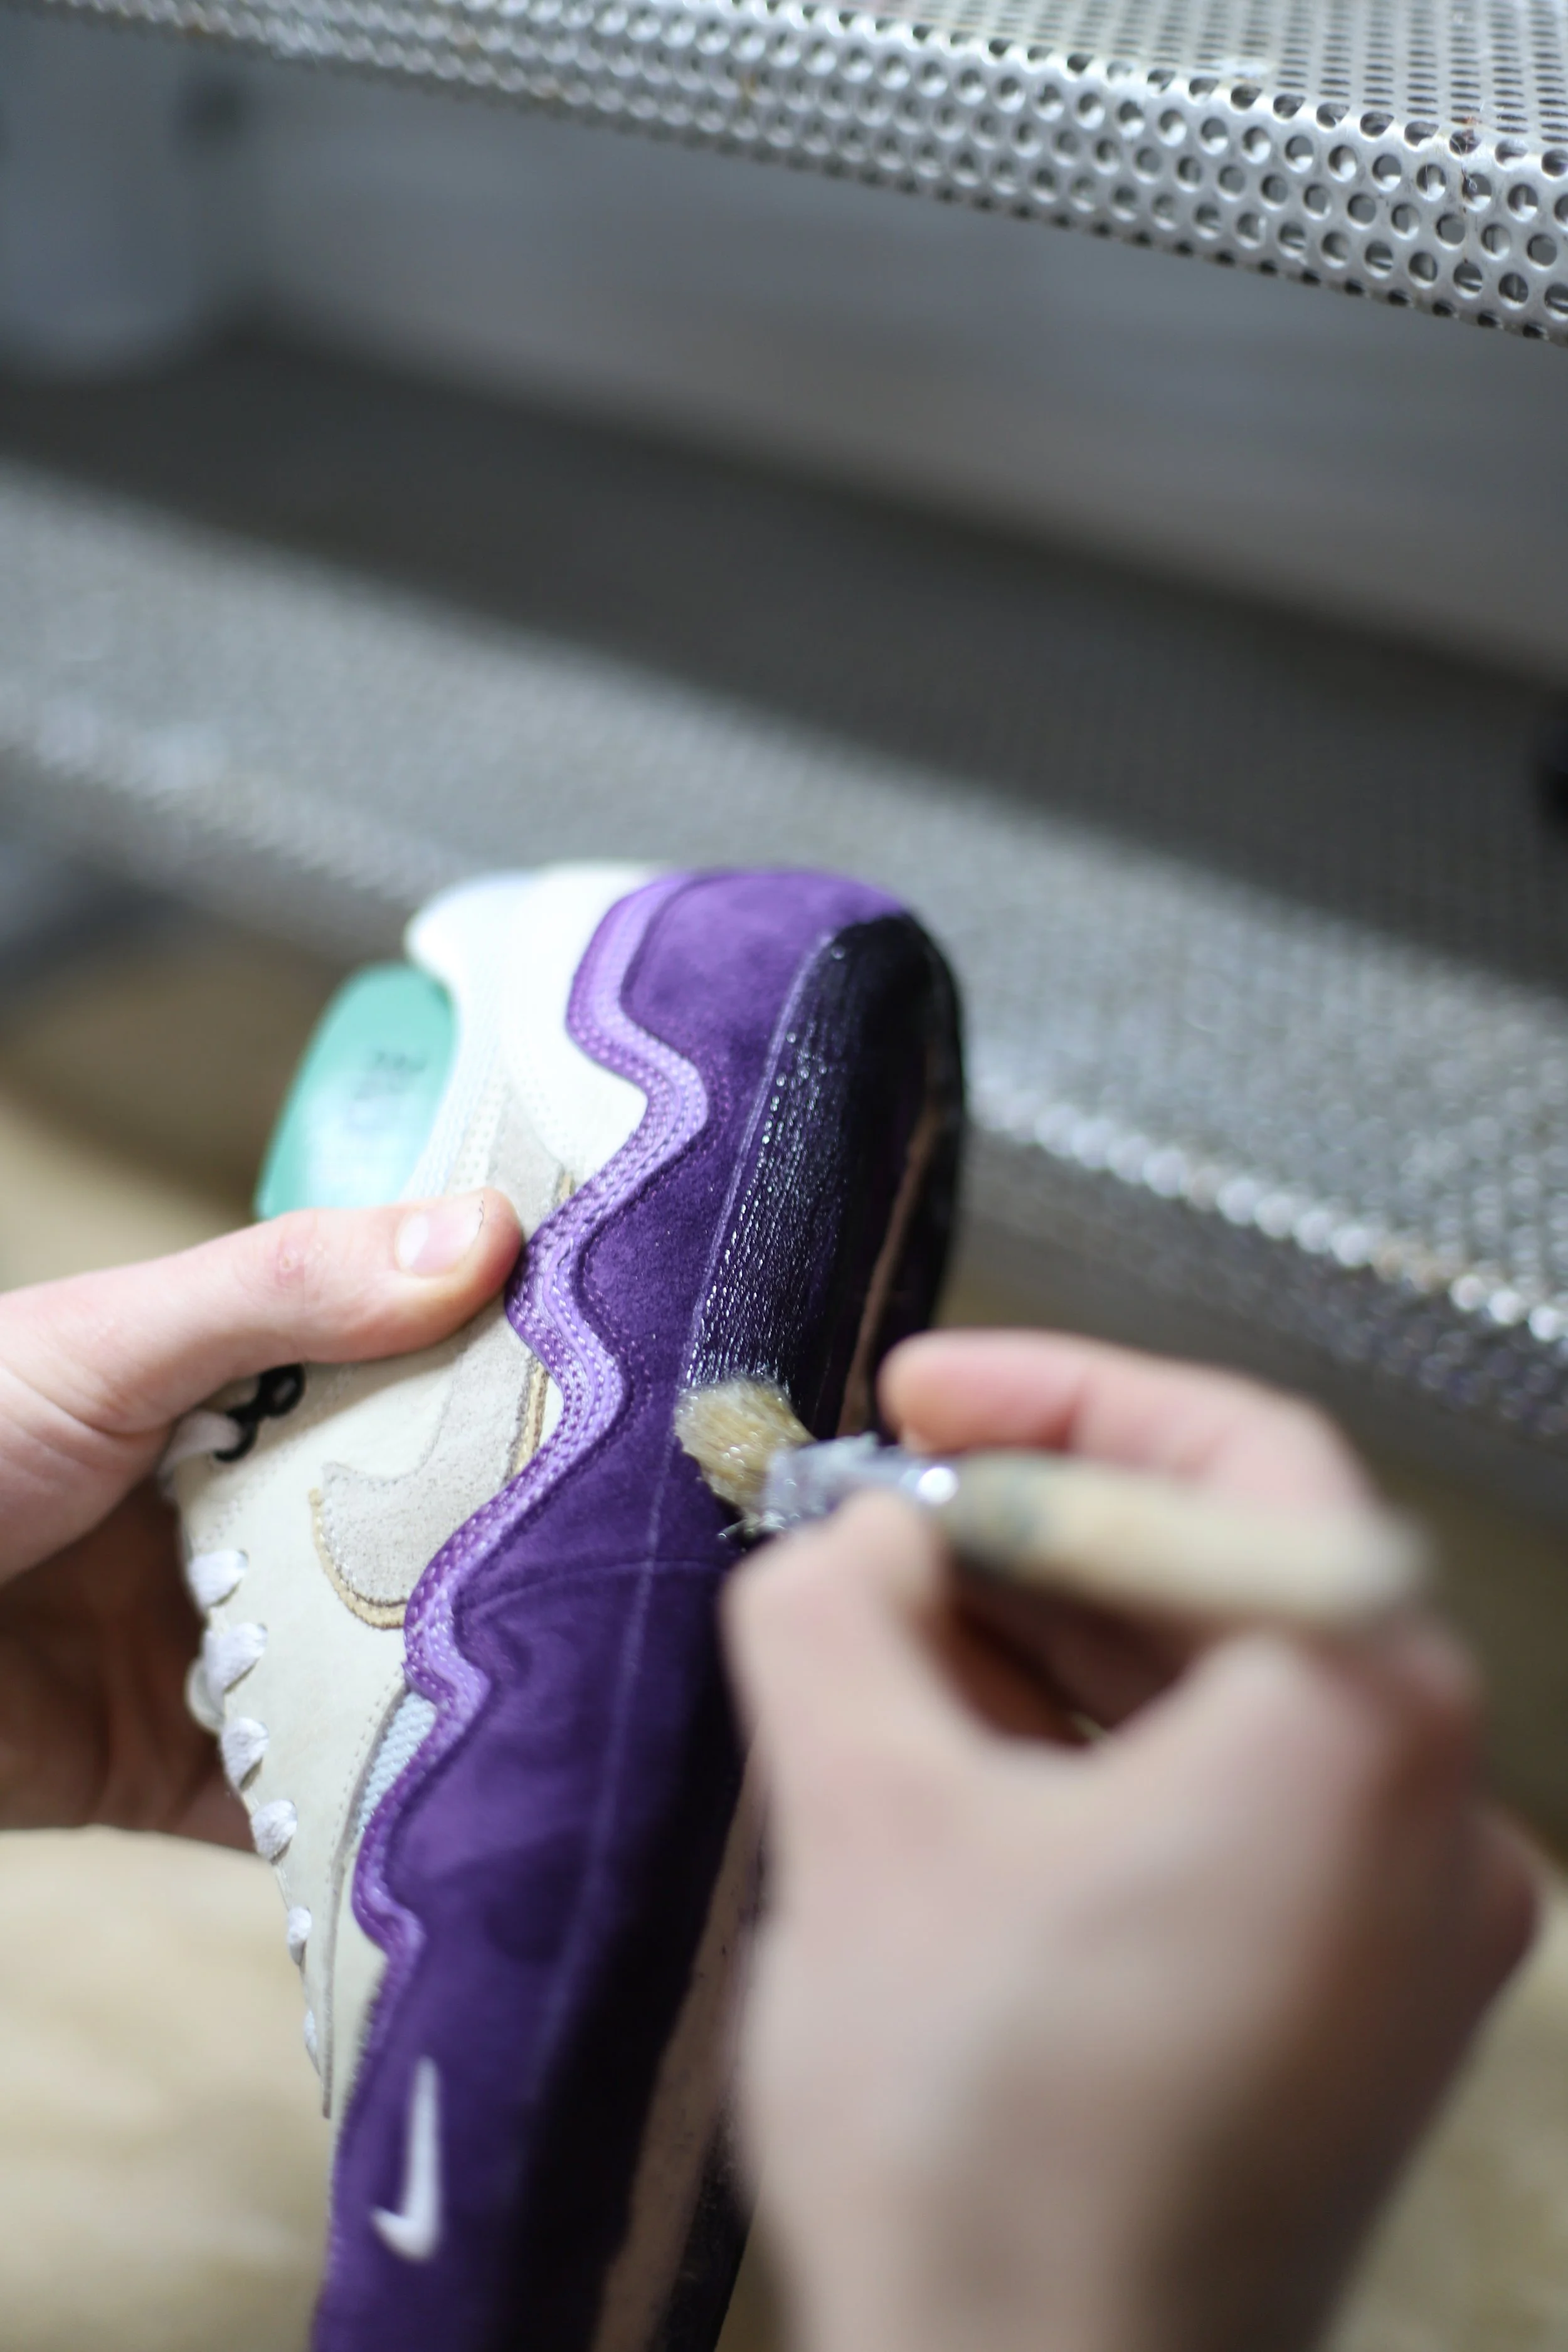
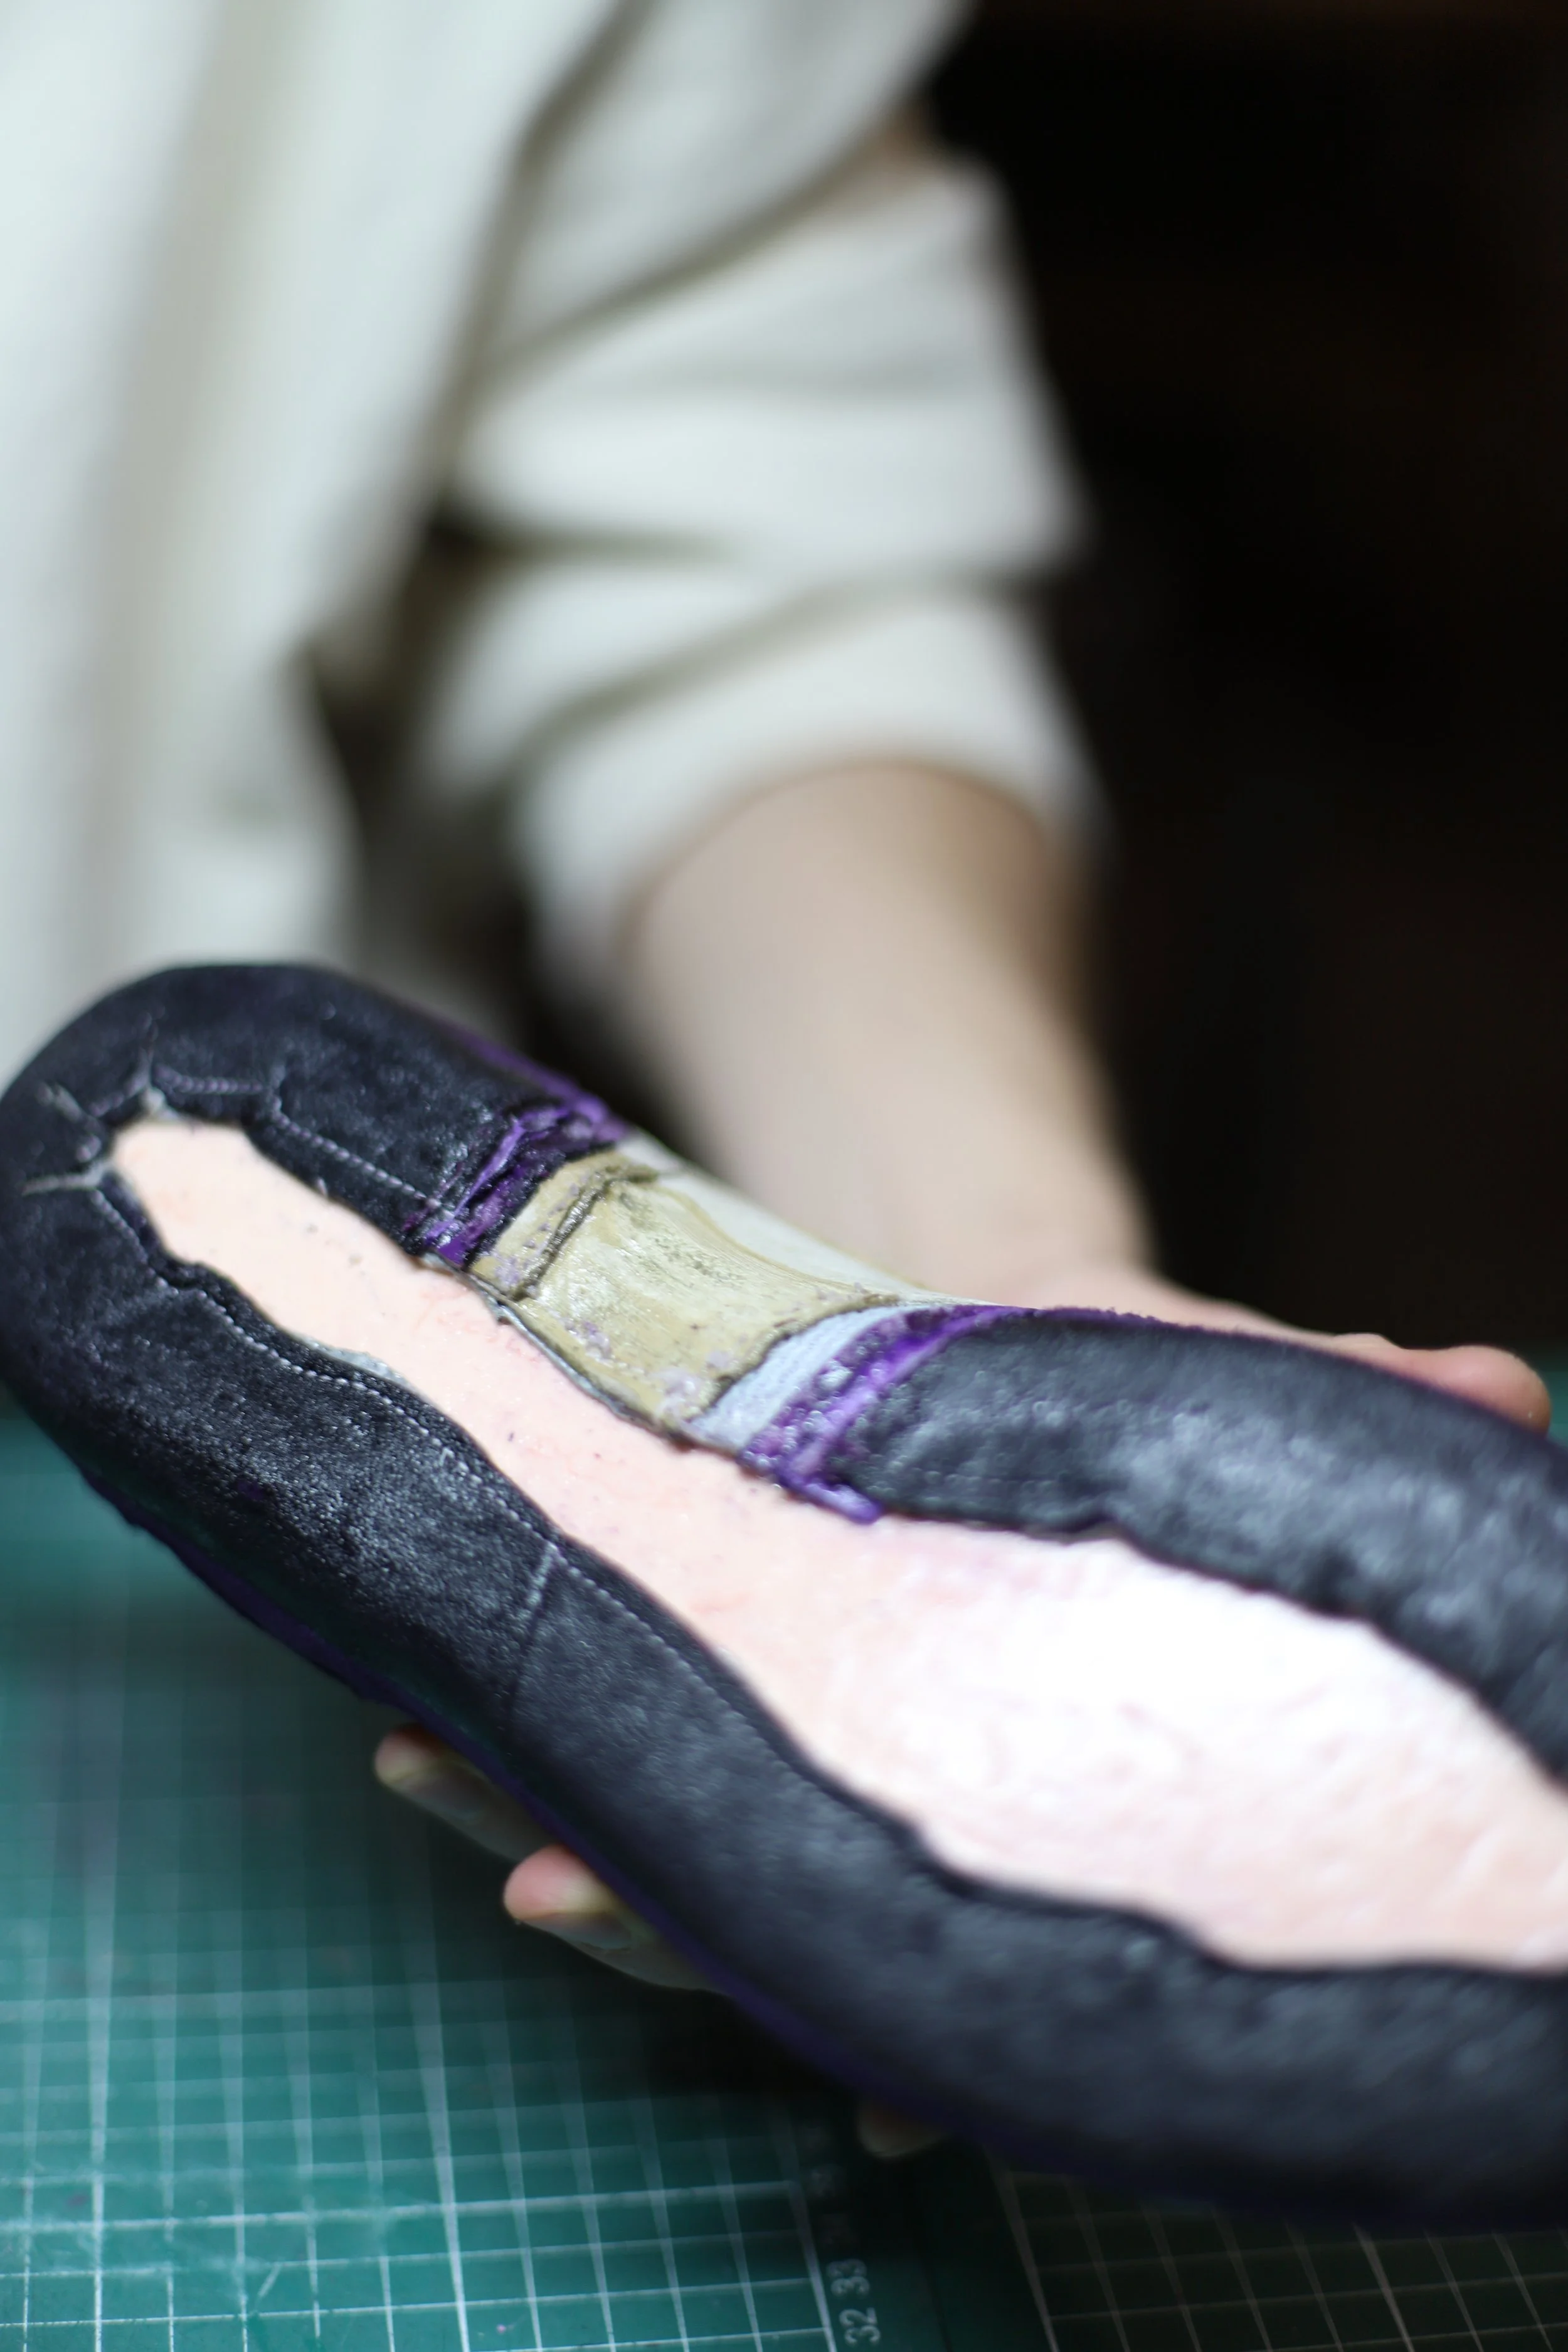
When the upper is glued to the shoe last, the nails can be removed. After removing the nails, it is important to press the fabrics on the shoe lasts. then we press the shoe hard into the sole to see where the sole will run. We mark this line with a special pen (don't worry, with a heat gun these pen stripes disappear). When the lines are set, we prepare the shoe for gluing. There is still some sanding to do here. After sanding, an adhesive layer must be applied twice up to the marked line. It is important to let the glue dry.
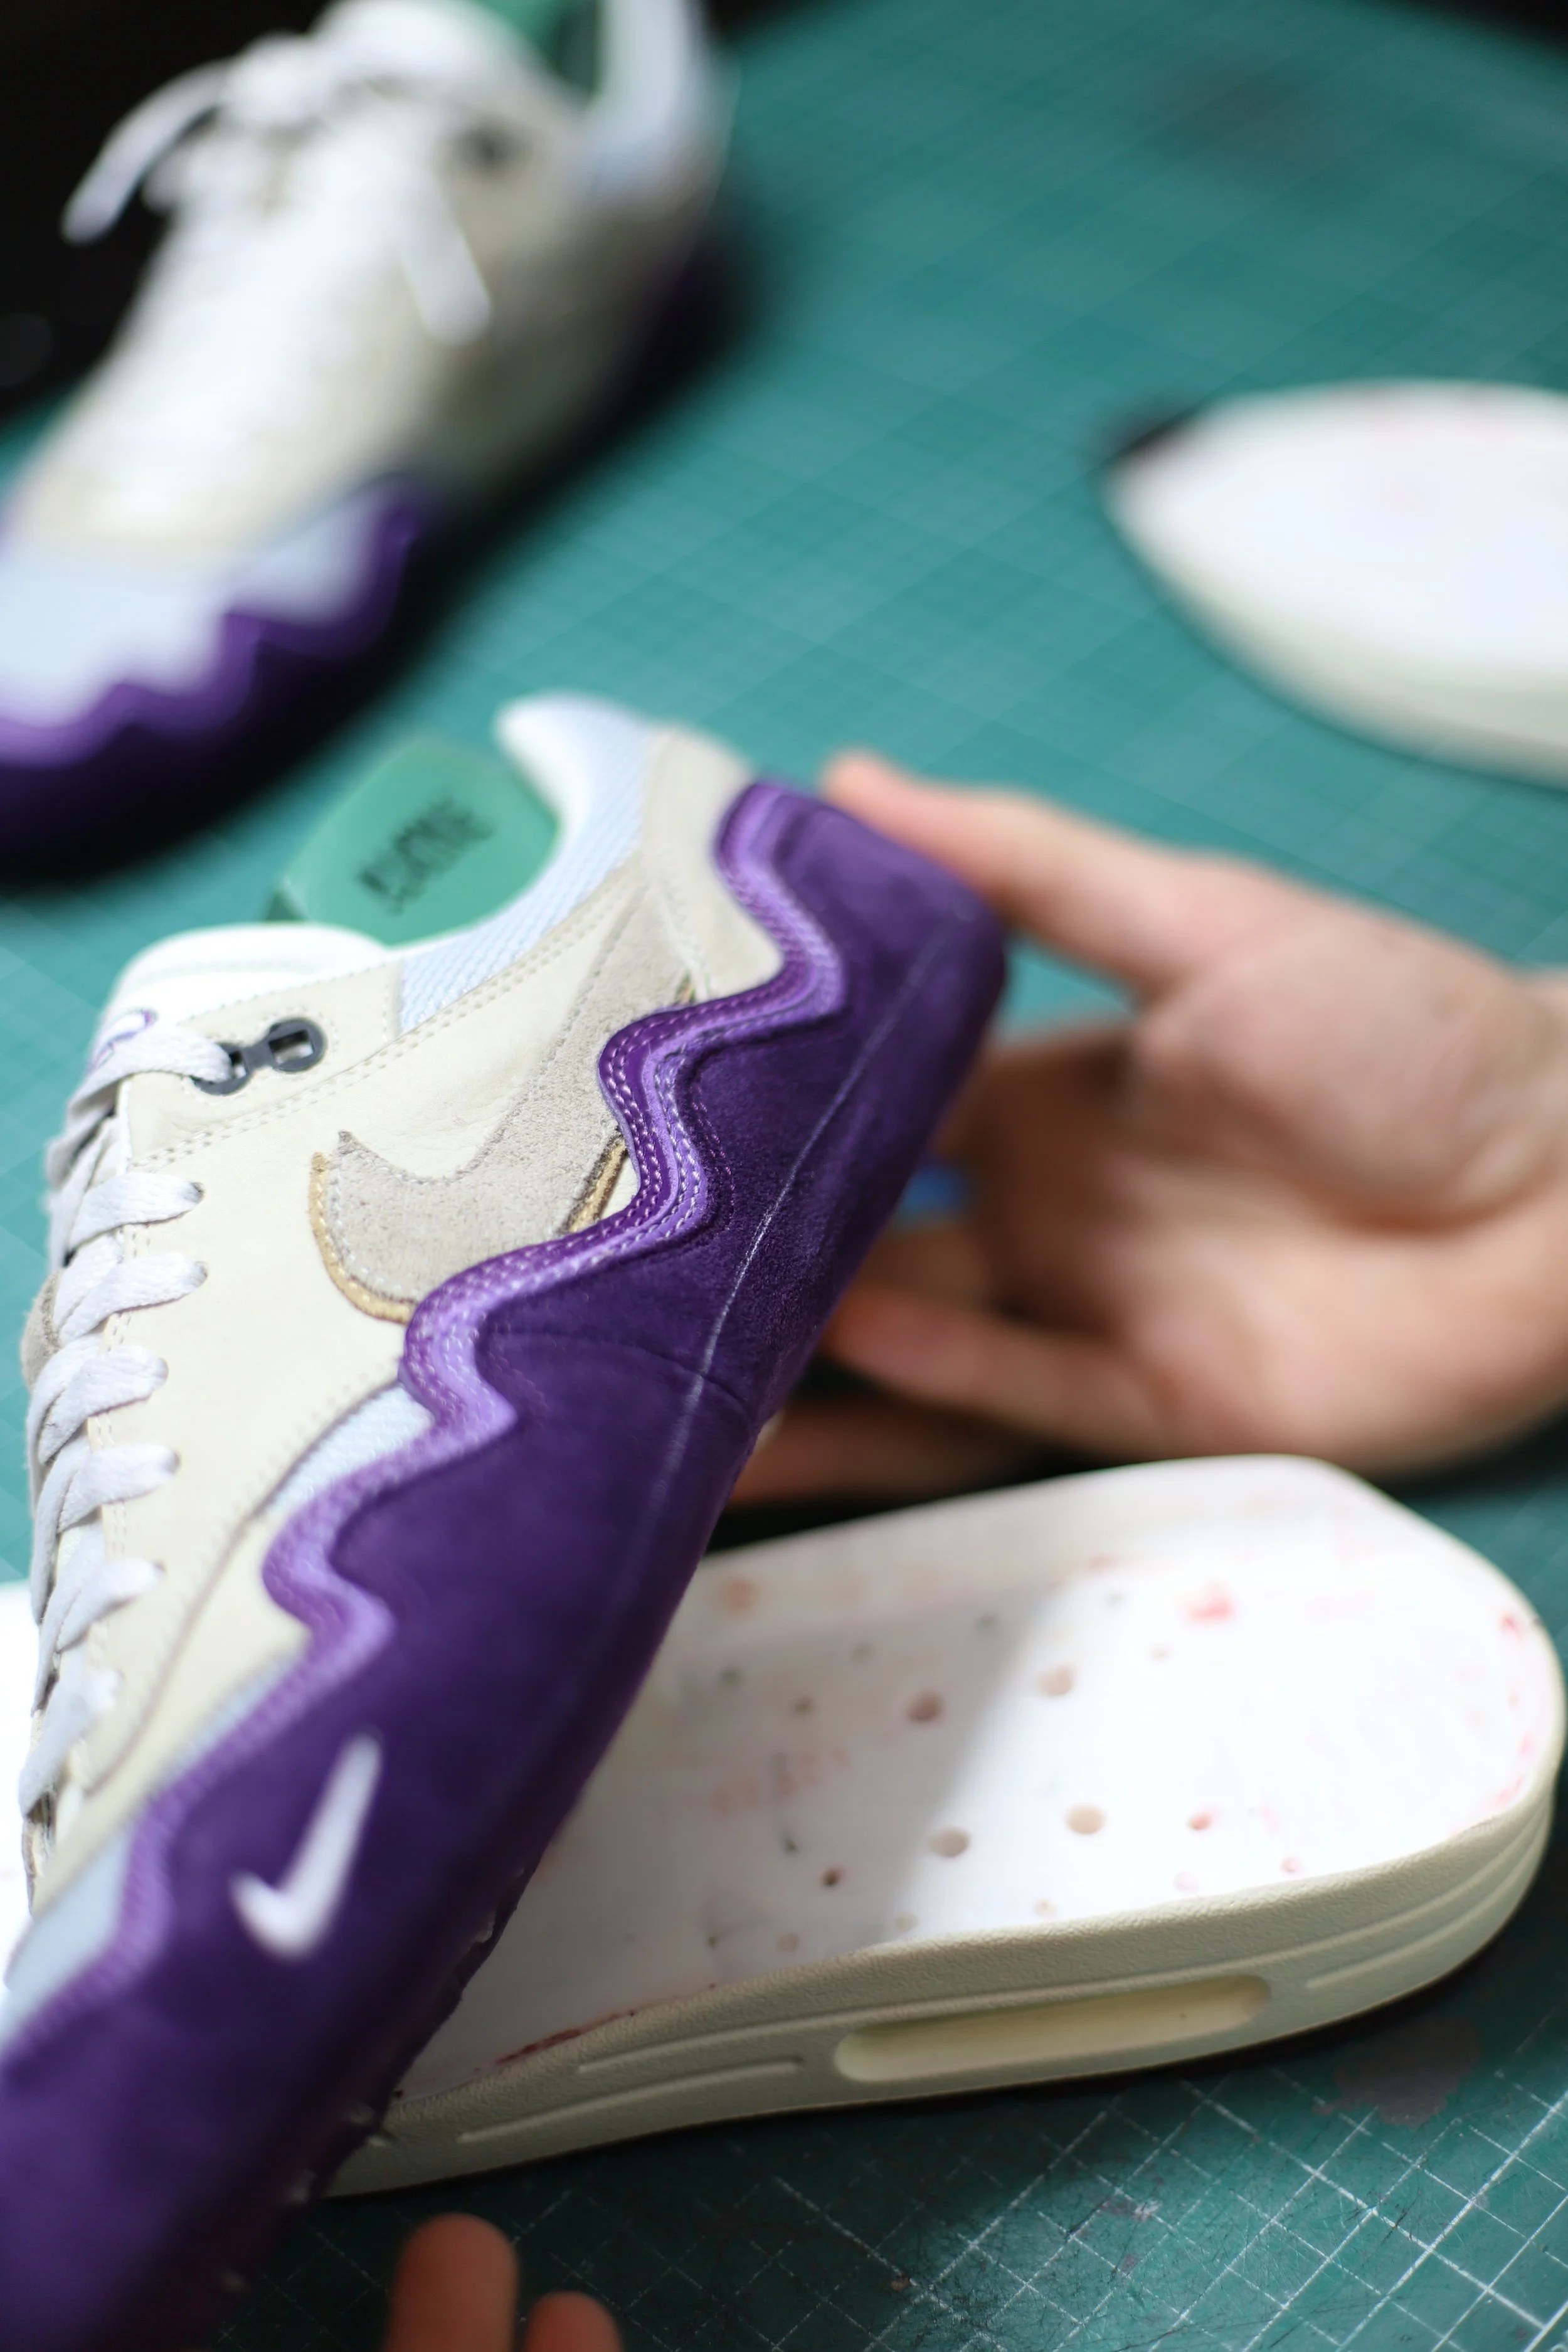
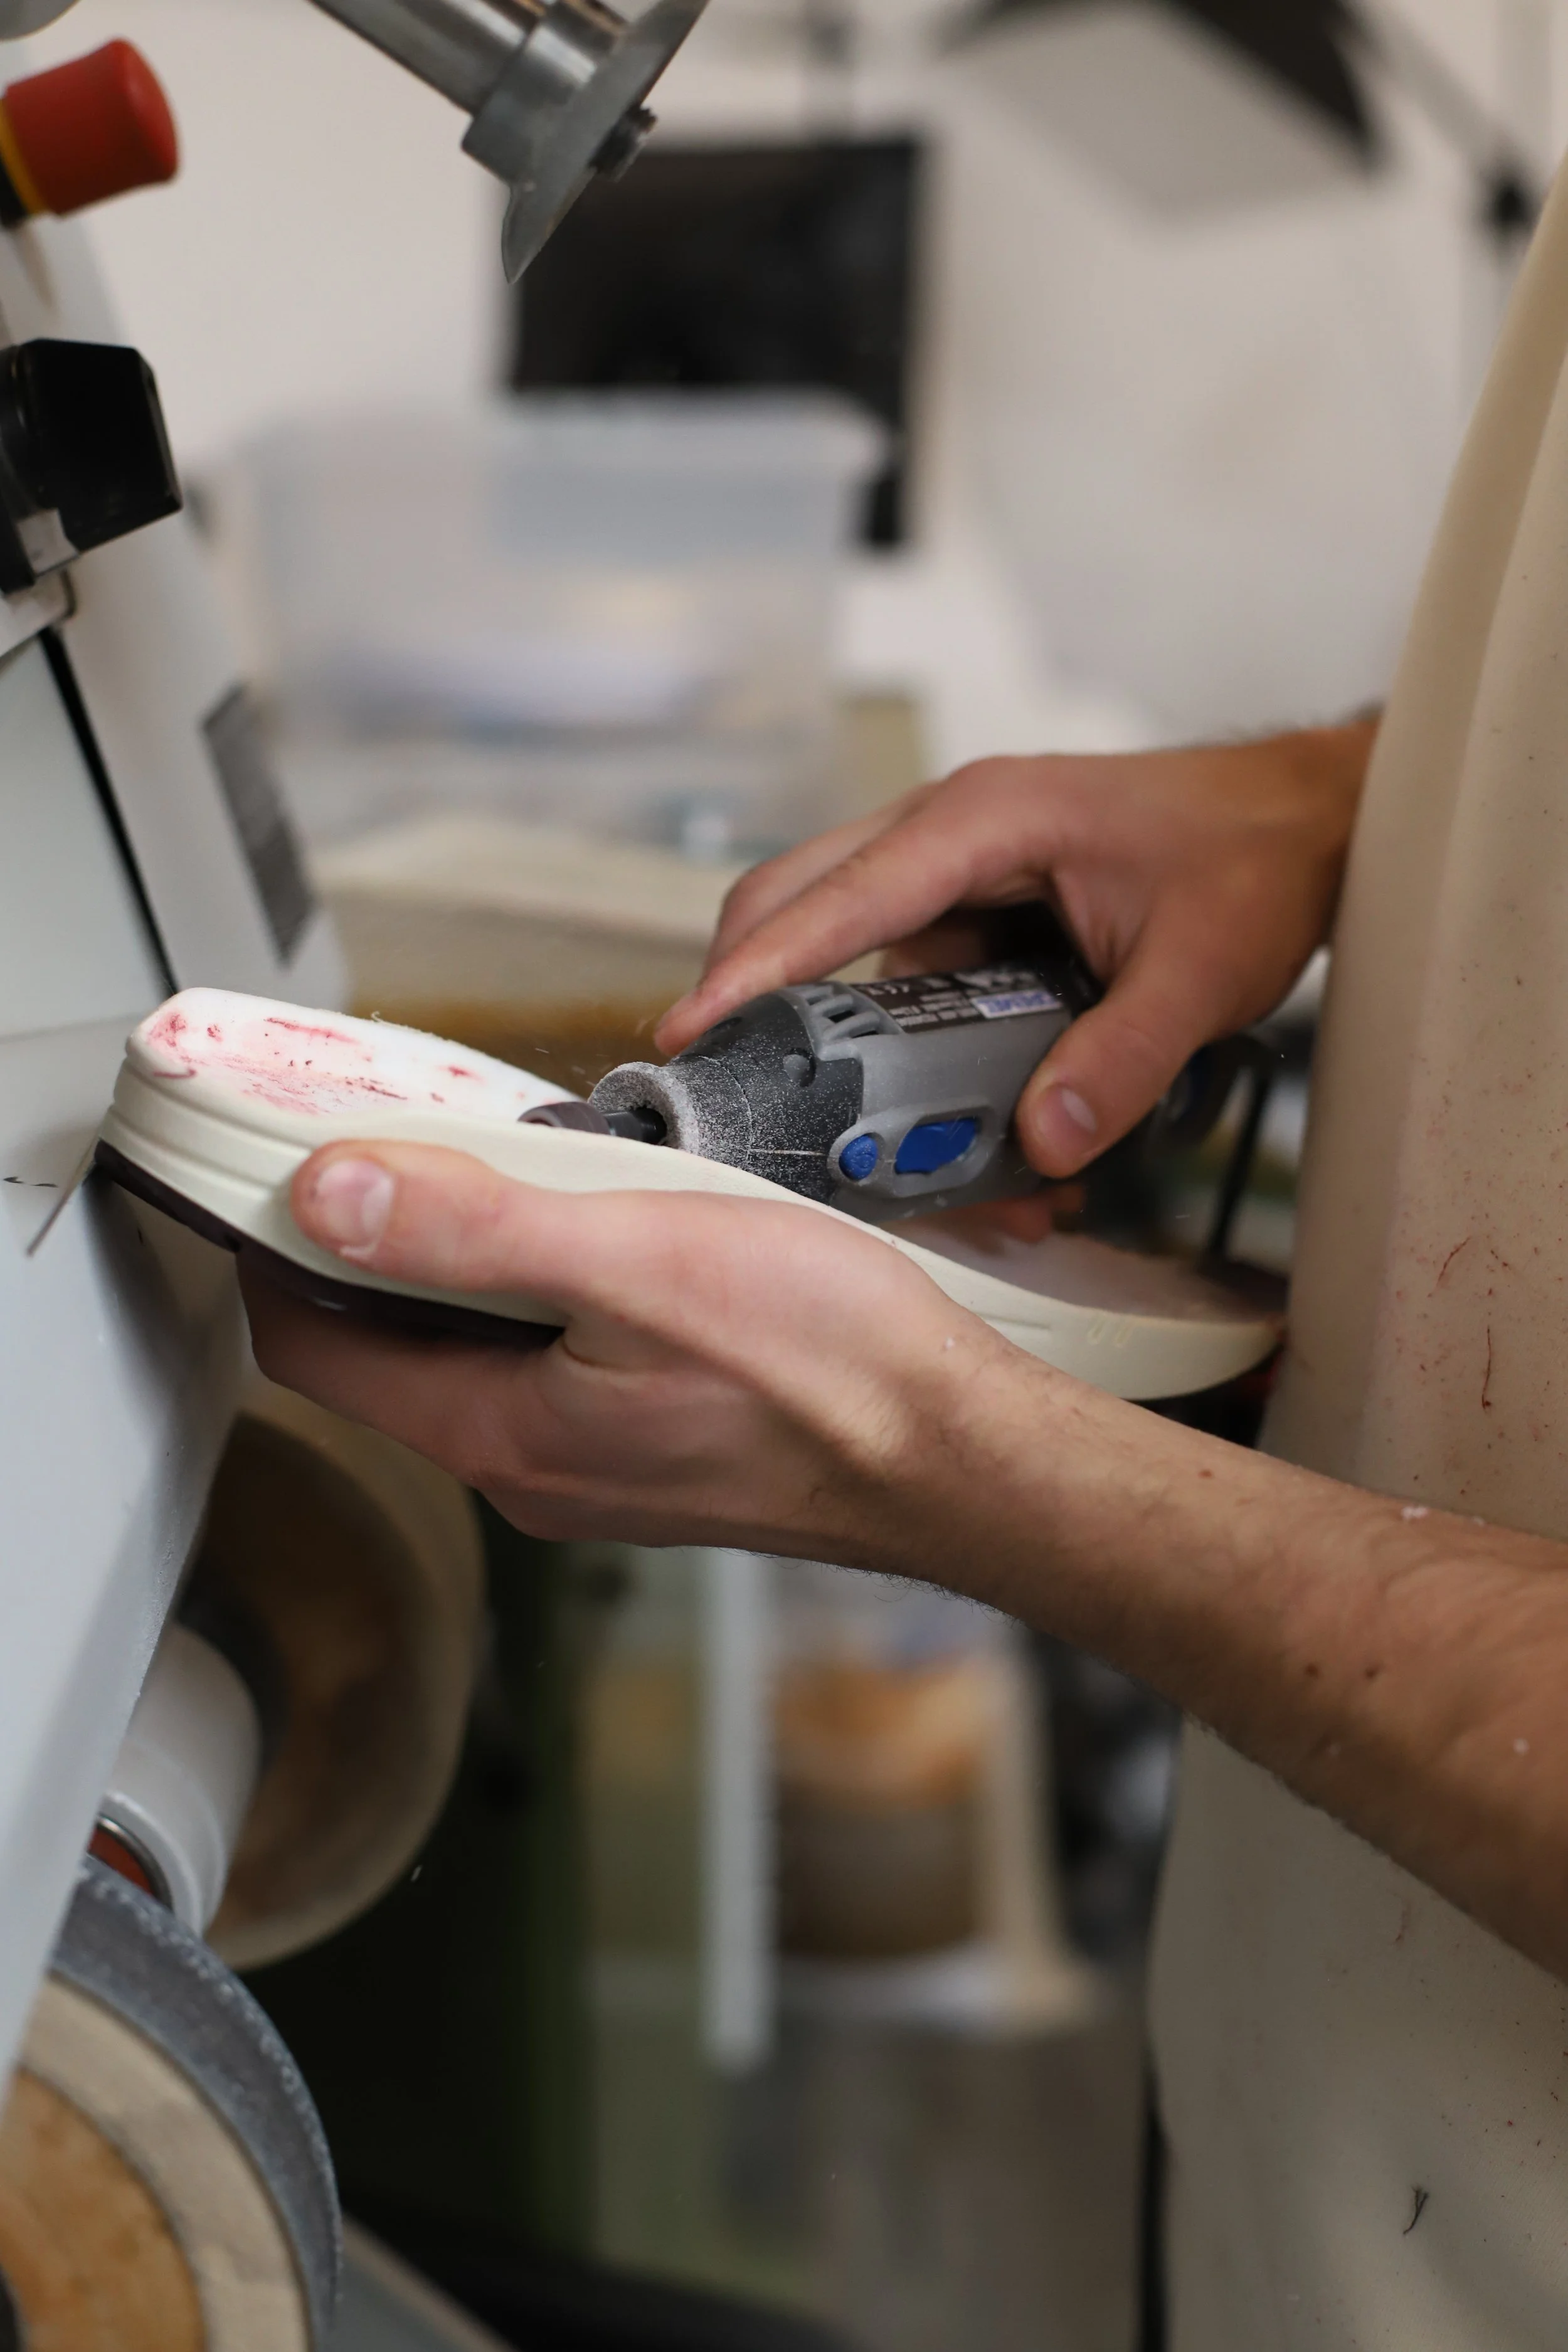
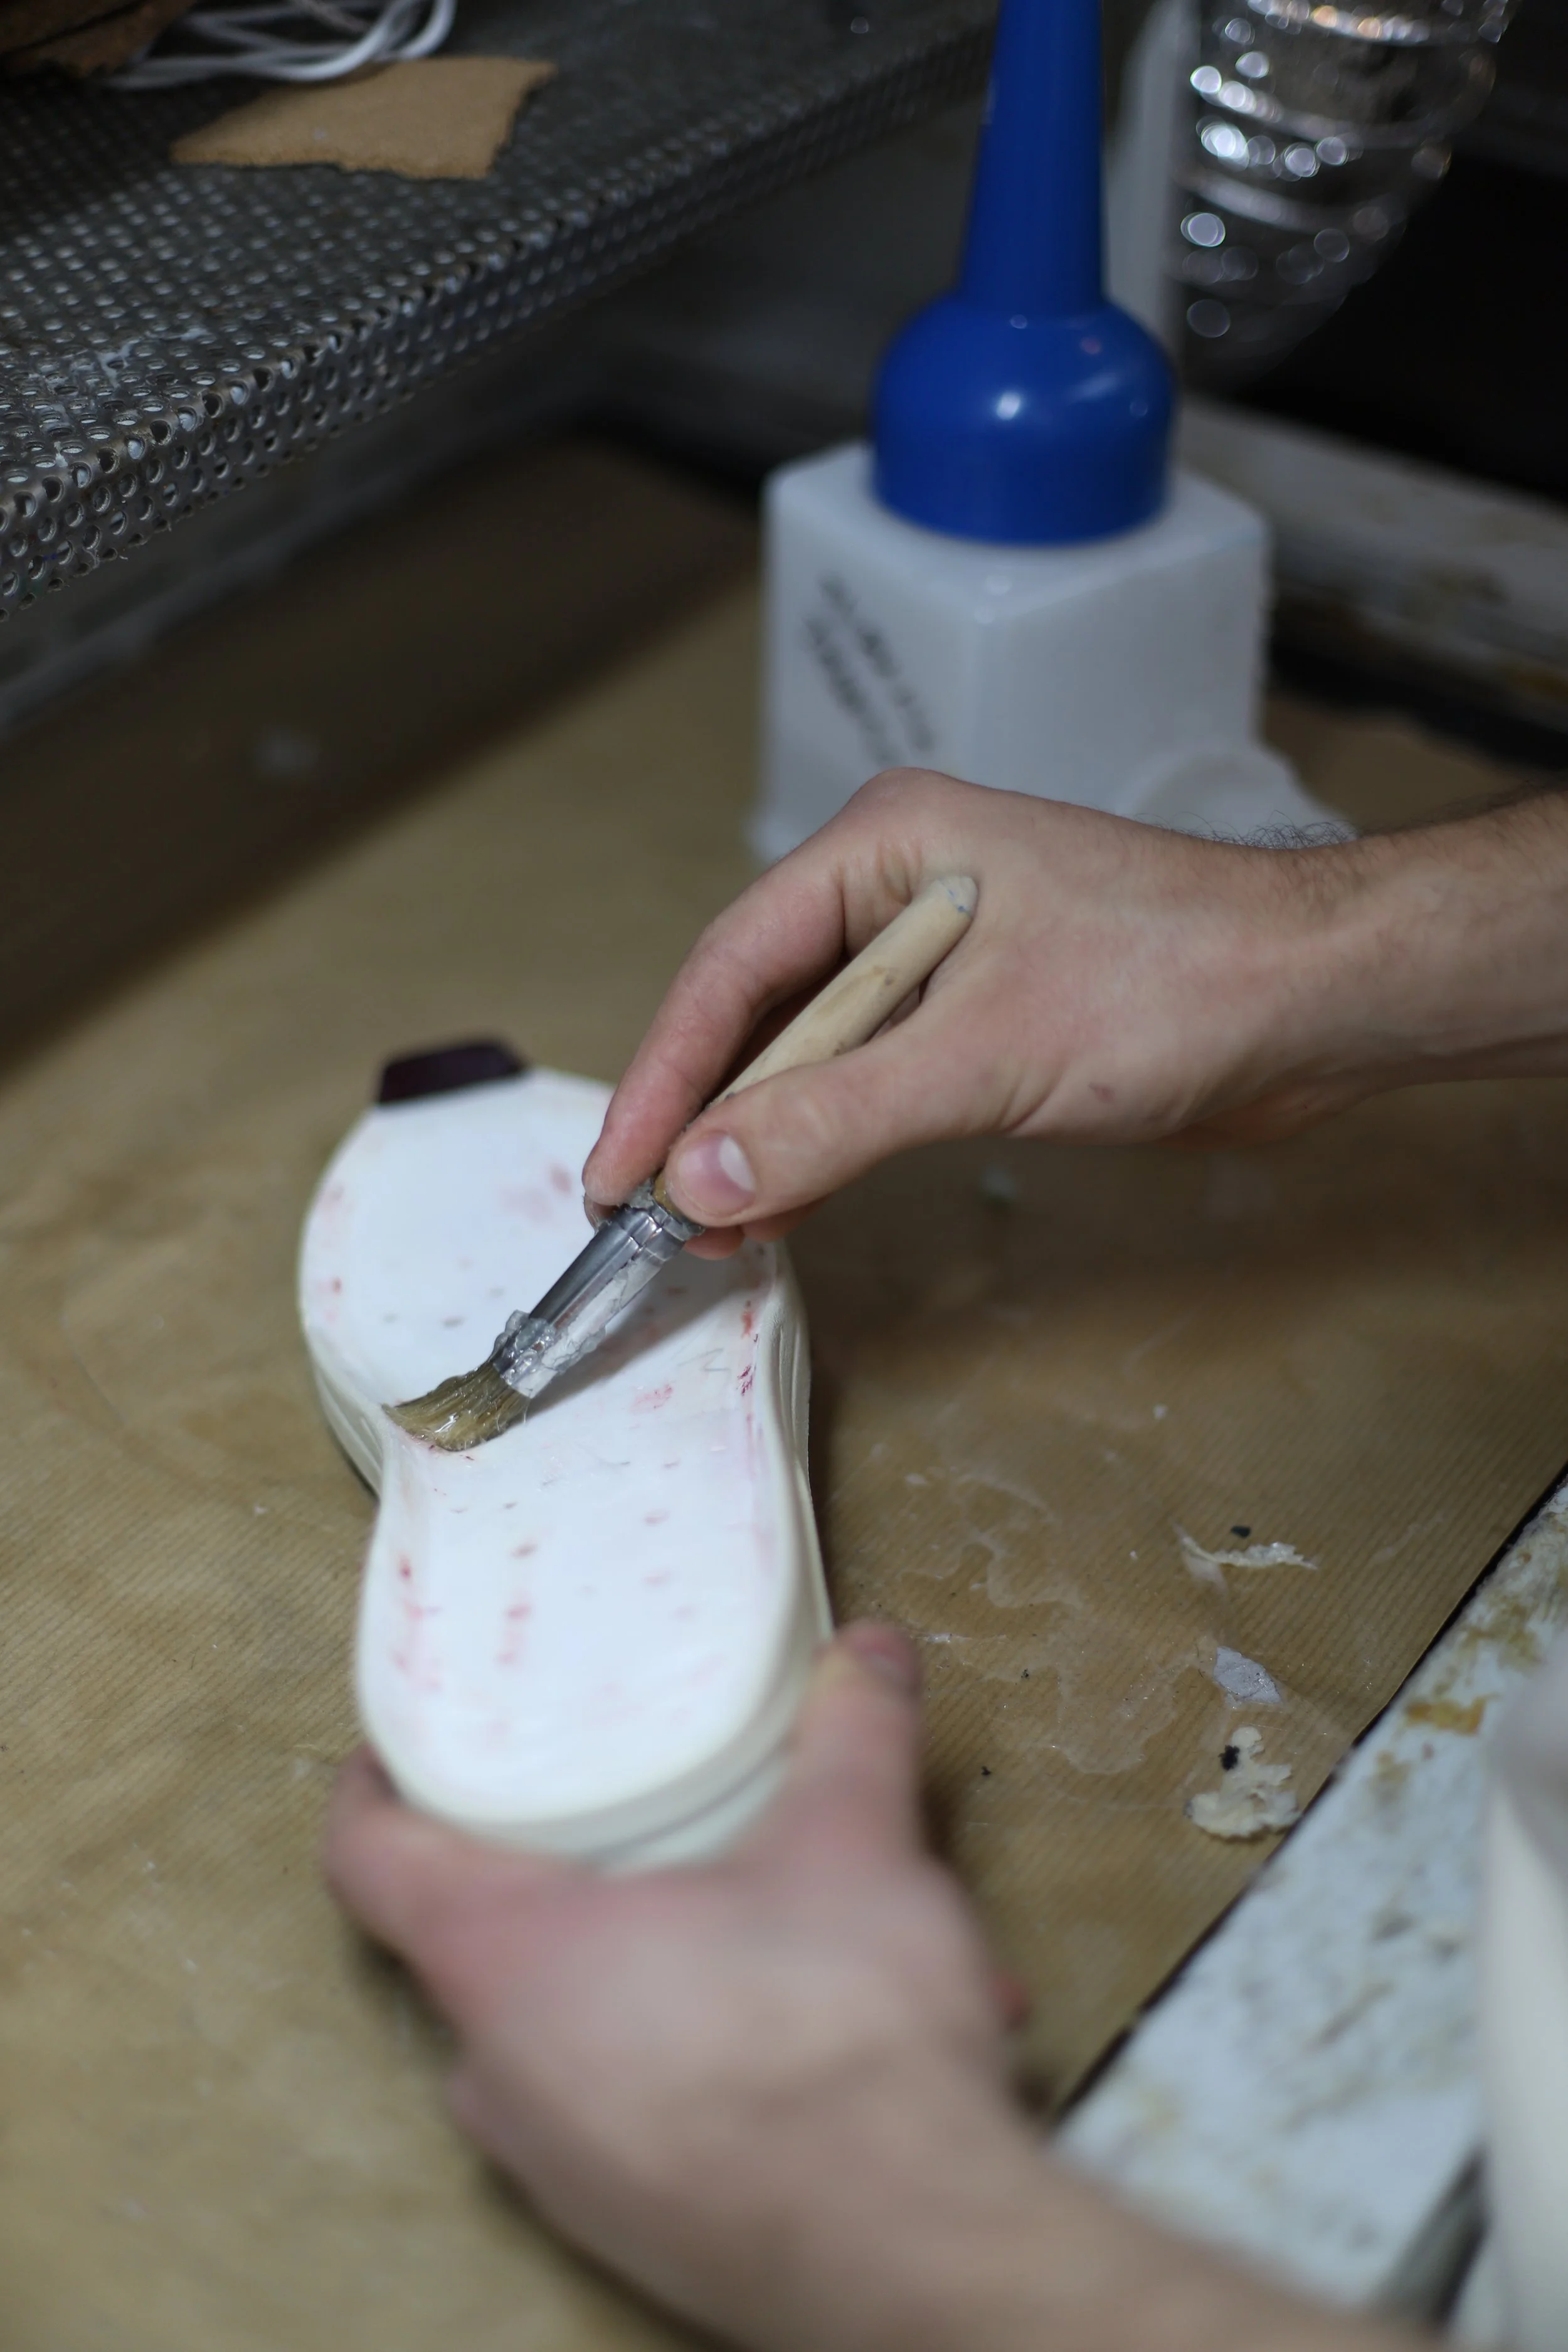
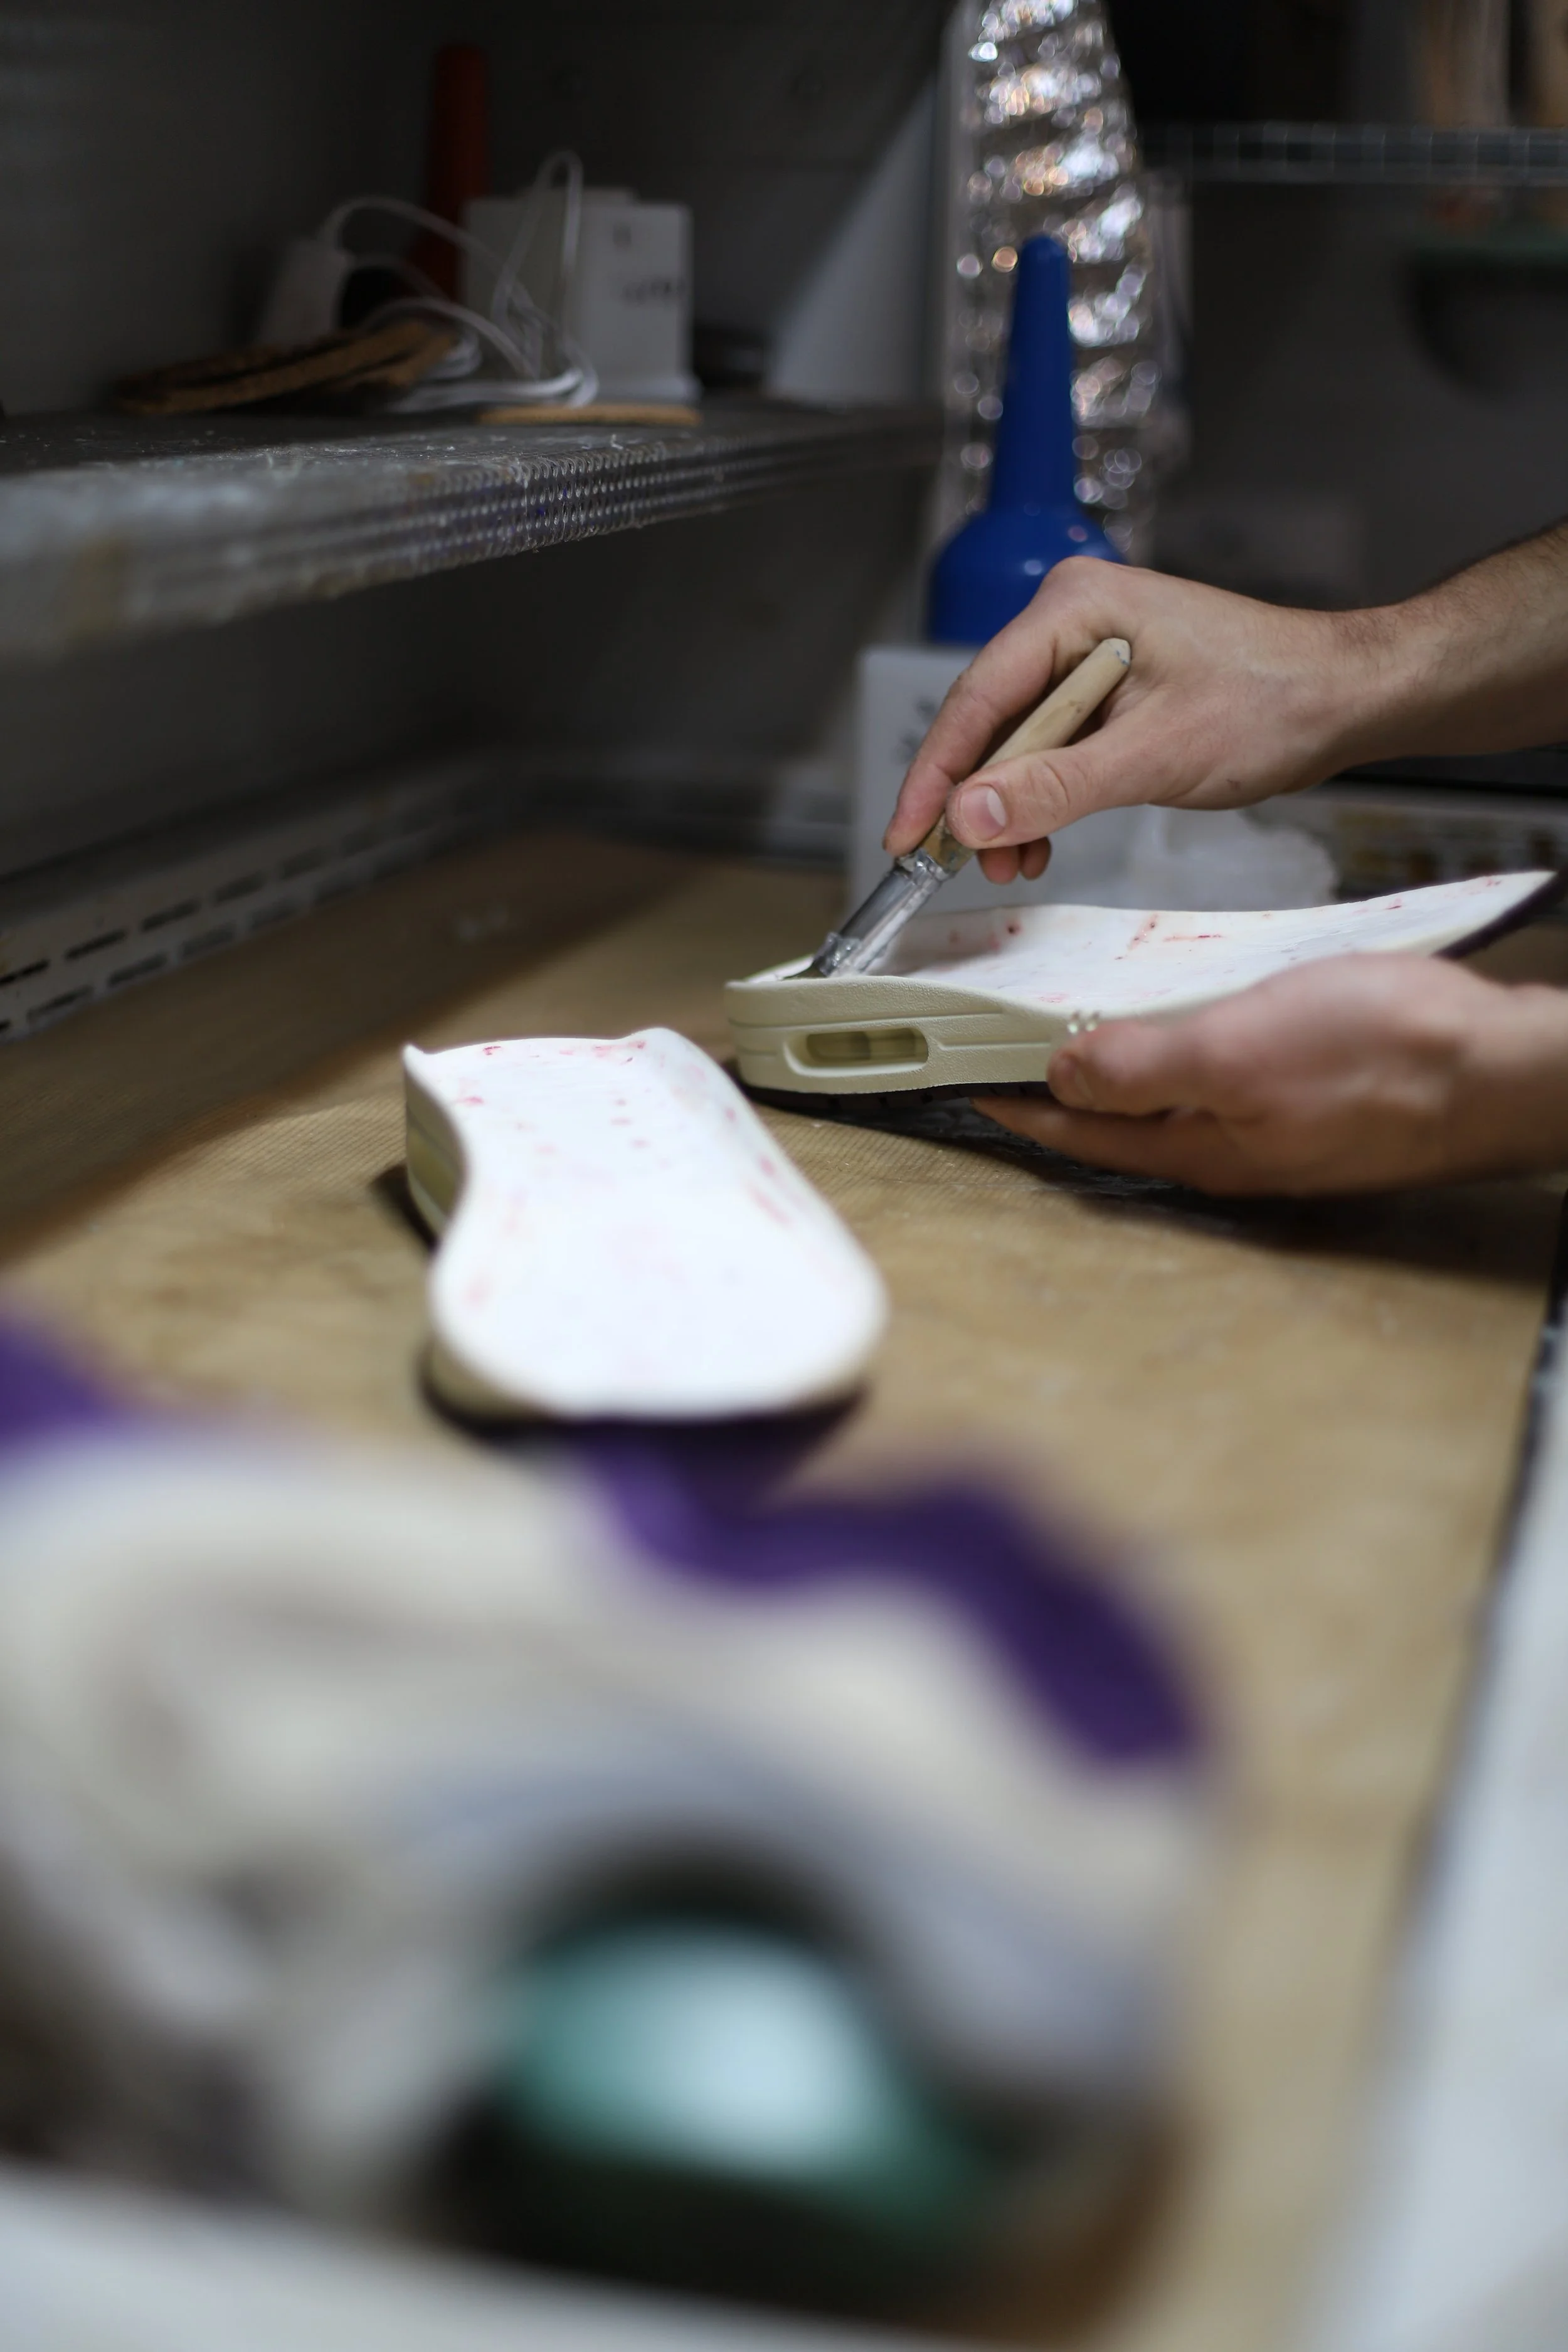
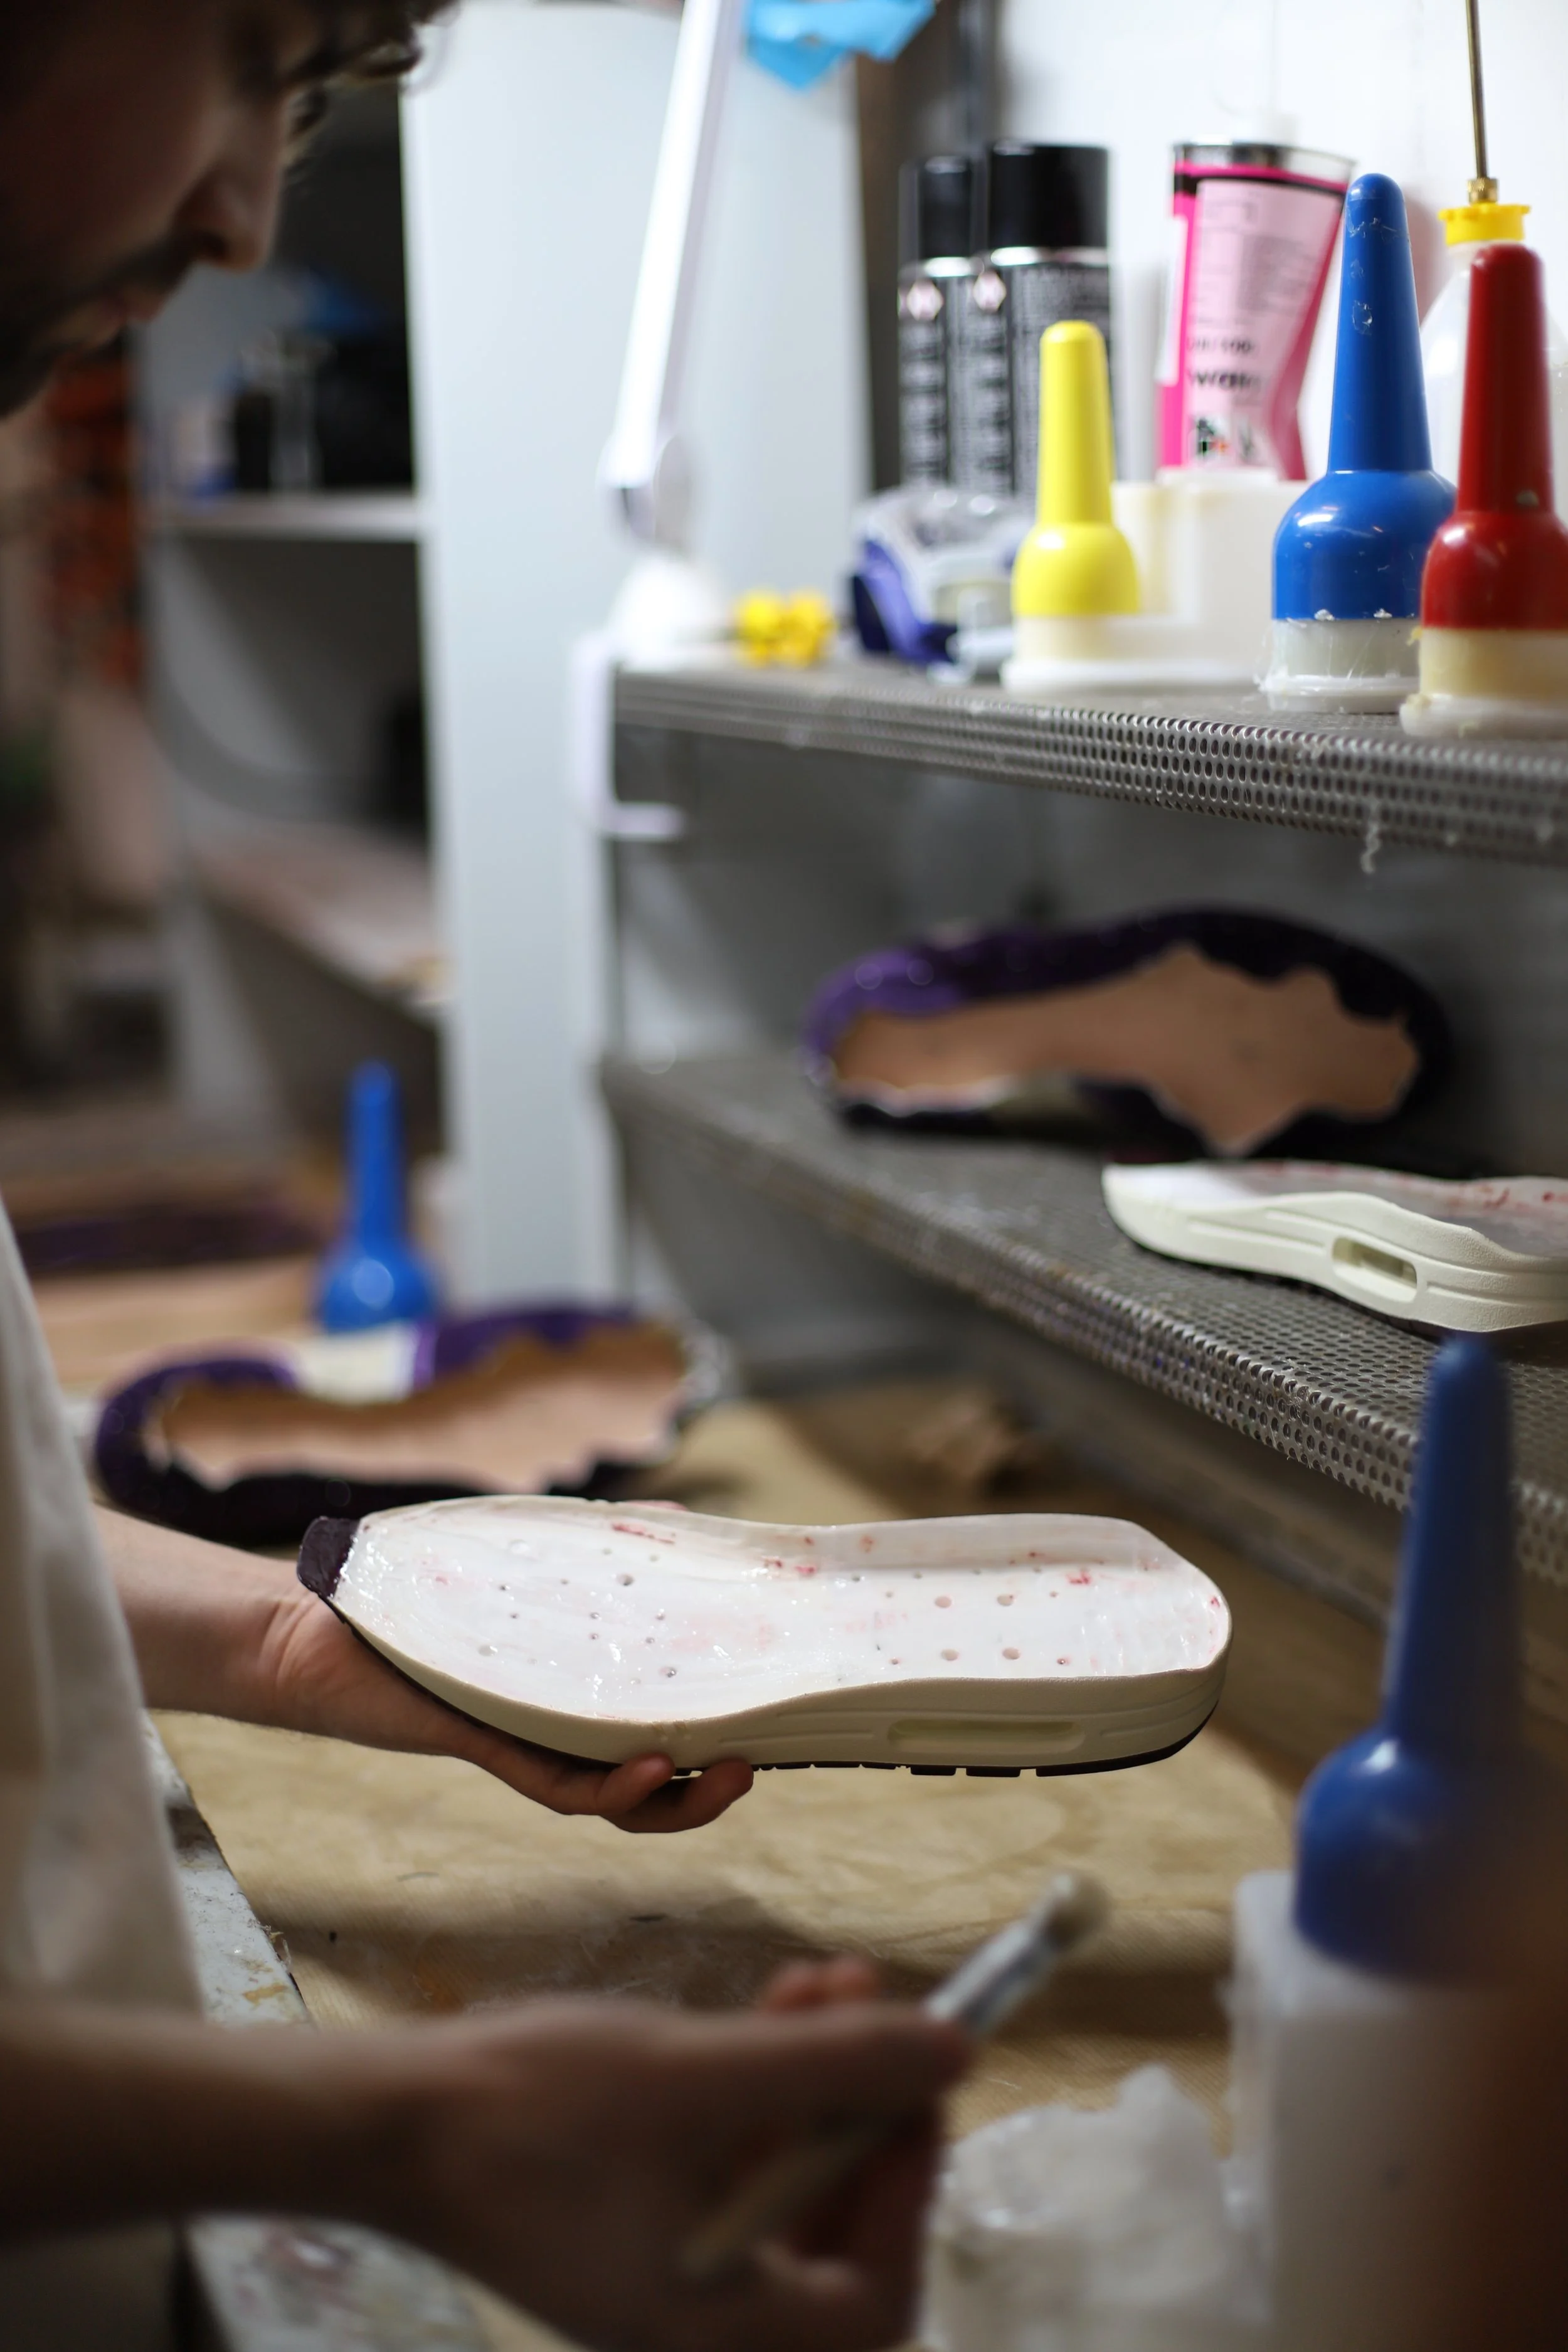
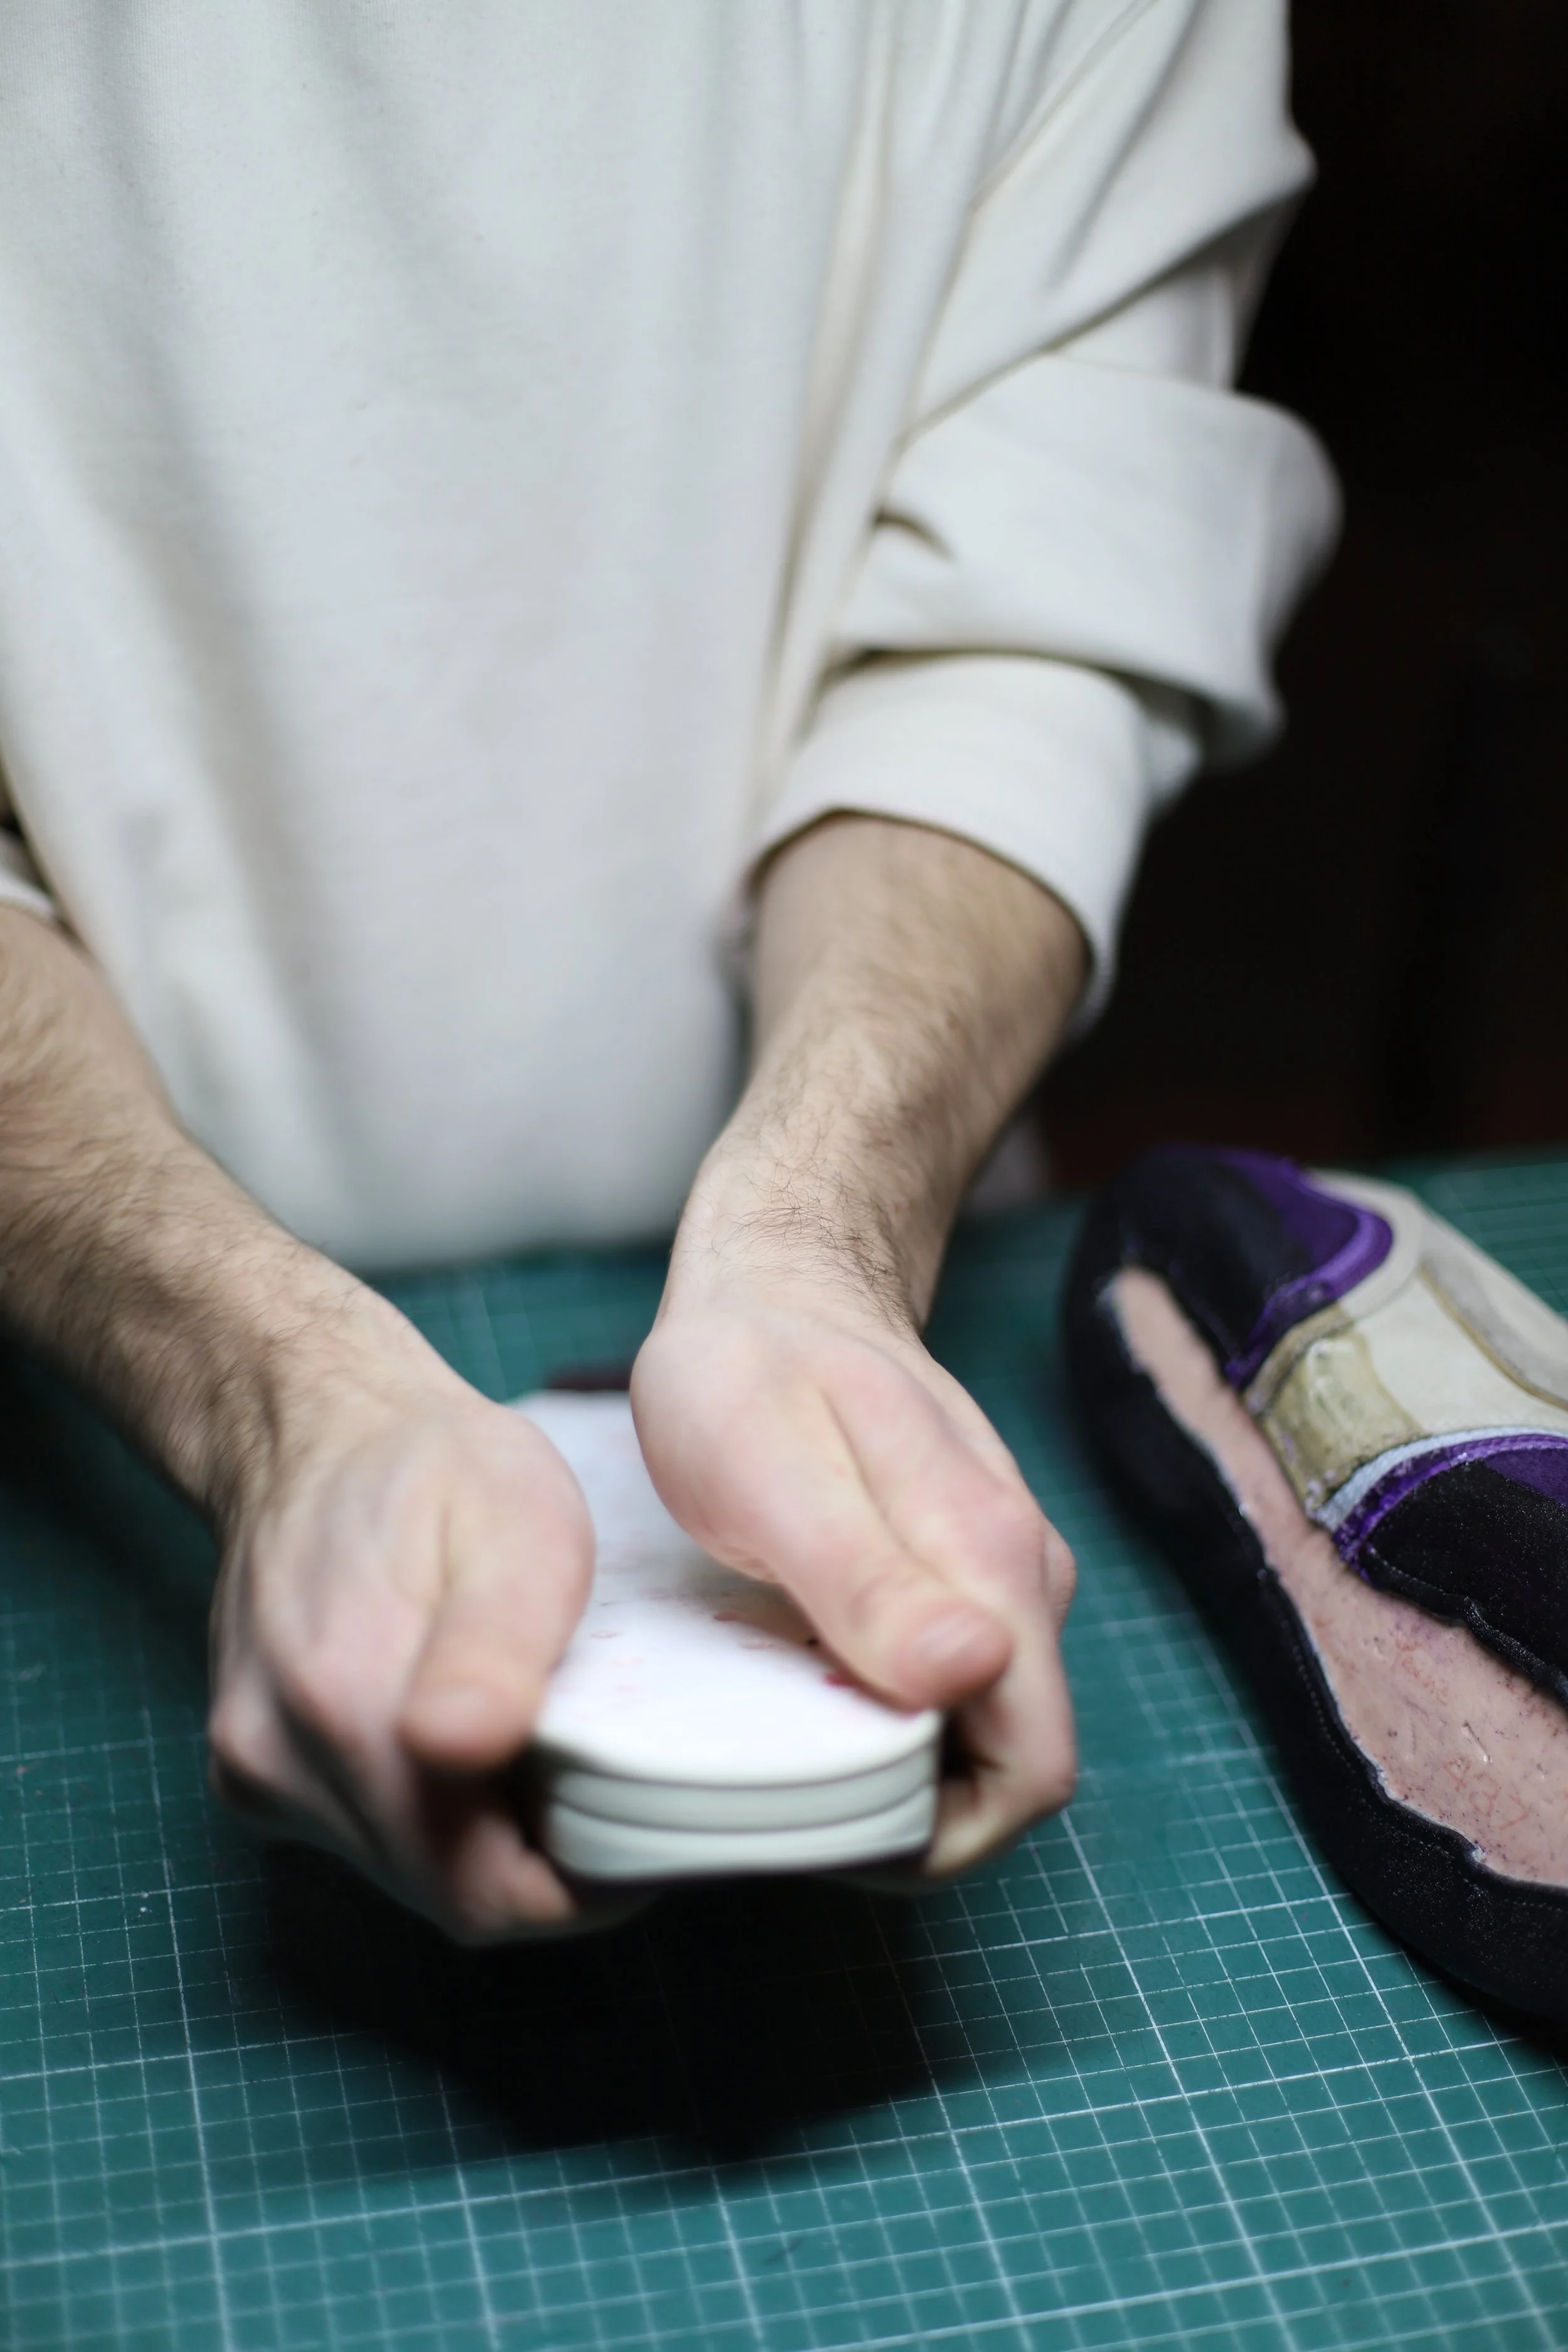
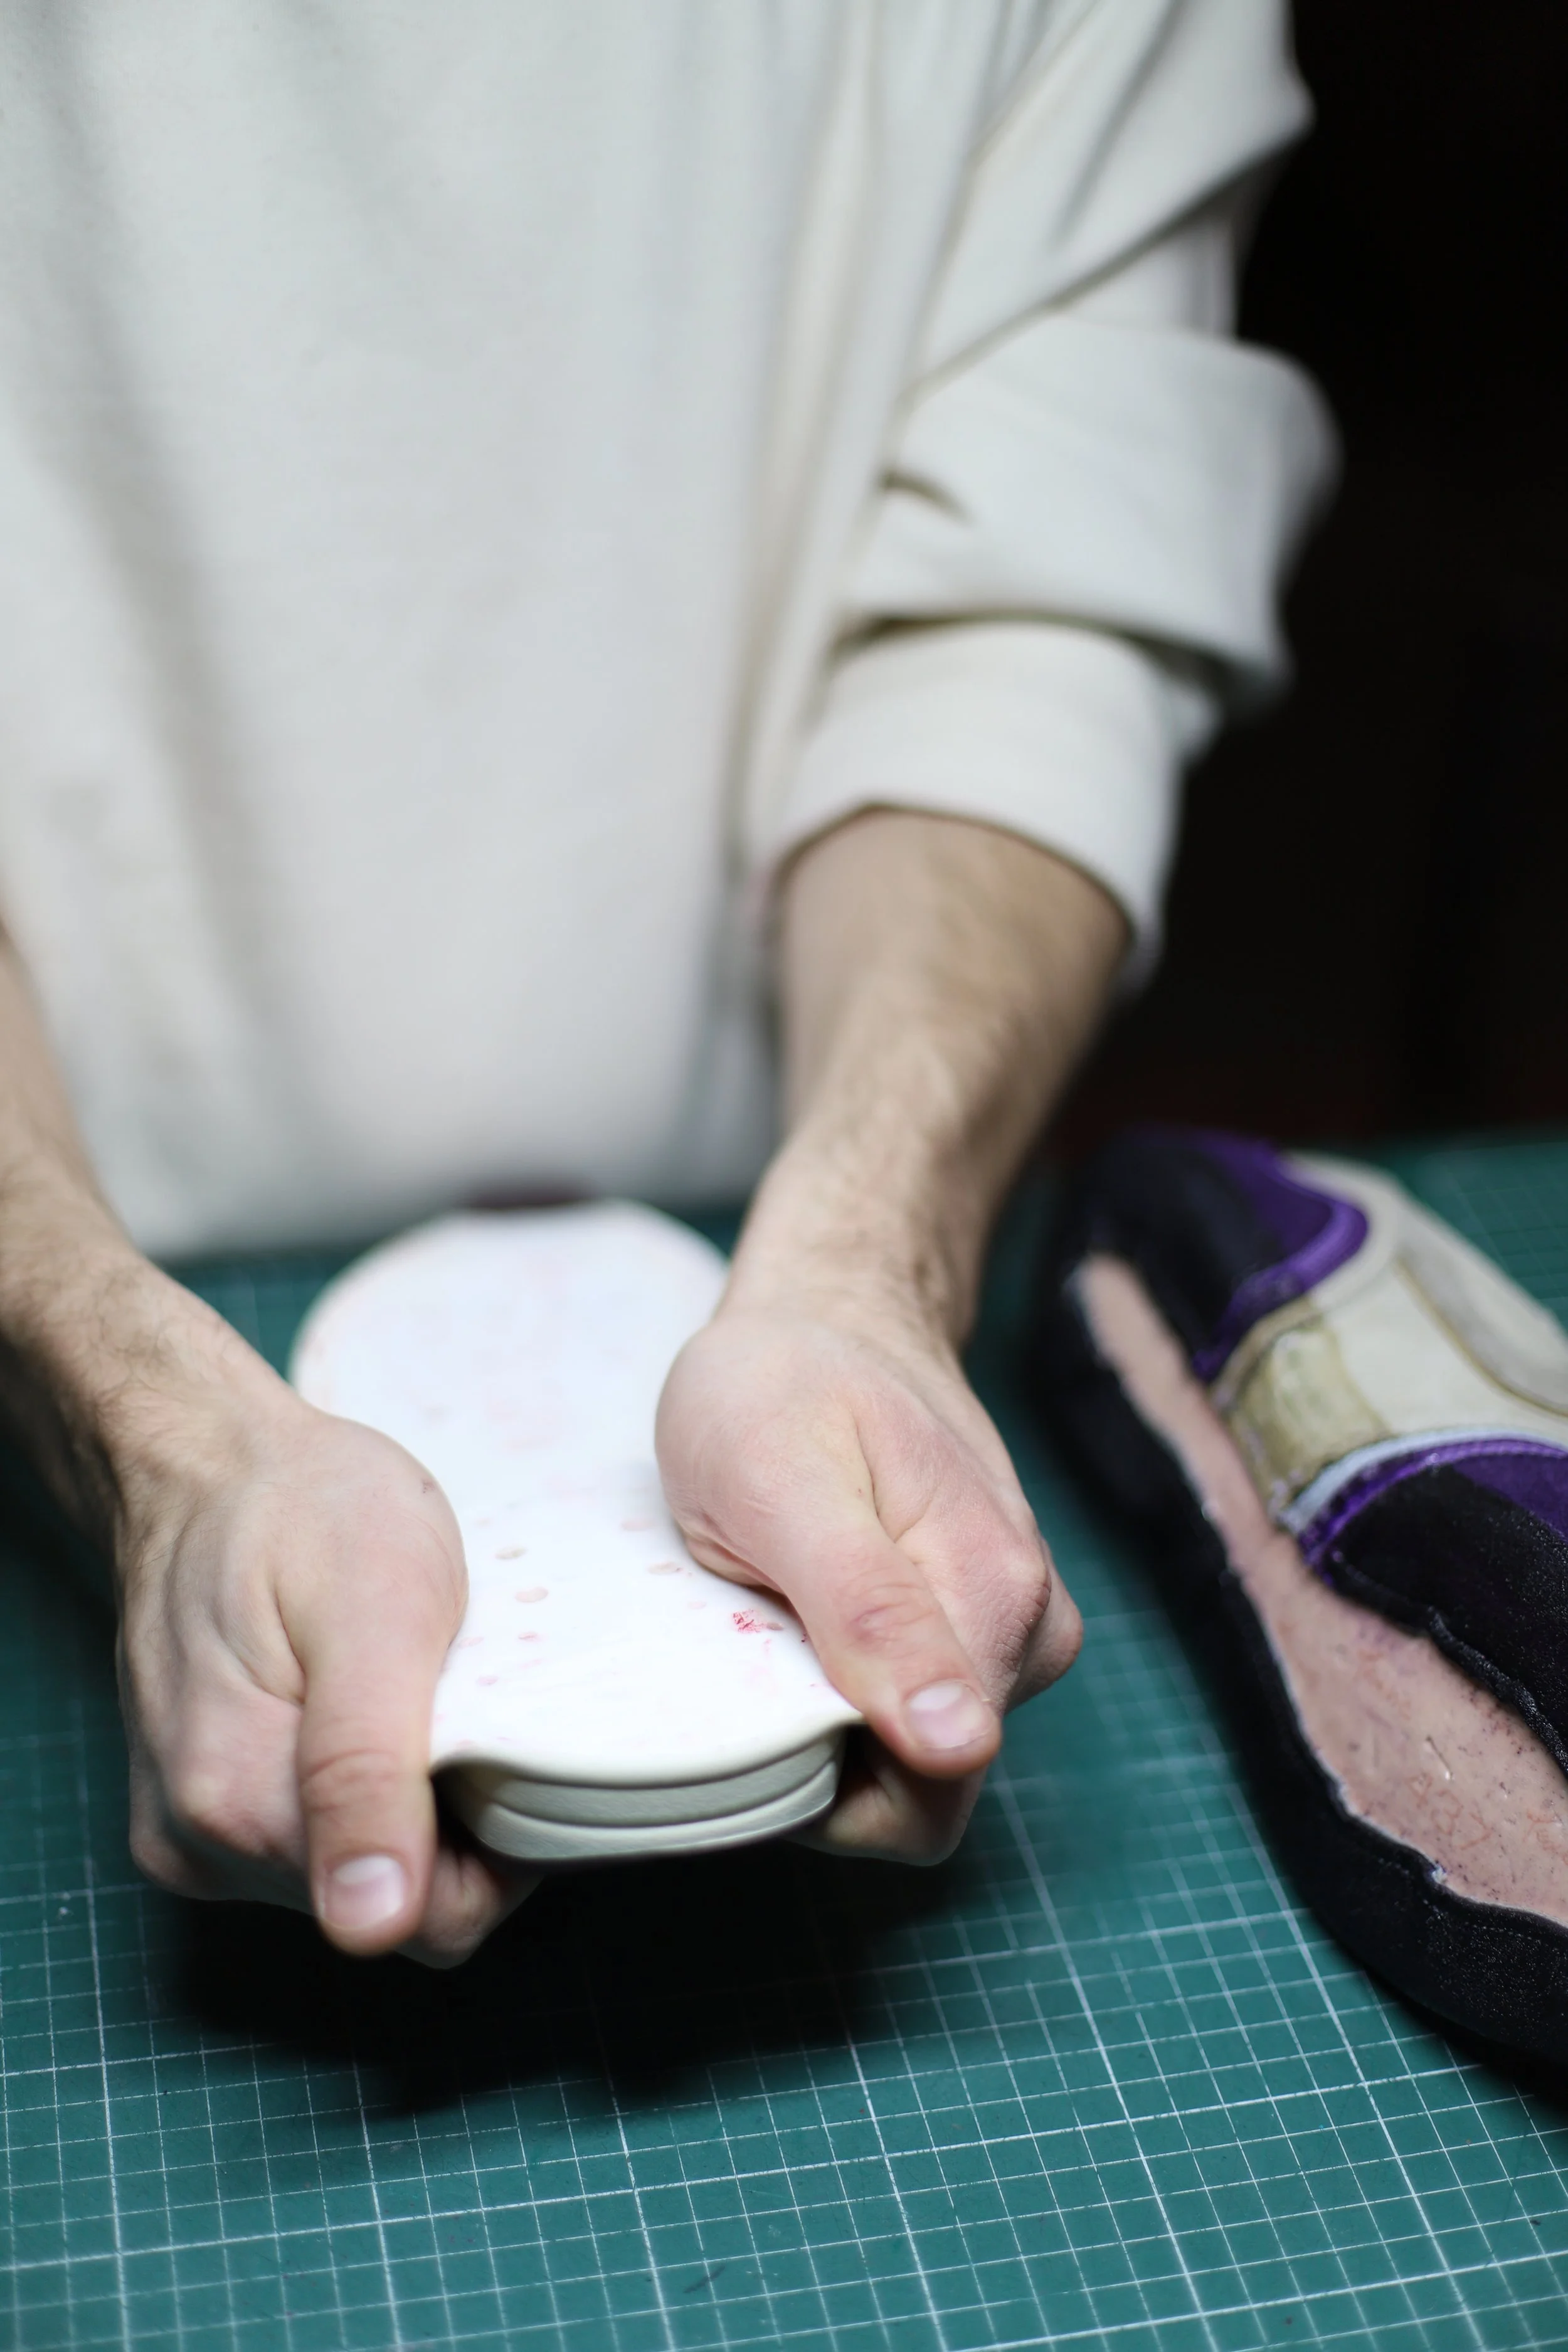
We prepare the donor soles for gluing. We do this by sanding the remaining glue rests of the sole. Now the ‘old’ glue is on the shoe, we put our own glue on it. This way it adheres the best.
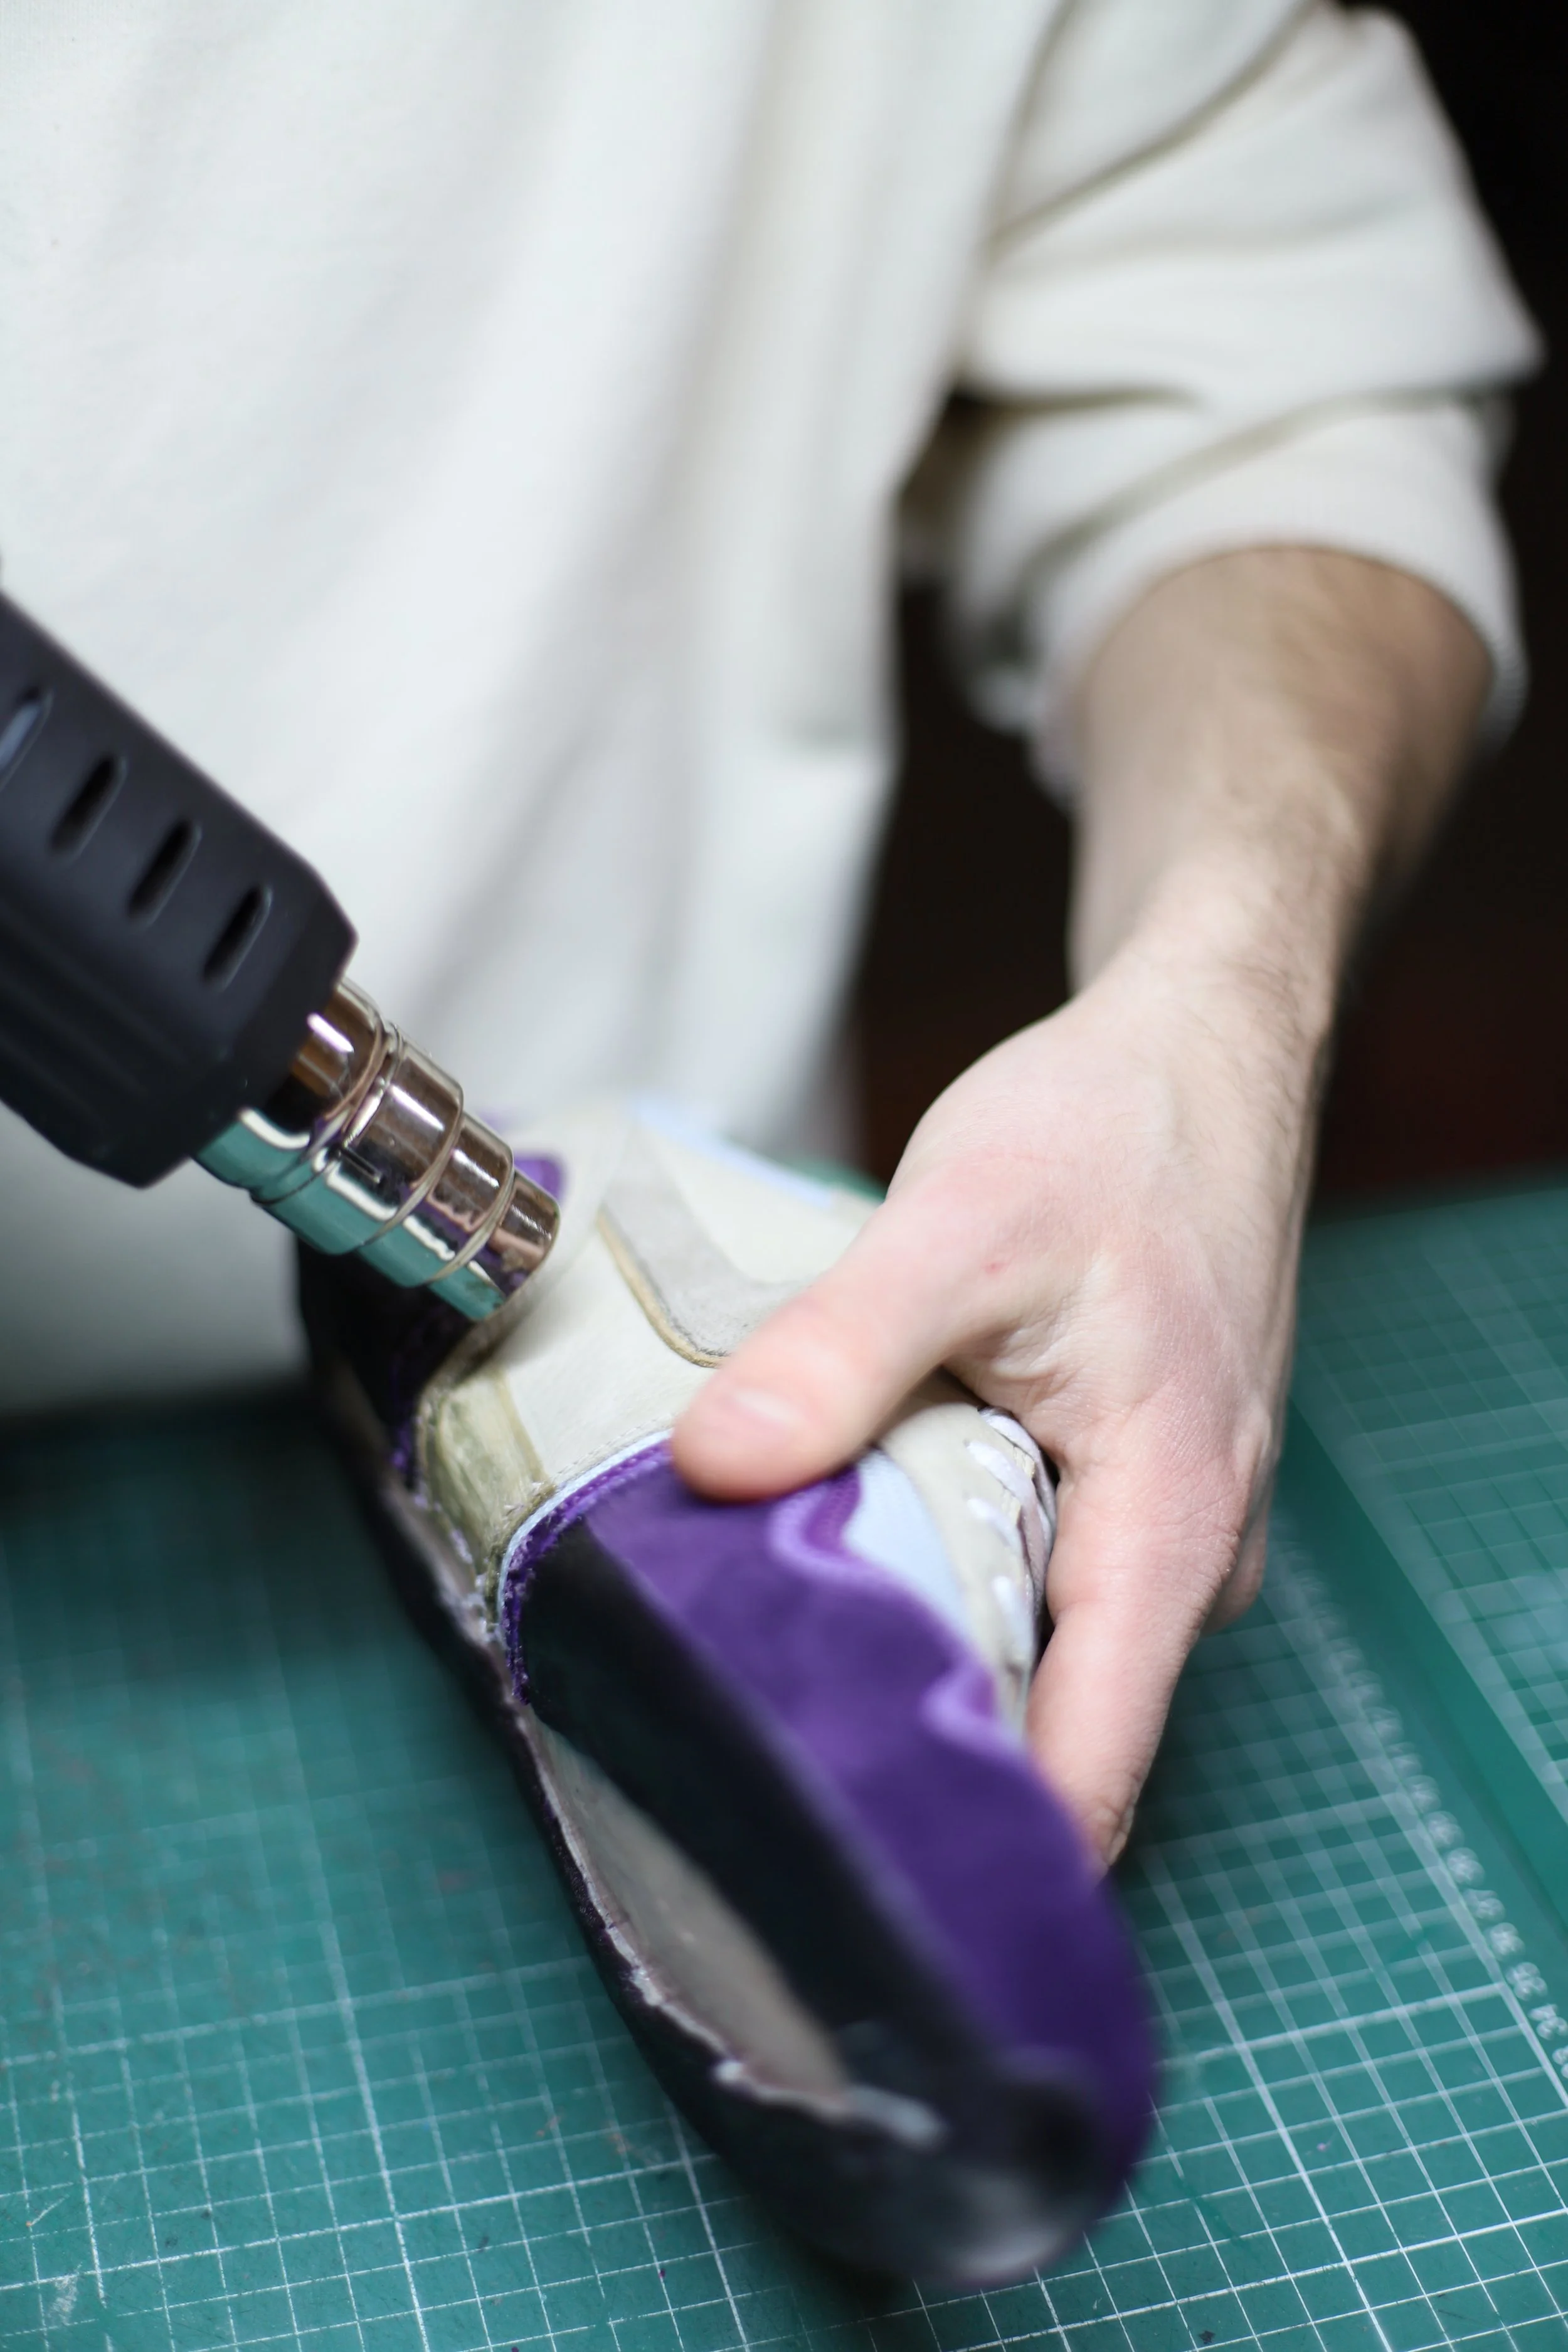
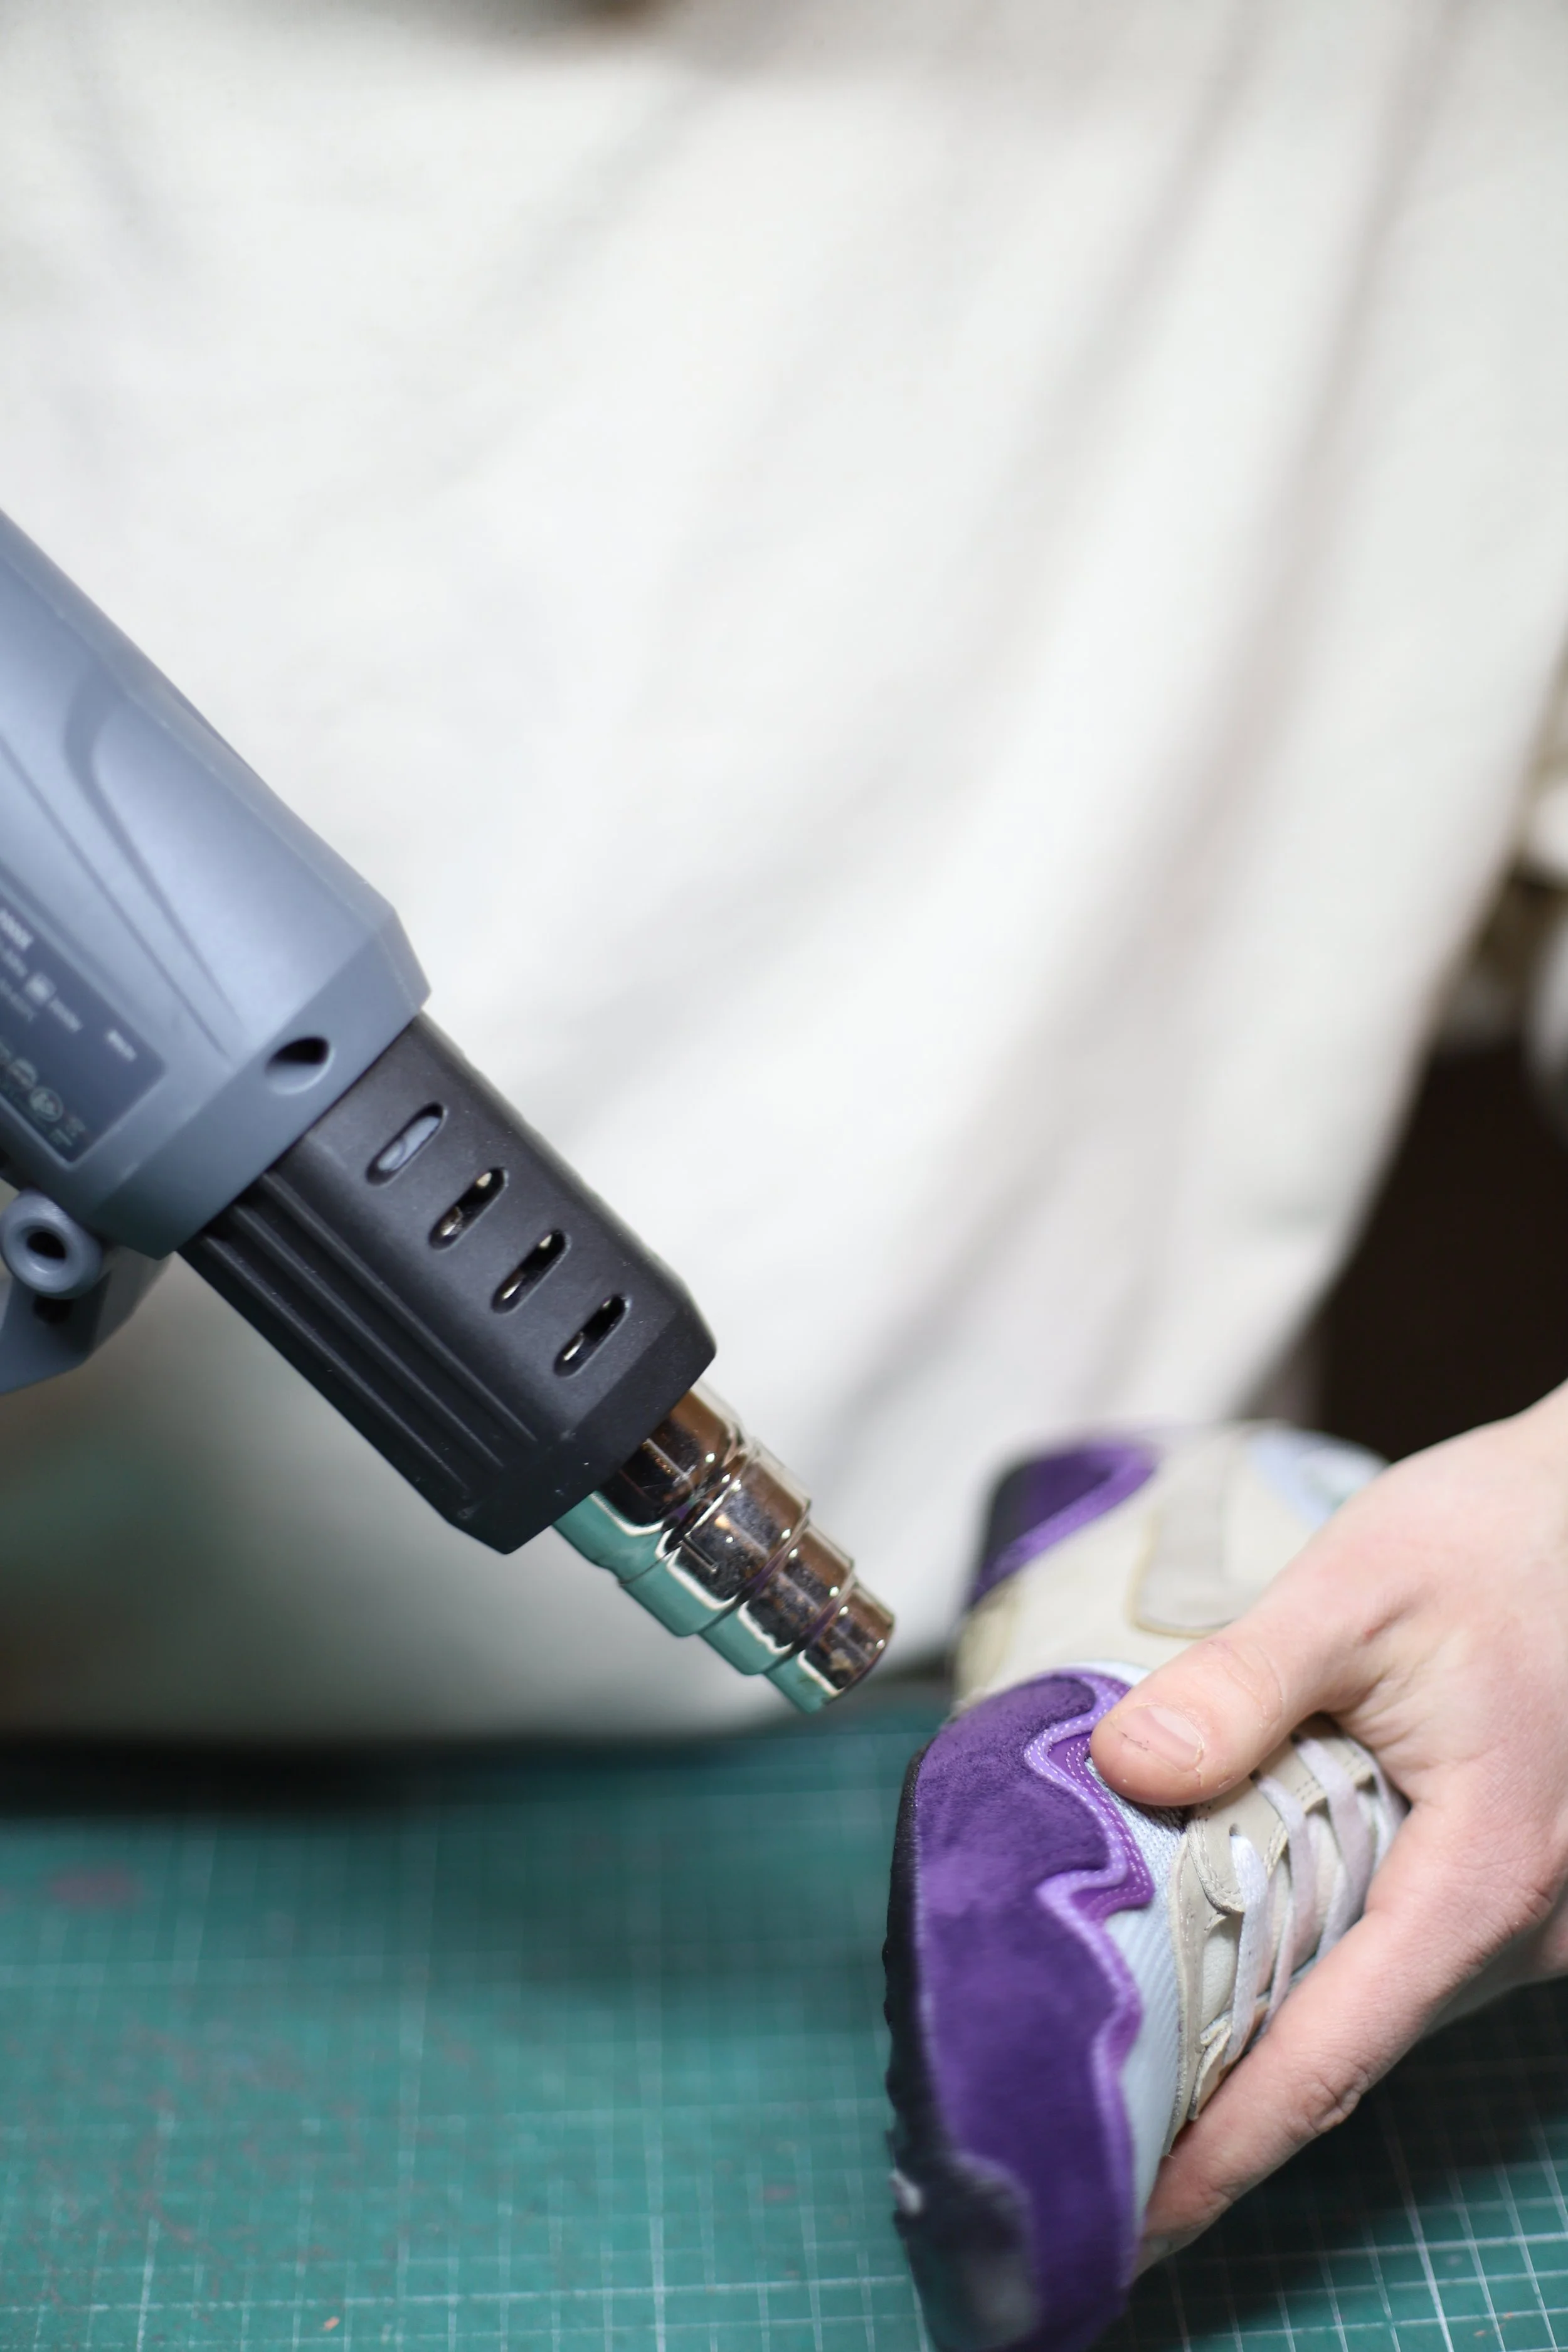
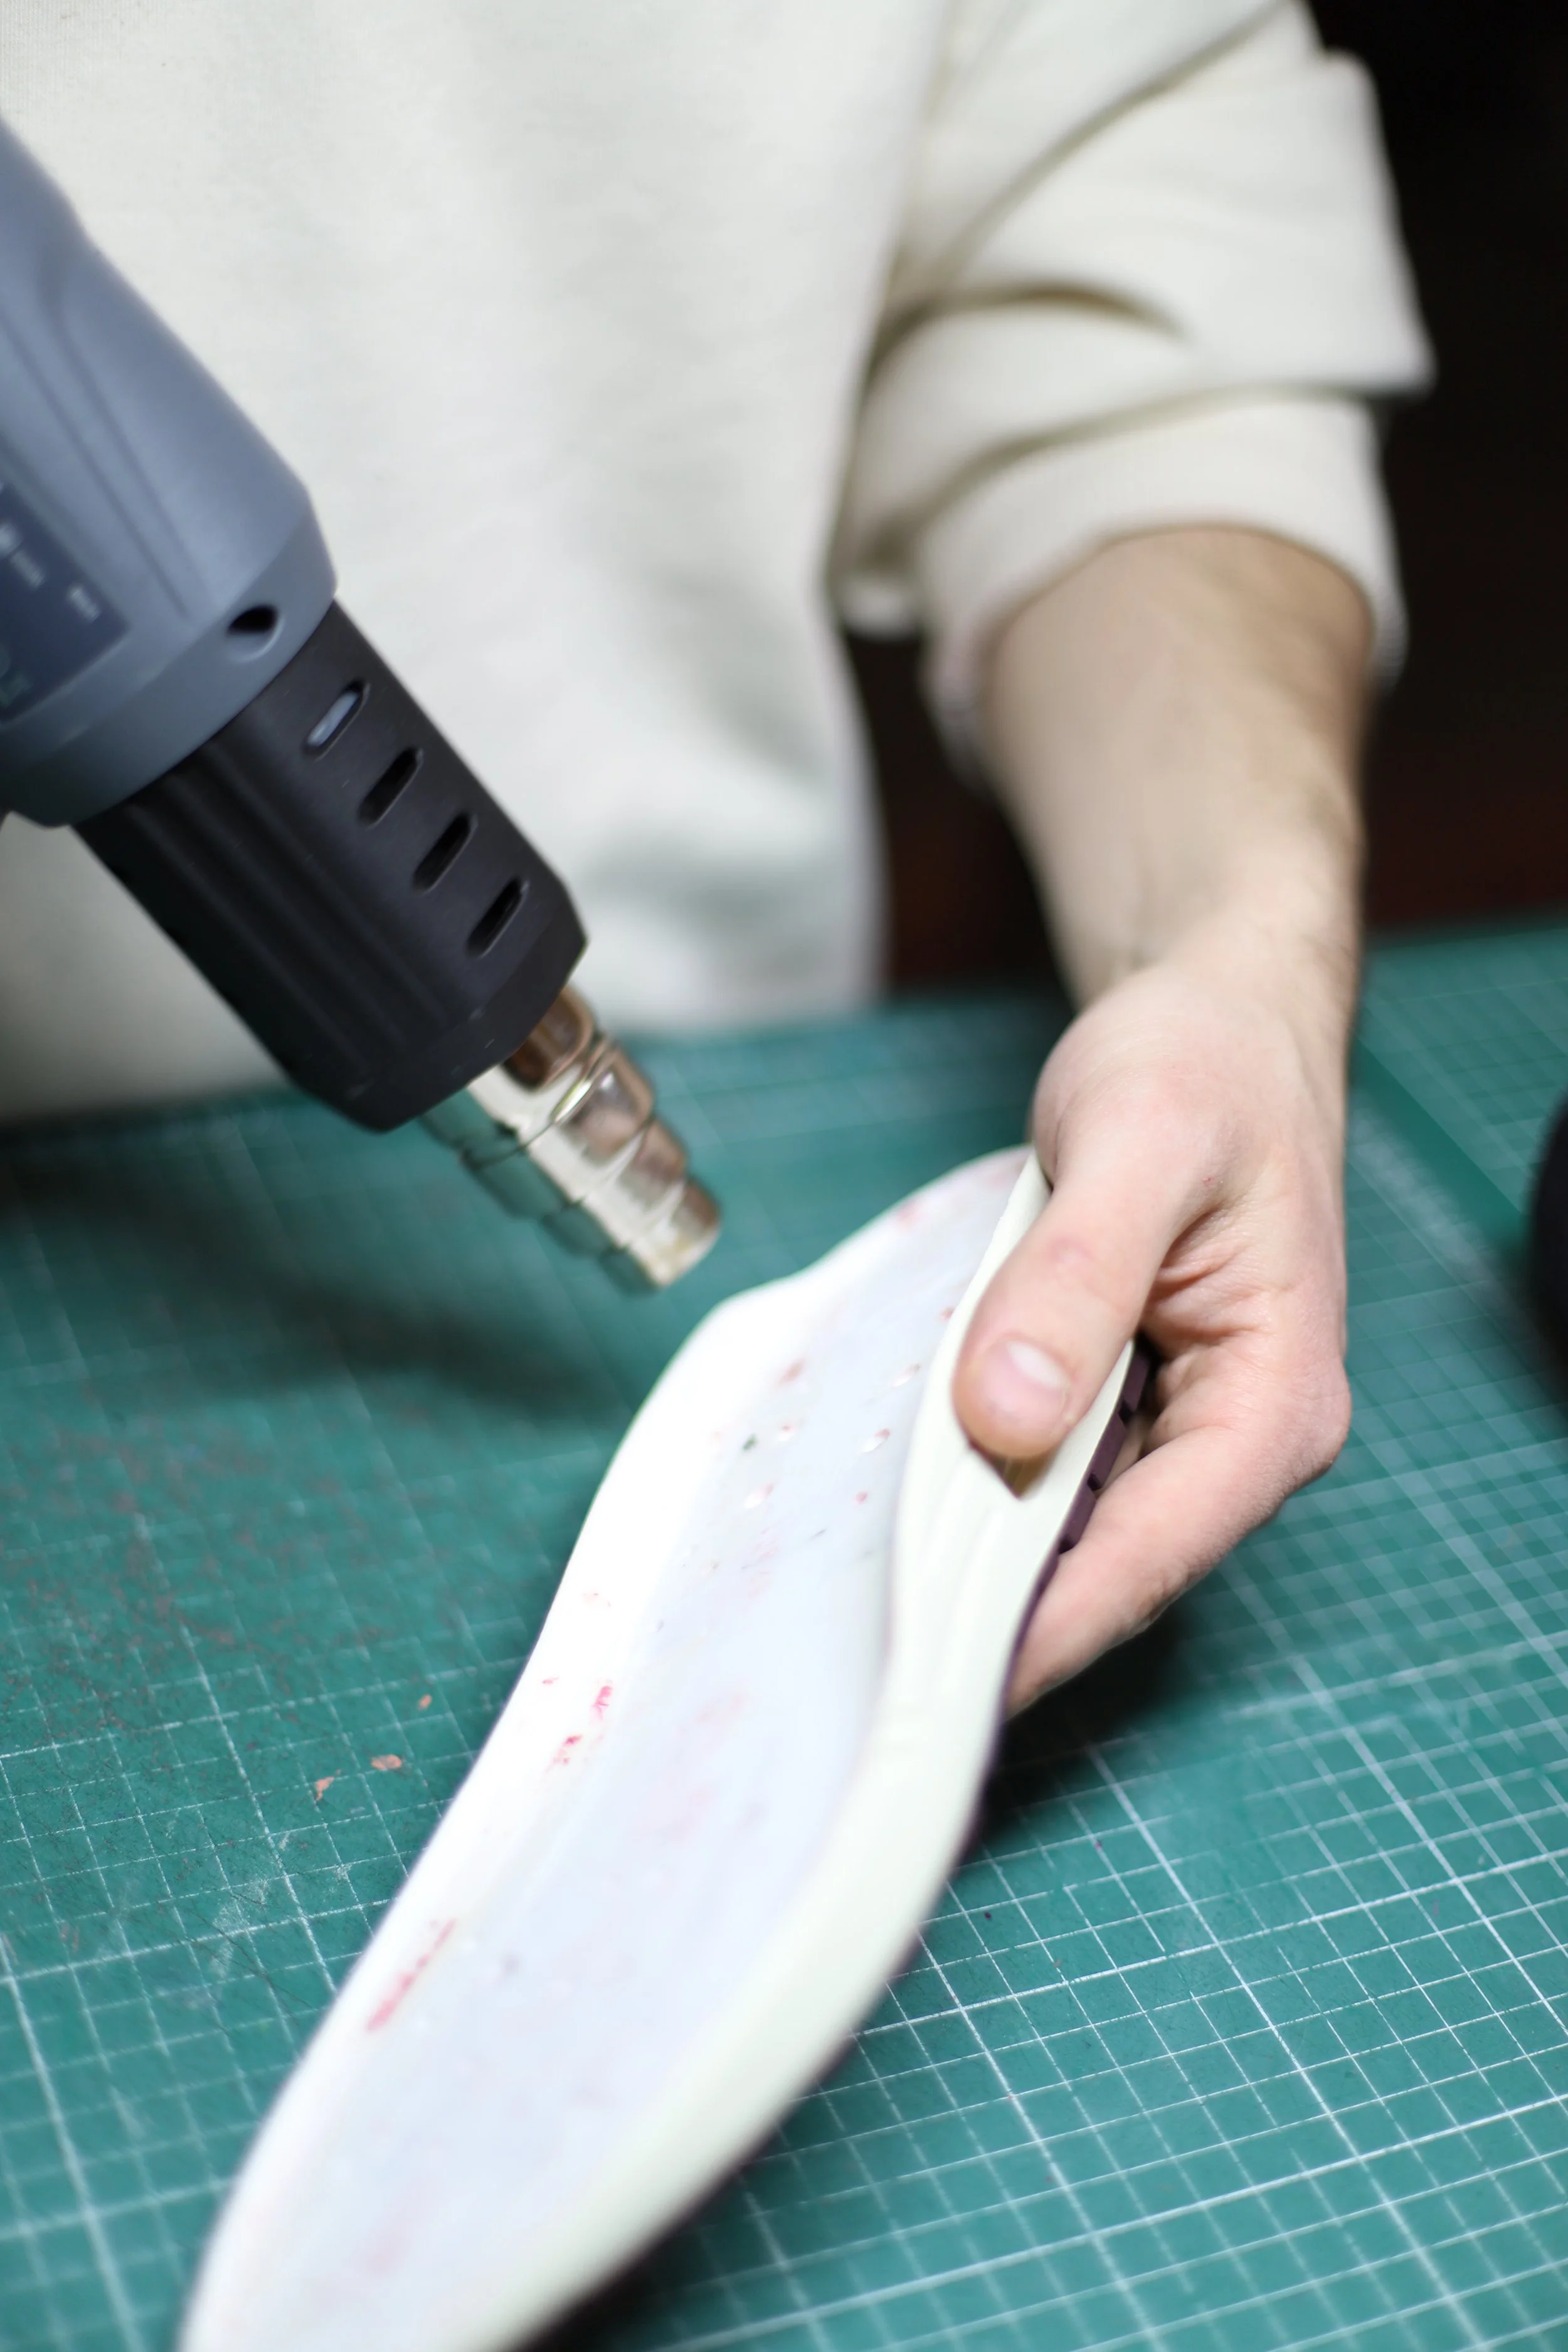
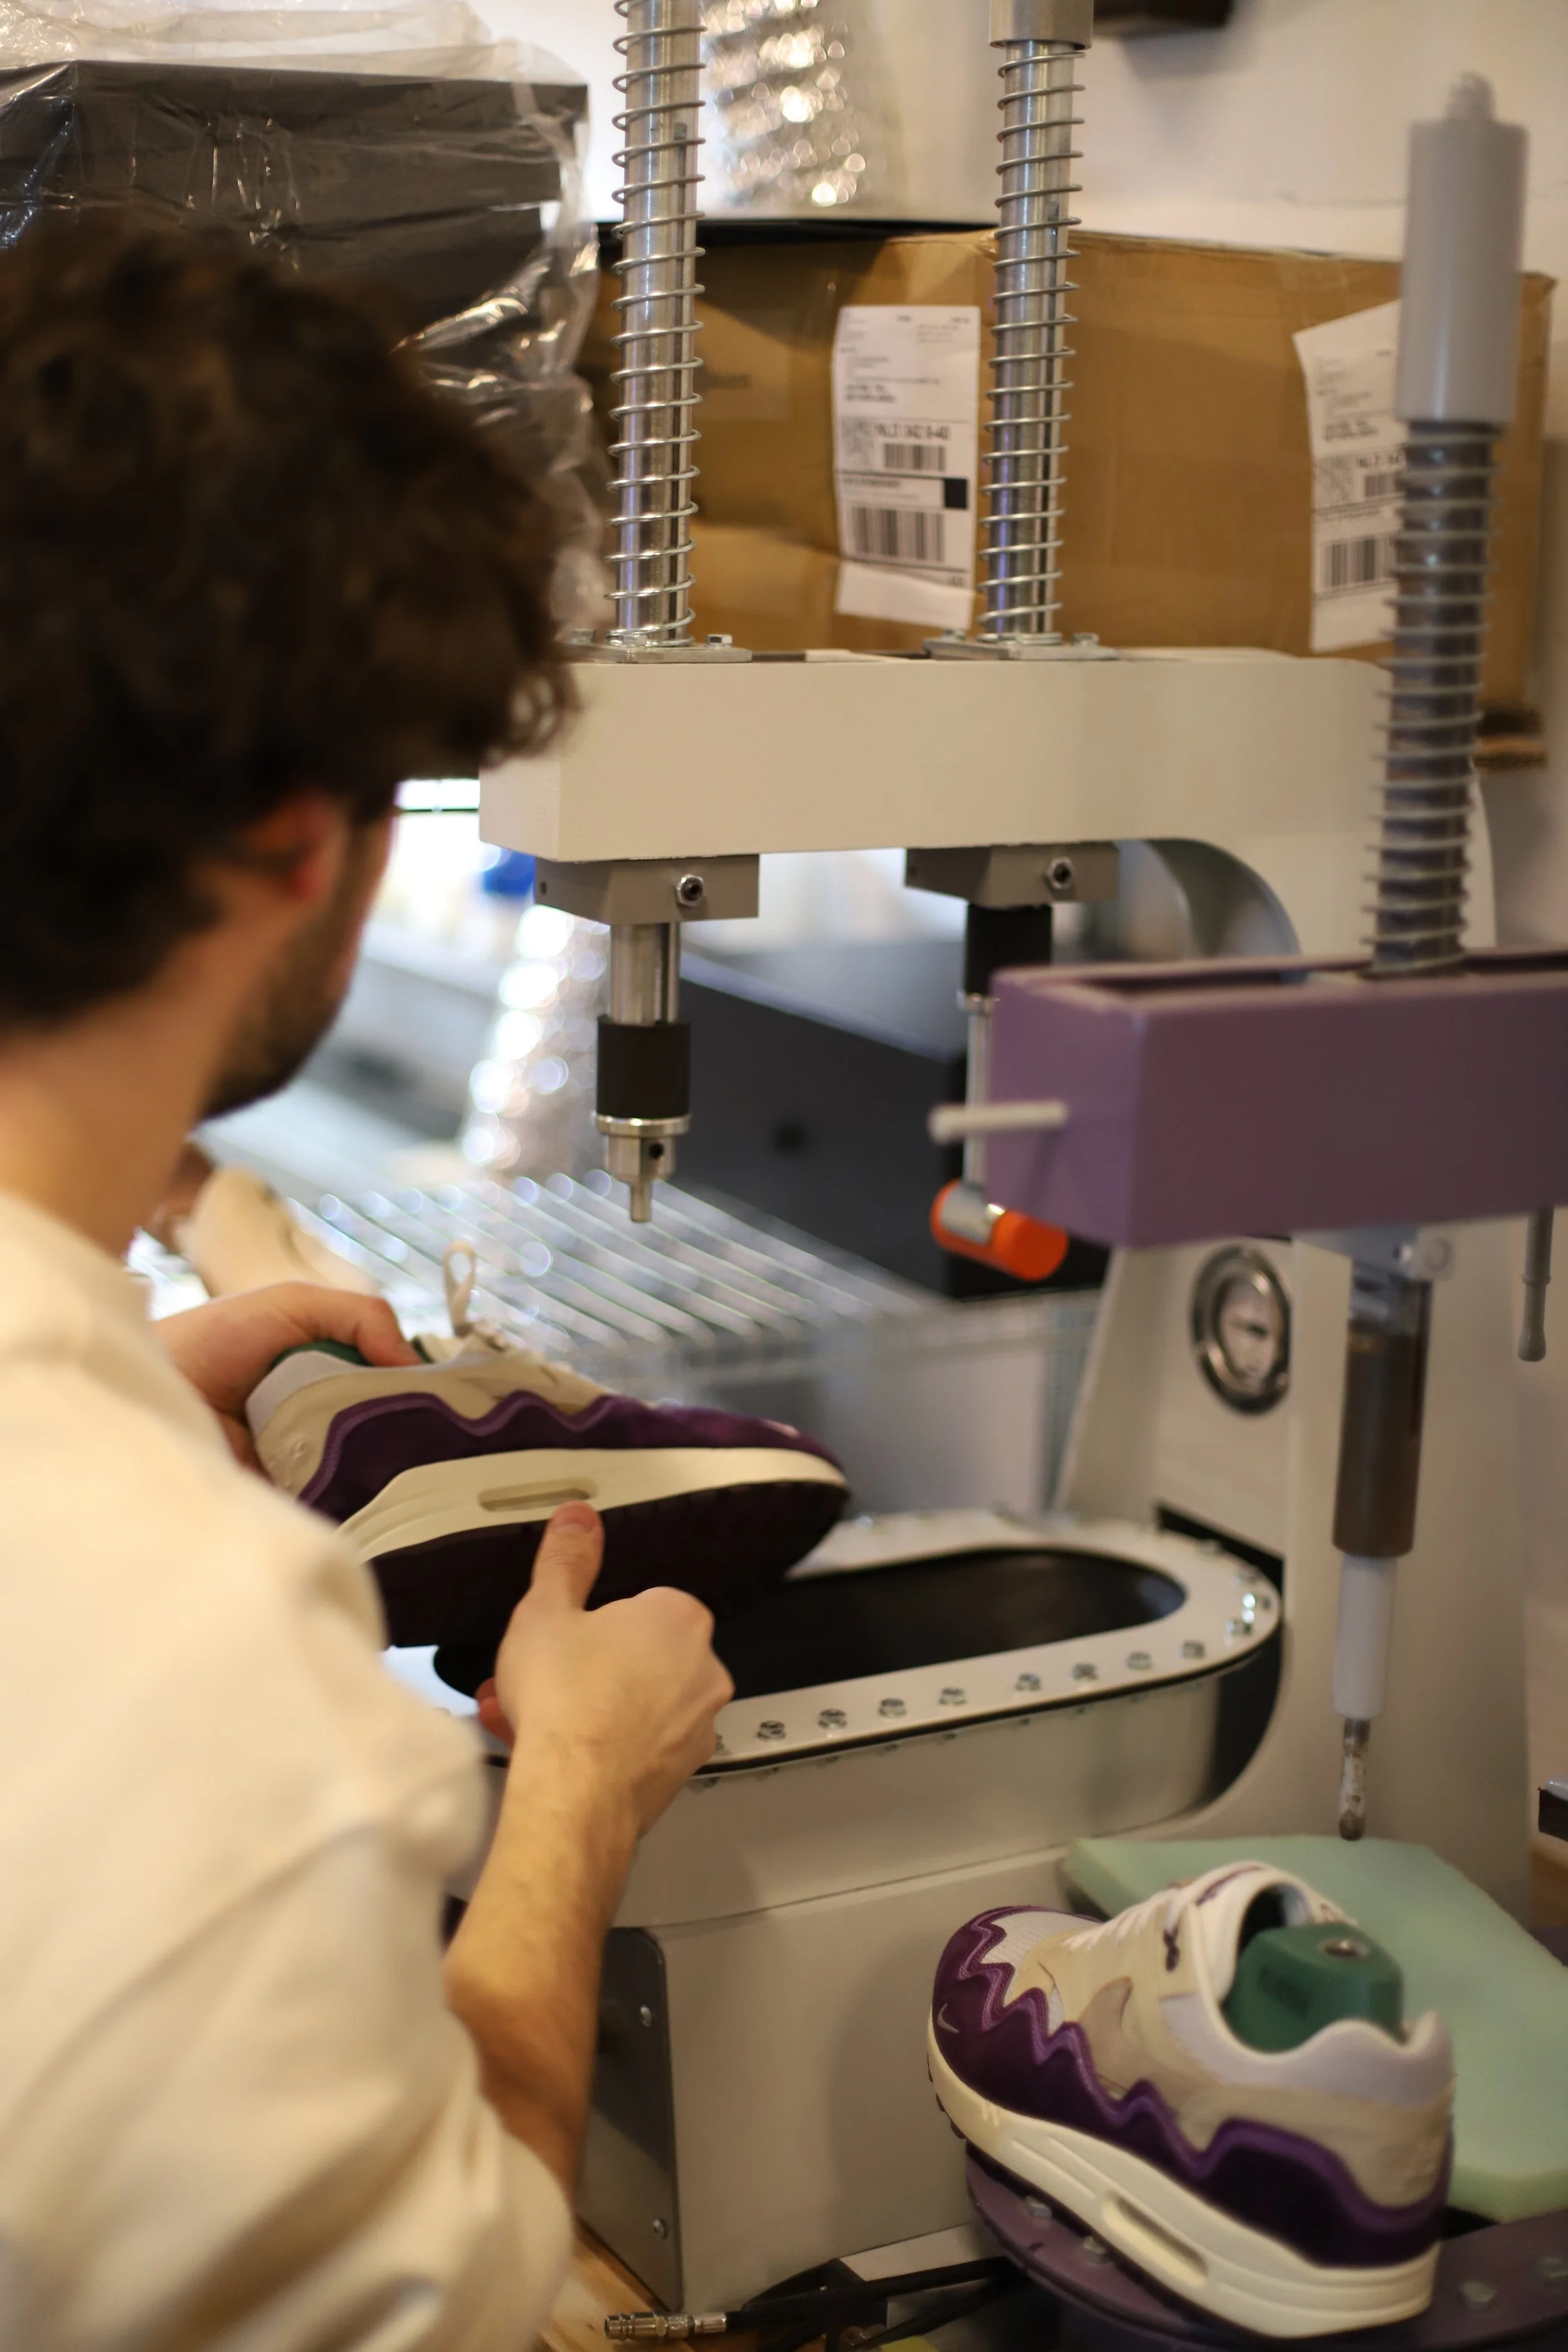
It is now time to stick the glued upper to the glued sole. To activate the glue we heat them with the heat gun. As you can see below, we stretch the donor sole. This is possible due to the heat and ensures that we can place the upper better.
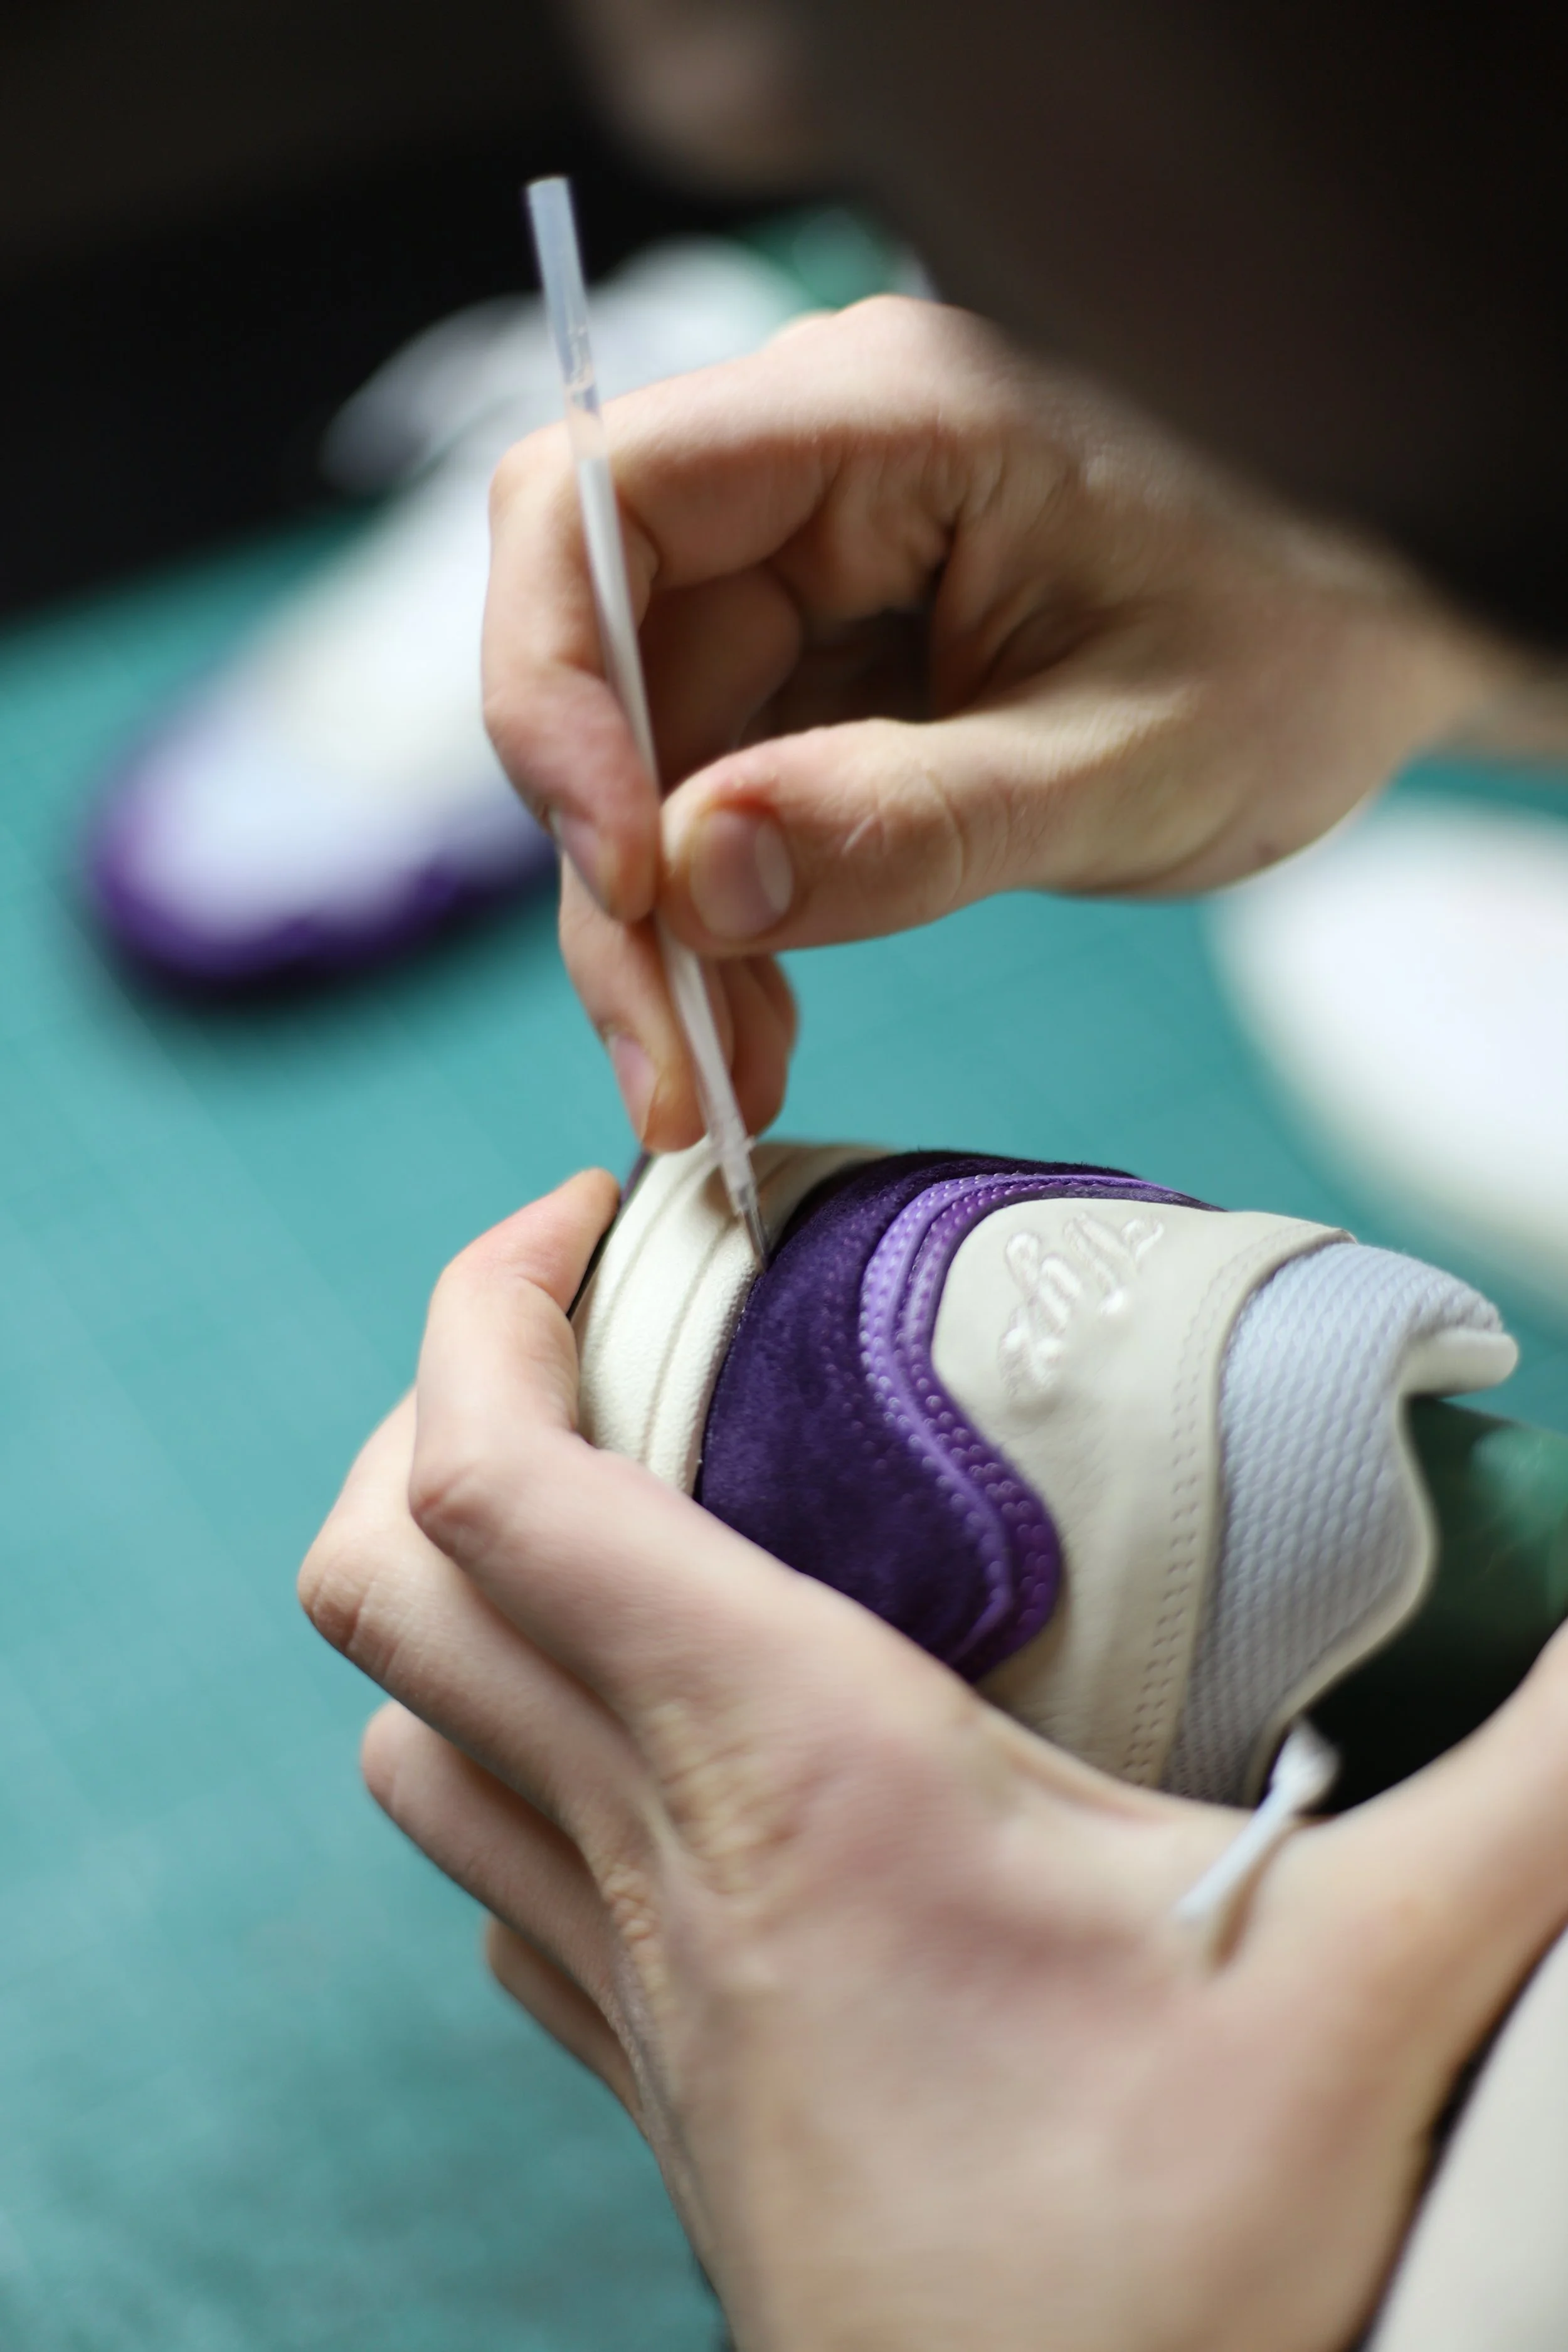
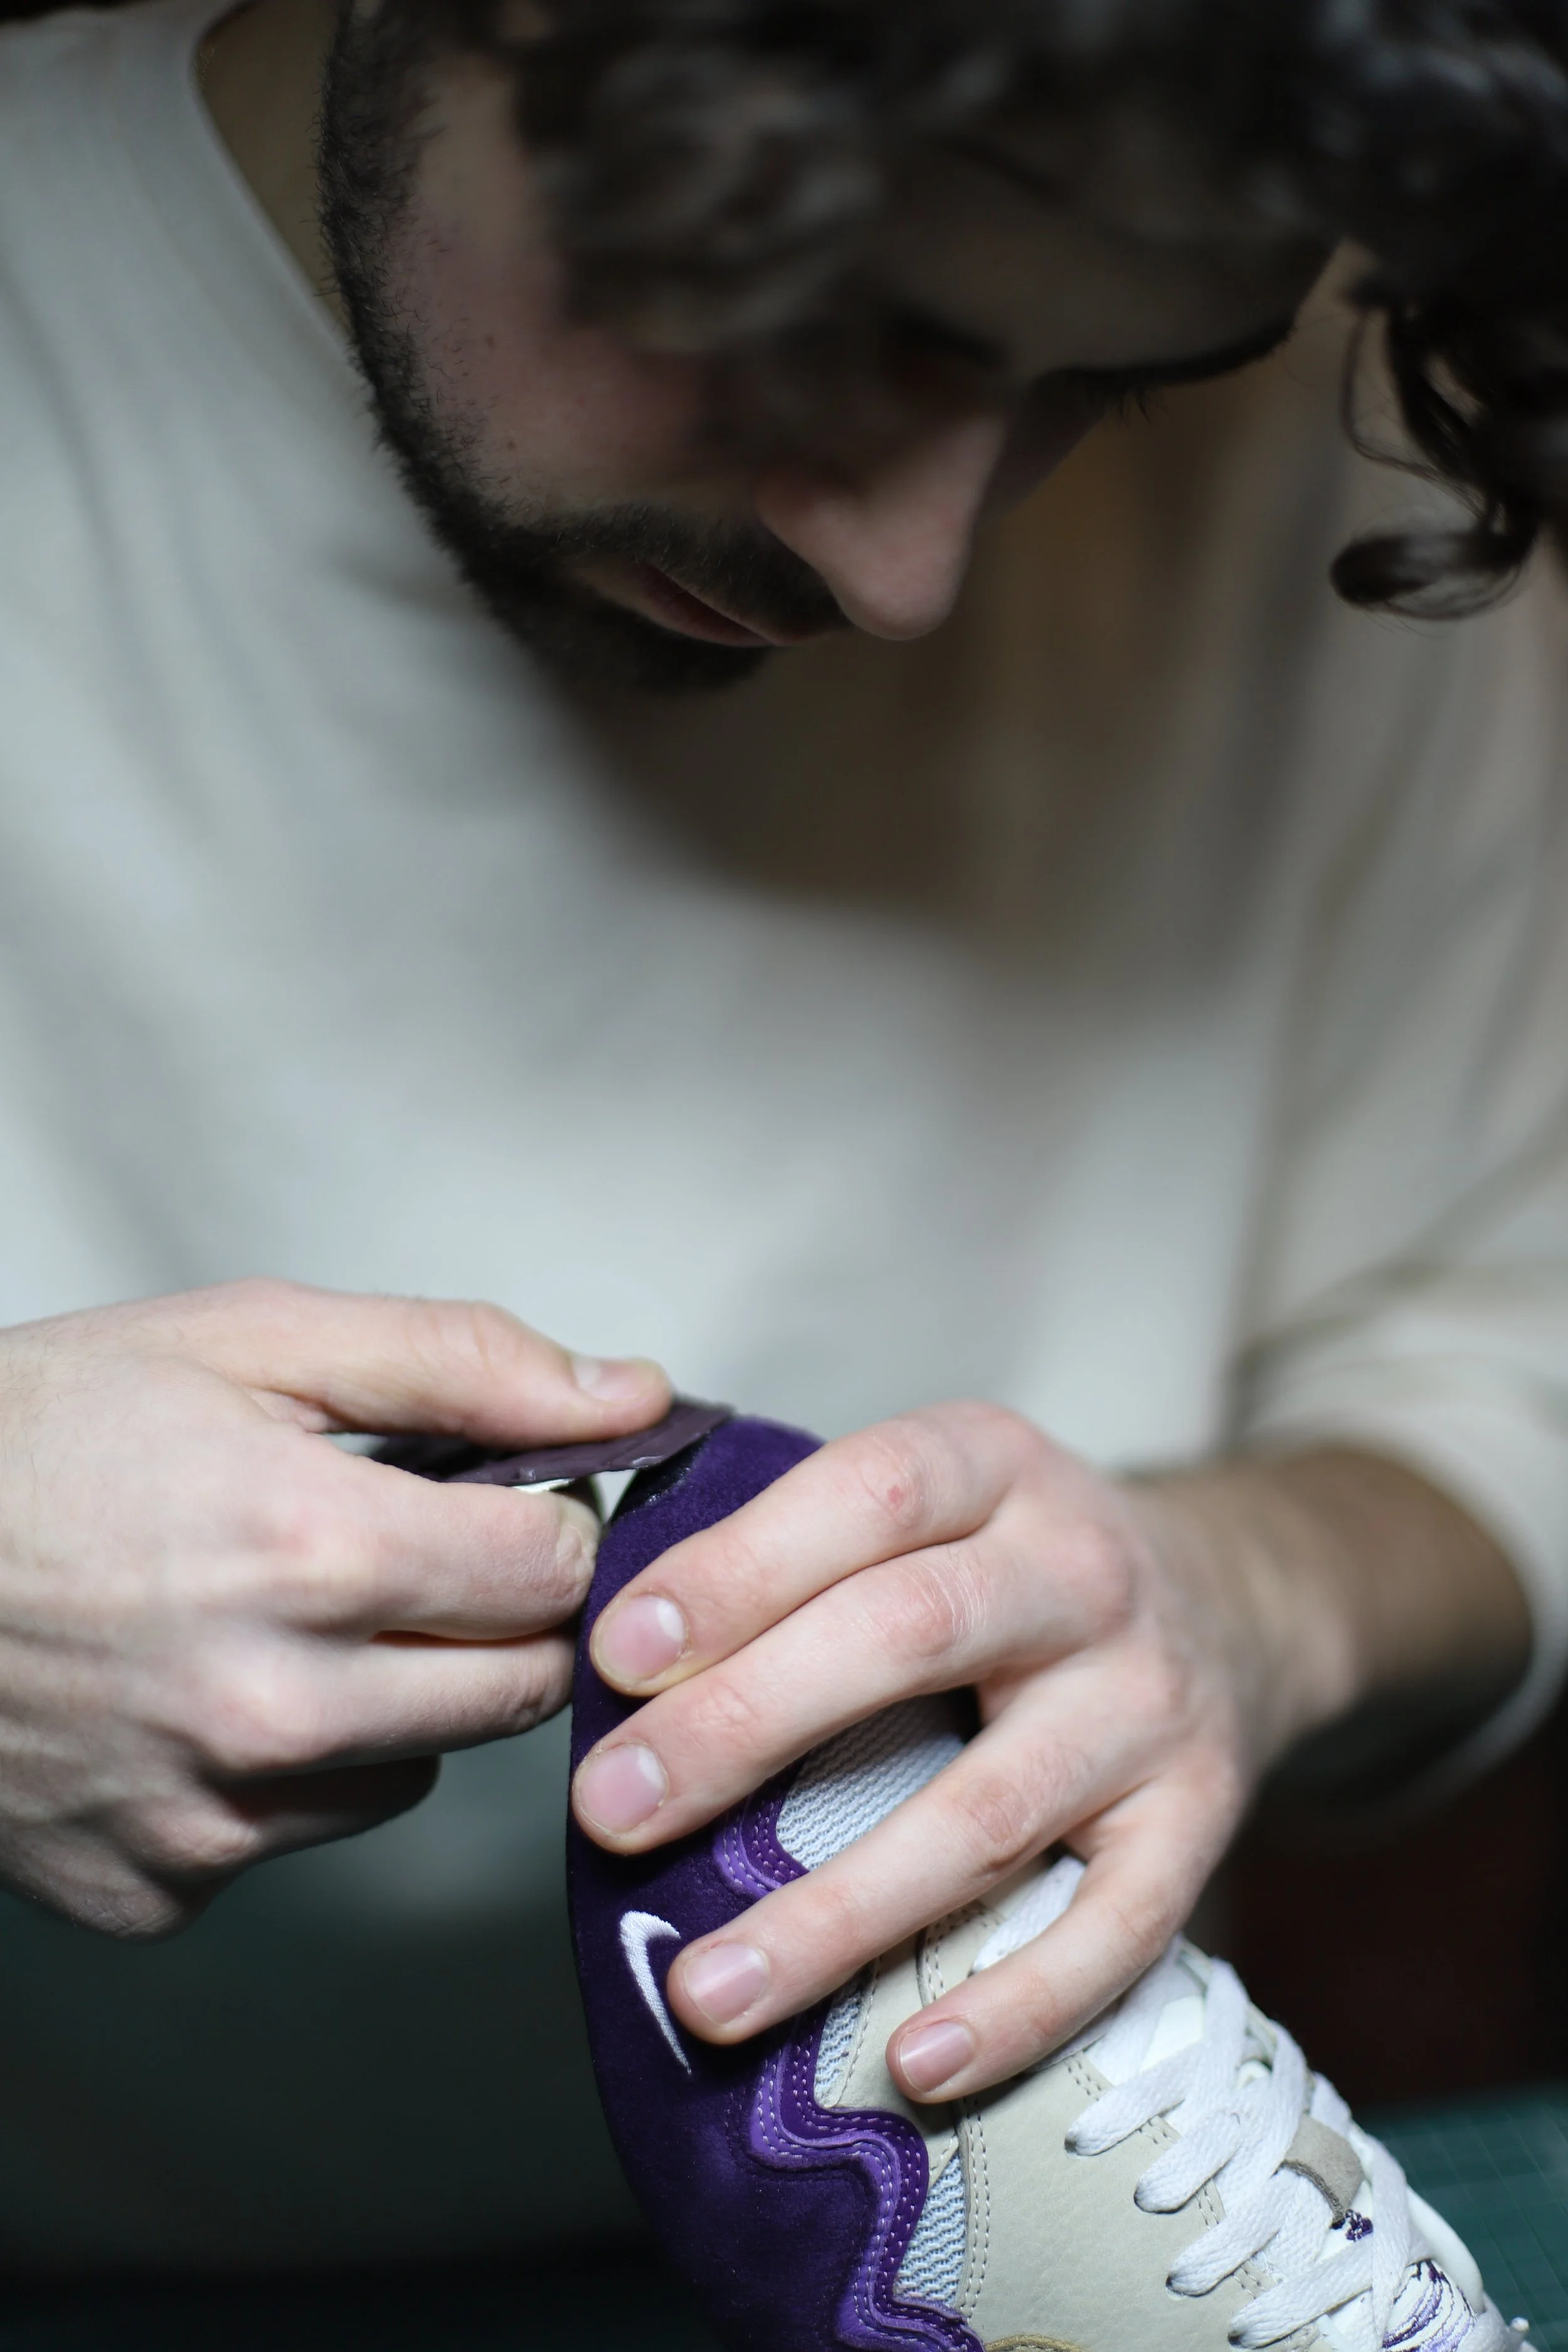
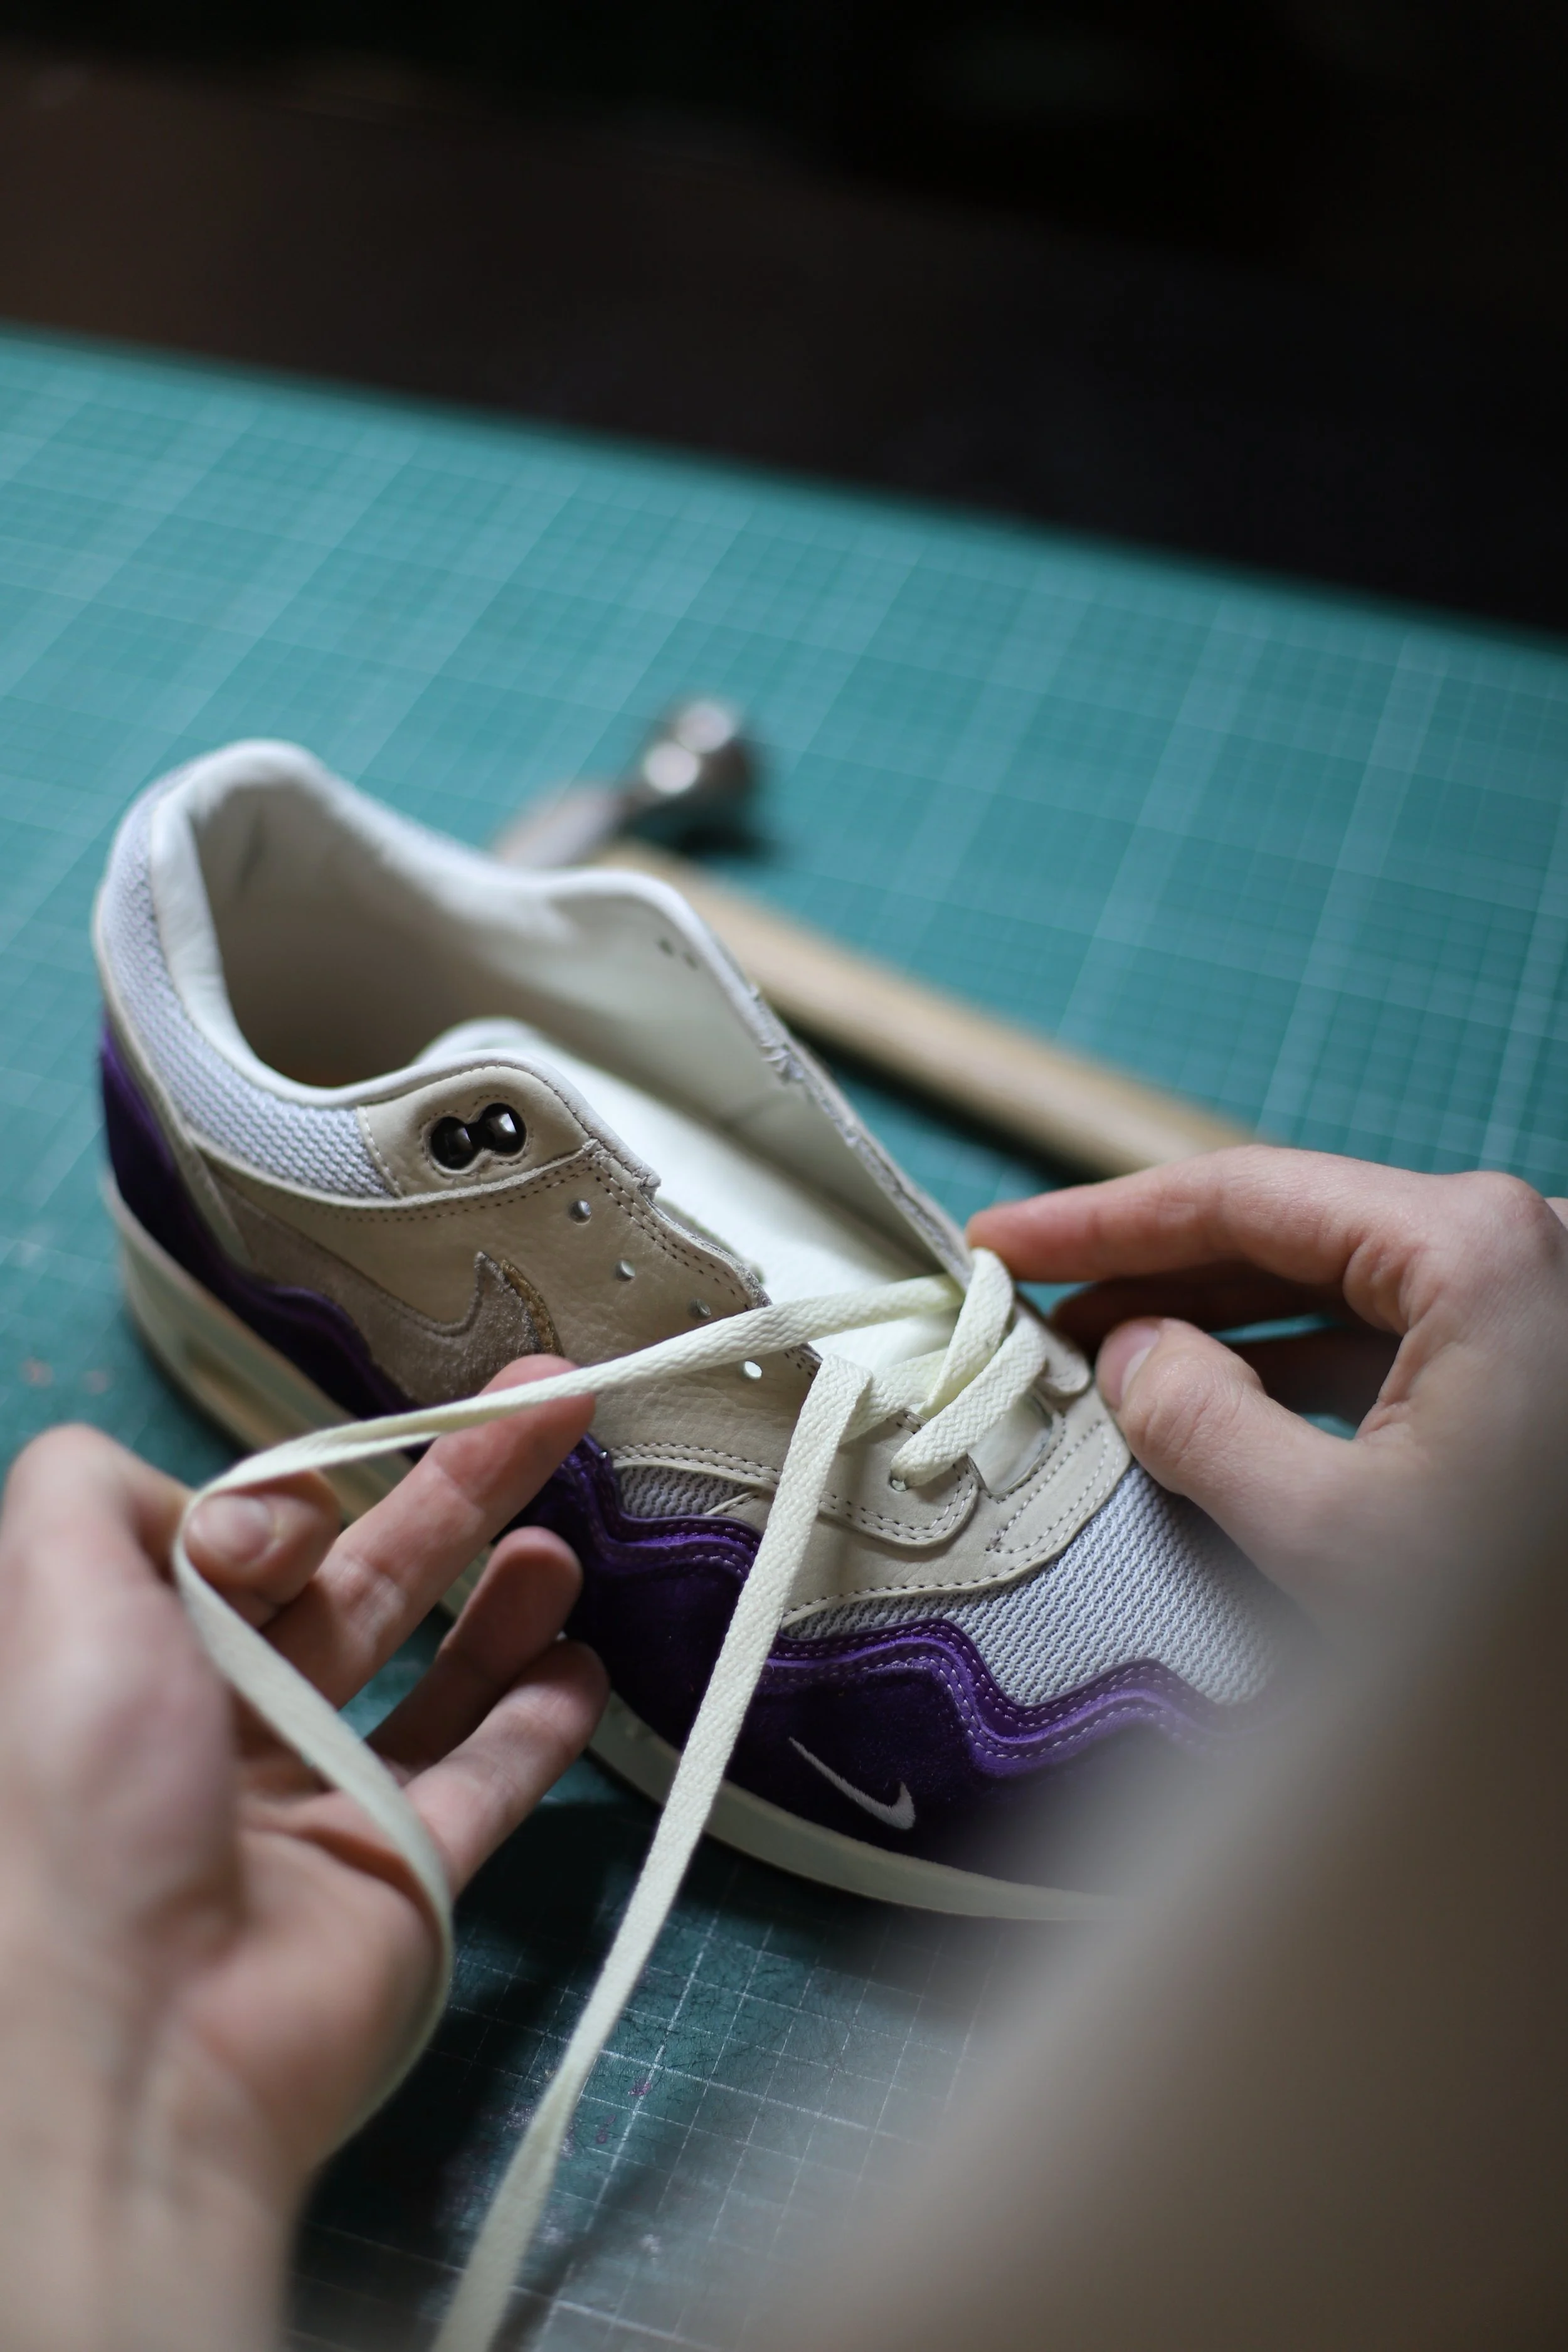
After the gluing process, we can take the shoe out of the shoe last. After that we can give the shoe some finishing touches like other laces, removing any glue rests or any other things.


